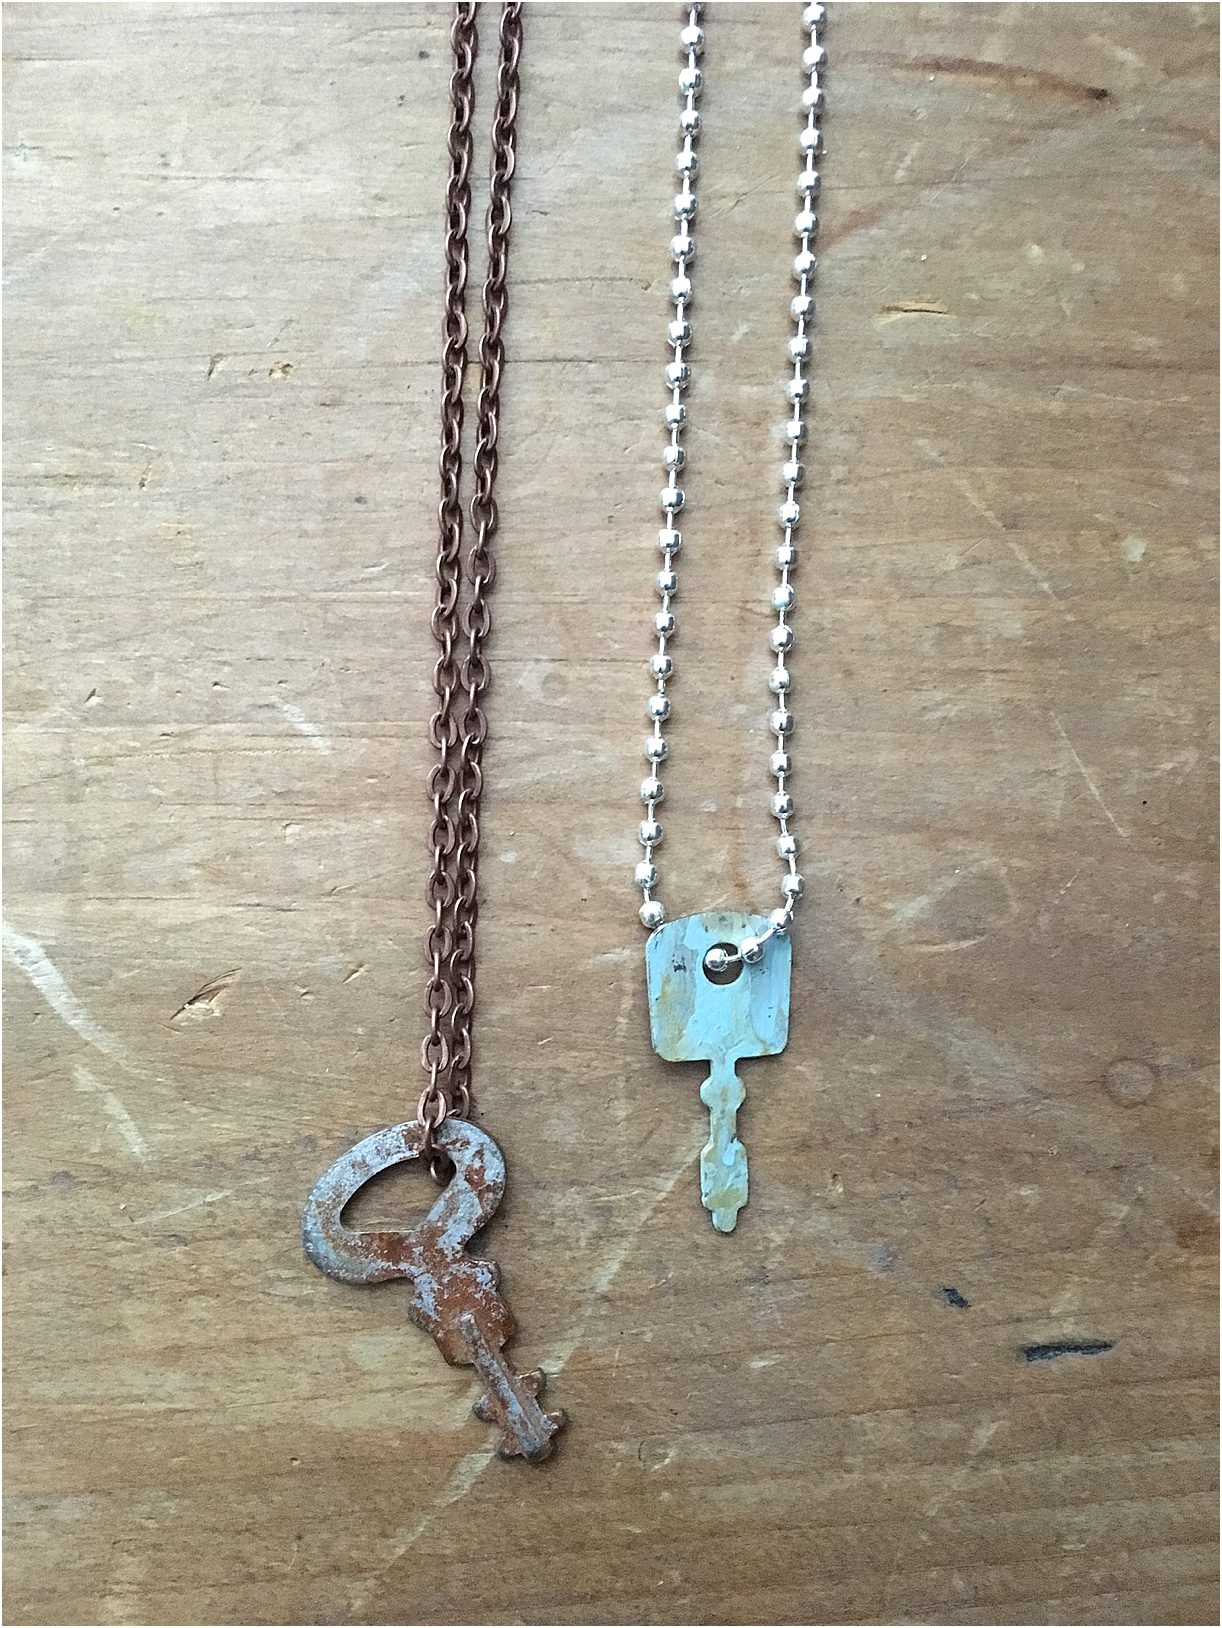
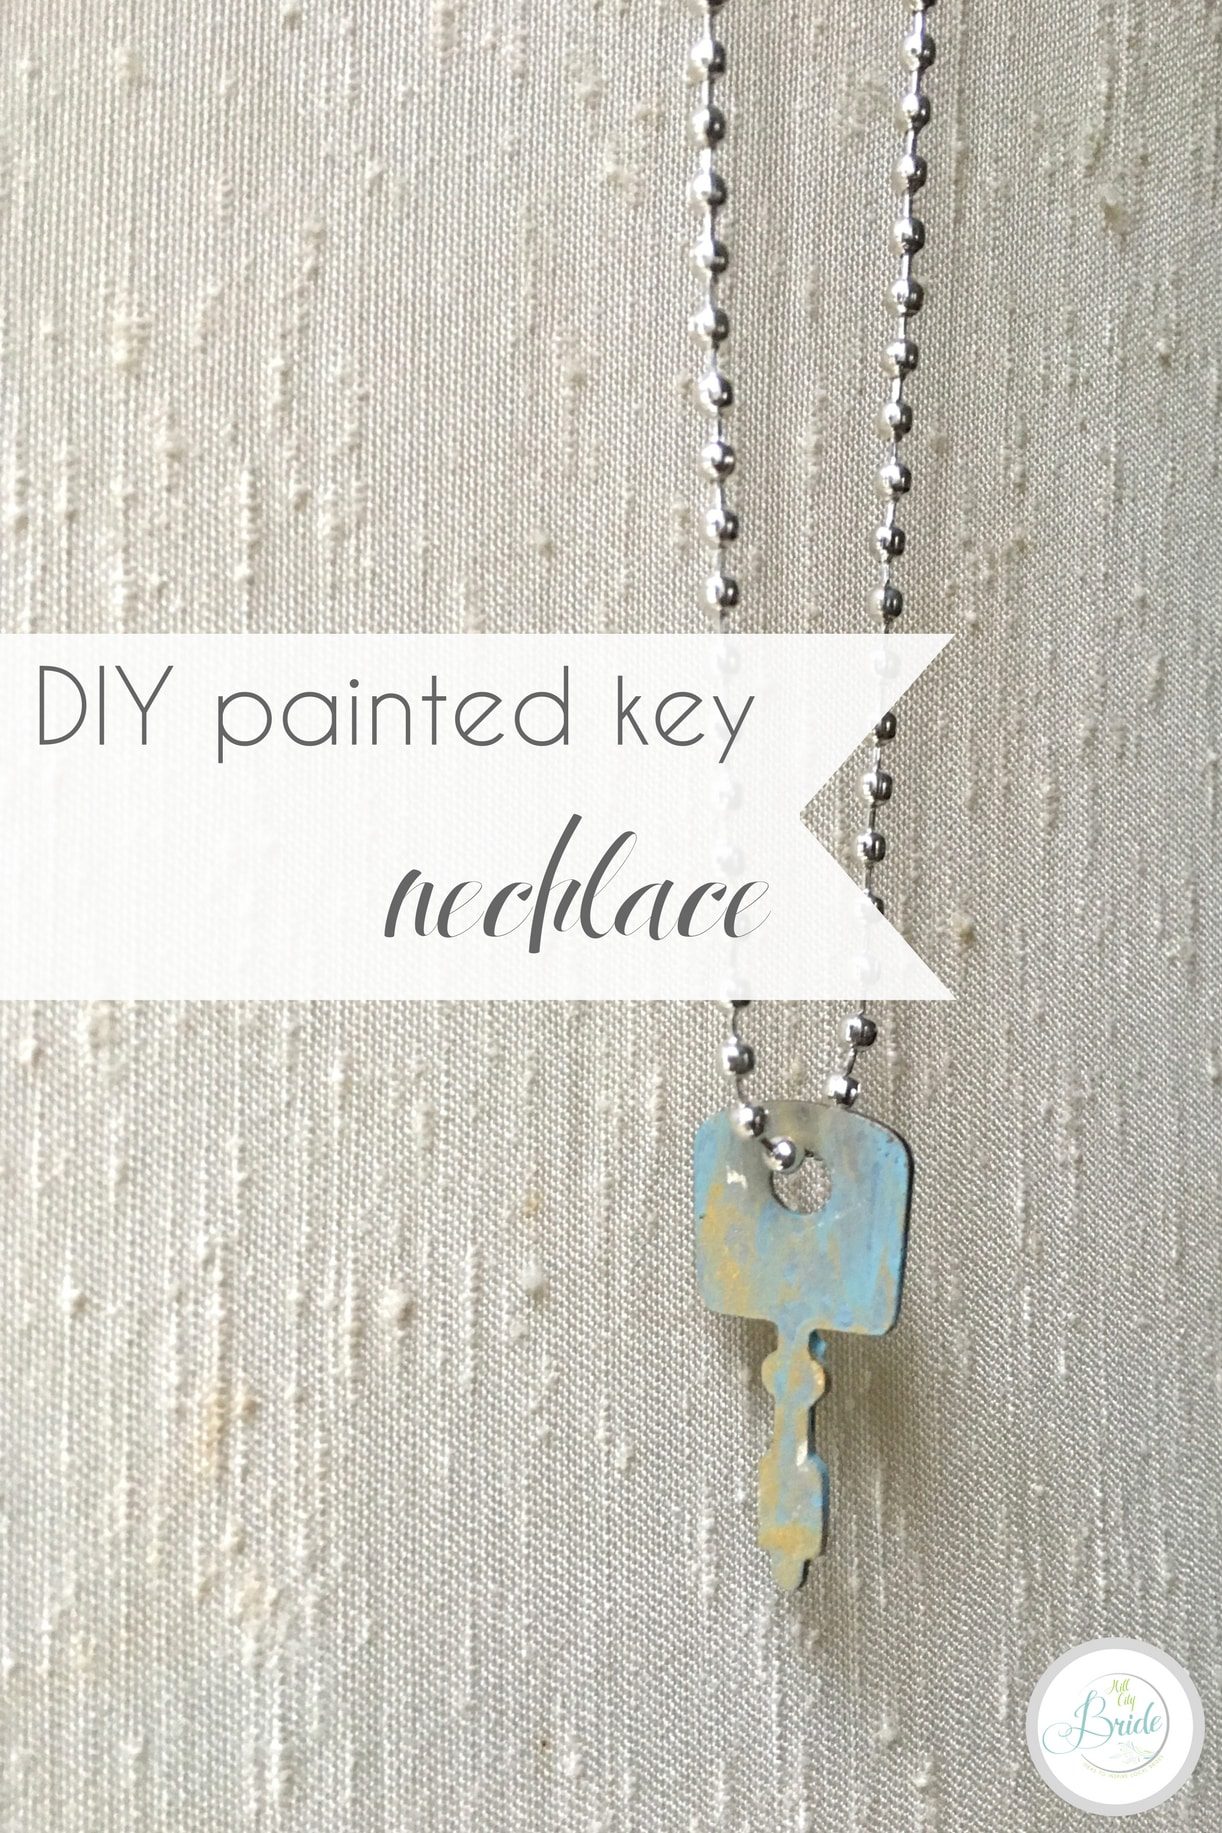
Did you see our last key project? I’m in love with these tiny keys and the projects that can be done with them. If you don’t like an aged look, then making a painted key necklace may be just the right thing for you. You can use whatever colors you’d like for this adorable, easy DIY project.
This post contains affiliate links to Etsy and purchases through those links help our blog to grow. Thank you!
The supply list for a painted key necklace is pretty short.
- Vintage Key (available here)
- Necklace Chain (see here)
- Paint (your choice of colors here)
- Paintbrush (see here)
I would also recommend preparing some sort of surface for painting. It can be a small surface. 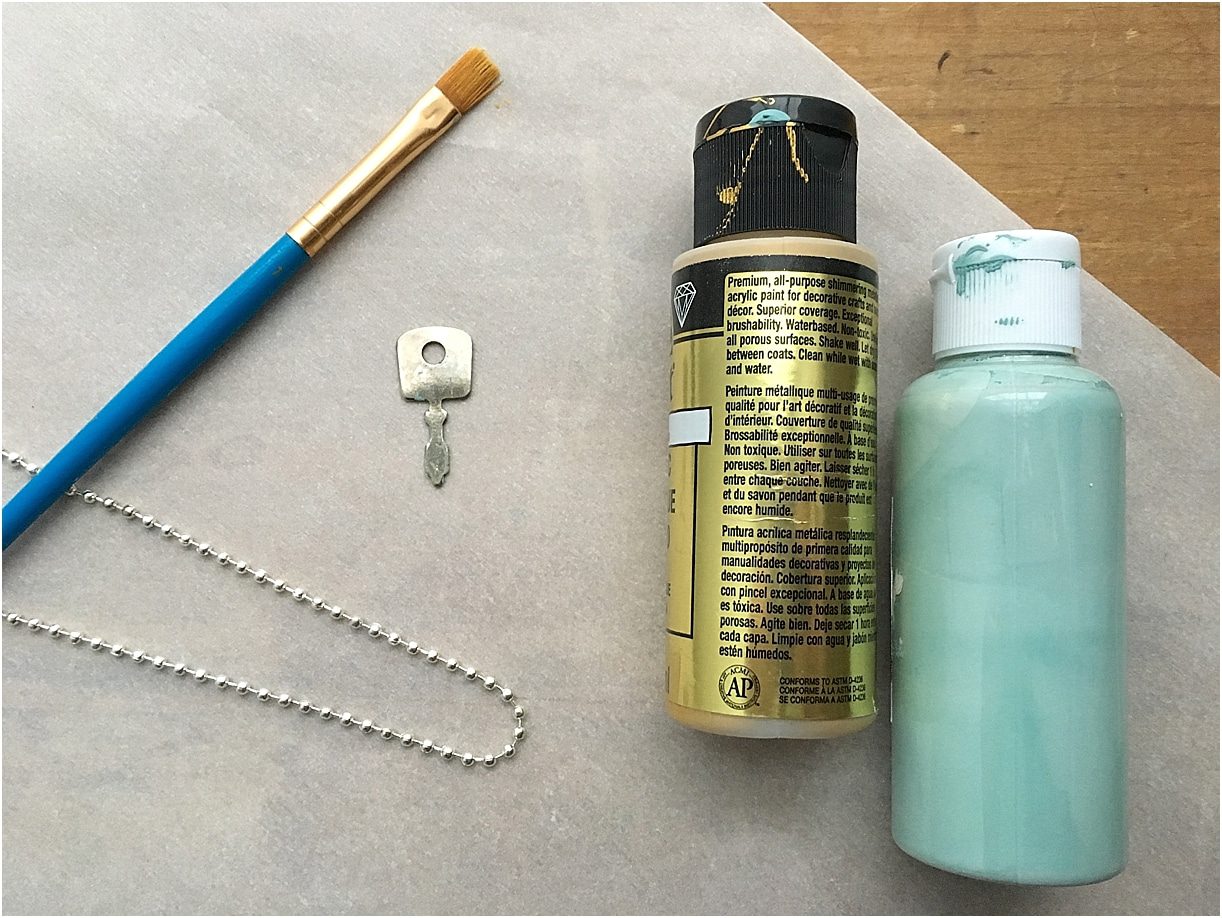
And now the steps to make your necklace.
Squeeze out two small blobs of your paint colors if you choose more than one. I chose aqua and gold metallic paint because I was trying to mimic the aging of copper in a shabby chic way.
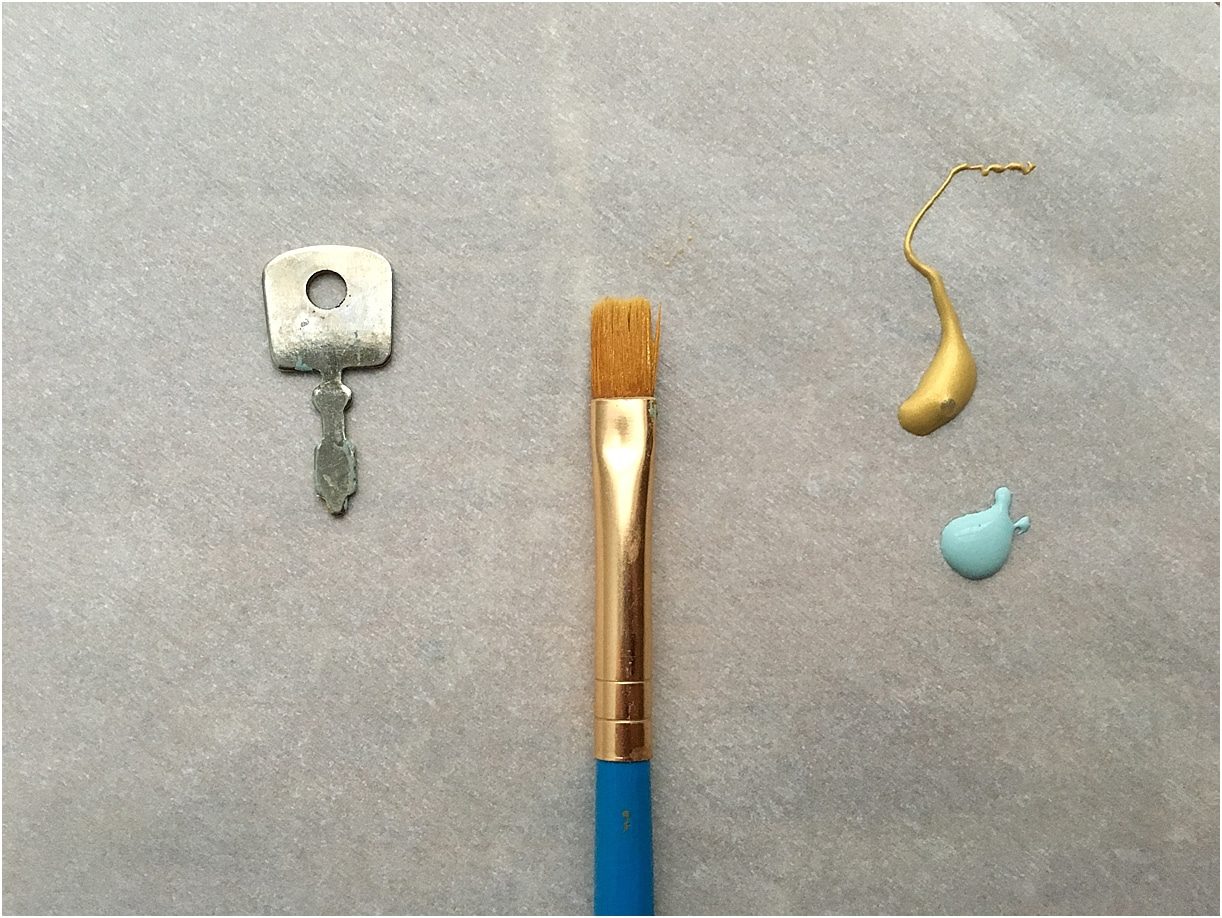
Get “blobs” of paint onto your brush. You don’t want to mix the colors, but dipping the brush in the paint works to get small dots of paint onto your brush.
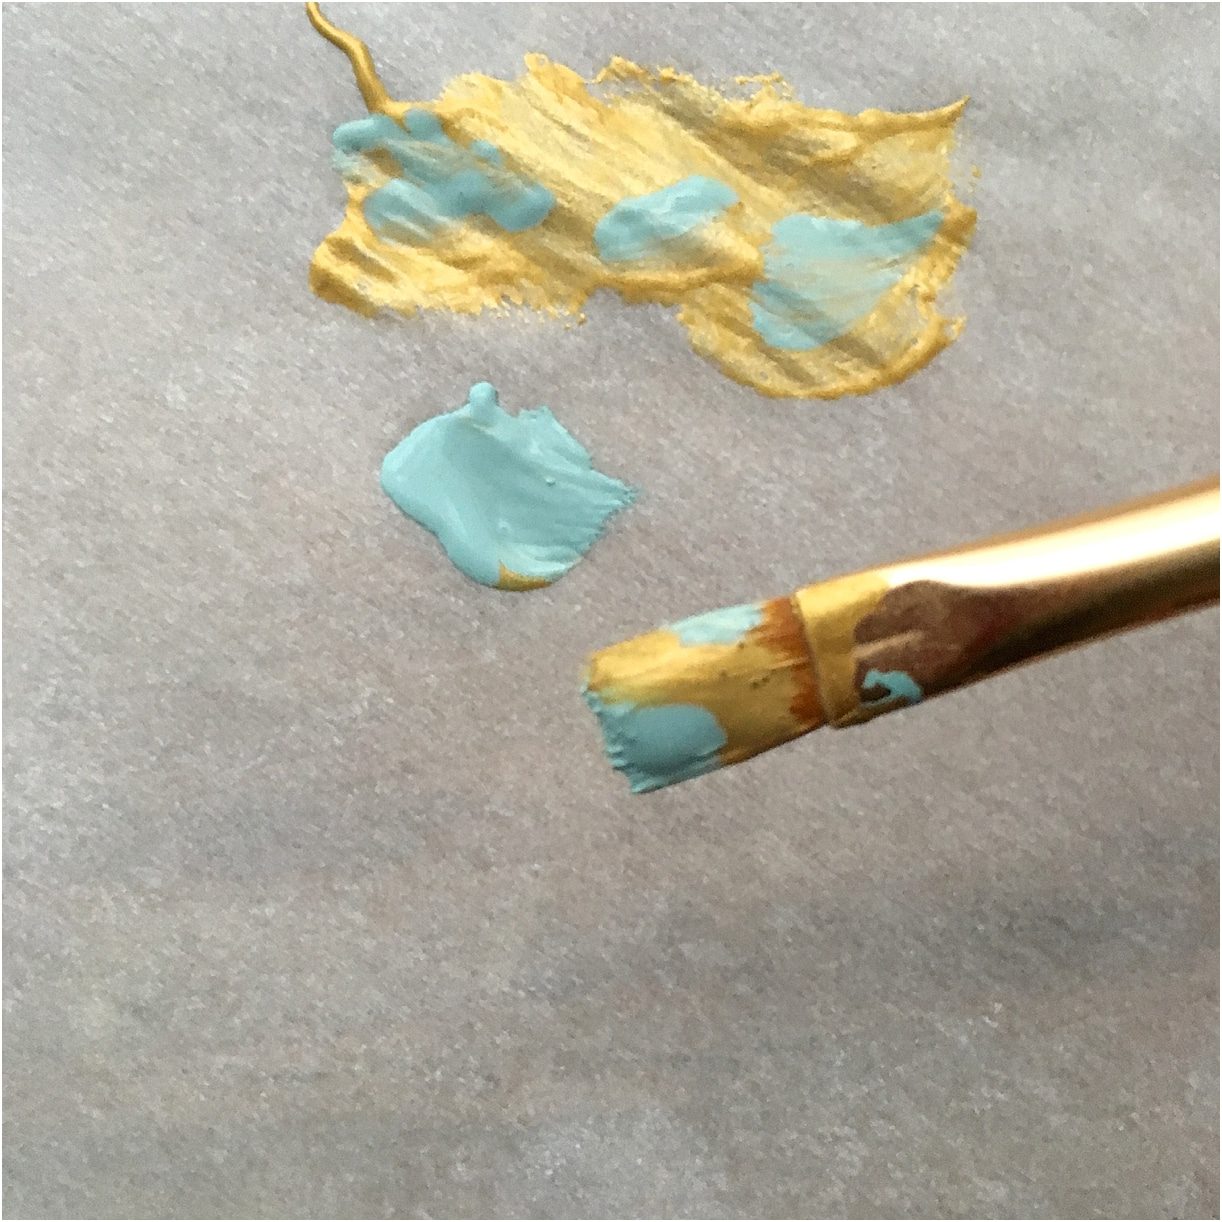
Then start painting your vintage key.
Use short brush strokes to paint the key. If you keep going over and over the key, the colors will mix, which is not the goal. You want an uneven coat of paint with both colors unevenly showing on the surface of the key.
Also, be sure to let it dry and turn the key over to paint the other side. It’s ok if some of the key’s original metal color shows through here and there.
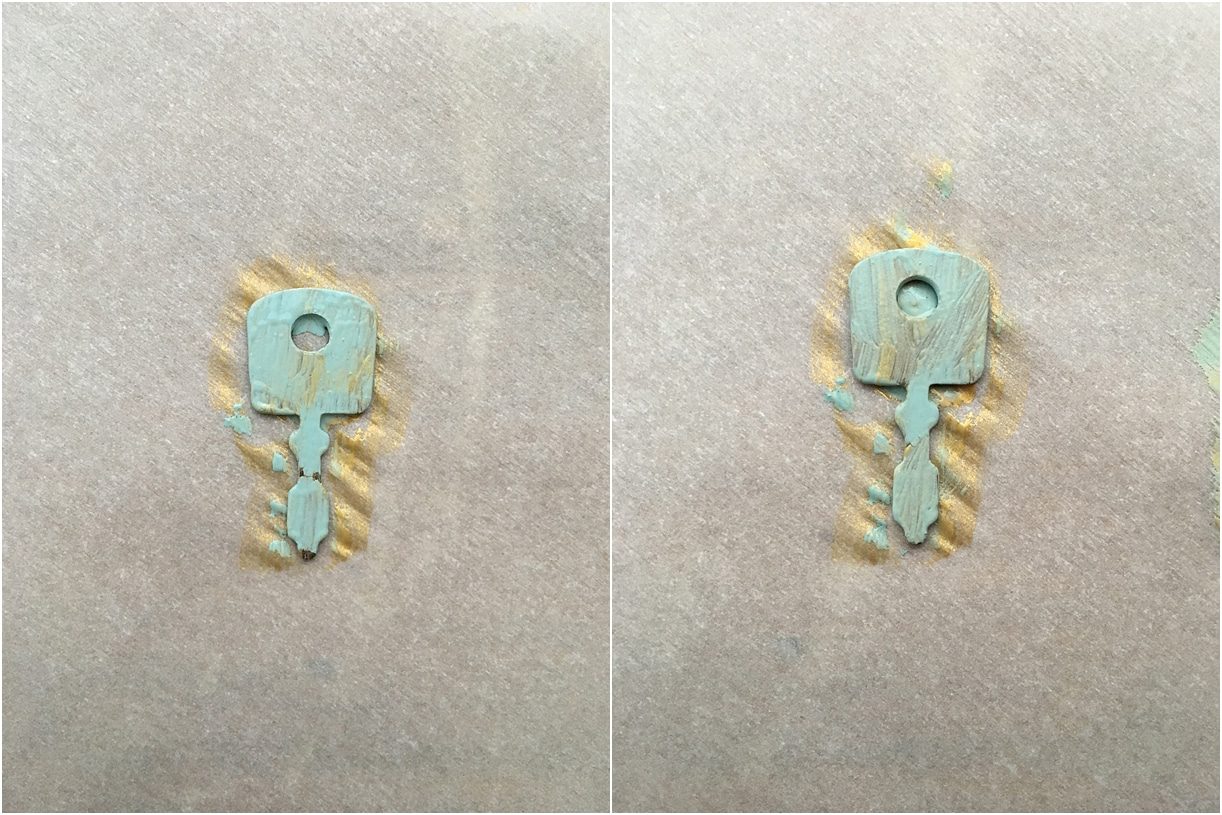
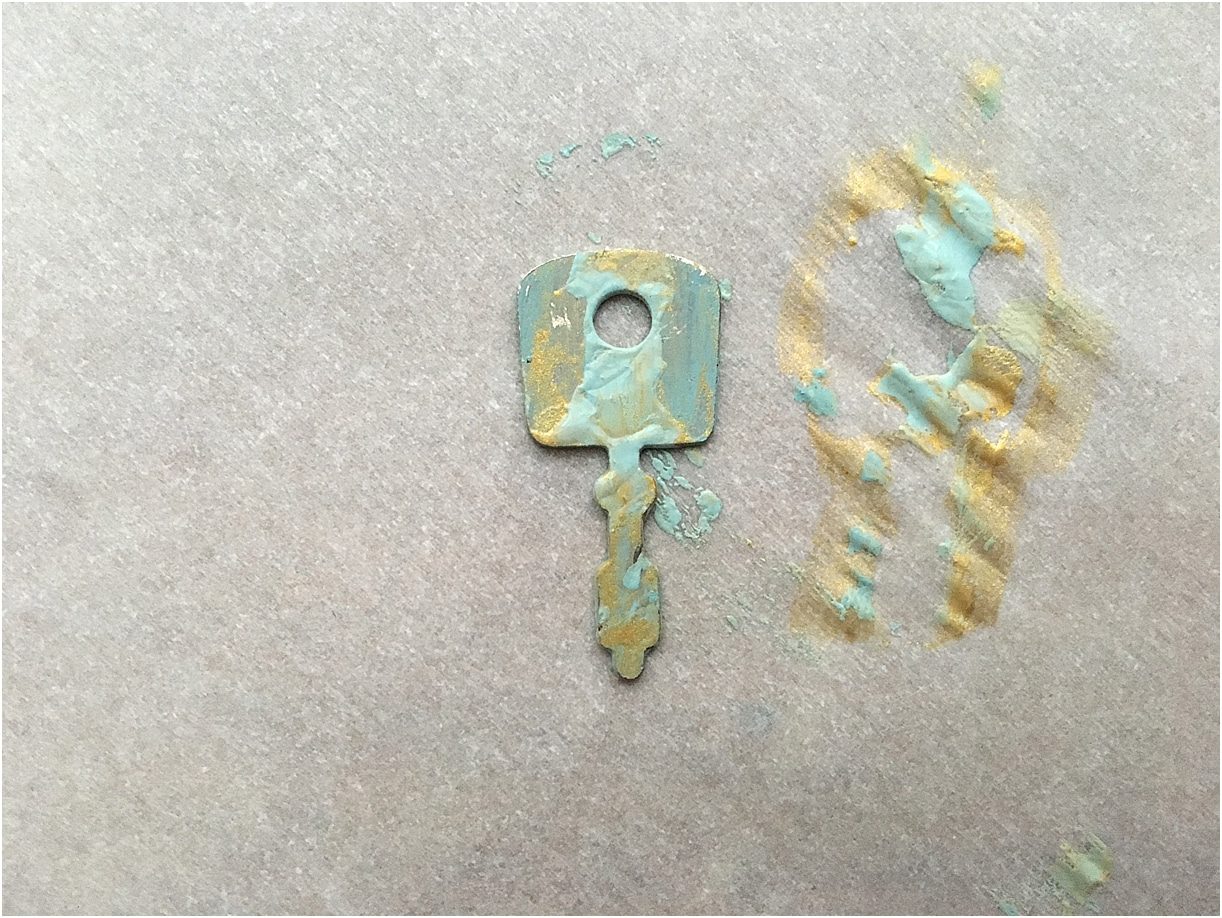
Let dry, add the chain, and you are ready to wear your painted key necklace. So adorable!
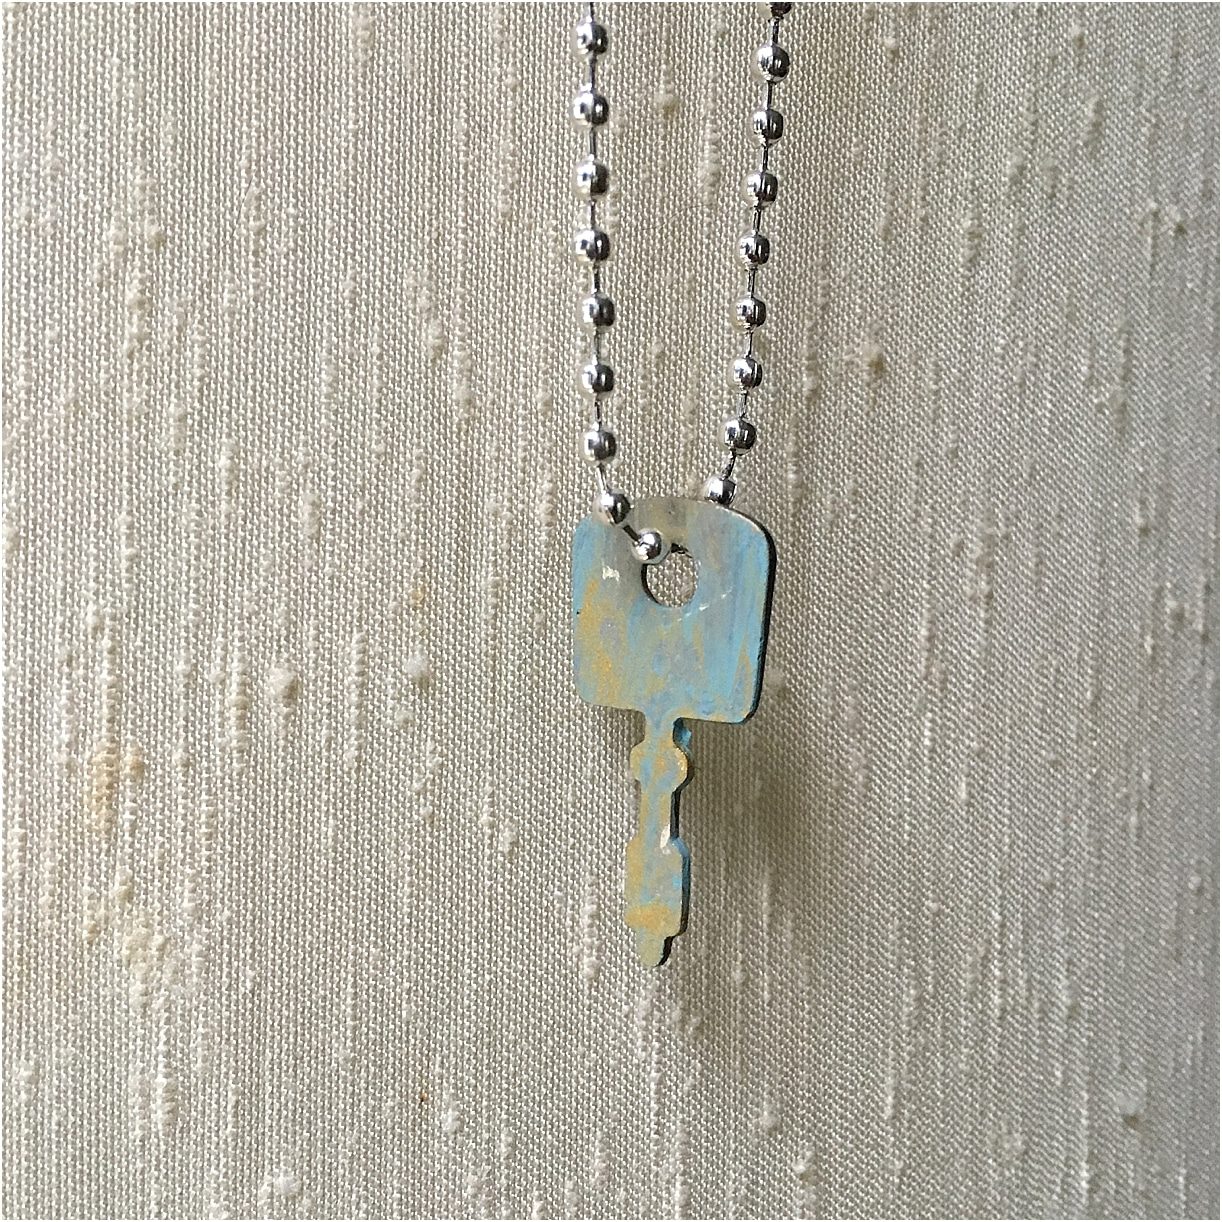
If you like this project, be sure to take a peek at how to patina metal to make your own aged key here. Both ways are are easy, budget friendly and oh so cute!
