
Do you love to travel? I do! Roaming the globe is so fun – especially if you are traveling with your sweetie. Why not give your luggage an edge when it comes off of the conveyor at the airport, and create bright, easy-to-recognize, simple DIY luggage tags to set yours apart?
This post contains affiliate links and purchases through those links help our blog to grow. Thank you!
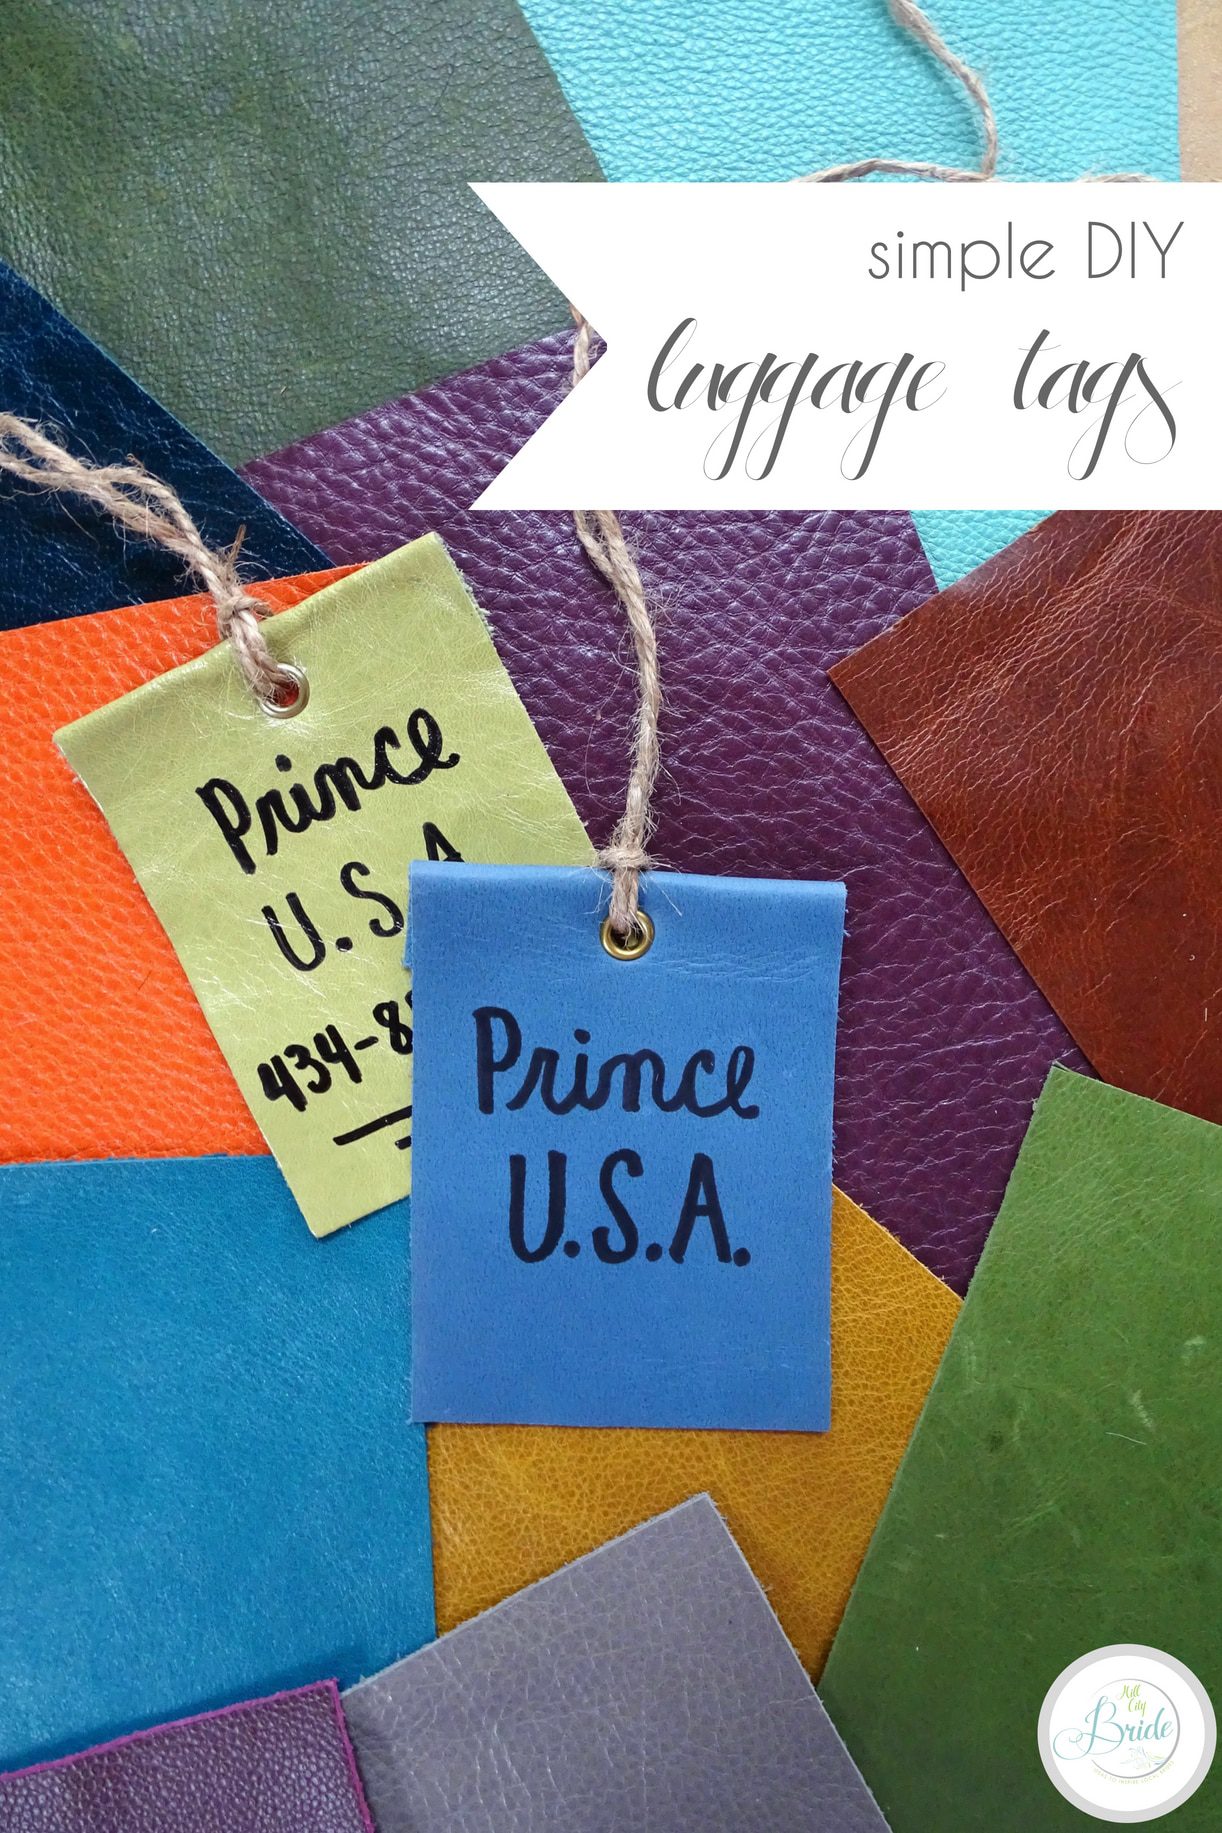
These simple DIY luggage tags are quick, easy and can be adapted in a variety of ways. Take a peek at how I made mine!
Simple DIY Luggage Tags
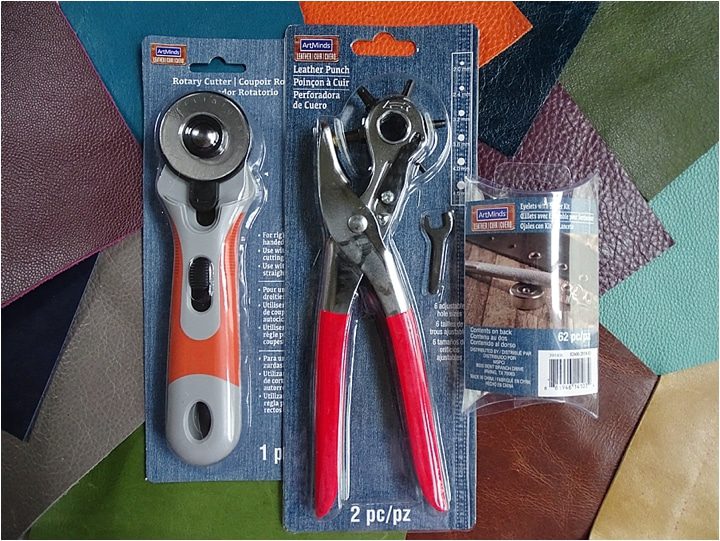
Supplies for Method 1
- Scraps of leather* (see here)
- Leather punch* (see here)
- Leather eyelet set* (see here)
- Twine (see here)
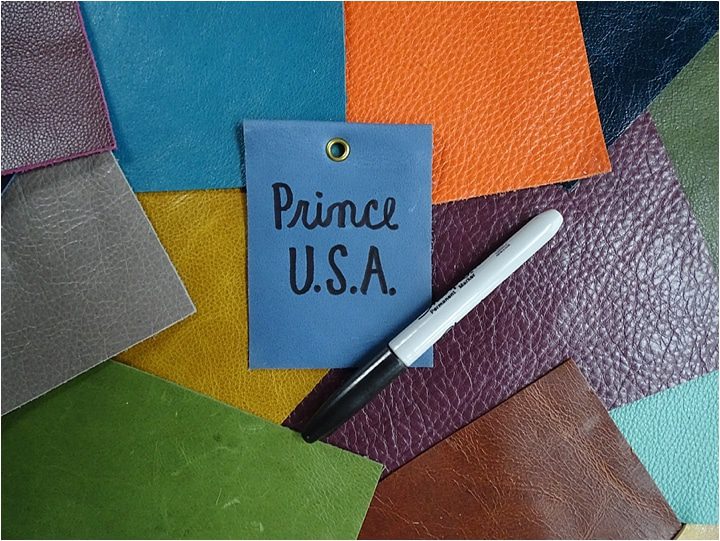
- Permanent marker
Ok, I feel that this project is a bit unfair. Let me explain.
*You see, I REALLY lucked out on finding my leather scraps. We have a leather company, Moore & Giles, in our town, and once a month they sell their leather scraps. It’s so inexpensive (I think $5 per pound!), AND – get this – I got my hands on the designer book scraps. You know the ones that the designer will show you on a ring so that you can select your color of custom leather? I bought those having no idea what to do with them. Then DIY luggage tags came to mind! So, I didn’t need a leather punch or eyelet set. That part was already done for me!
Technique
So, now that I have fessed up and told you my cheat on how I “made” the base of the luggage tag, my best guess would be to…
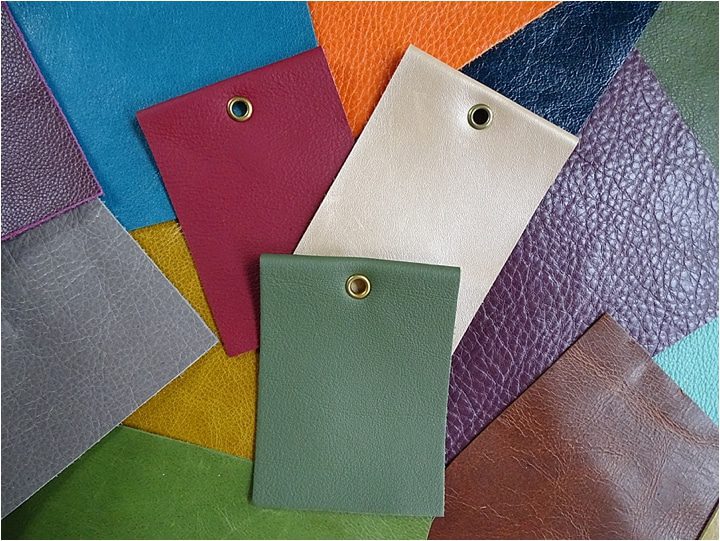
- Cut the leather to the size and shape you would like.
- Use the punch and eyelet set to create a secure hole.
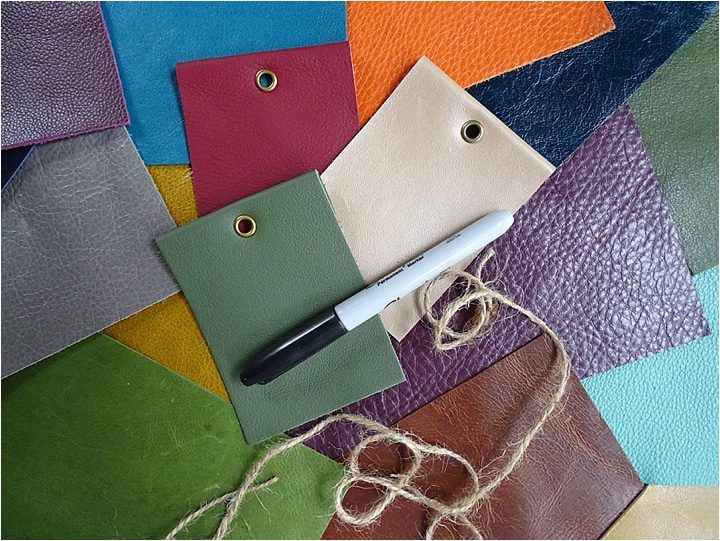
- Use the permanent marker to write whatever you’d like on the tag.
- Secure your tag on your luggage using twine.
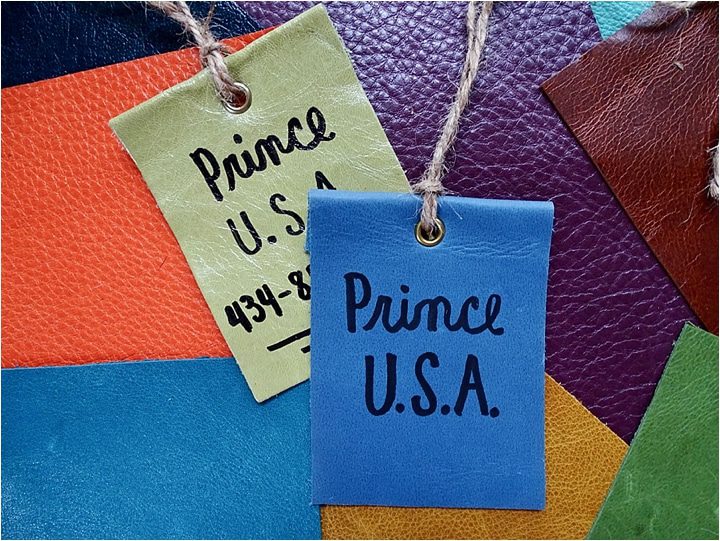
I do have to say that I made one luggage tag because I was in a pinch. I used the permanent marker to write my last name and phone number on a scrap of leather, and that bag has been to California, Mexico, Nicaragua, and Turks and Caicos since. So, I actually have put these DIY luggage tags to the test with real travel!
All in all, I would say that use what you find and be creative. I had to think a bit about what to do with these tiny designer samples, but I am so happy with the project that came to mind.
Supplies for Method 2
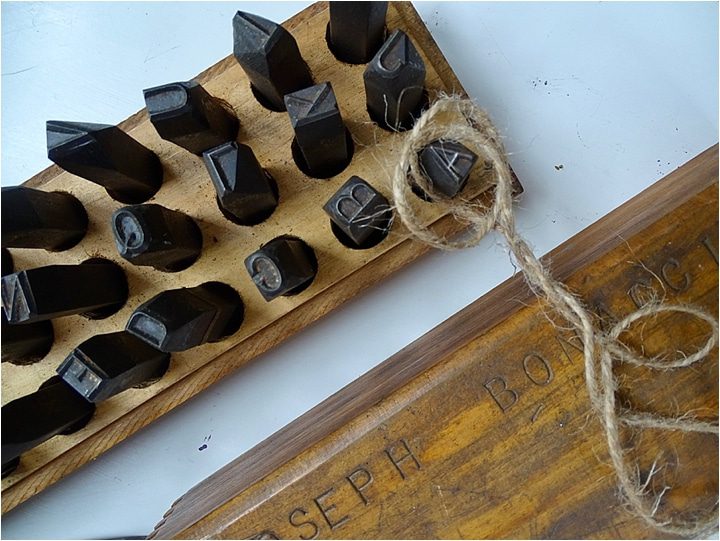
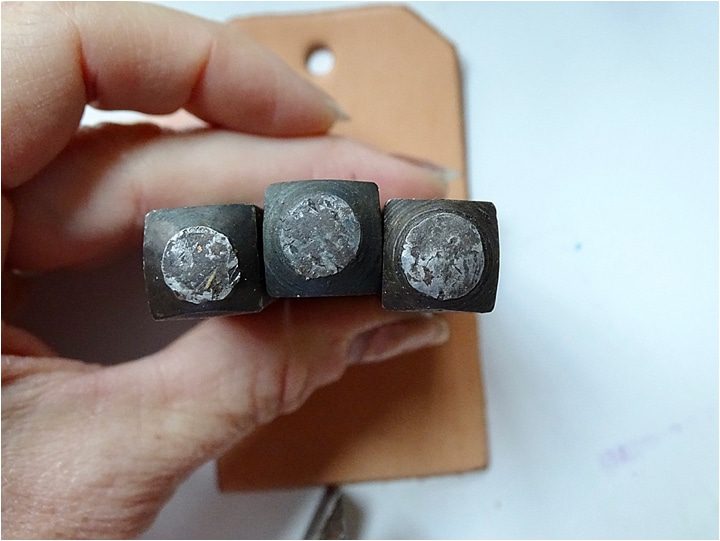
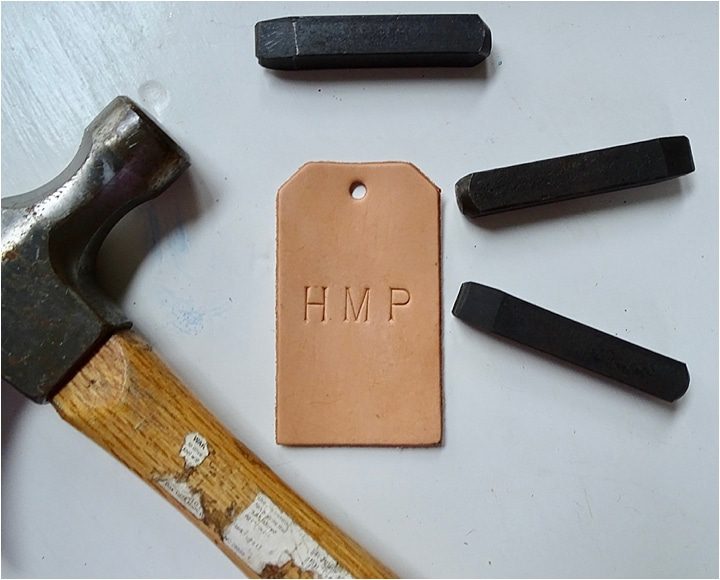
**Because we love vintage things – my mom had purchased a set of stamps years ago at an antique shop in PA. My kids have used them for stamping wood, and they were PERFECT for this project. You can purchase new stamps, though.

Technique
- Plan out your letters and BE SURE that they are going to be facing the right way.
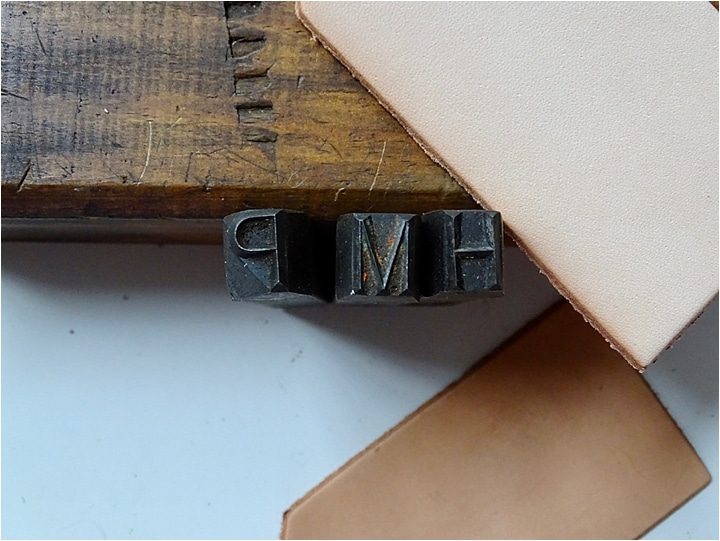
- Align them on the tag to be sure they fit the way you’d like.
- Use the hammer to hit the stamp HARD 3-5 times. Repeat with each letter.
- Add twine and attach to your bag.
- Enjoy!
Take a peek at my time on Daytime Blue Ridge below!
For more DIY projects, just take a peek here.