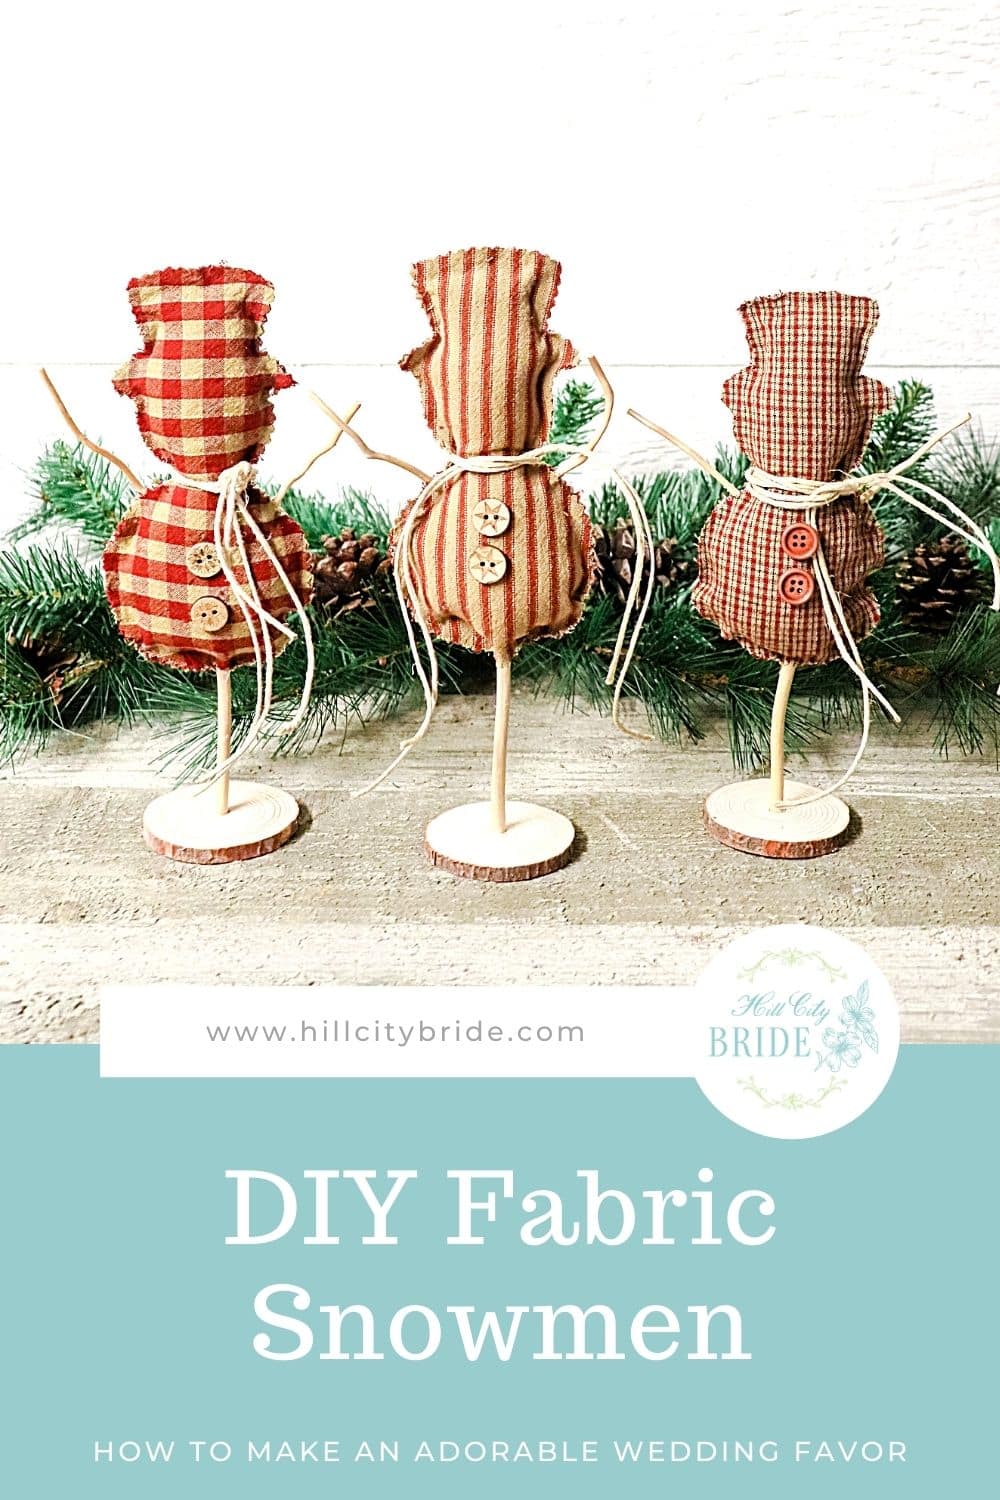
Do you love winter wedding ideas? Getting married during frigid weather can be so beautiful, and it also allows for themed elements. These DIY snowman crafts are the most adorable winter wedding favors and can be made in a jiffy. So, if you’re game for making a few snowman projects, these cuties are perfect.
This post contains affiliate links to Etsy, which don’t cost more but help our blog. Thanks!
A Quick Word About DIY Wedding Favors
Are you crafty? Then making DIY wedding favors may be on your mind. However, be sure to start making things ahead of time. Your schedule will be busy with life in general. However, when you add wedding planning, it can be a bit stressful.
Making your own unique wedding favors is something that you can start months ahead of time. You can even gather family and friends for a DIY snowman crafts night to make these adorable little guys. They’re high on cuteness and can double as Christmas wedding favors.
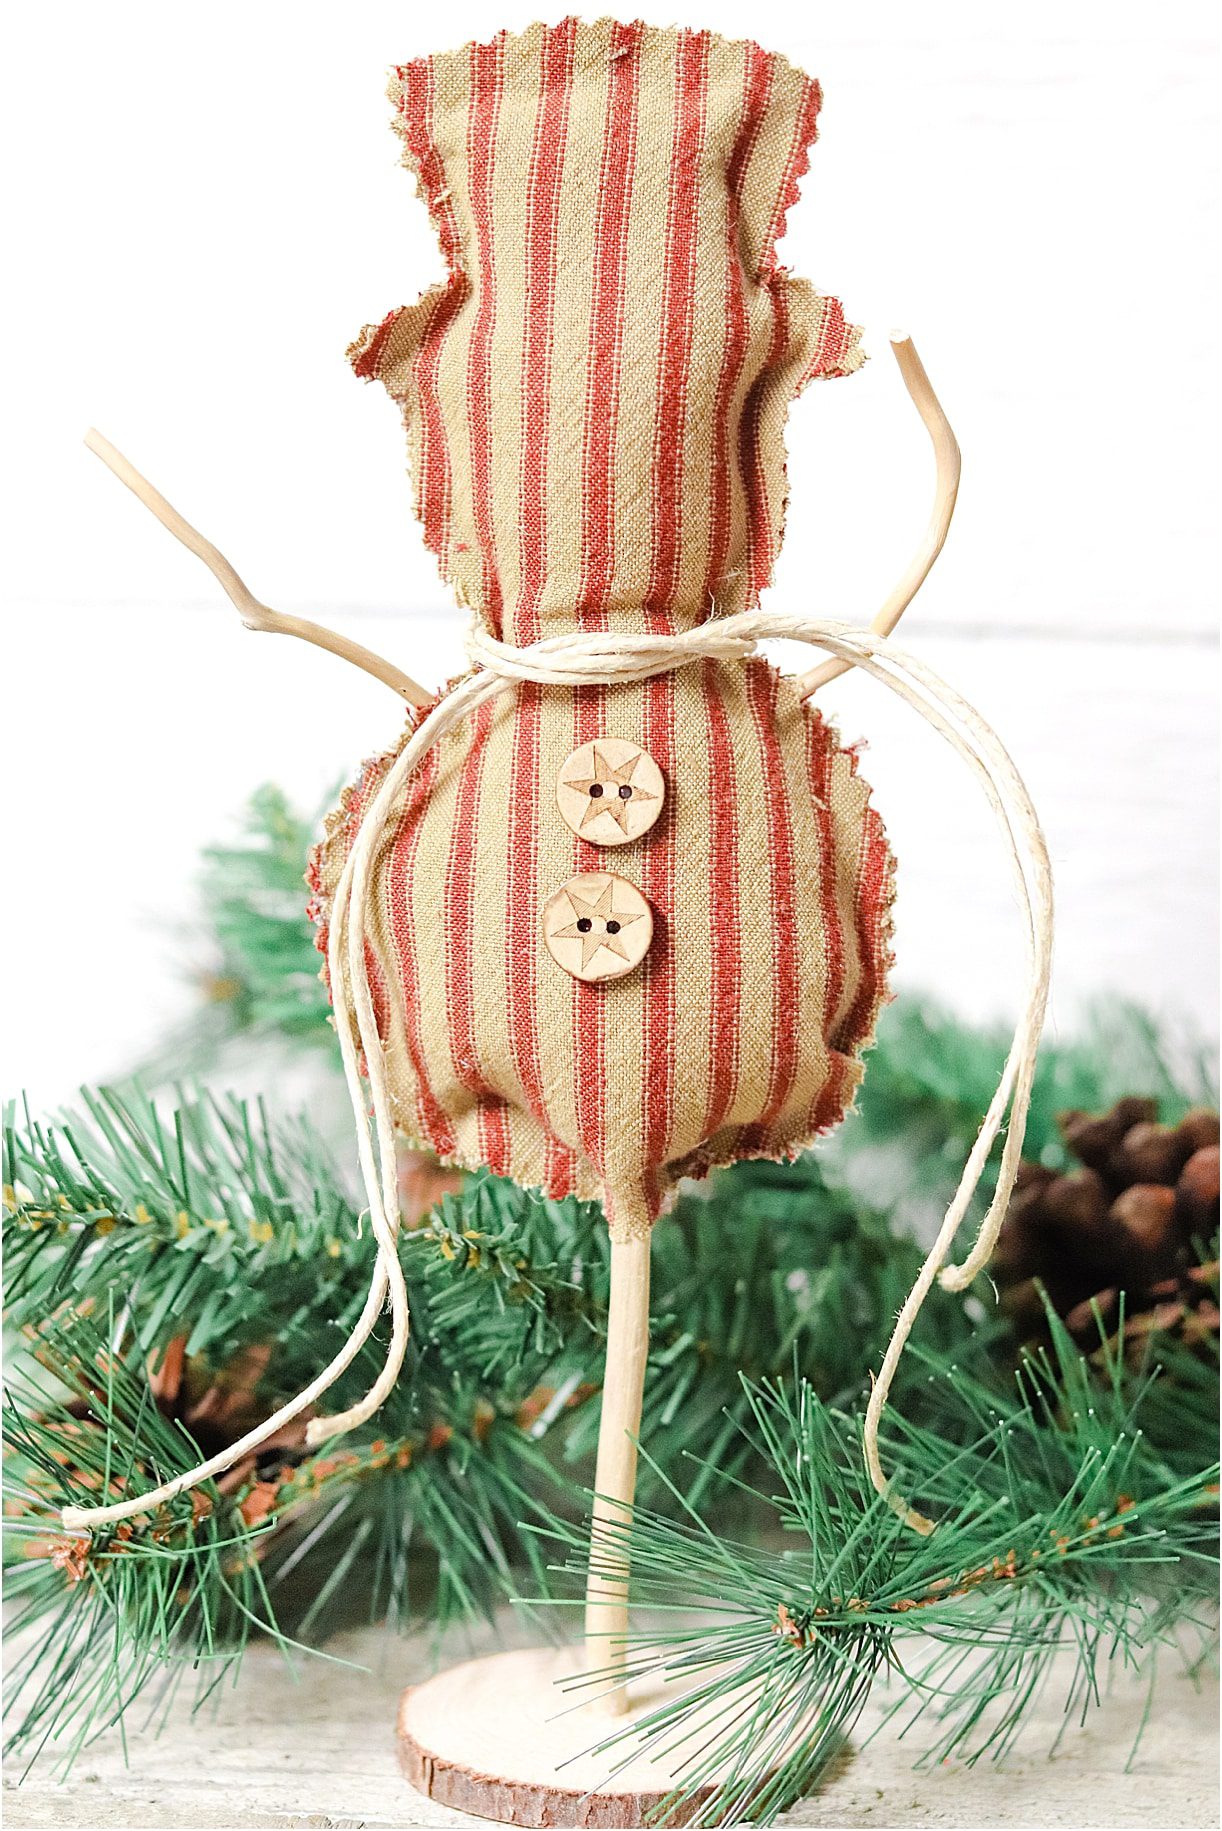
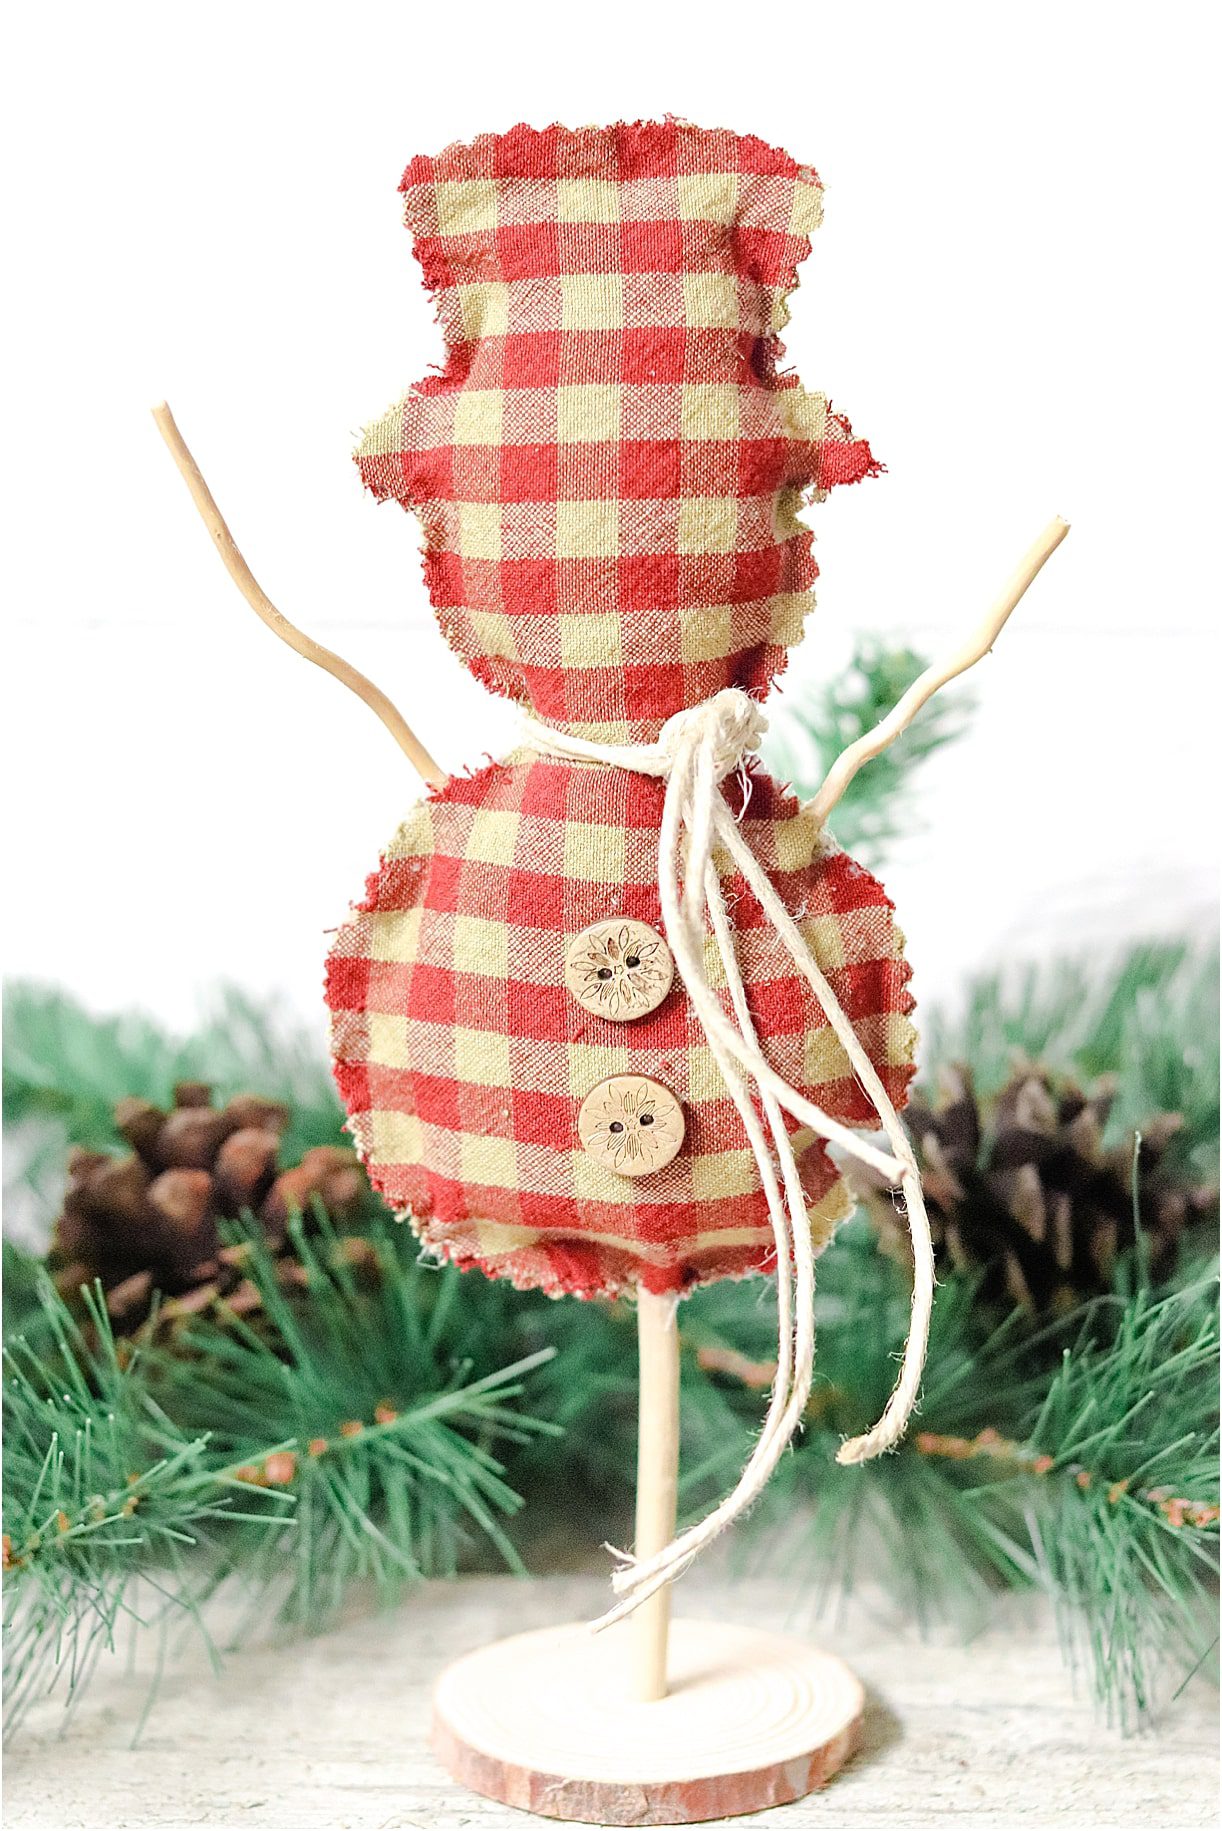
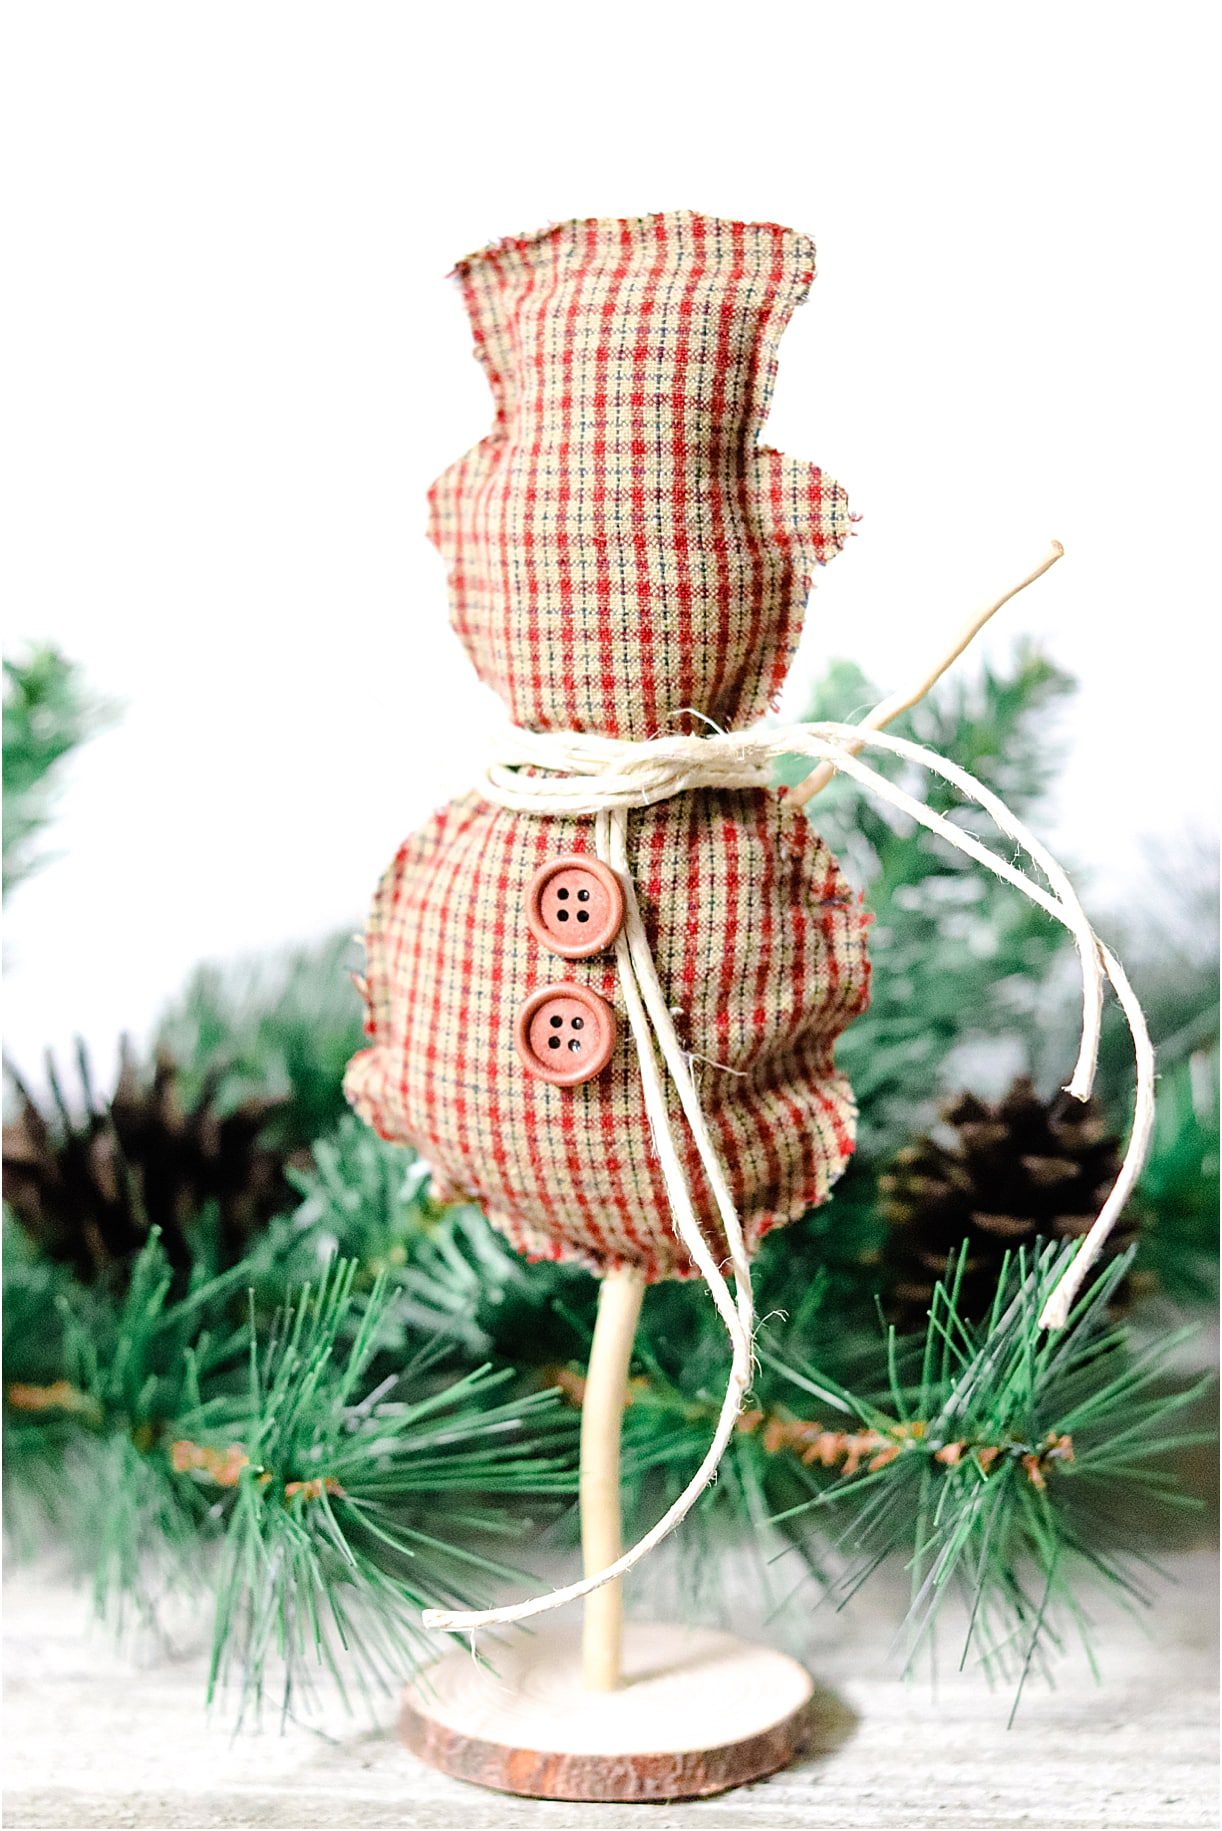
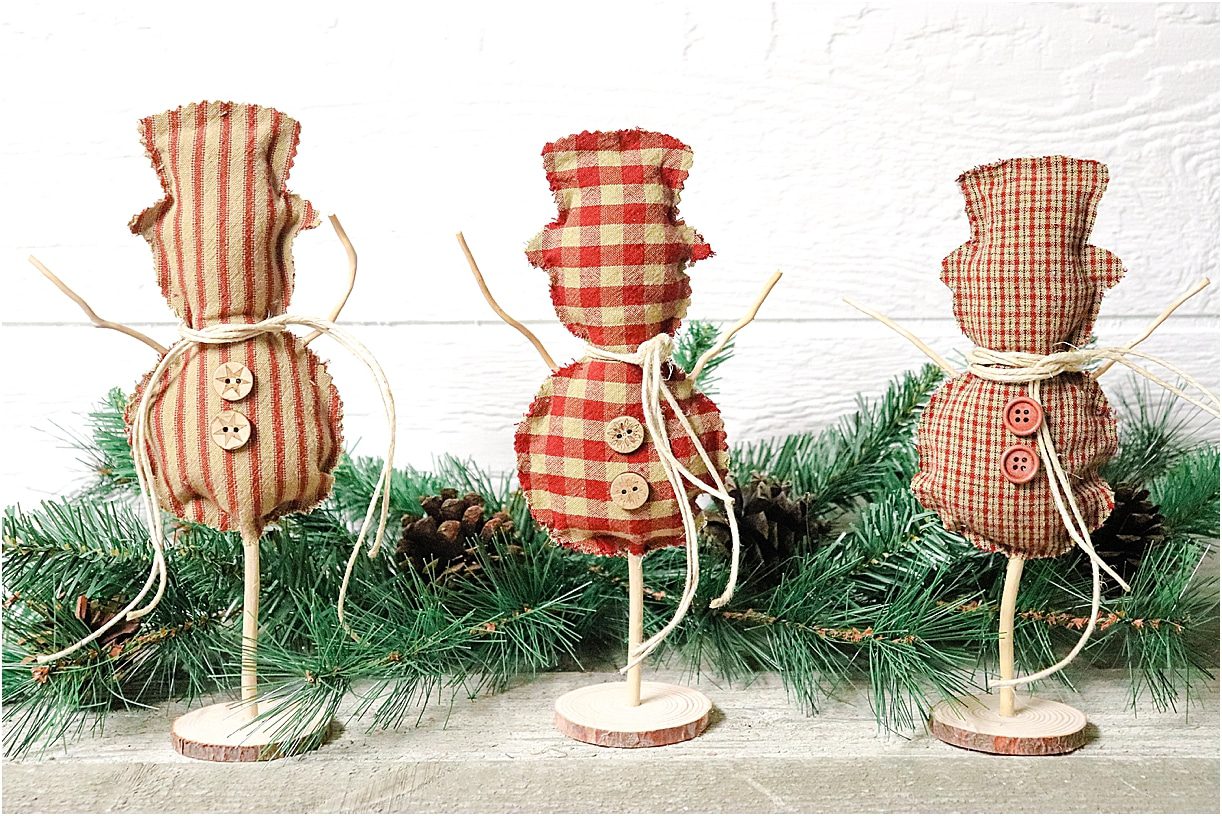 Christmas snowman crafts can make such unique wedding favors. So cute!
How to Make a Snowman Favor
Makes: 3 DIY Wooden Snowman Crafts (multiply for how many favors you need)
Time: 30-40 minutes, although you can batch them if you make more snowman projects
Supplies for DIY Snowman Decorations
- 3 natural wood rounds
- 3 6″ long sticks (or skewers)
- 6 3″ thin sticks (use natural ones)
- twine or ribbon
- a variety of fabrics, you can even make these in your wedding color palette
- fabric scissors or pinking shears
- a variety of wood rounds
- polyfill stuffing
- hot glue gun and glue sticks
- screw gun with a drill bit
- stuffed snowman pattern
- black paint (for the sticks, although this is optional)
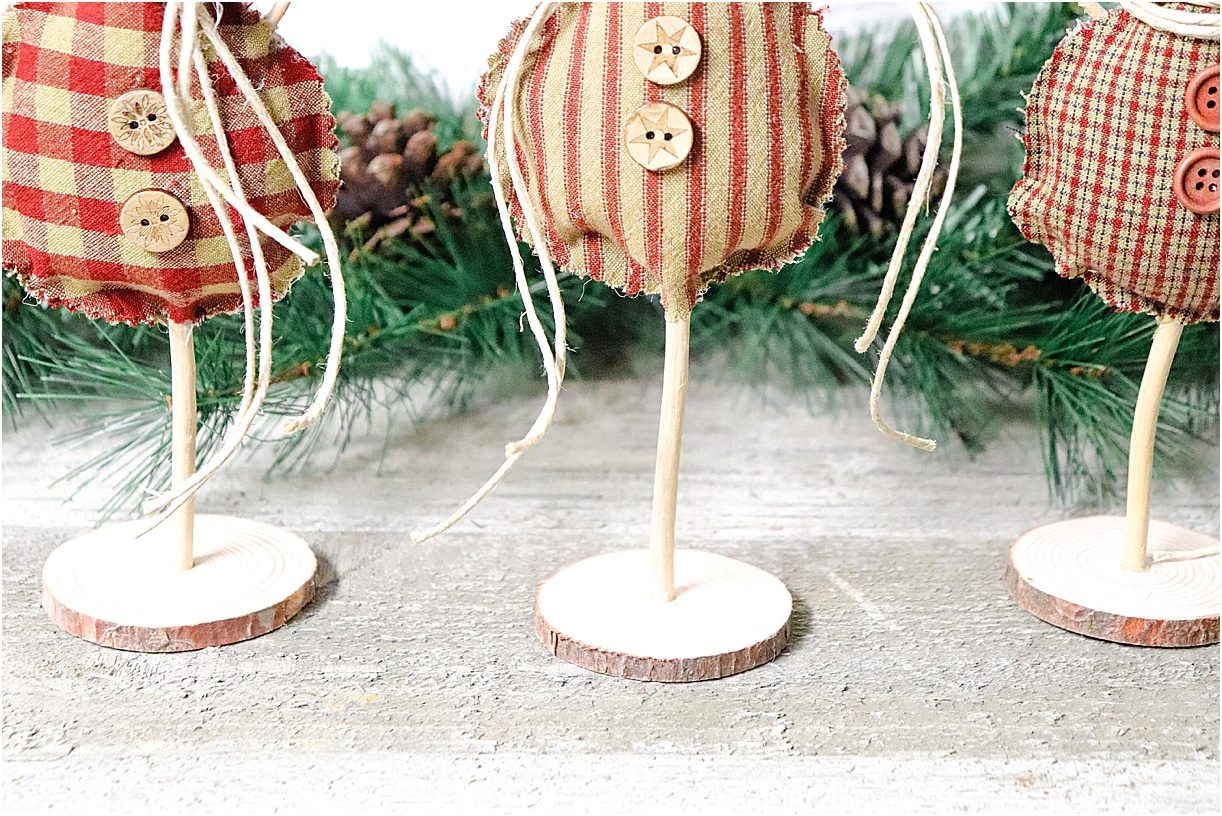 Natural wood rounds, twigs, sticks, and snowman patterns to trace make unique wedding favors once completed.
Instructions on How to Make a Snowman
- Take each wood round, and drill a hole in the center. Be sure that your sticks are able to stand upright and that the hole matches the size of your stick.
- Place your stick in the hole, and use hot glue to secure if needed.
- Fold your fabric in half. Use the fabric snowman patterns (found here) as a guide to trace and cut out your fabric. Because it is doubled, you will end up with two identical stuffed snowman patterns. These will become the front and back of the DIY snowman. Feel free to mix and match your fabrics.
- Use hot-glue to adhere the edges of the fabric together. Start at the hat of the snowman craft patterns and work your way down the sides.
- When you get to the arms, insert and glue the twigs in place to serve as the arms.
- Continue gluing down the sides. ONLY glue the edges together so that you can fill your DIY snowman decorations. Leave the bottom open.
- Stuff the snowman with polyfill. Use a pencil or skewer to poke the stuffing up to the hat. Stop once you feel your fabric snowman is stuffed enough.
- Insert the stick with the base attached to the bottom of the snowman.
- Use hot-glue to seal the bottom of the fabric pieces together.
- Cut 2 feet of twine to serve as the DIY snowman’s scarf. Tie the twine loosely, and trim to the desired length. If you have a favor tag, you can slip it onto the twine before tying.
- Use hot-glue to attach three buttons to the front tummy.
- Repeat with each snowman, and get ready for some cuteness!
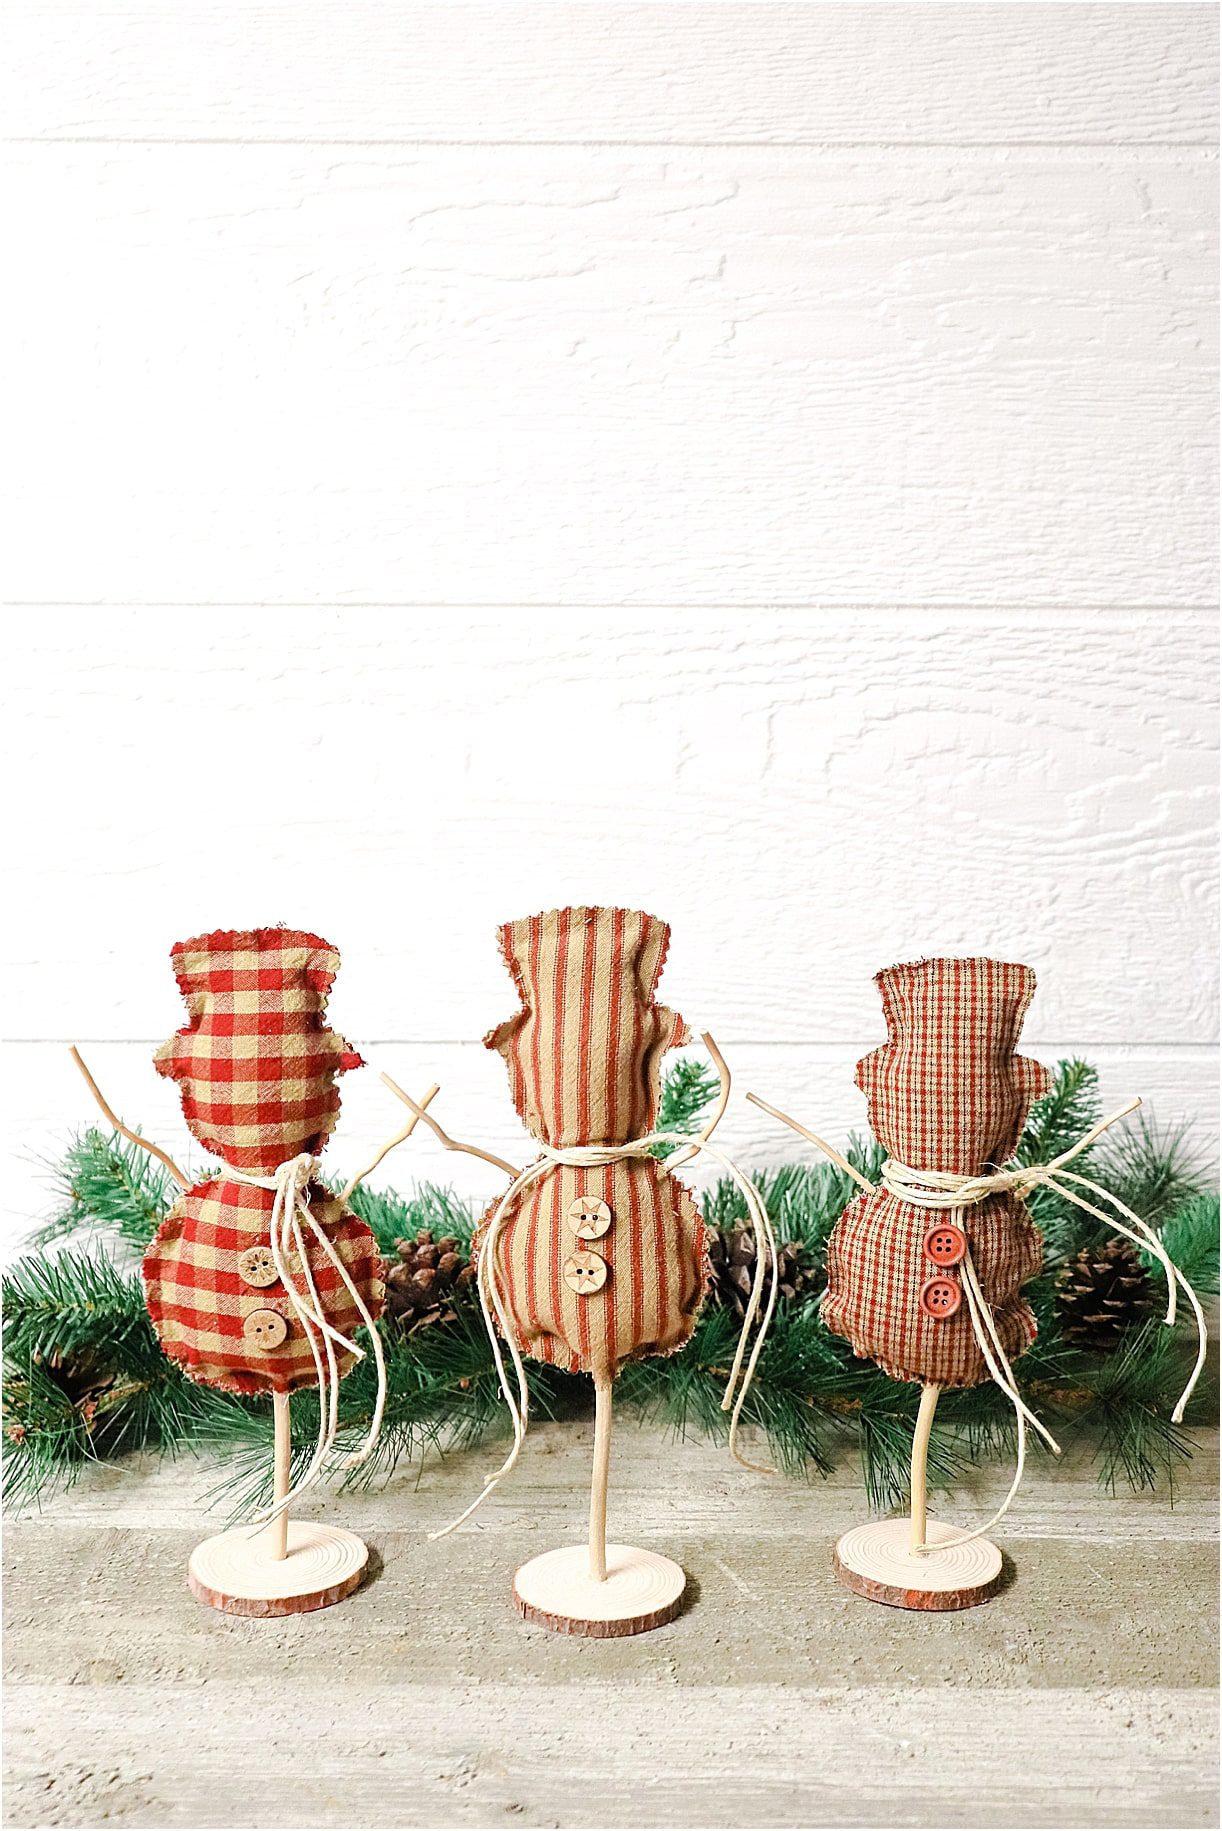
Note Three Different Ways to Tie the Twine Scarf
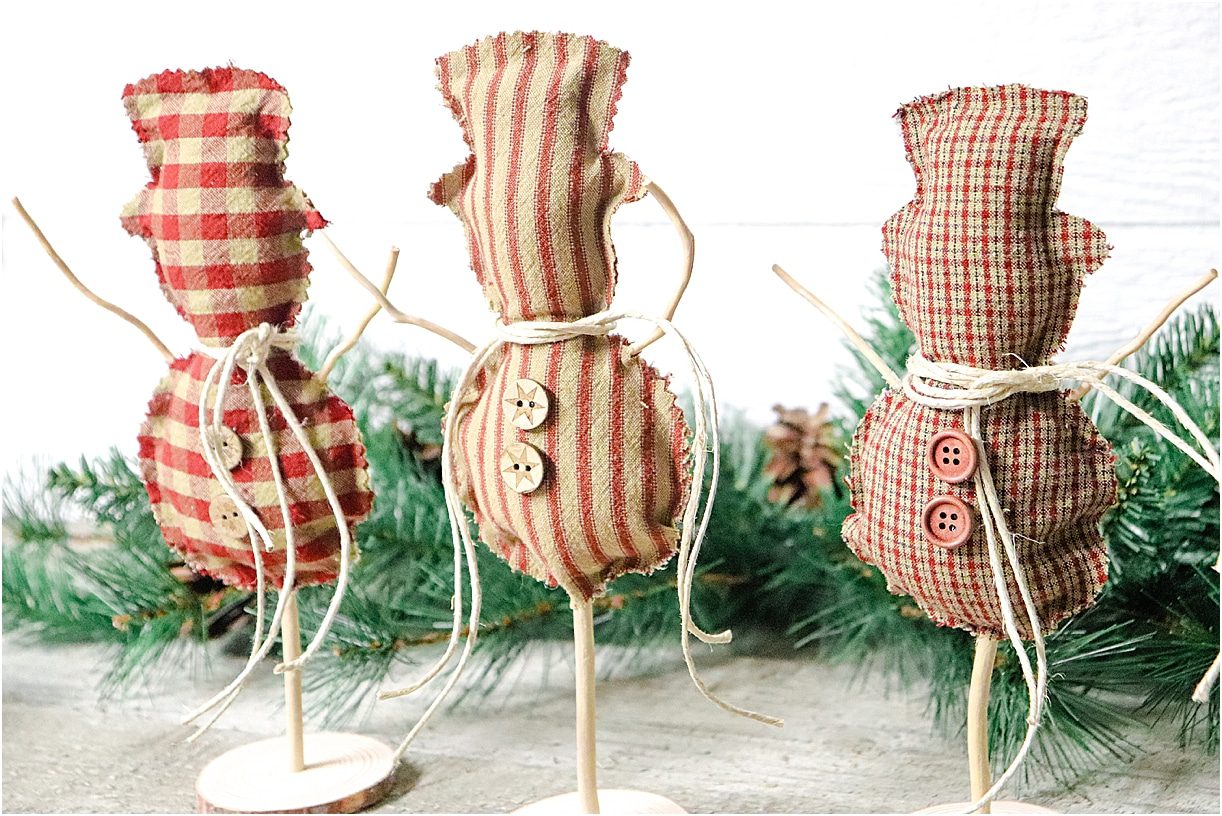
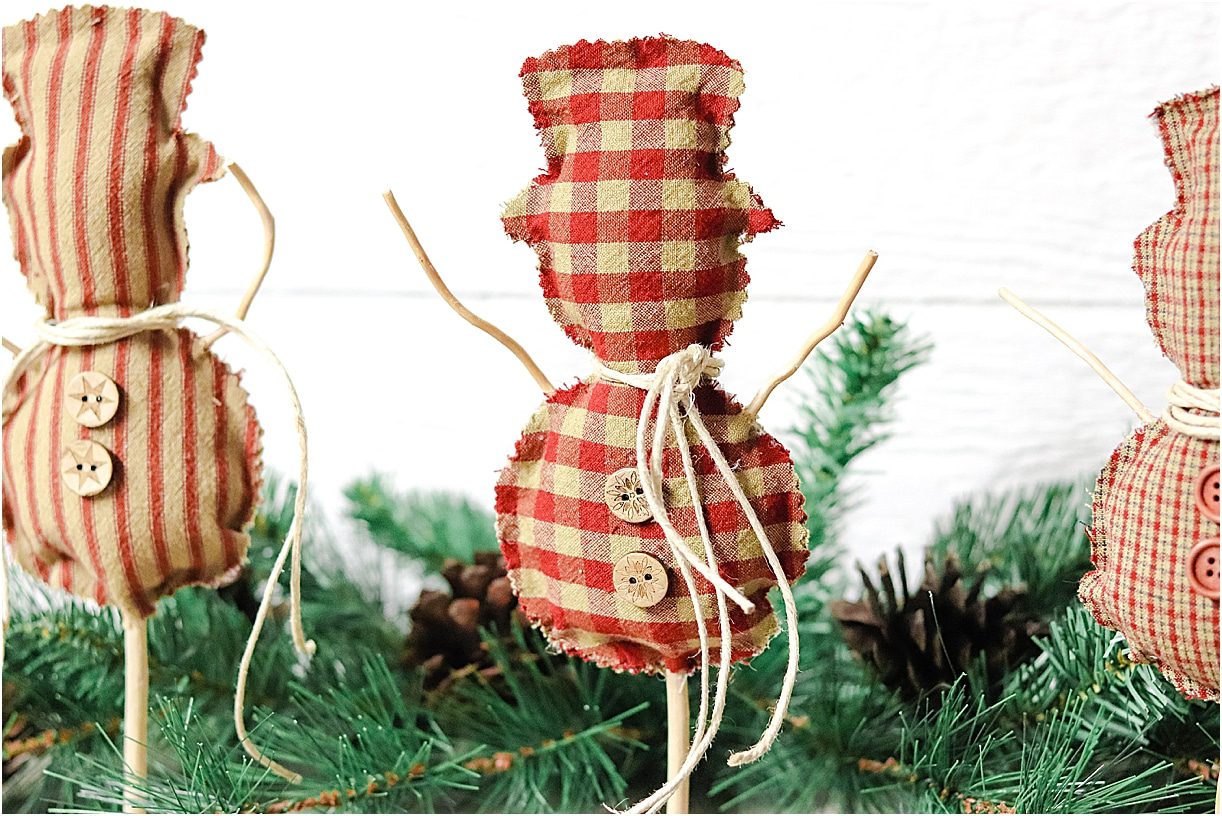
The Result of Making These DIY Snowman Projects
Imagine how adorable these adorable winter wedding favors would look waiting at each place setting. Your wedding reception will be filled with cute DIY snowman decorations that your guests can take home. They can also serve as wedding decor.
Again, you can choose fabric that coordinates with your wedding. However, these are great Christmas wedding favors if you’re having a holiday-themed wedding. Now that you know how to make a snowman, you could even make these as gifts for friends and family.
This project is one of the most creative snowman craft ideas that you can make with a budget in mind. And remember to start way ahead of time to ensure that you can make our snowman ideas and not feel stressed.
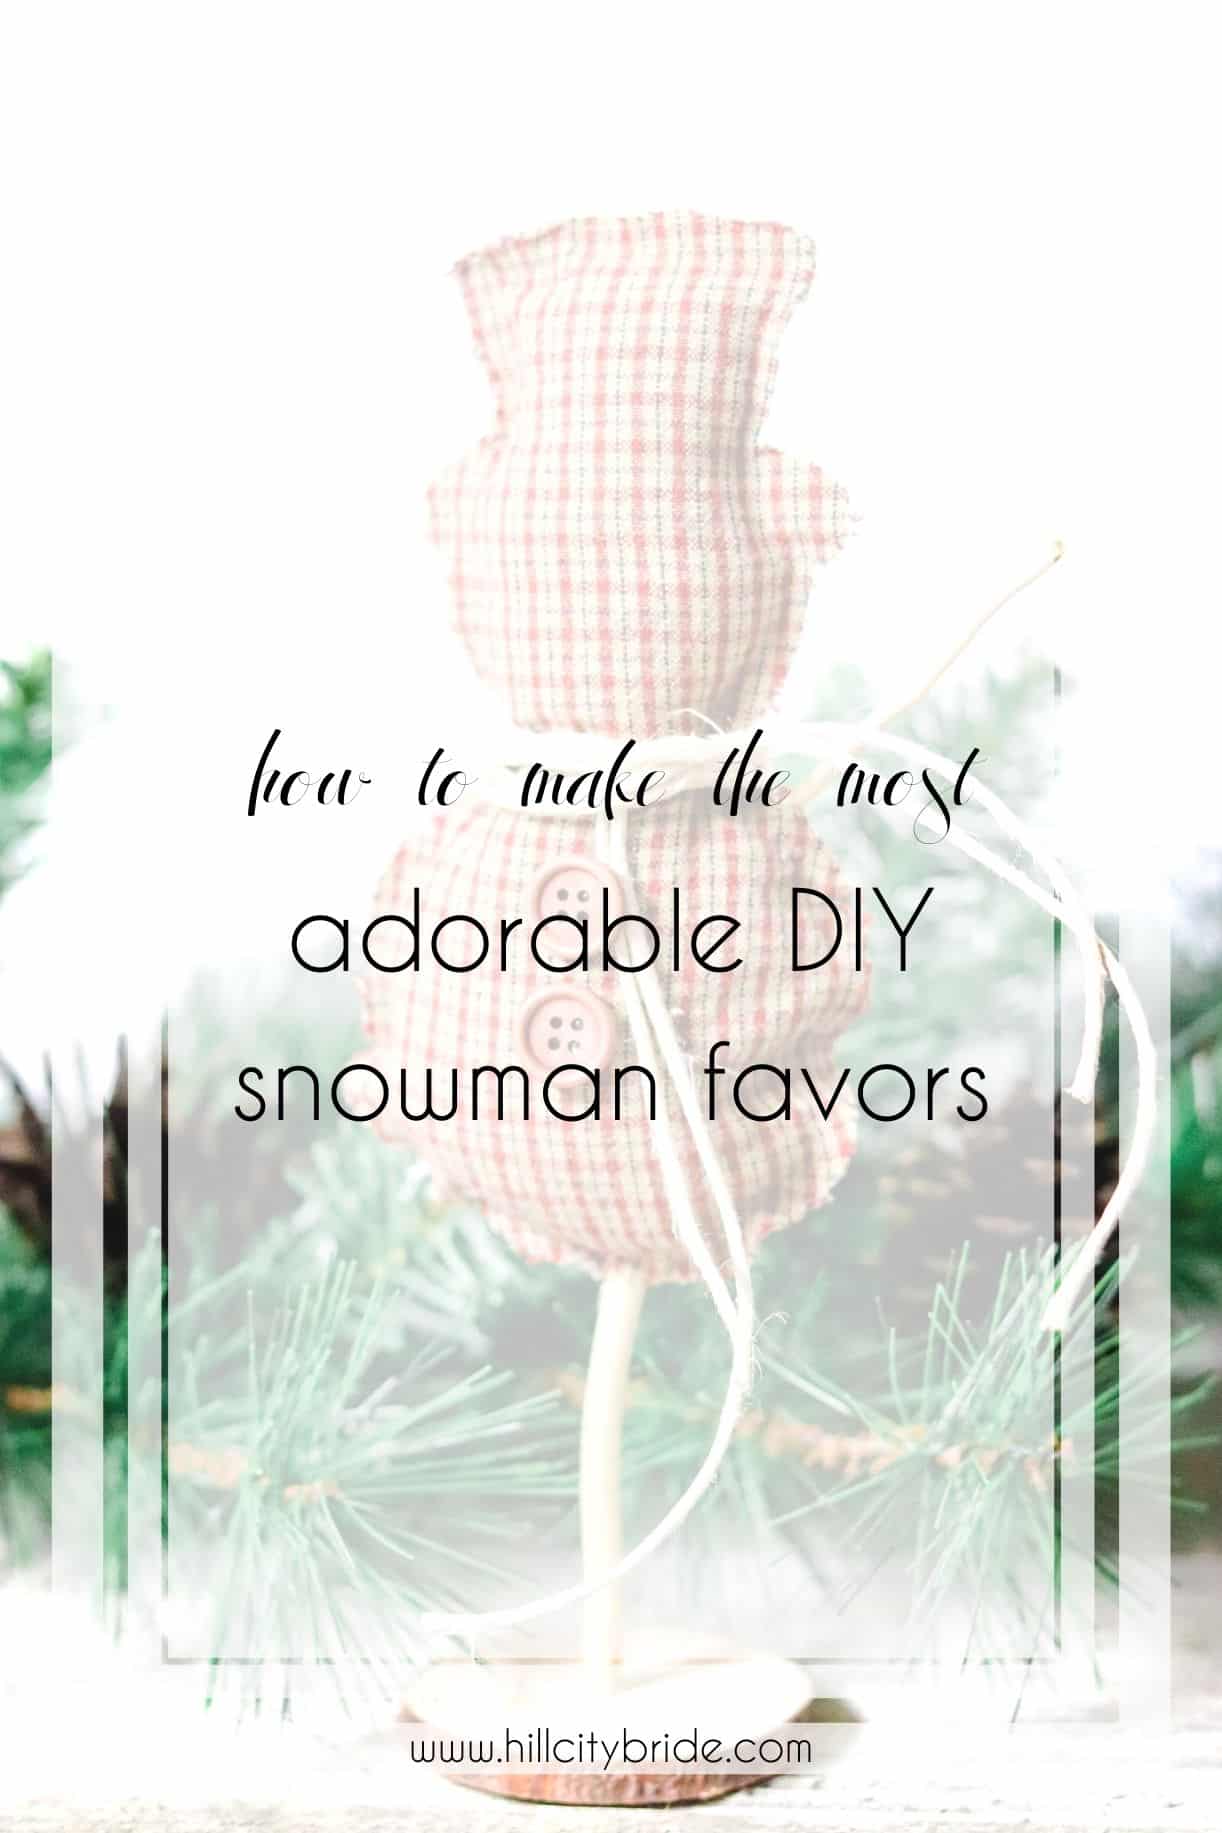
Love our DIY snowman? Pin it!
