Pressed flower art adds a beautiful element to a home, and it’s especially meaningful if those blooms mean something special. Whether you want to host a bridal shower or preserve your bridal bouquet, you can learn how to press flowers for framing. It’s a fun group project, and it’s a simple activity with the stunning result of pressed flower wall art.
Pressed Flower Art Ideas for Your Event
Being tasked with planning a bridal shower or bachelorette party can be so fun! You gather family and friends to celebrate the couple, but—what will you do? Pressing and framing flowers is the perfect answer! Plus, incorporating a beautiful keepsake that the guests can make themselves makes the time even more special.
Although you may not know what to do with dried flowers or how to press flowers, you can easily learn. The right tools make the experience all that much better.
If you live in Virginia and are within driving distance to Roanoke, Lynchburg, and Bedford you’re in luck! Our featured event took place at the Cloverlea Farmhouse at the Claytor Nature Center.
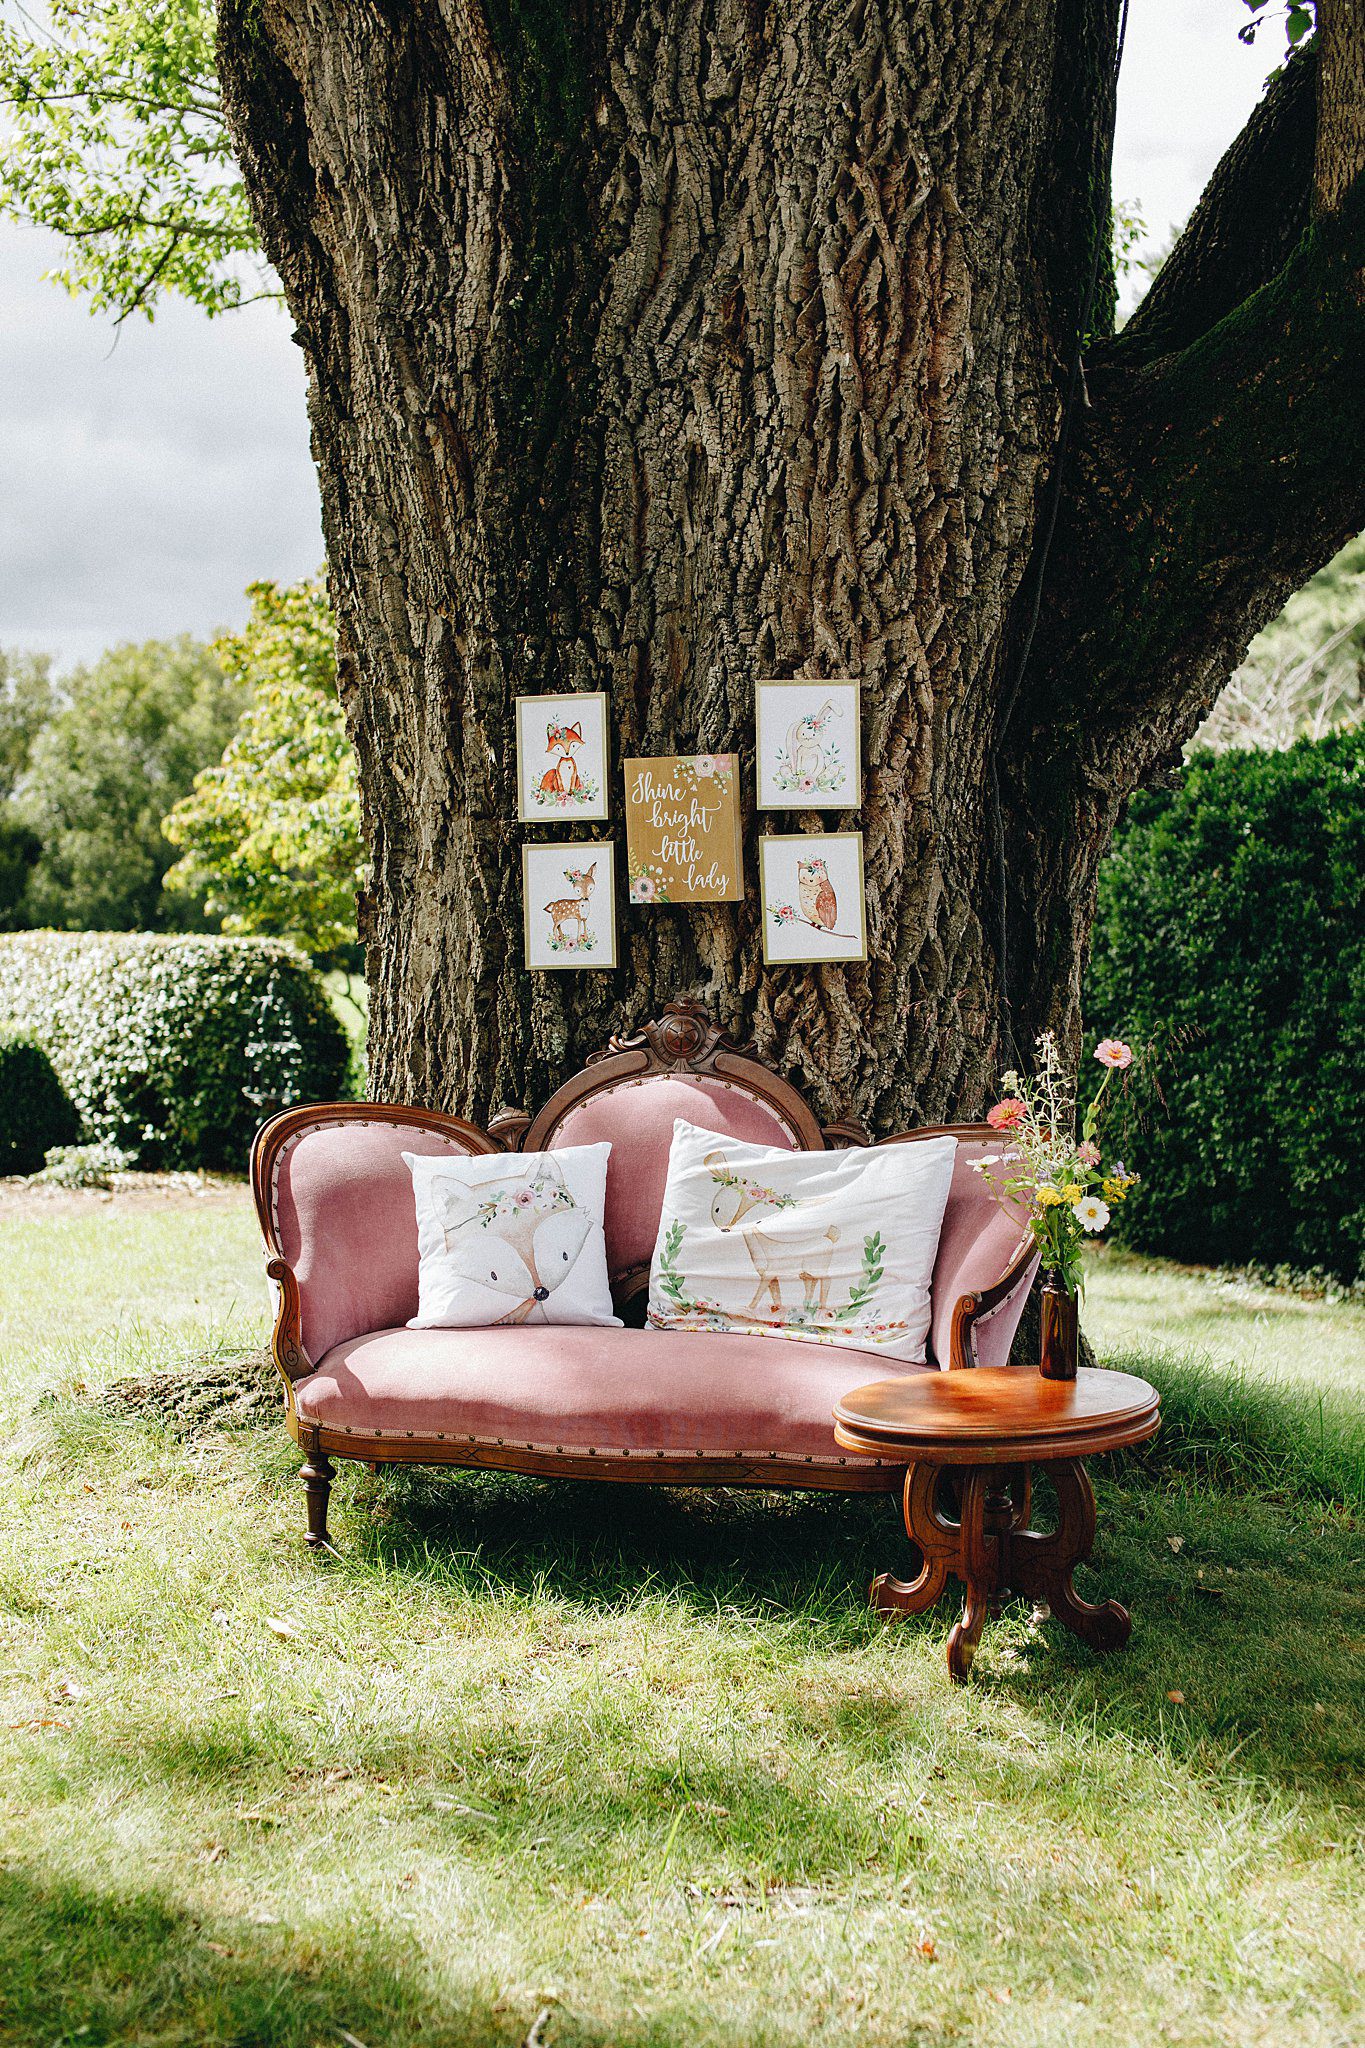
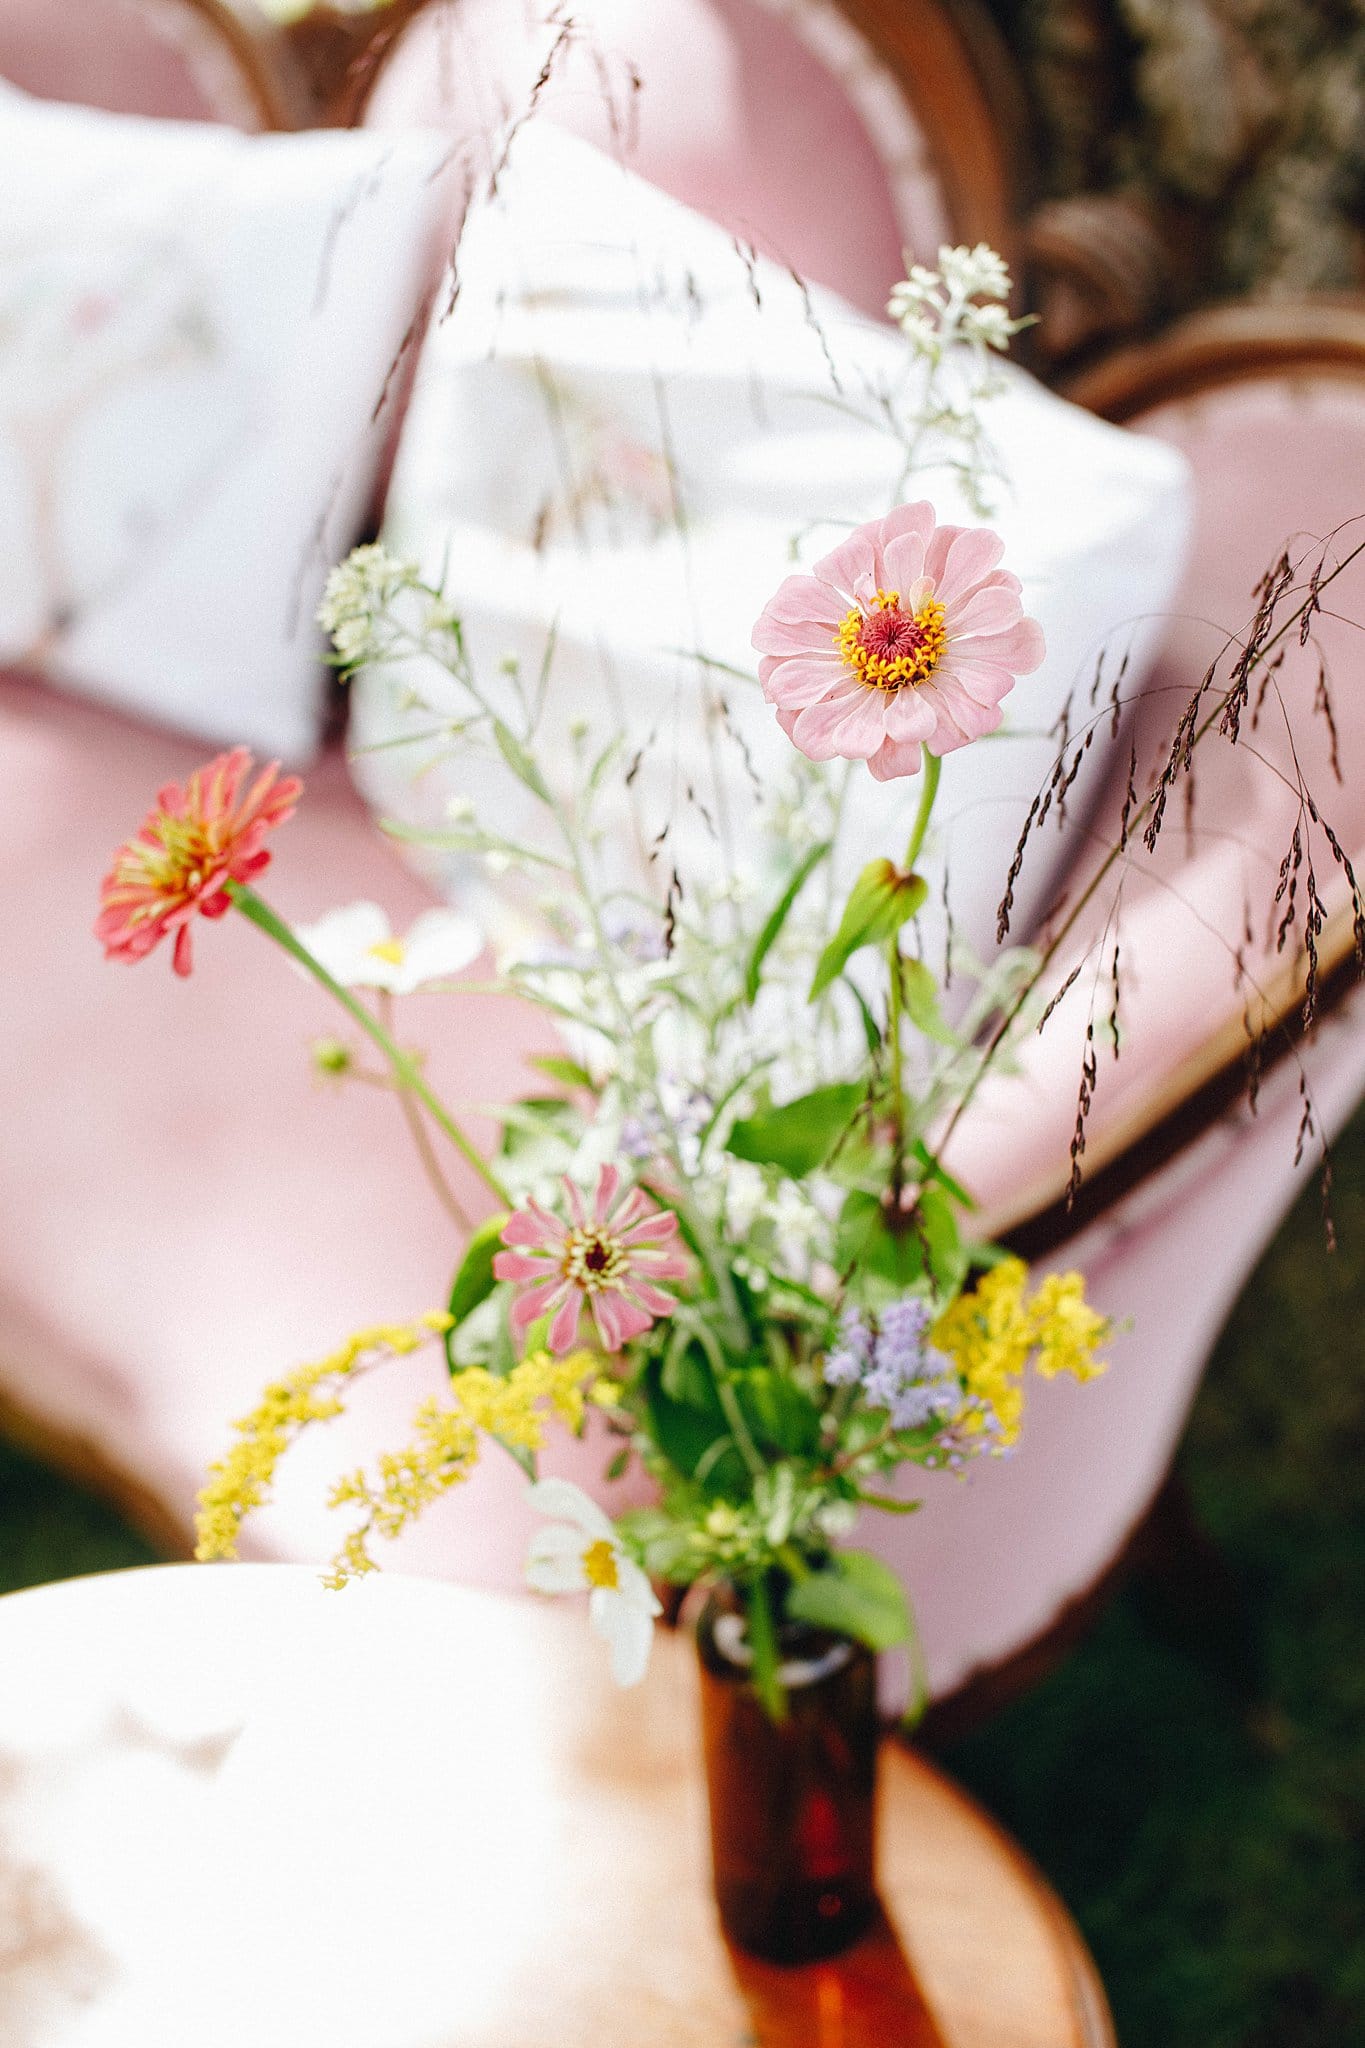
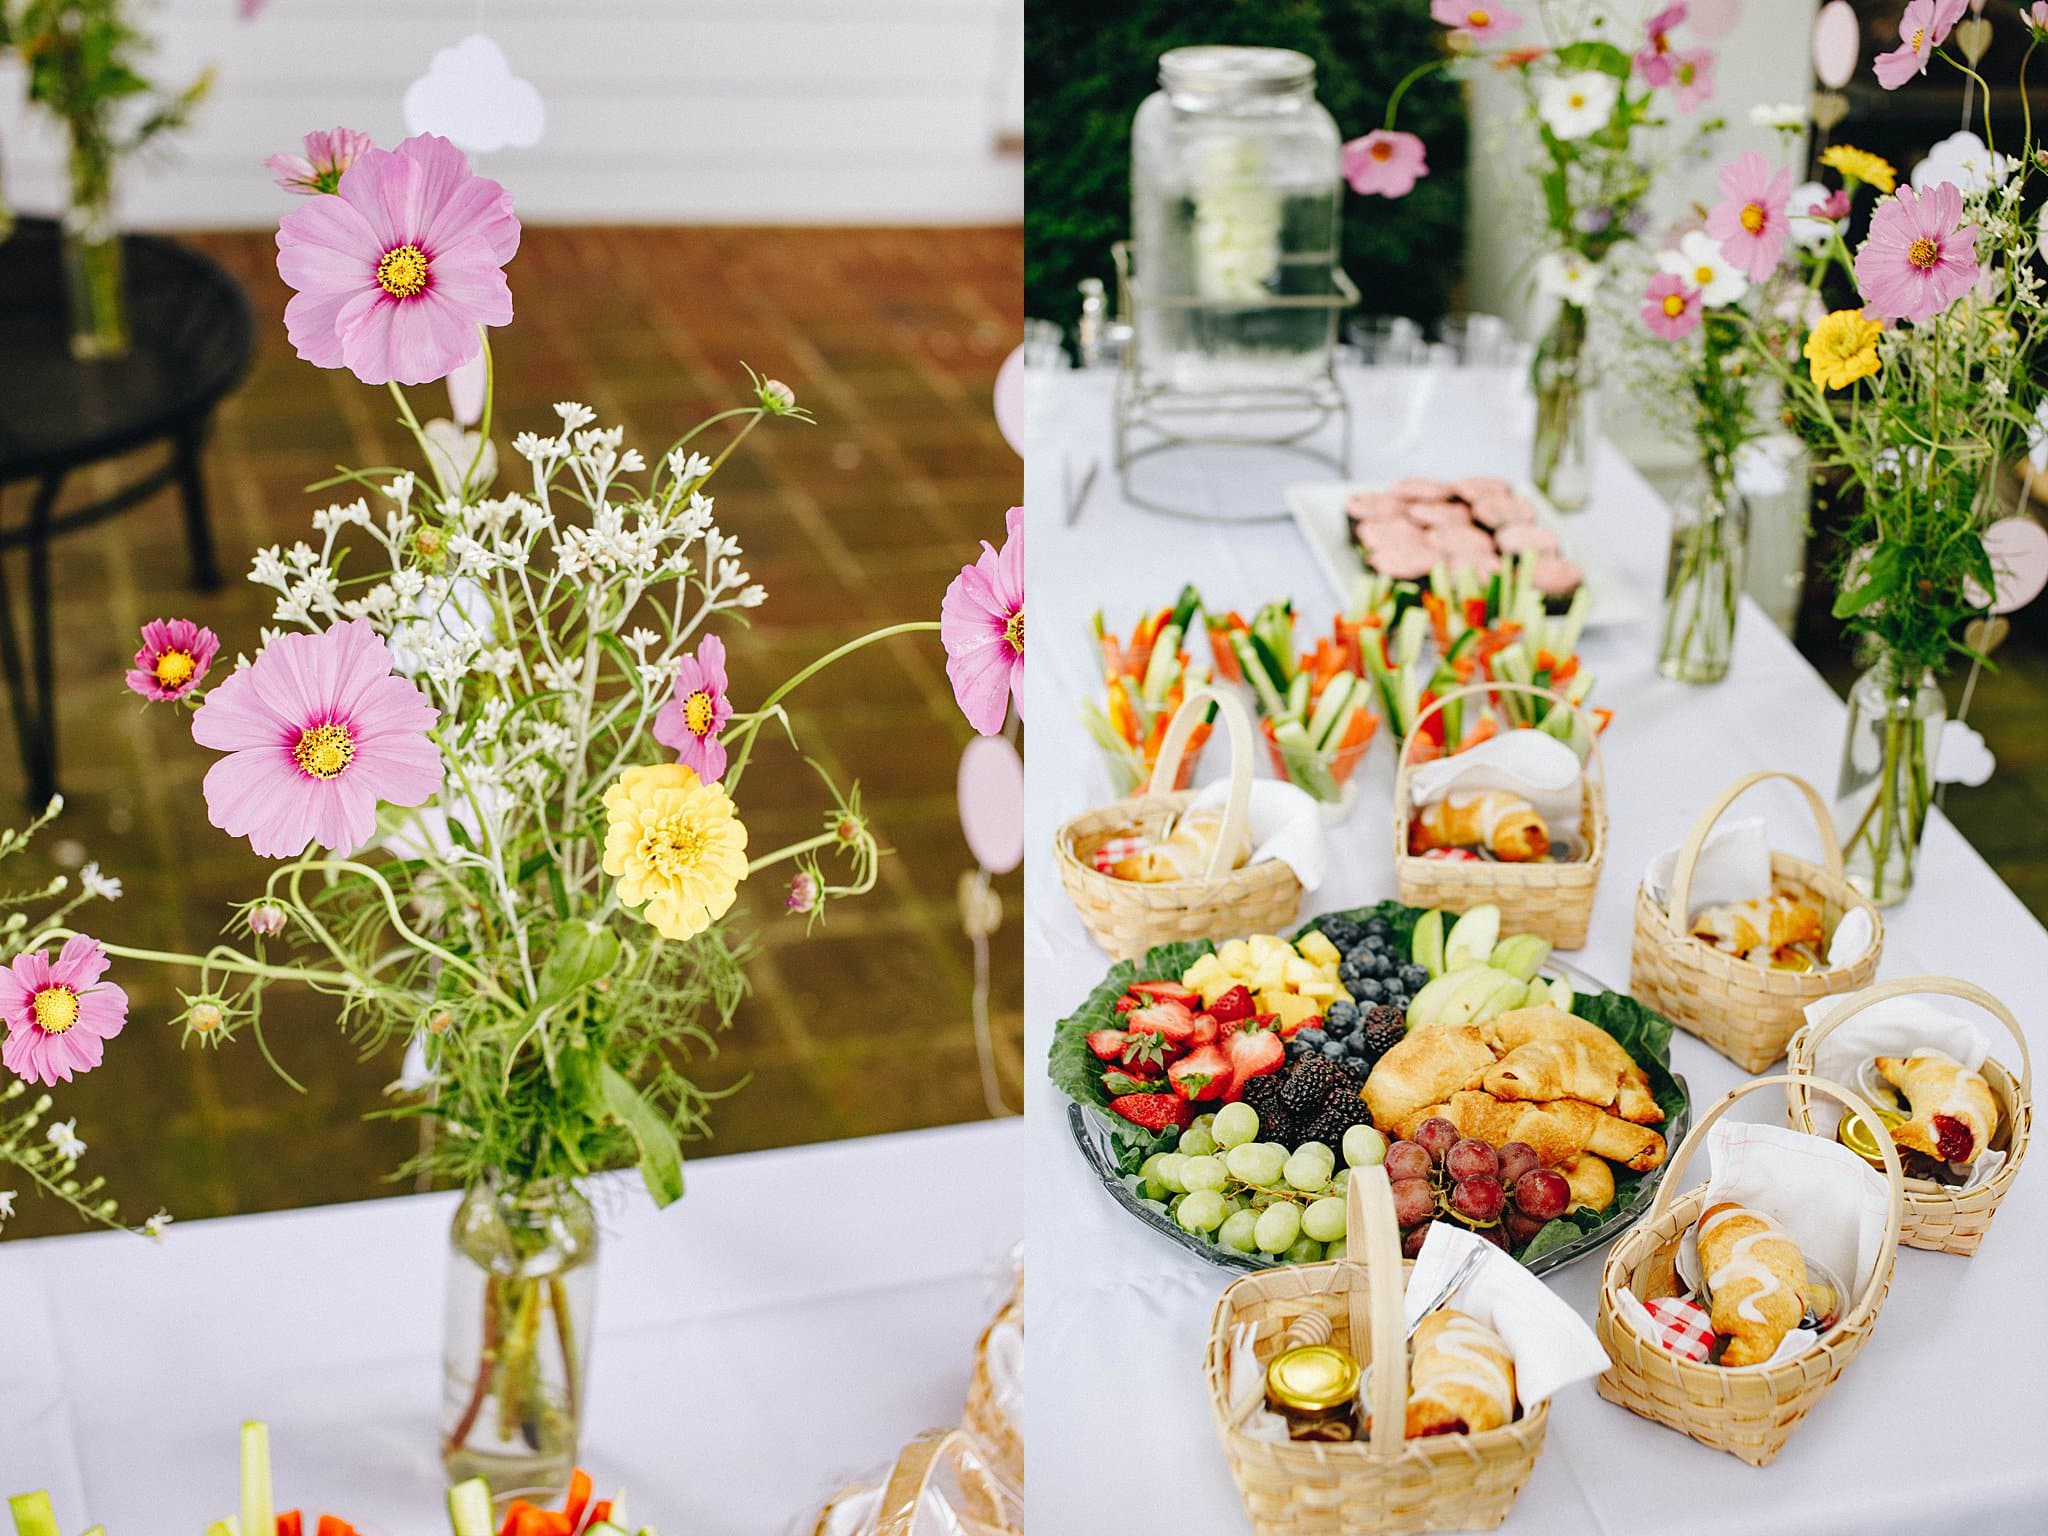
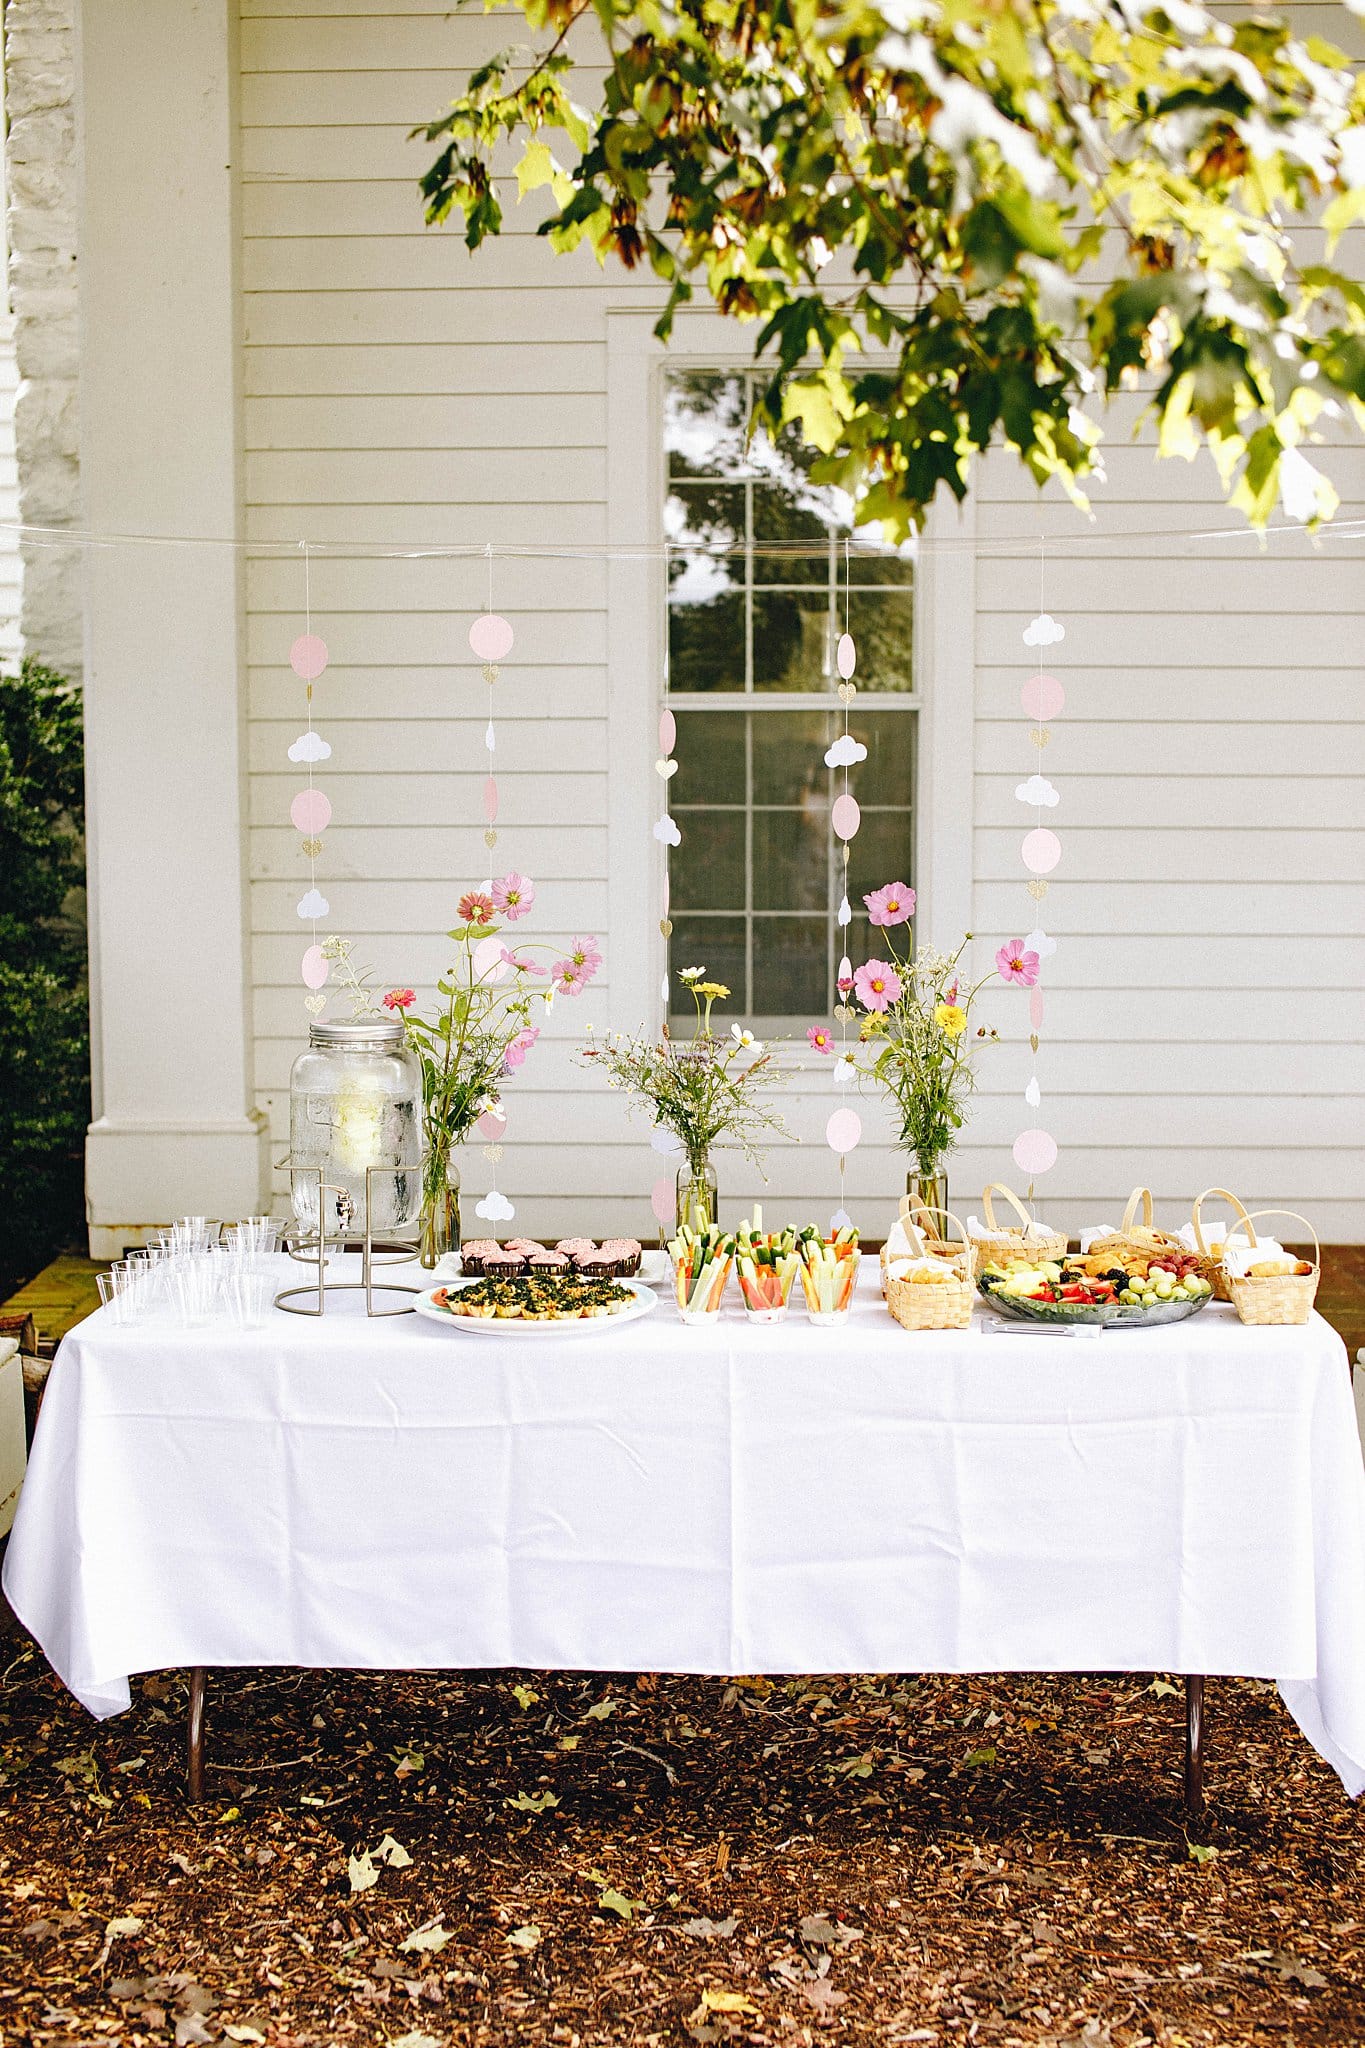
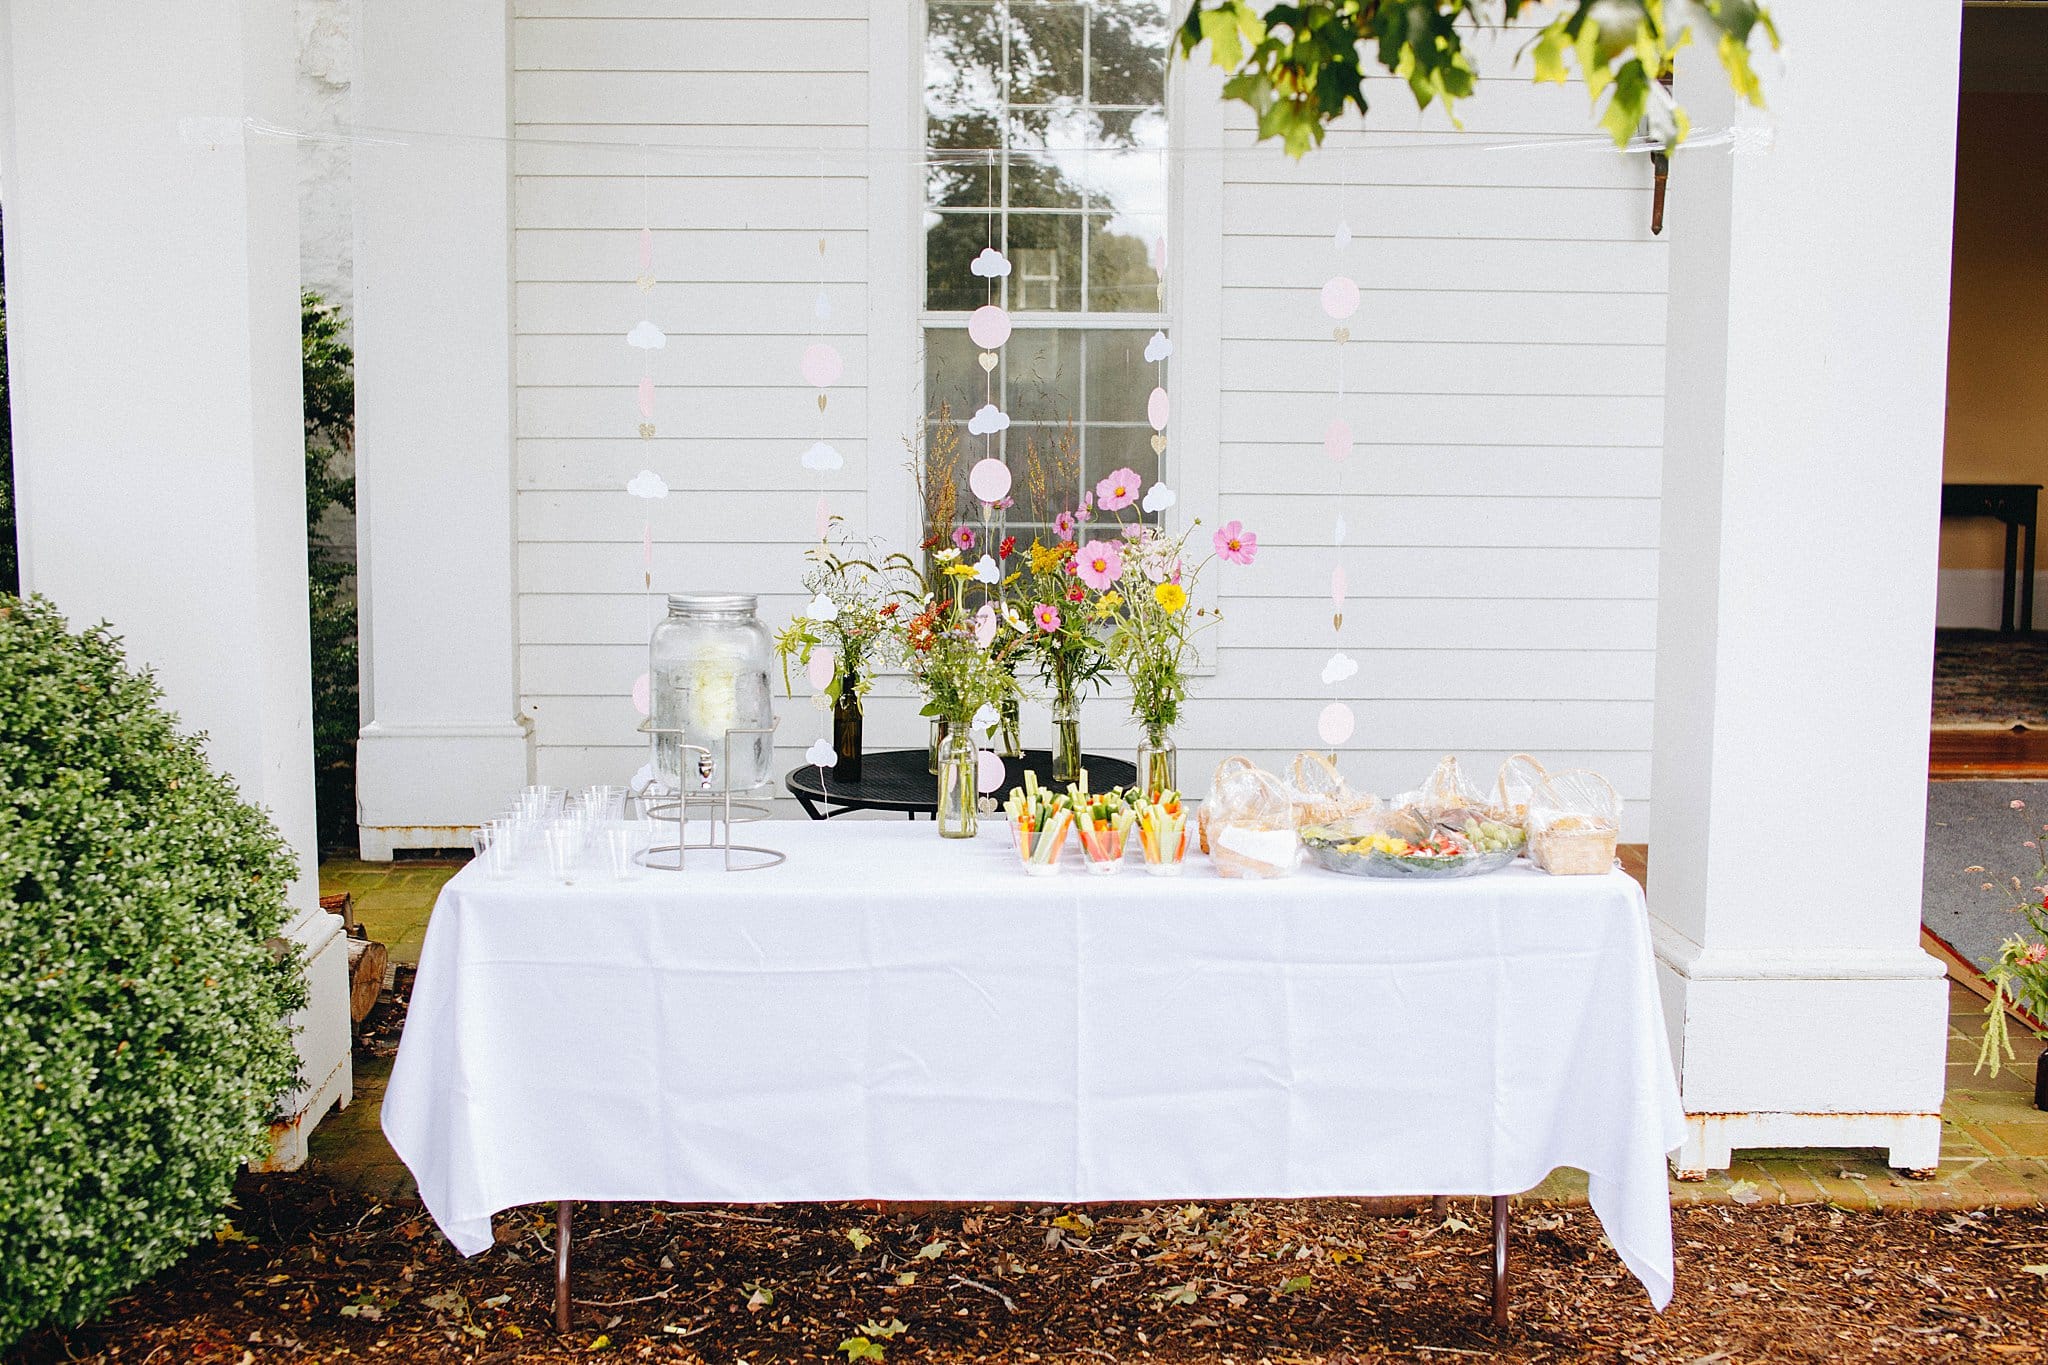
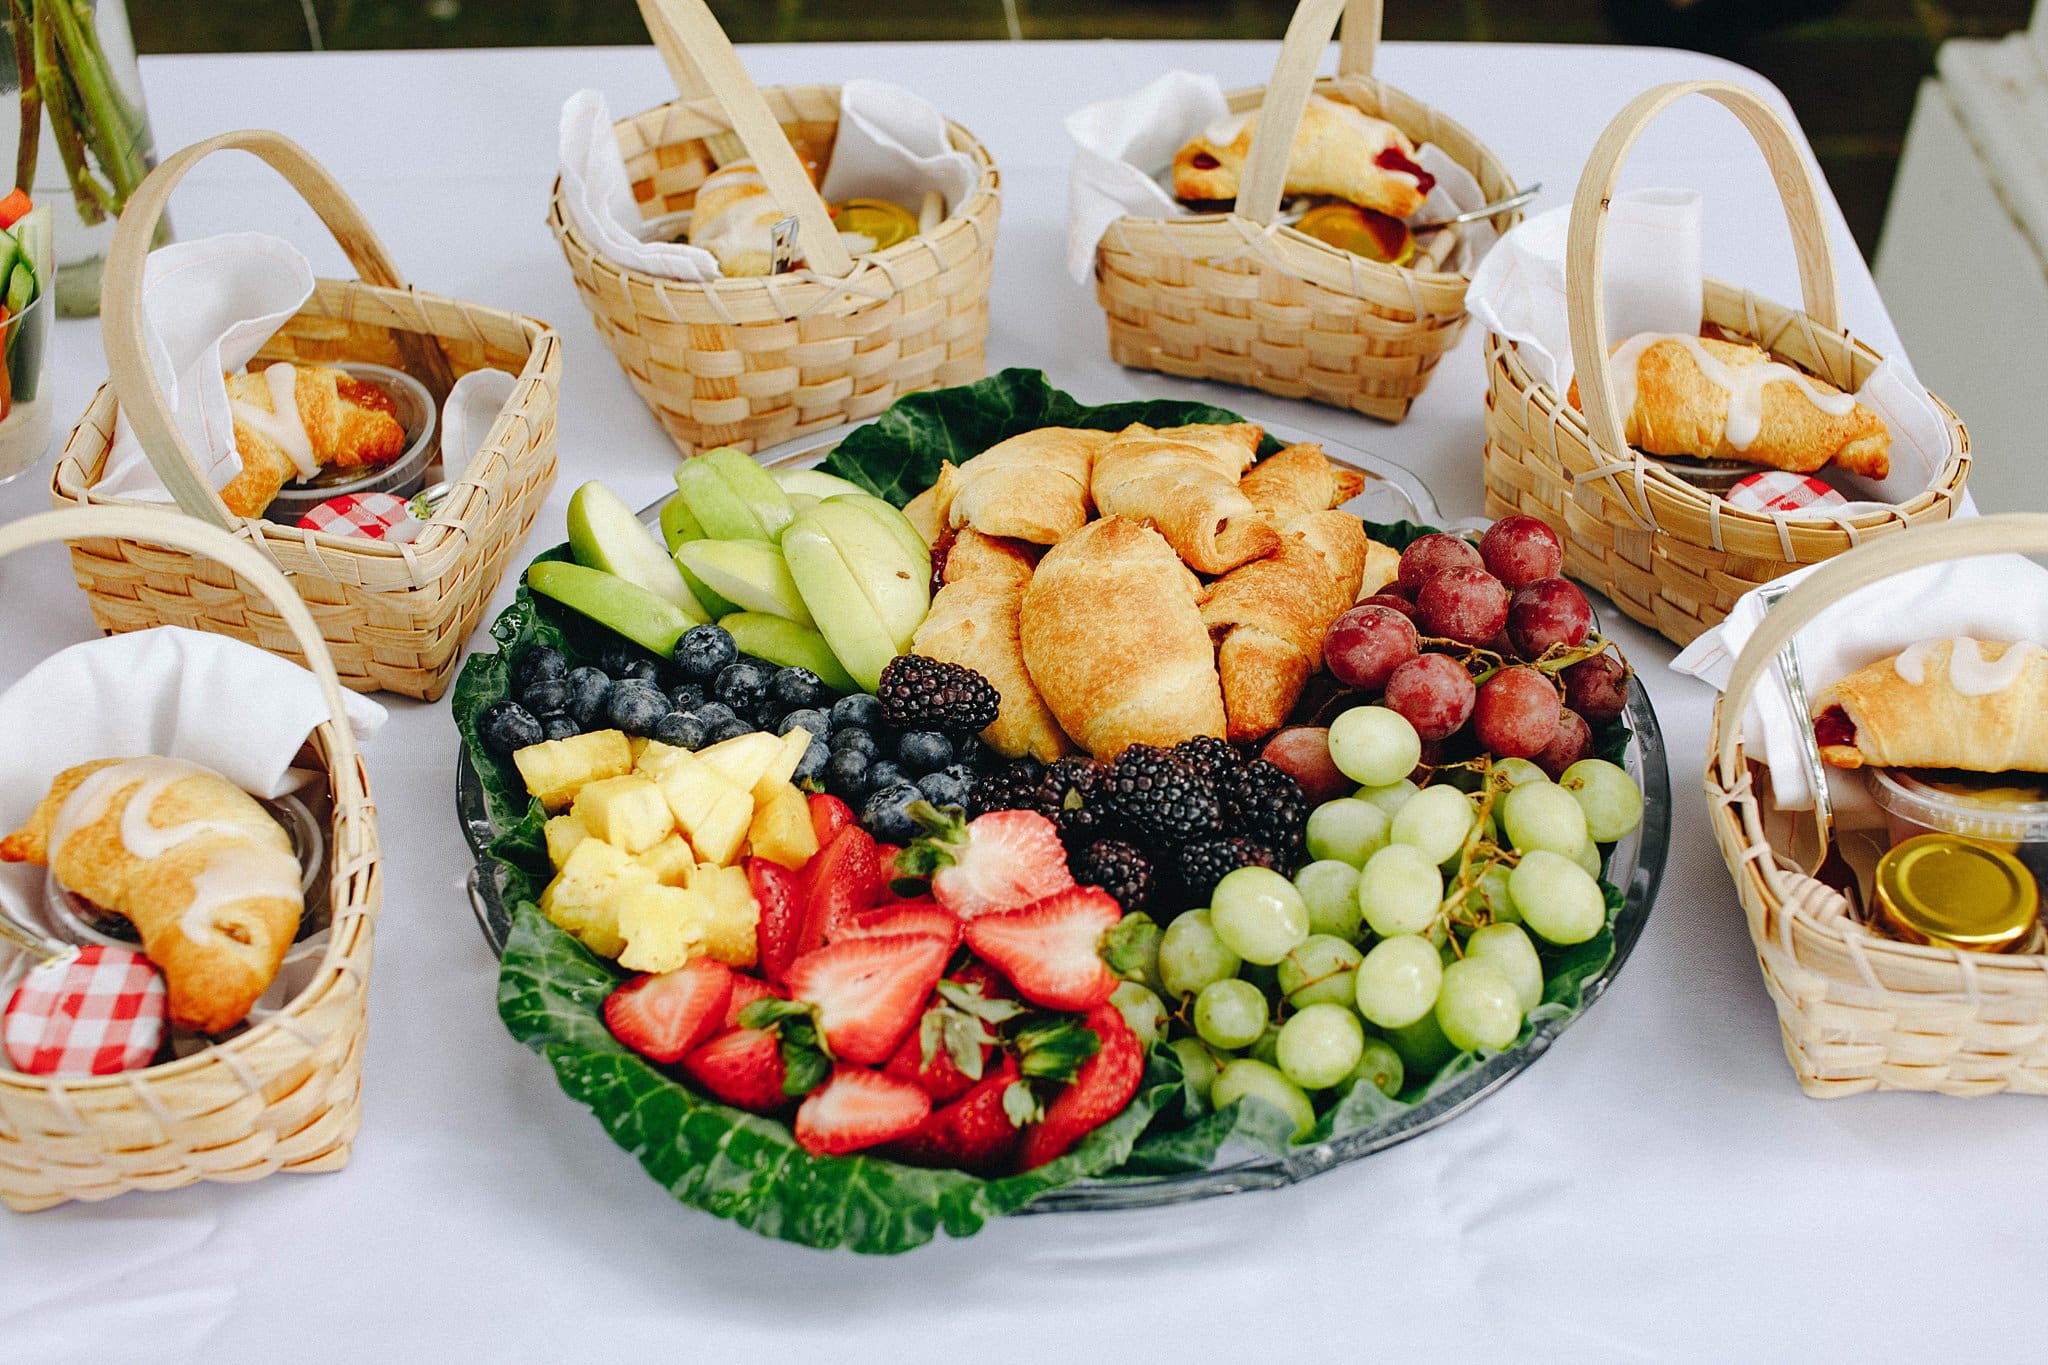
Not only did attendees celebrate the guest of honor, but they each learned how to preserve pressed flowers. Before we give you a glimpse into the activity, here’s a peek into the lovely decor and food (by Suzy Q, etc) from the day.
How to Press Flowers for Framing
Learning how to preserve flowers is relatively easy depending on the flowers used. You just need fresh flowers, newspaper, thick board, and weights. The project also takes time—about two weeks—for the flowers to dry.
1. Gather fresh, local blooms to press.
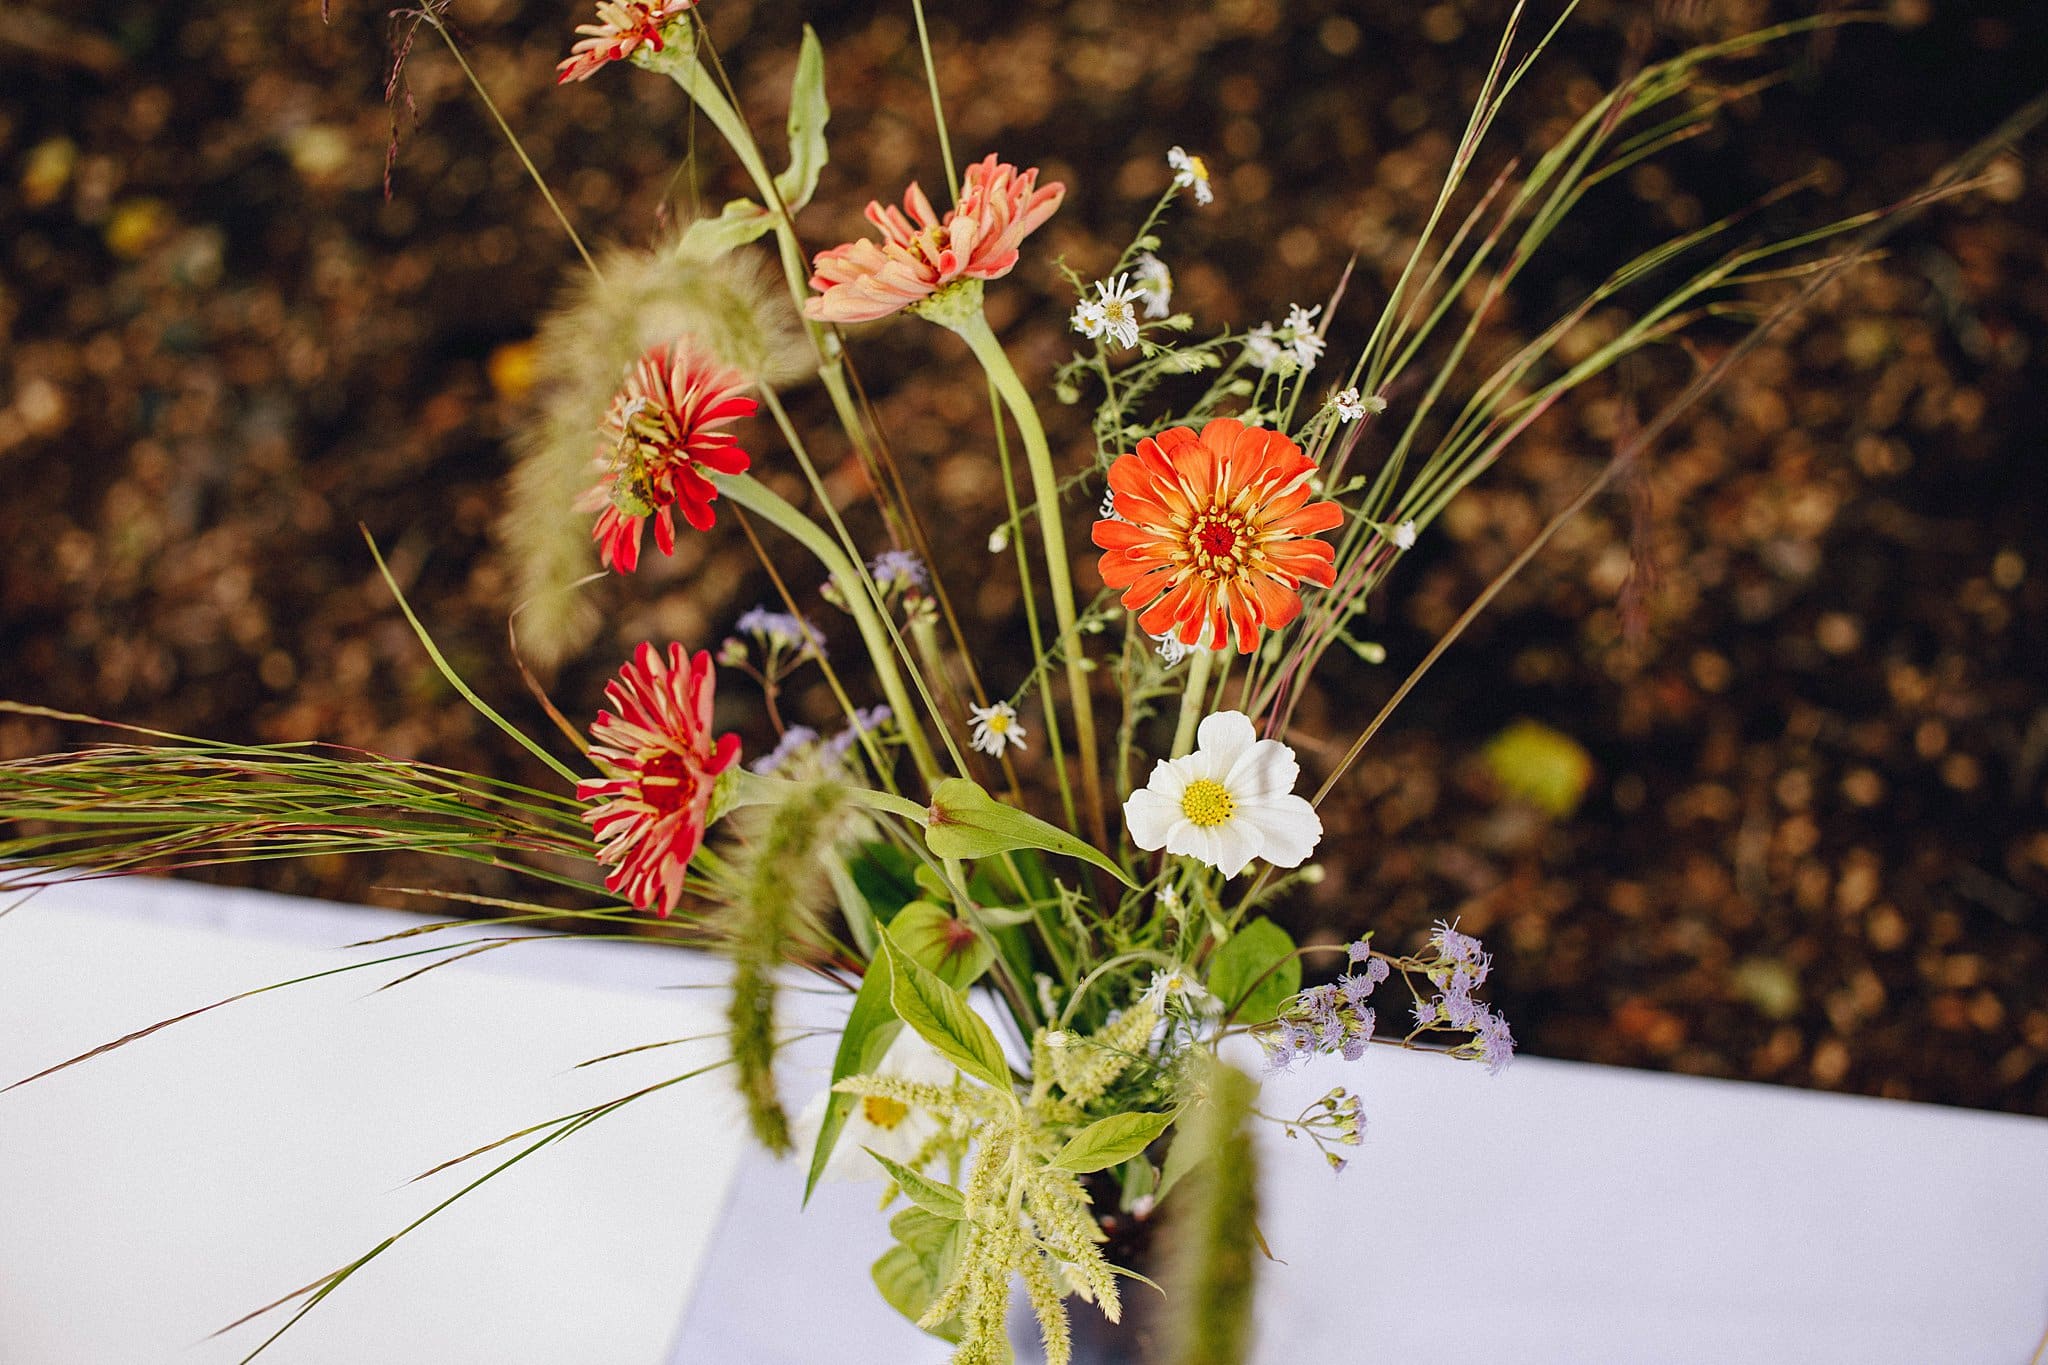
When it came time to do the activity, guests were led by Dr. Nancy Cowden. She taught them how to preserve pressed flowers. The guests used several colors of fresh blossoms from the gardens at Cloverlea and Little Otter Flower Farm.
2. Lay your flowers down for pressing.
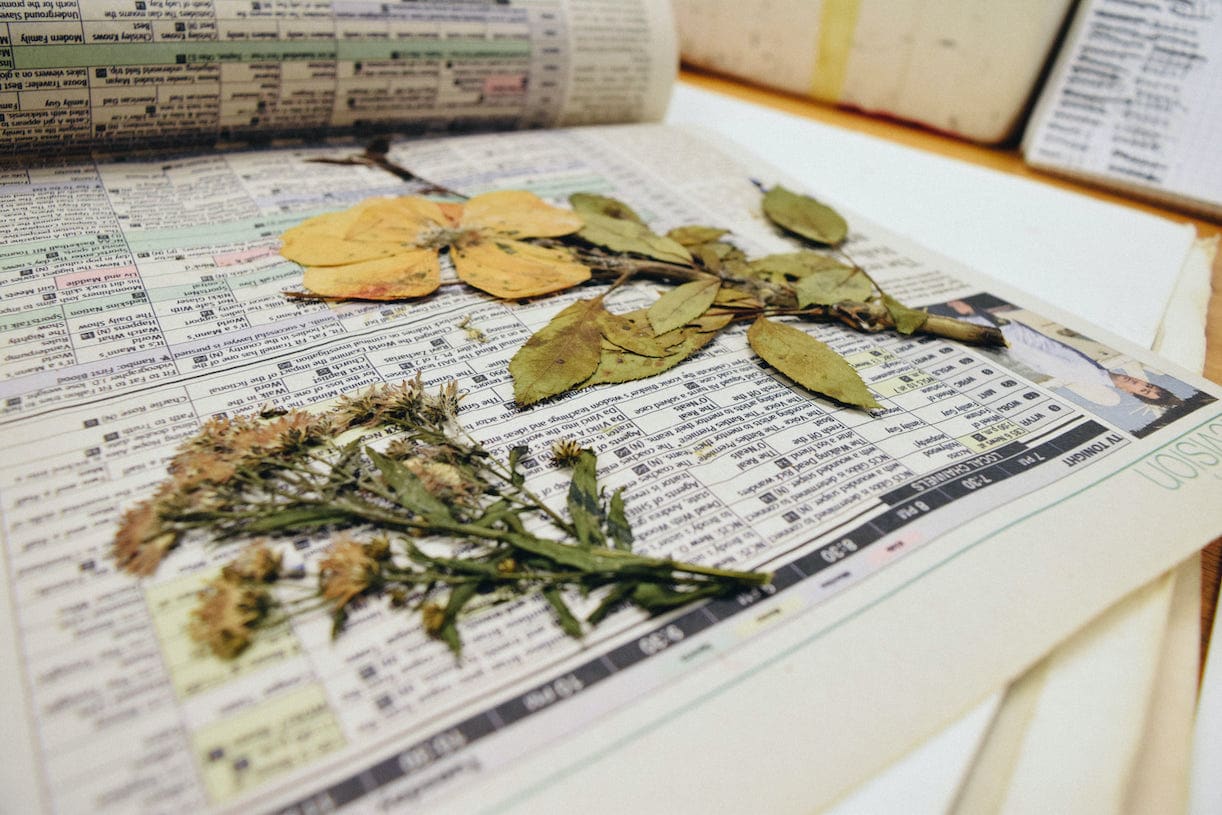
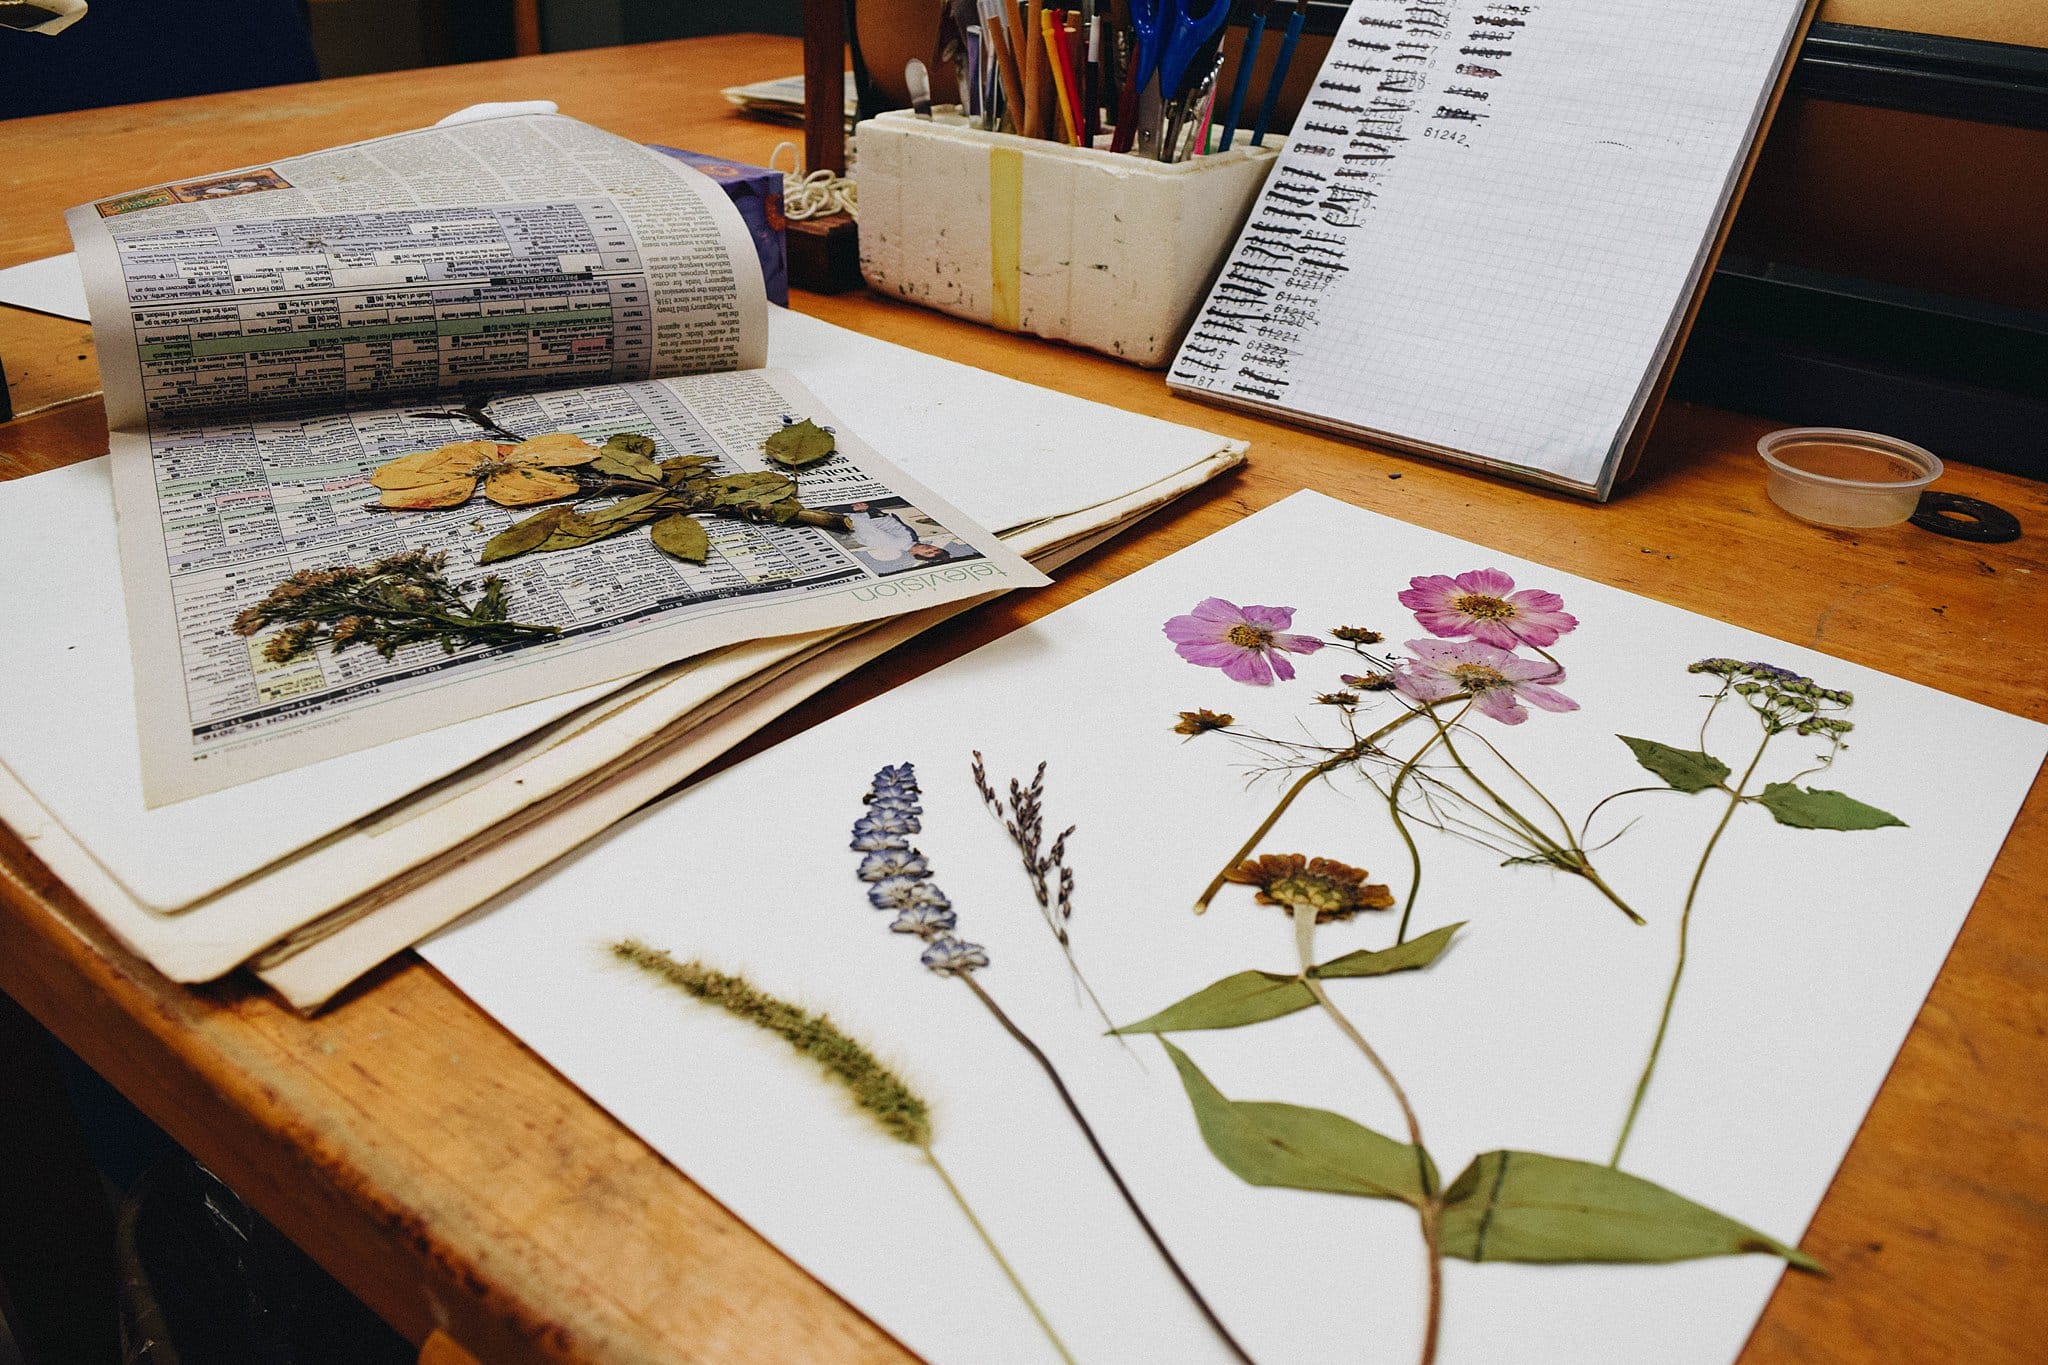
Newspaper is the perfect blotting paper for pressed flowers. Put your fresh flowers on the newspaper, and try to make sure that the petals aren’t bent. Do your best to envision how the flower will look flat. Next, lay the flowers down, and bend the stems accordingly so that they dry flat.
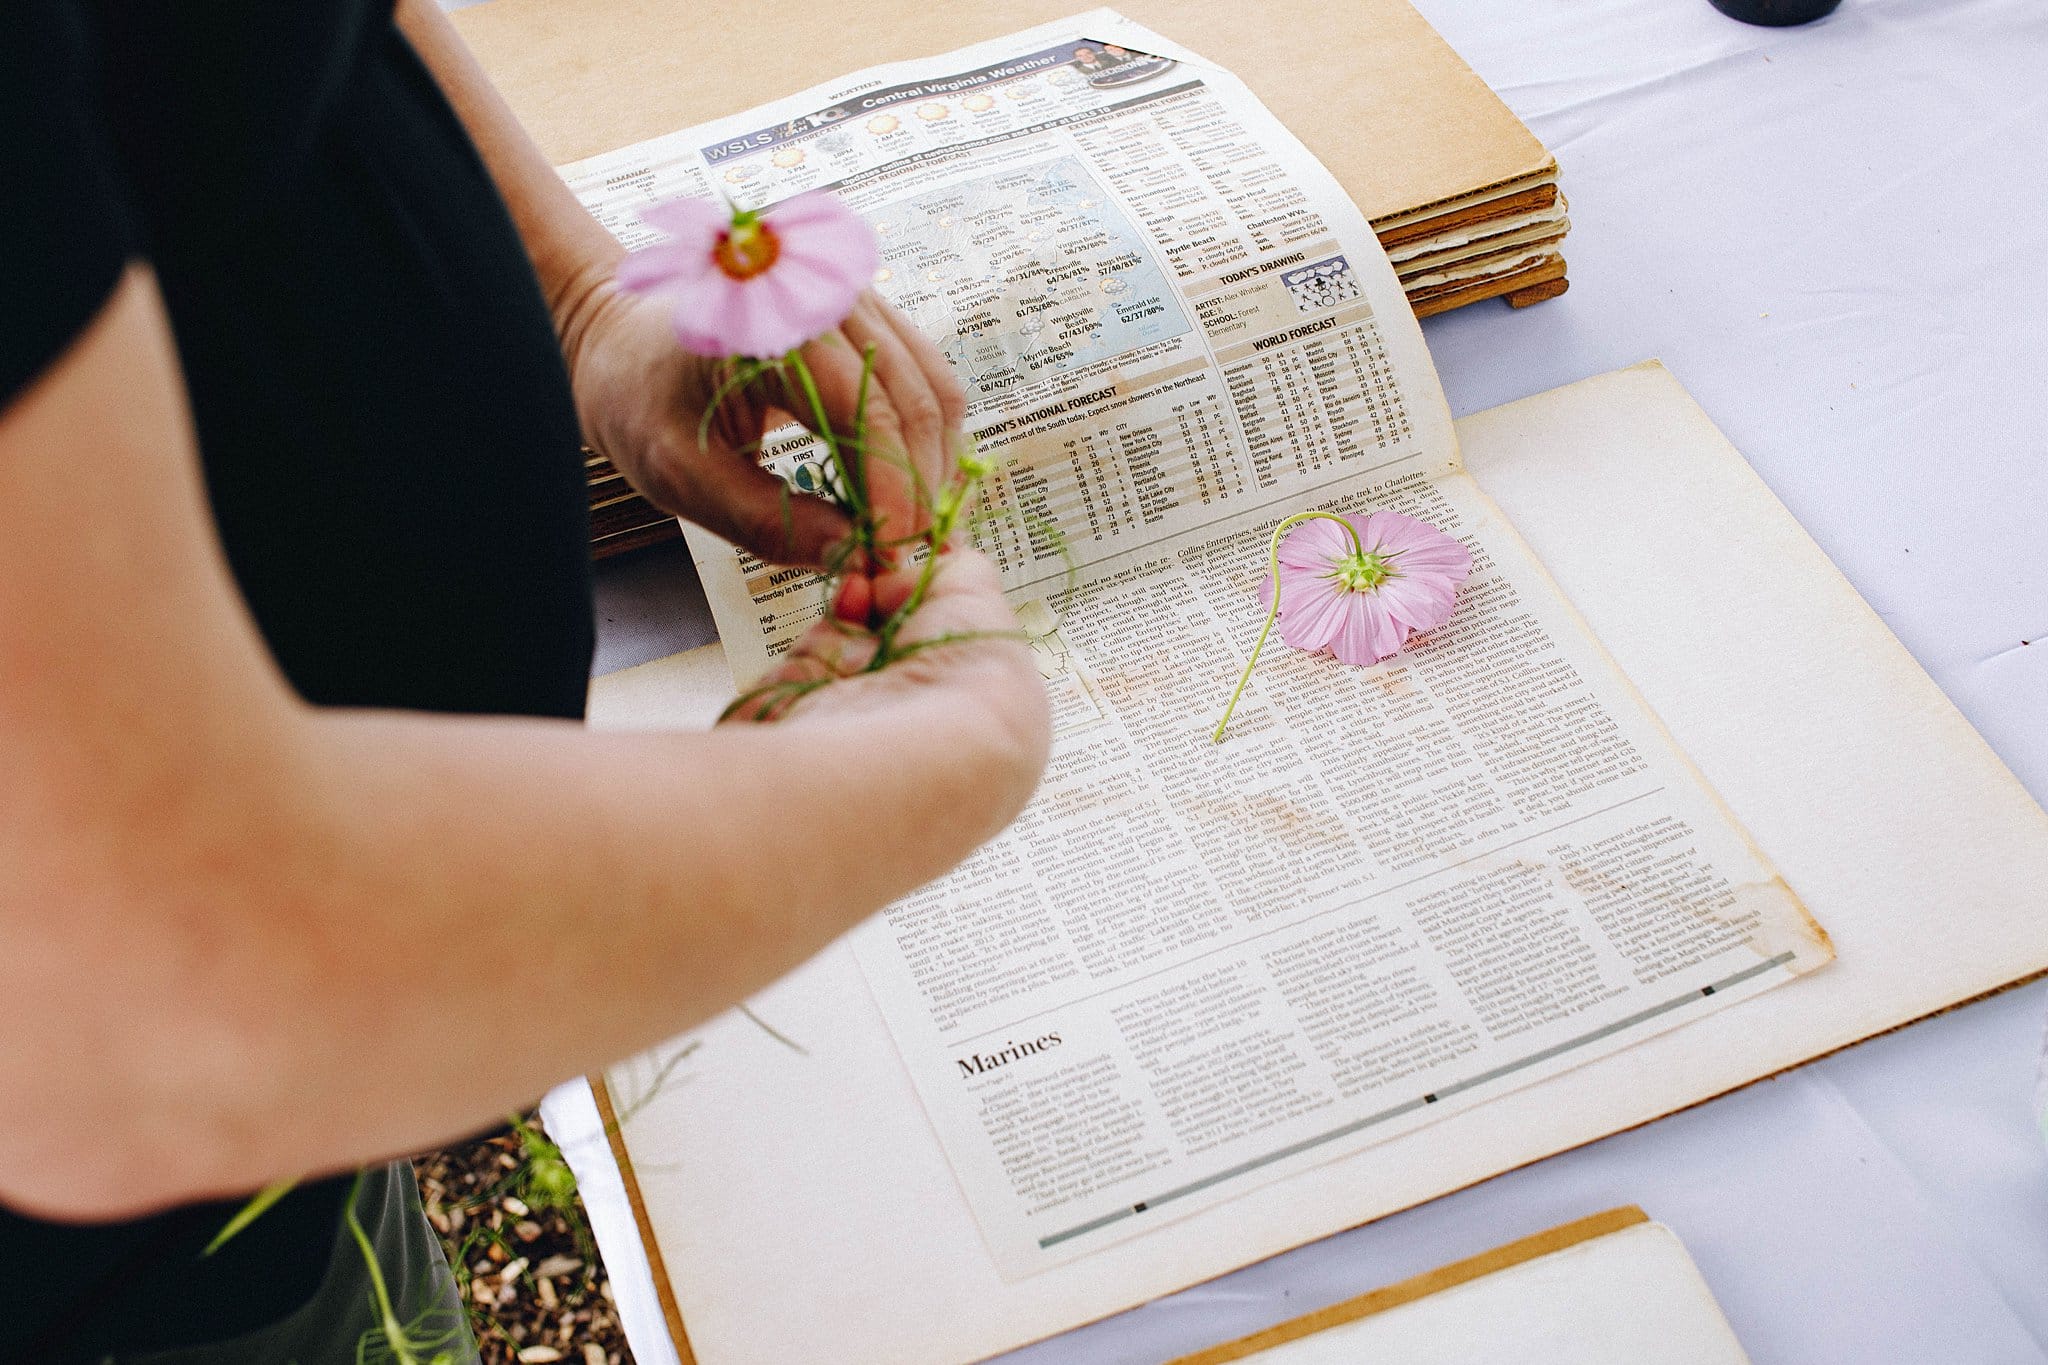
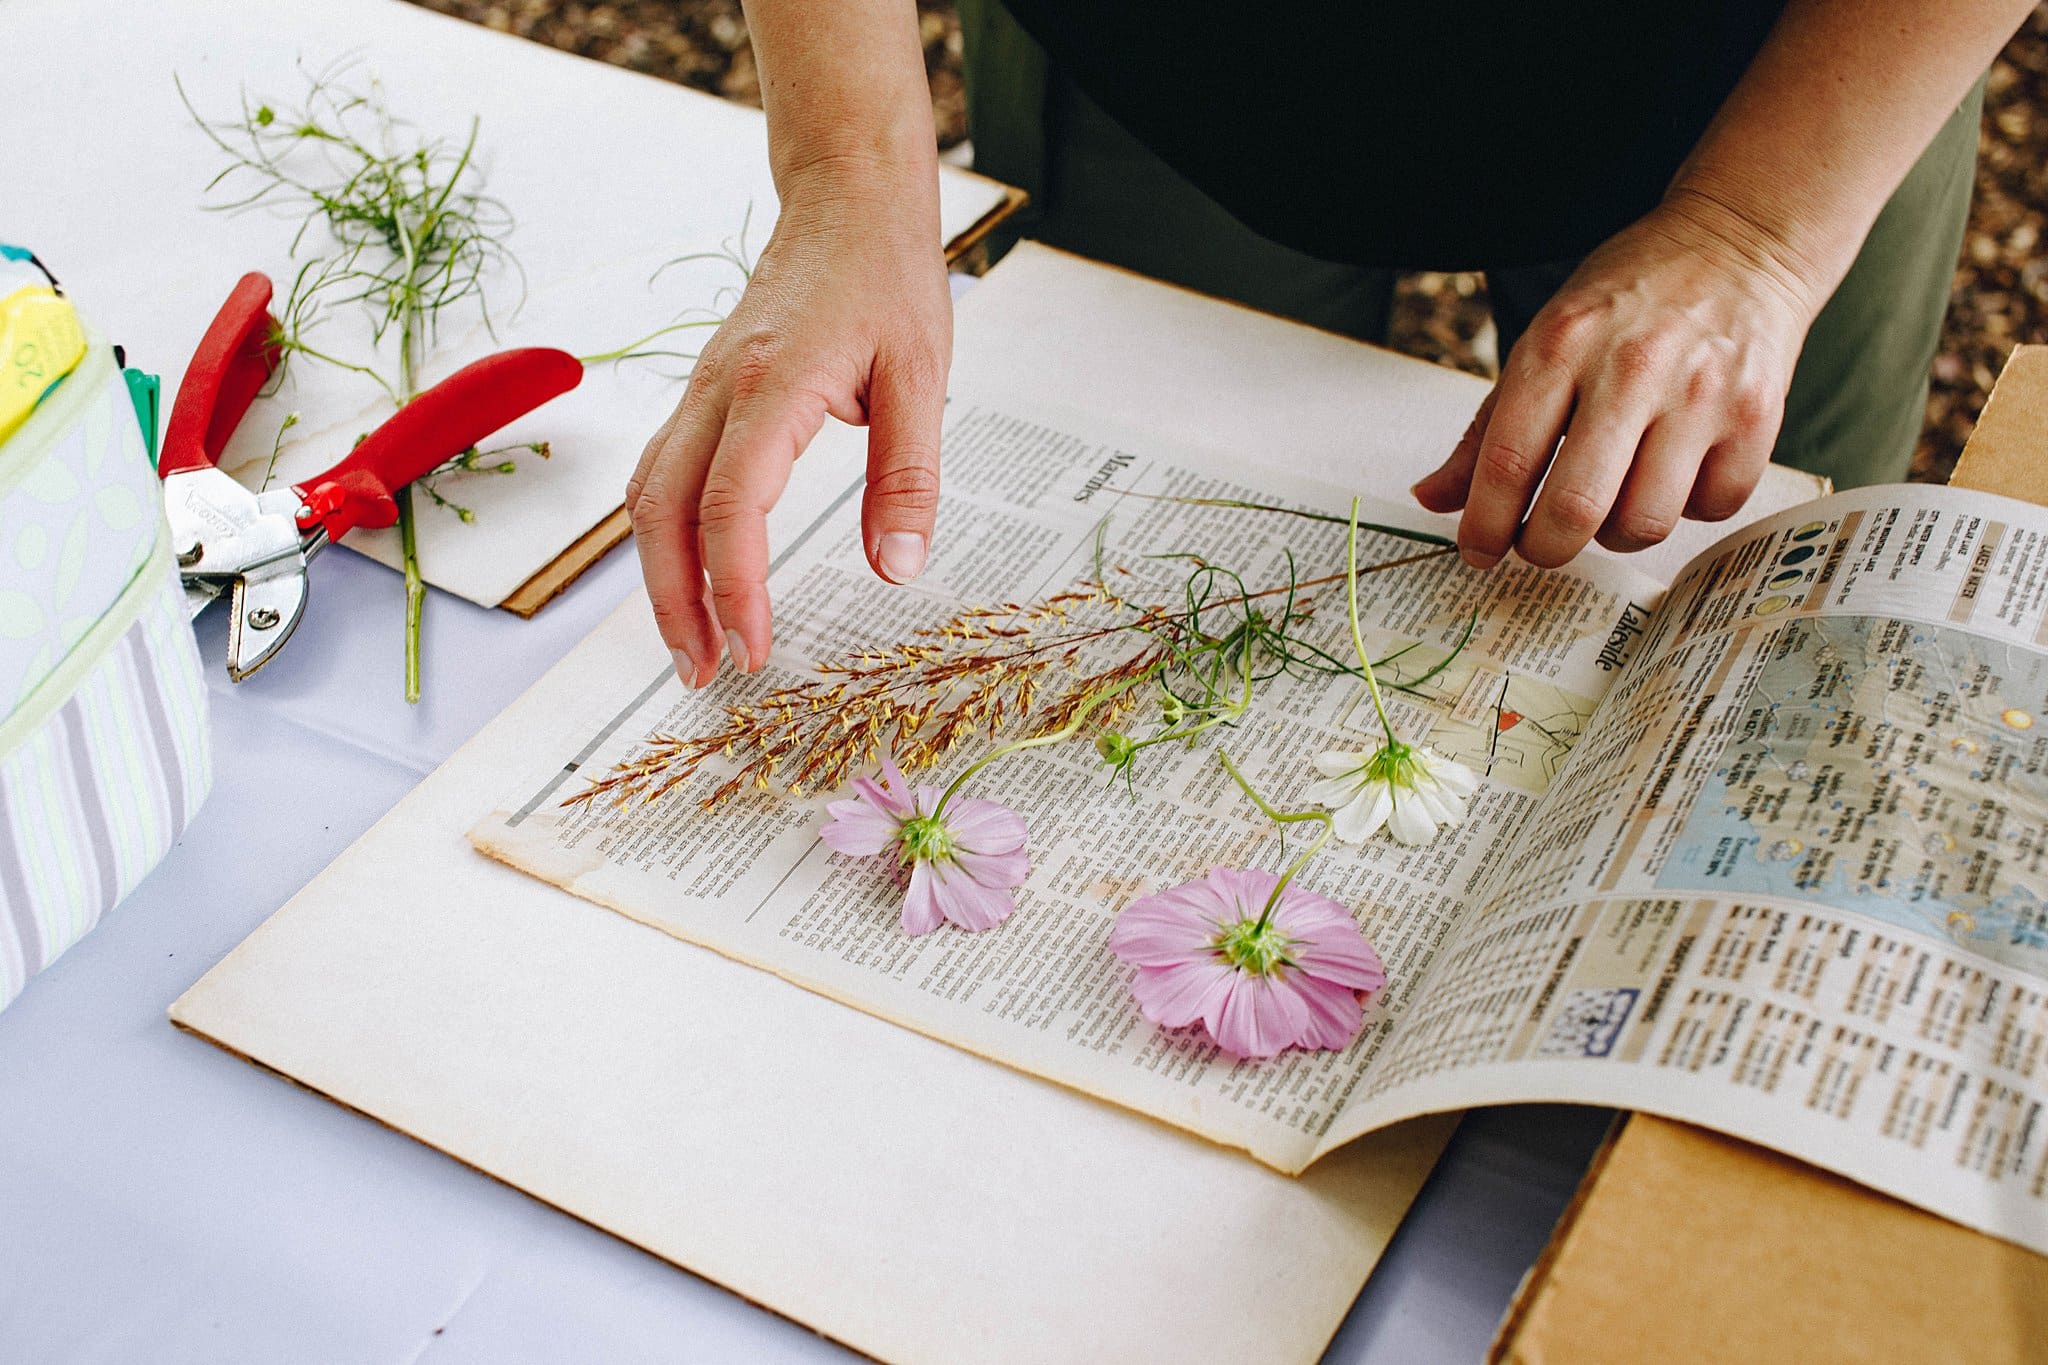
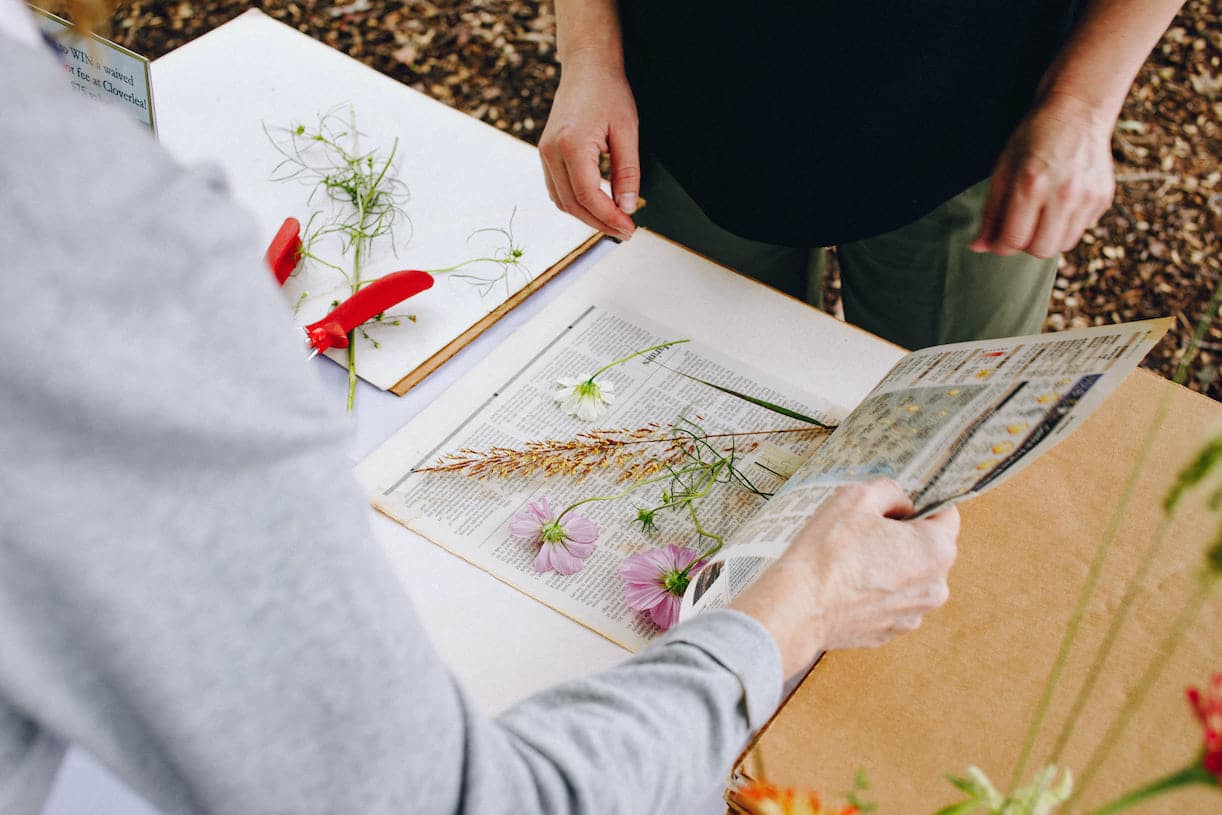
3. Cover your pressed flowers.
It’s important to have enough blotting paper (newspaper) to soak up the liquid. Also, be sure that the blooms have newspaper on either side of it. Then place your newspaper containing the flowers in between layers of cardboard. Place a flat weight—books will do—on top to create pressure. Set aside for two weeks. Yes, you can check on them periodically and carefully.
4. After two weeks, take your pressed blooms out of the newspaper.
It’s quite fun to reveal the final results of what’s been hiding in the newspaper (unless you peeked!). Although, be very careful as pressed petals are extremely delicate.
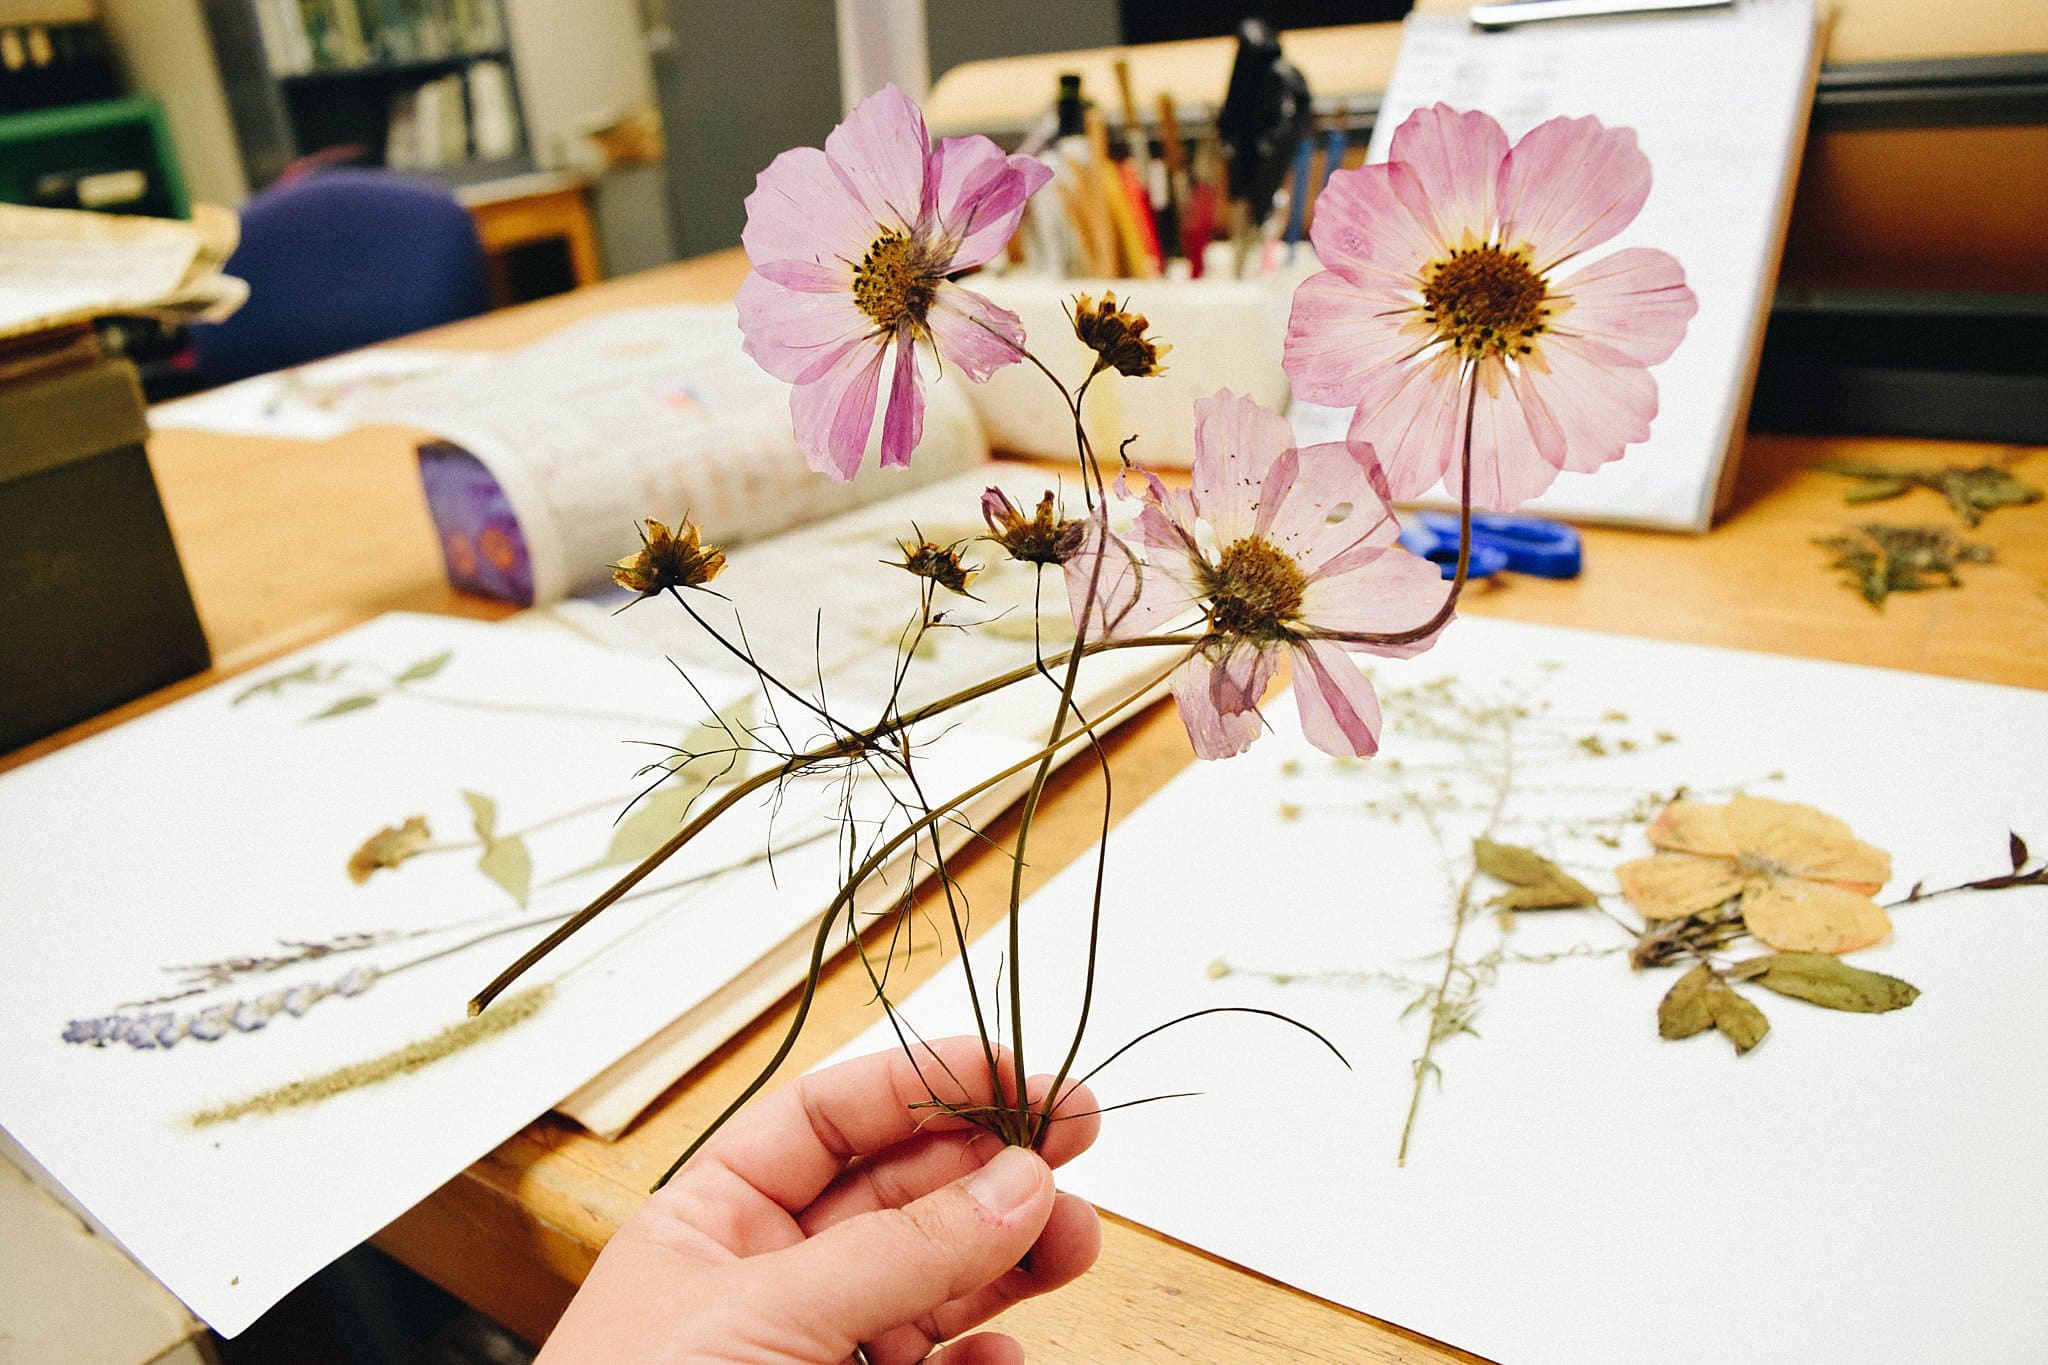
5. Carefully arrange your flowers on a sturdy piece of white paper or board.
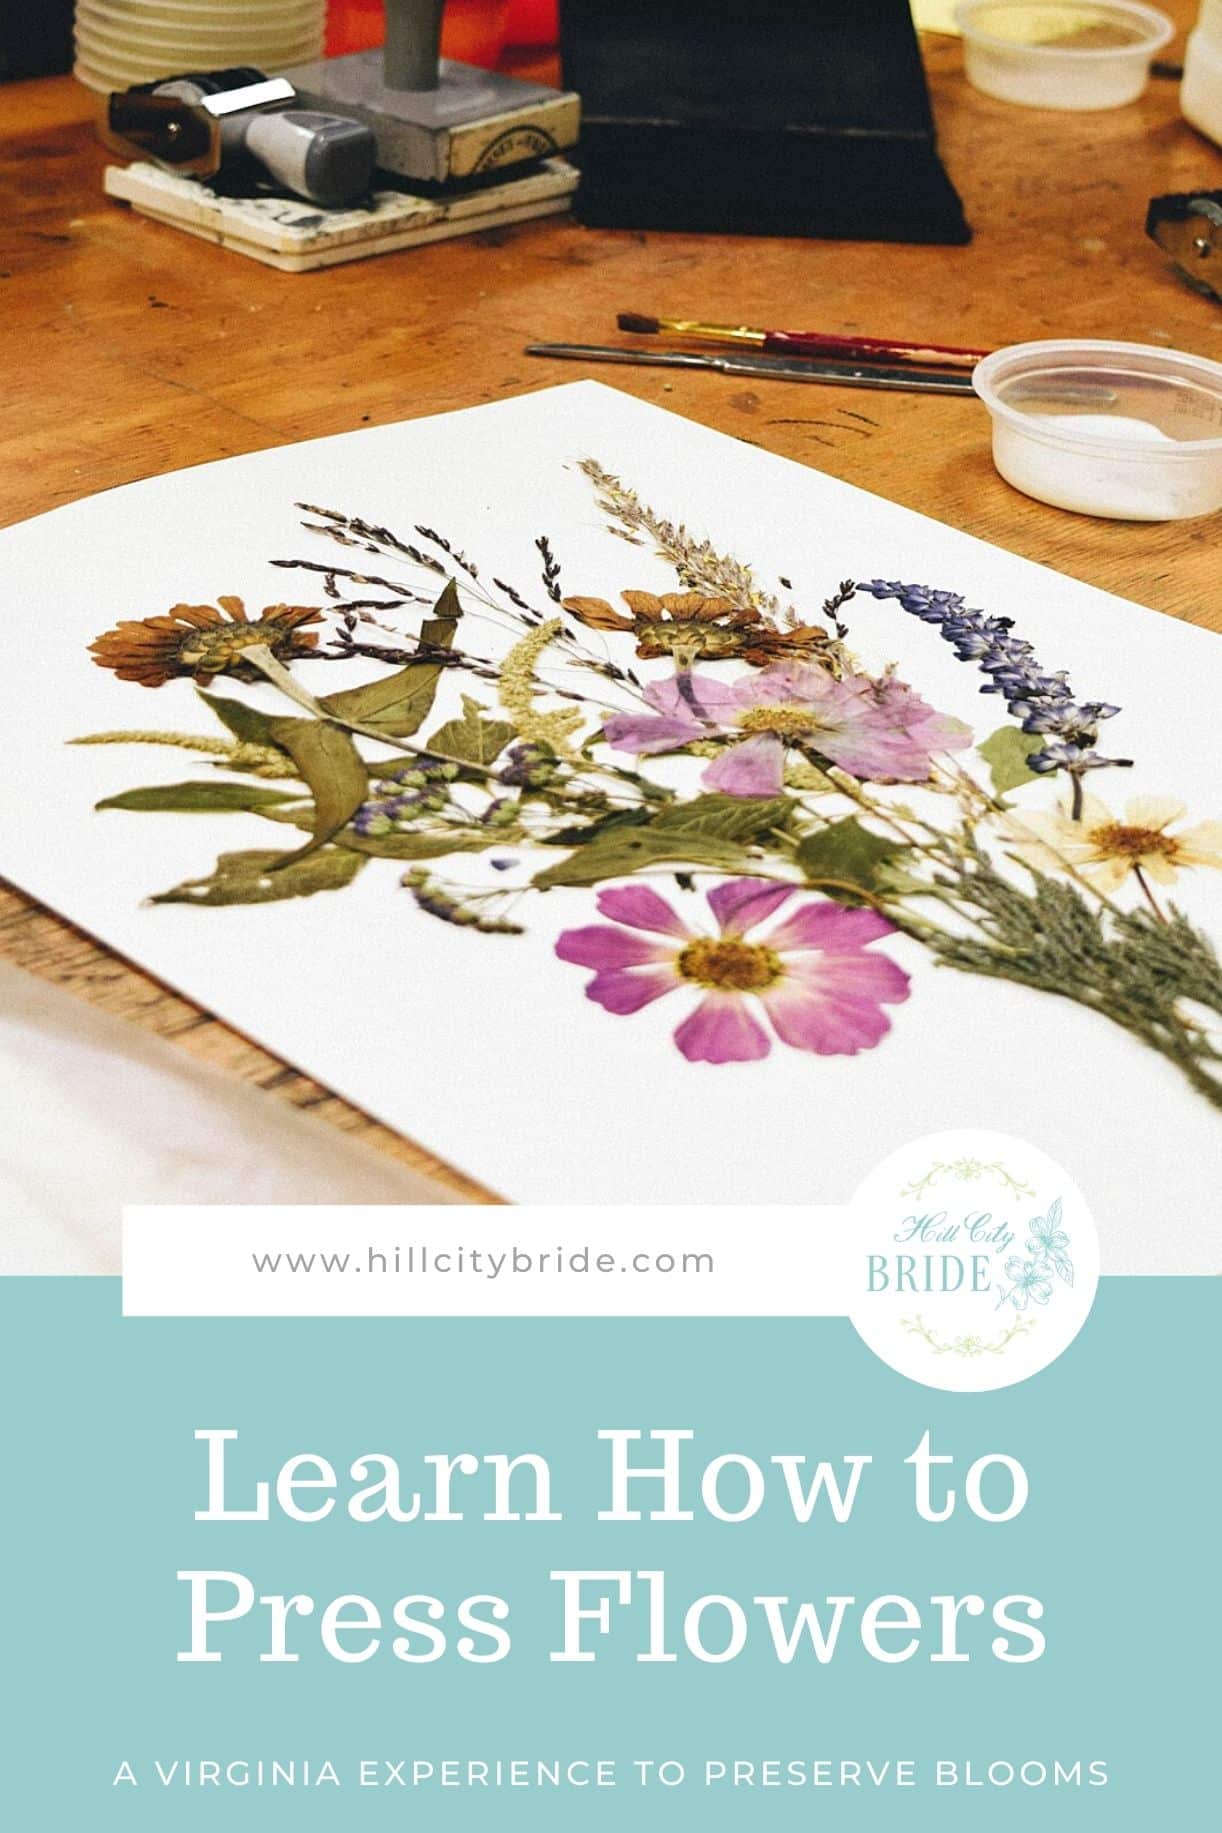
Imagine what a bouquet would look like, and try to mimic that appearance. You could also get creative with your pressed flower art ideas and arrange them in a pattern. The choice is yours! Just remember to be careful with your dried flowers so that you don’t break off leaves or petals.
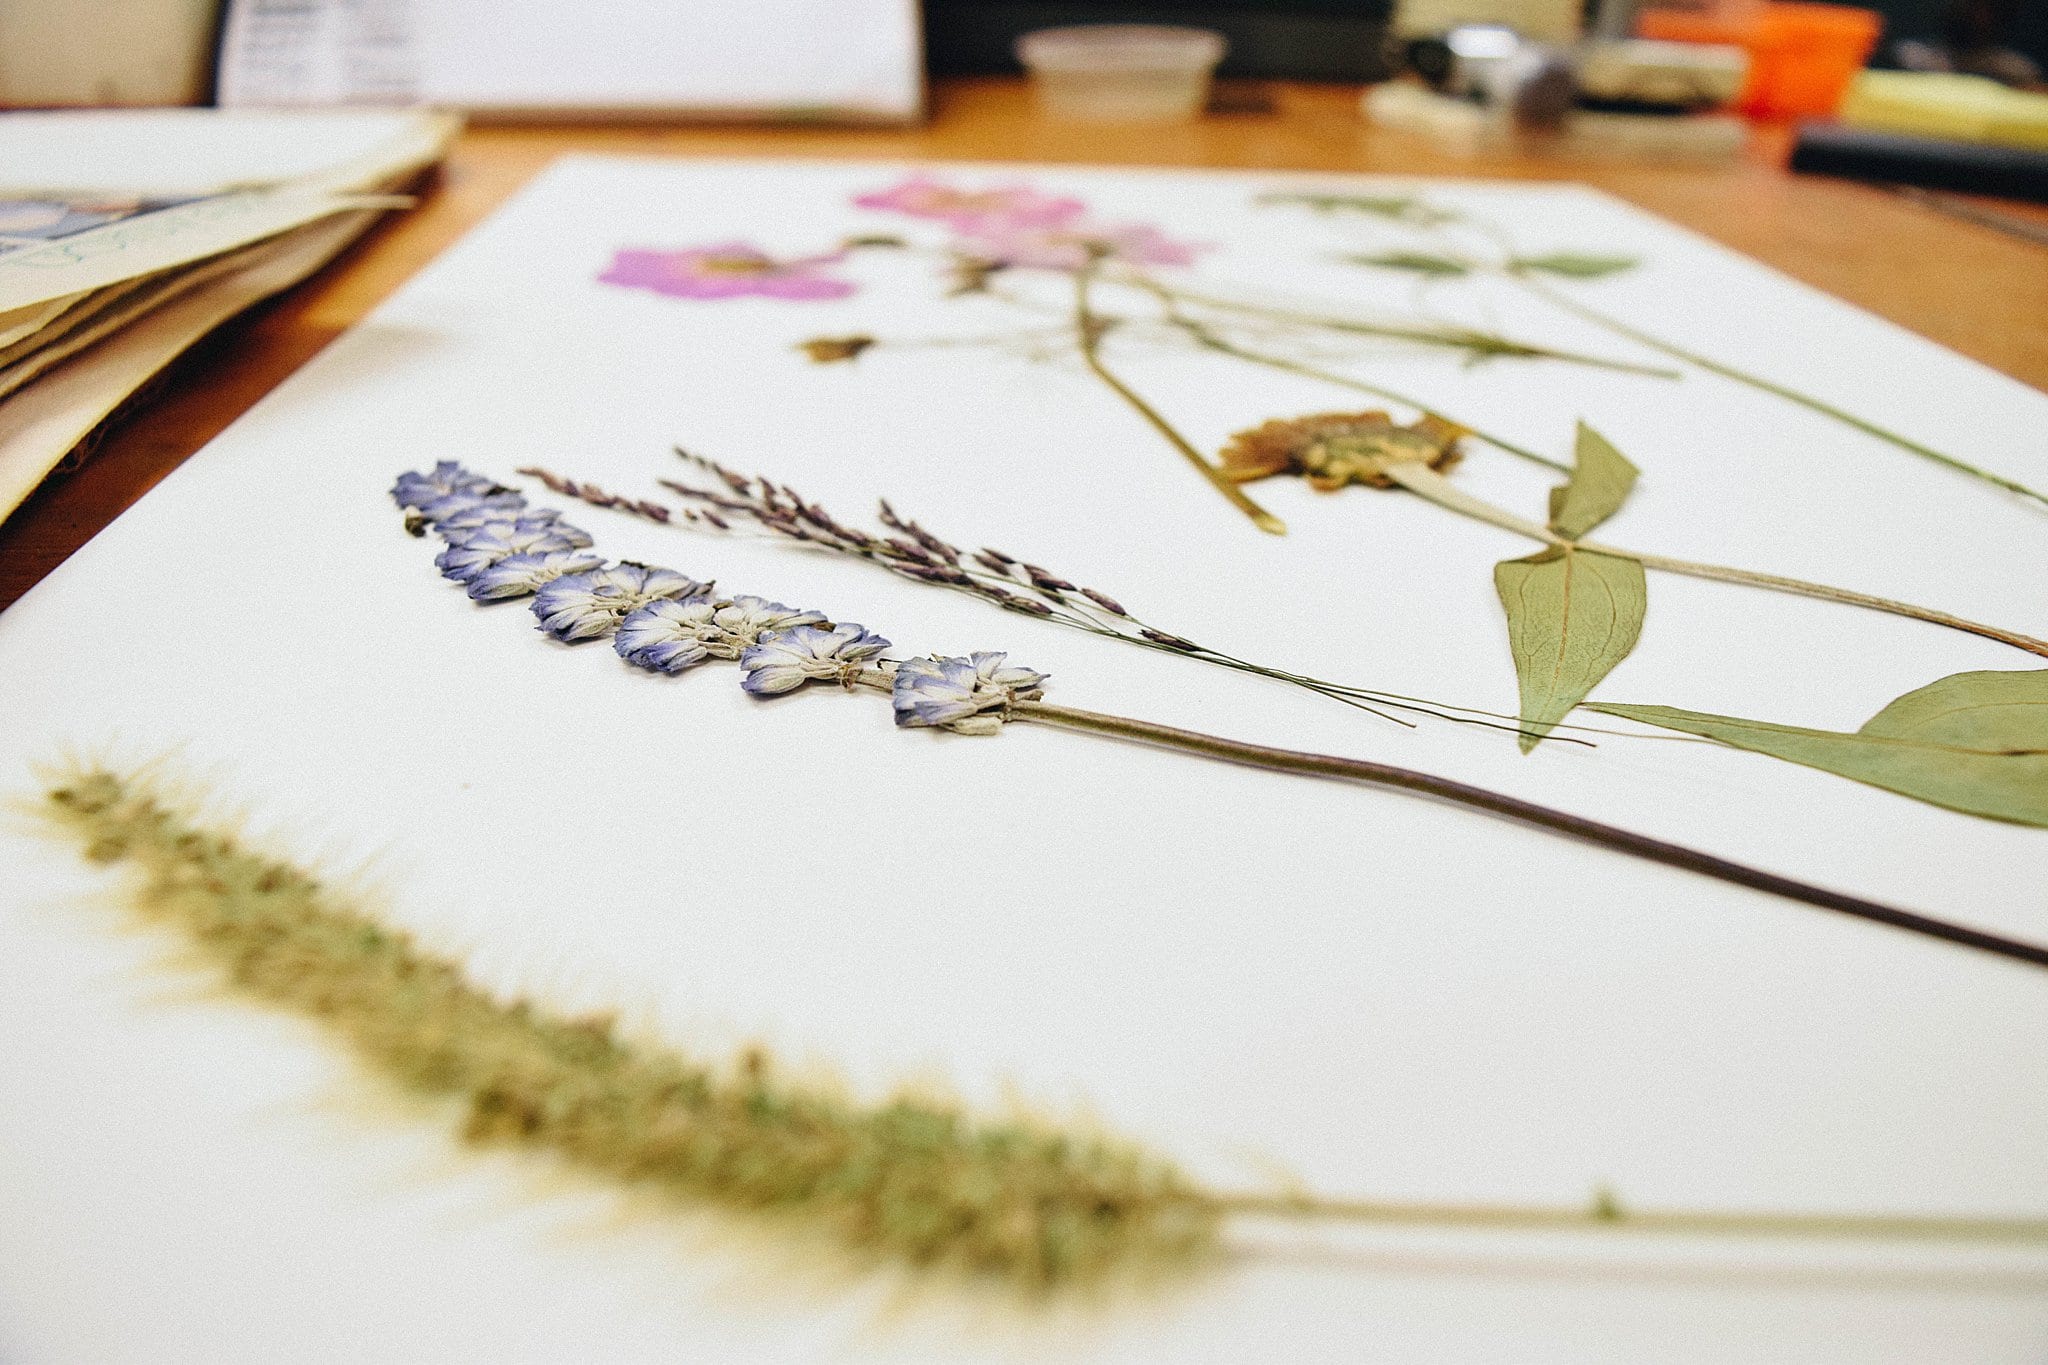
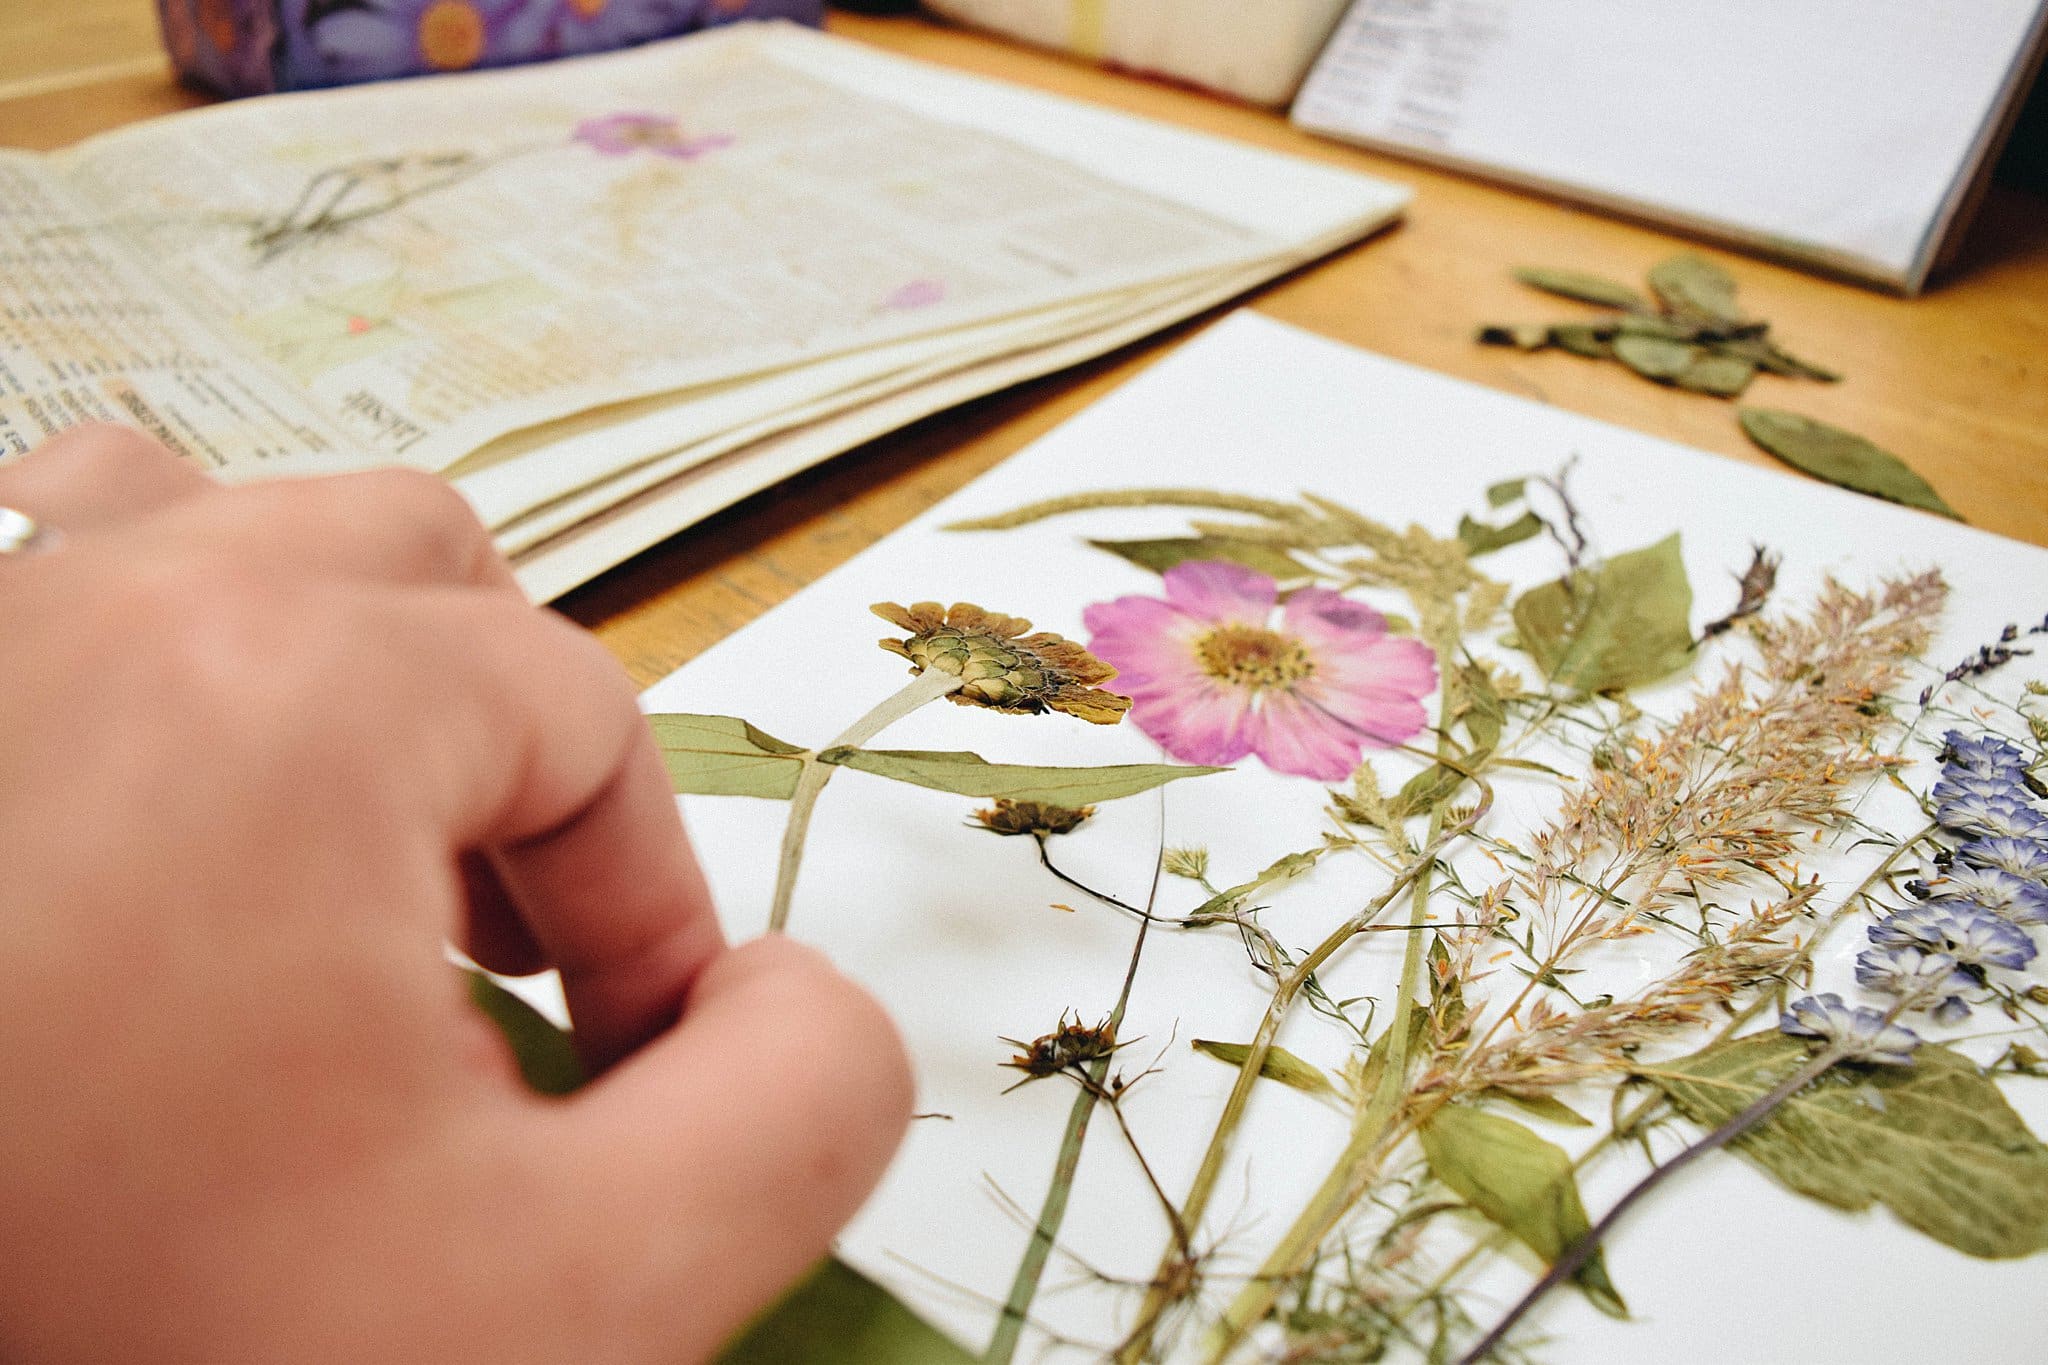
6. Once they are arranged, use glue to carefully stick the flower parts to the paper.
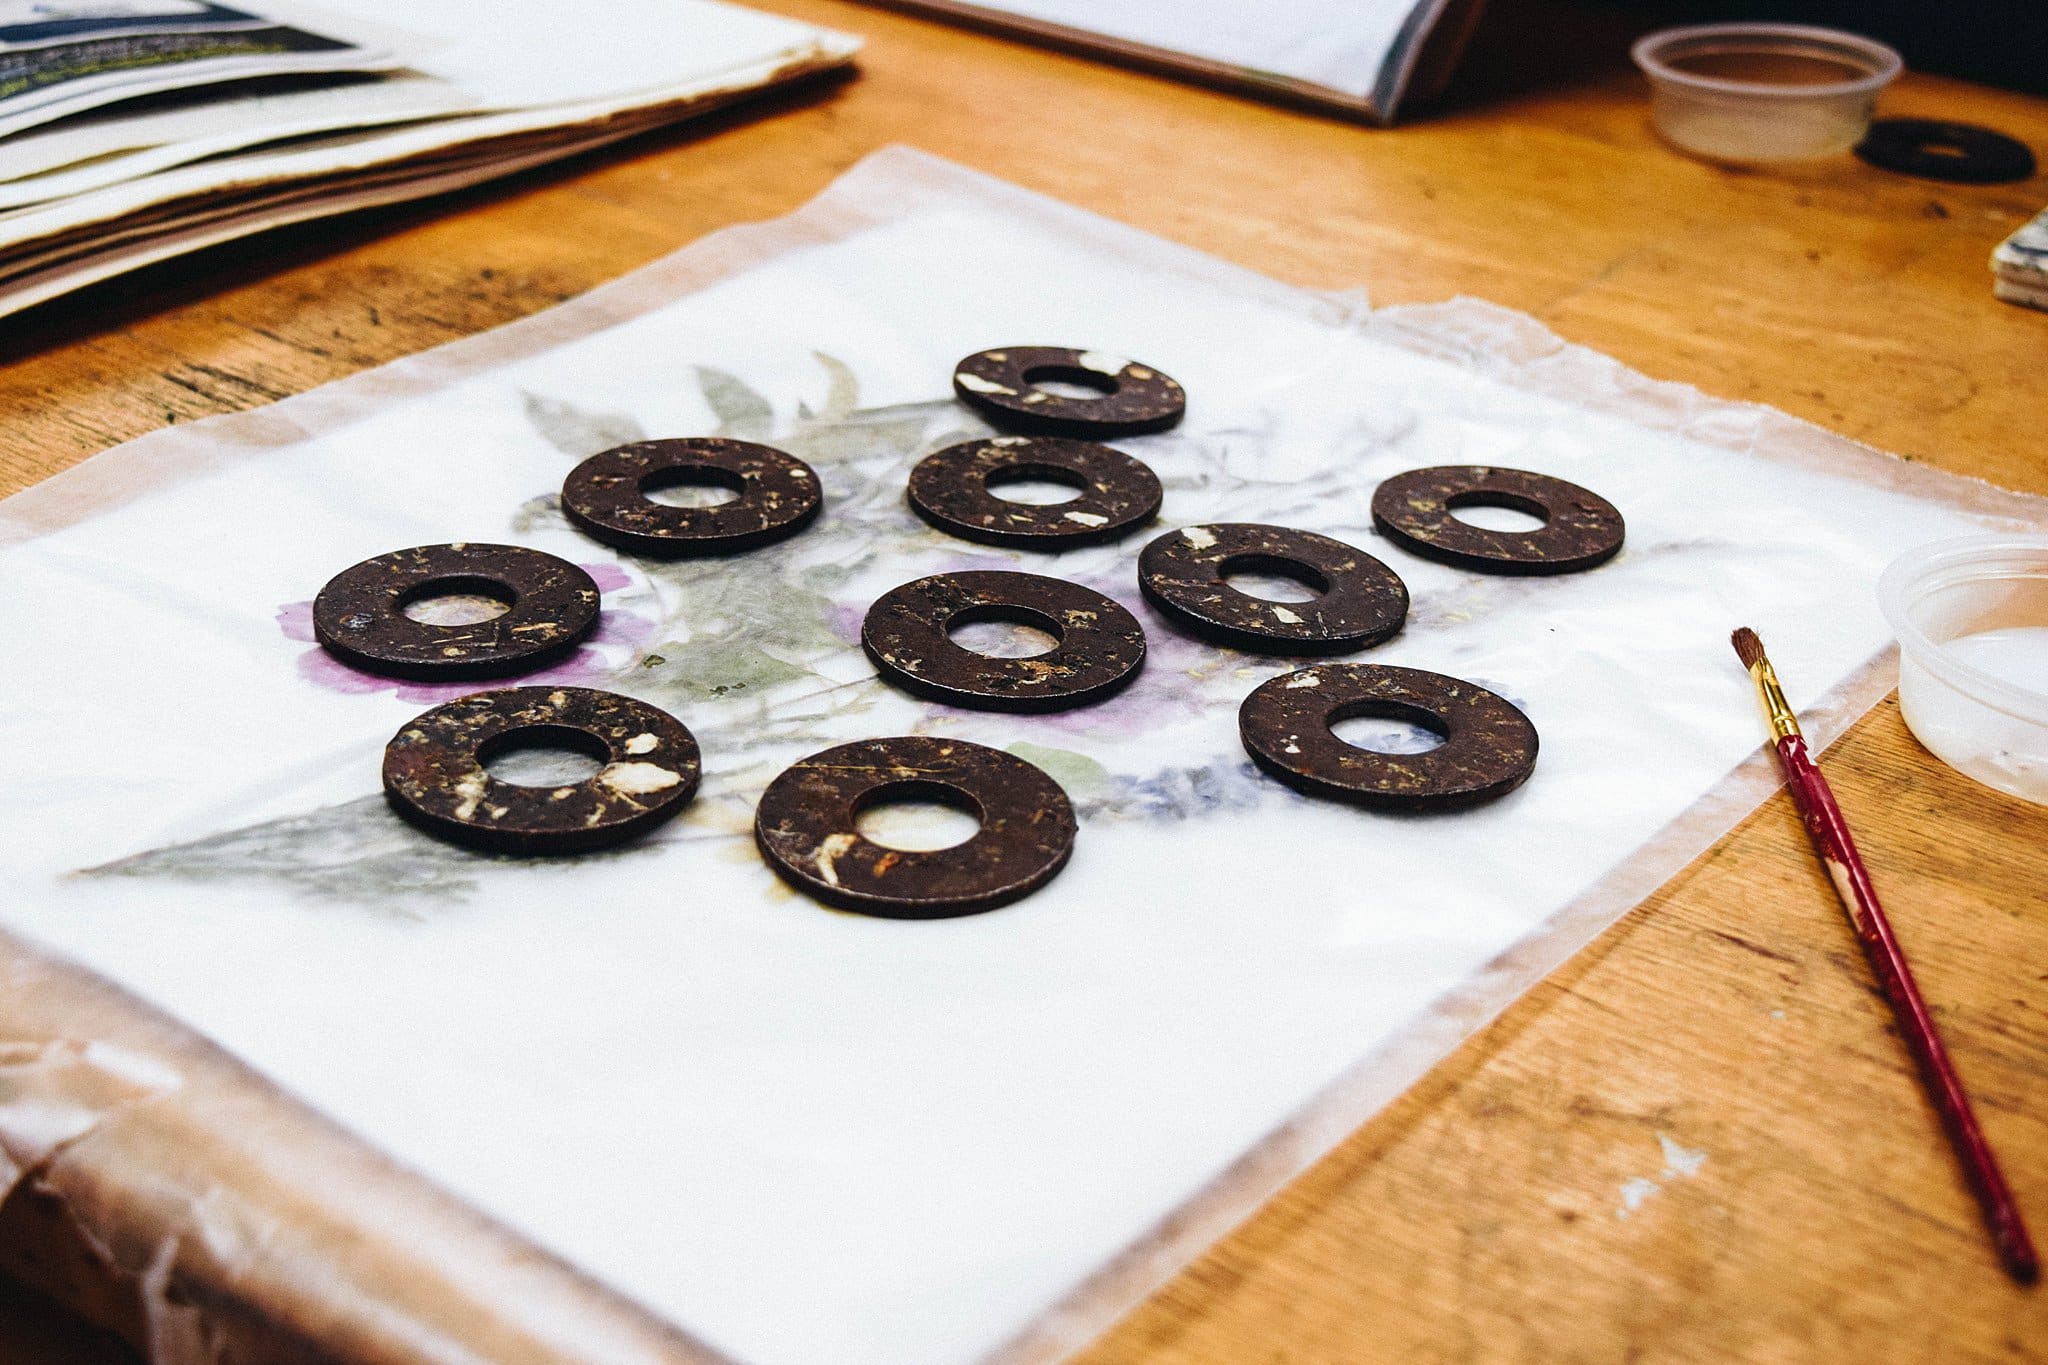
Be gentle, and use a paintbrush. The key is to use glue that dries clear to stick the flower parts down. This will secure the arrangement, but don’t feel as though you need to overdo it with the amount of glue.
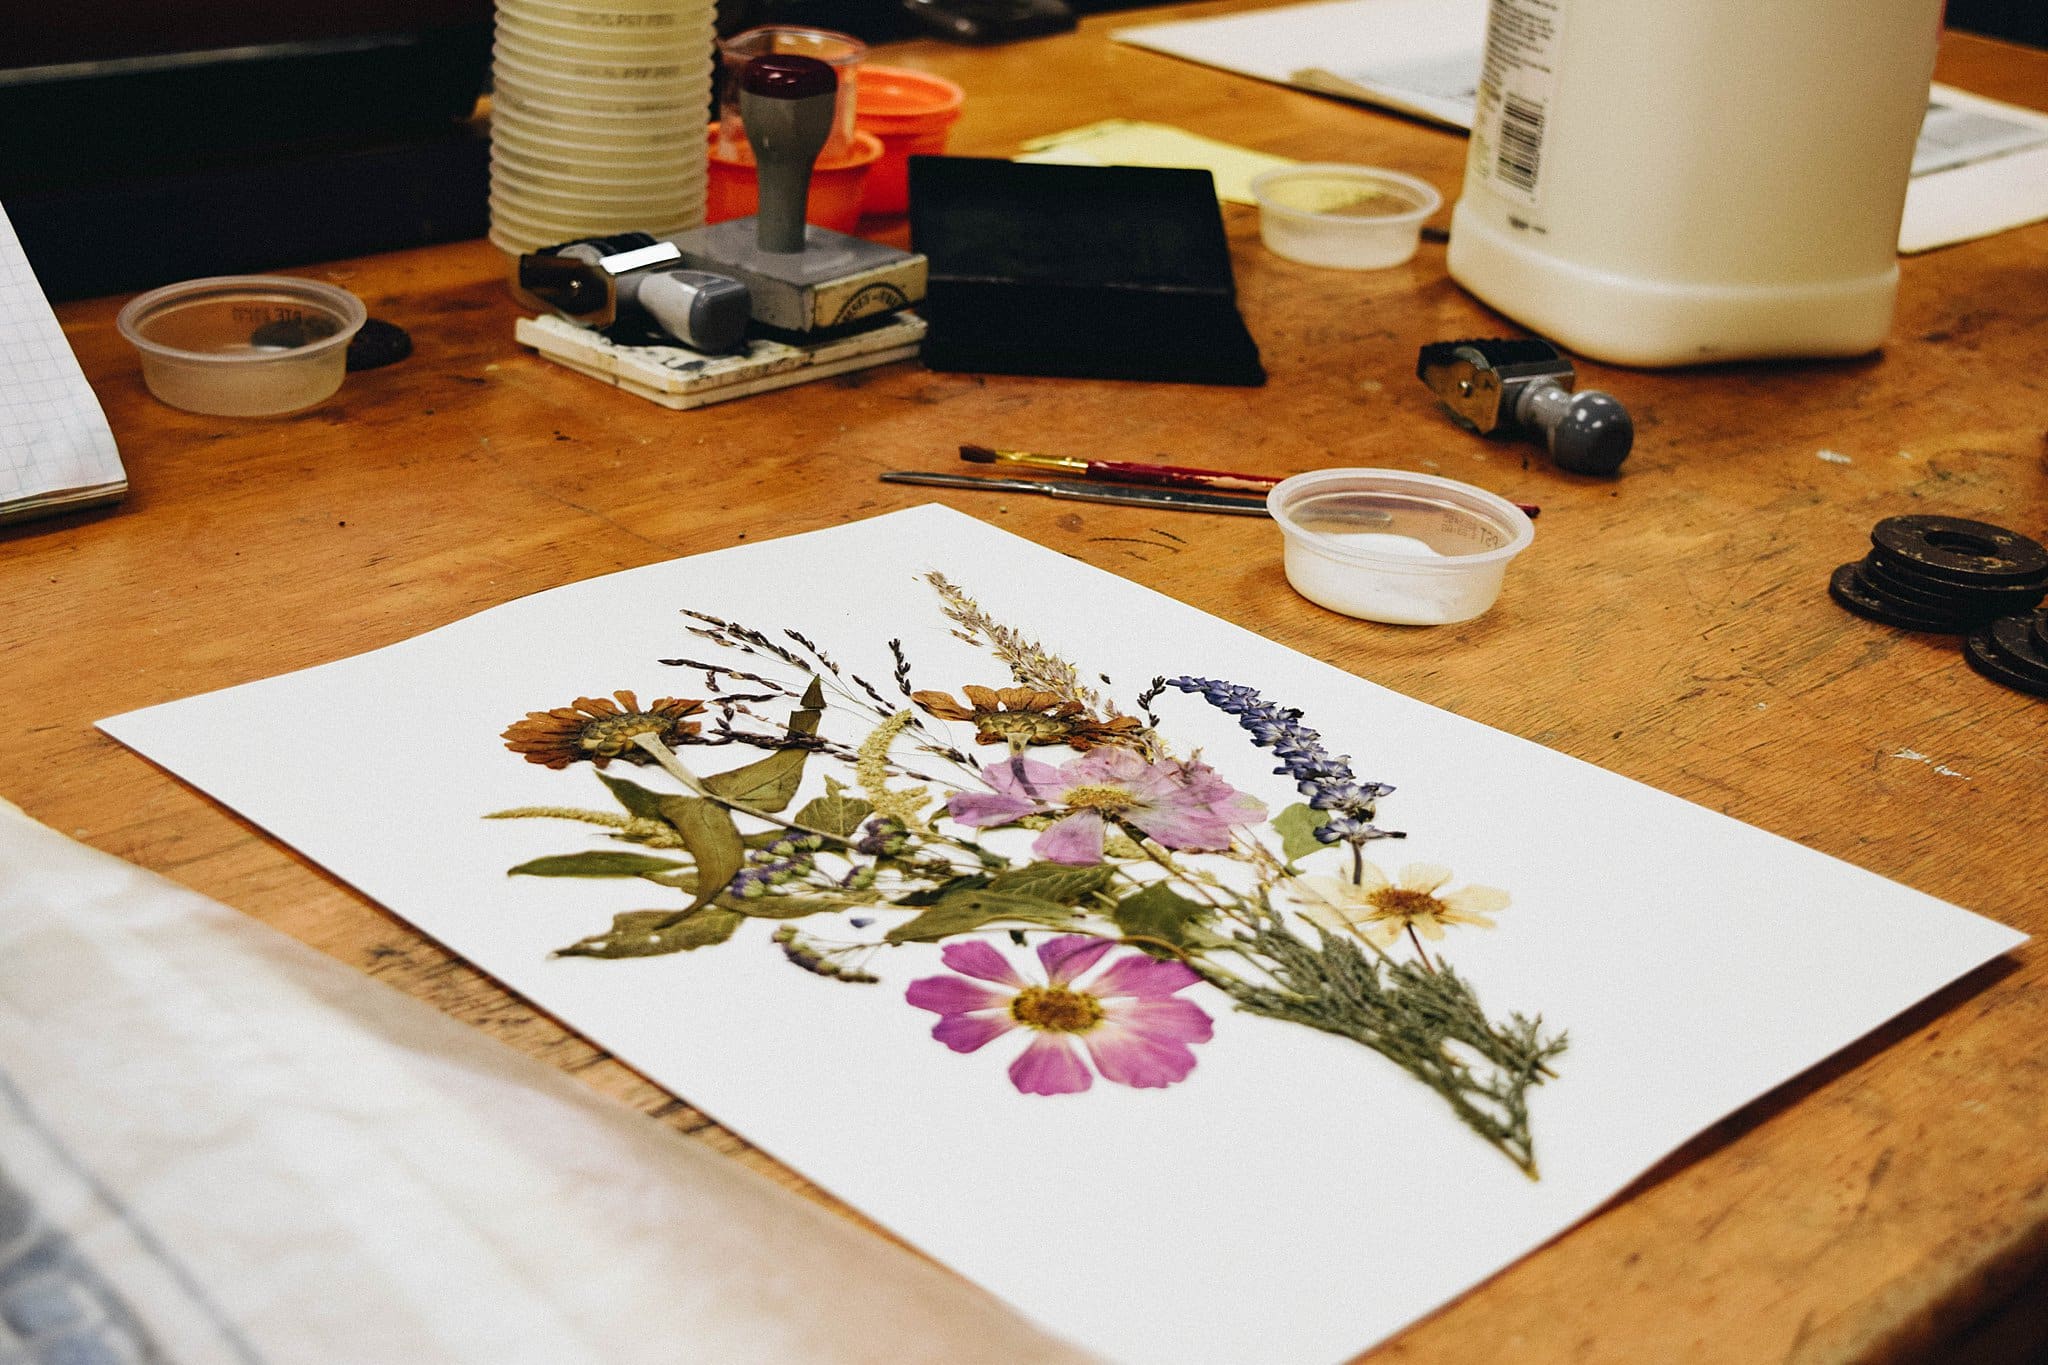
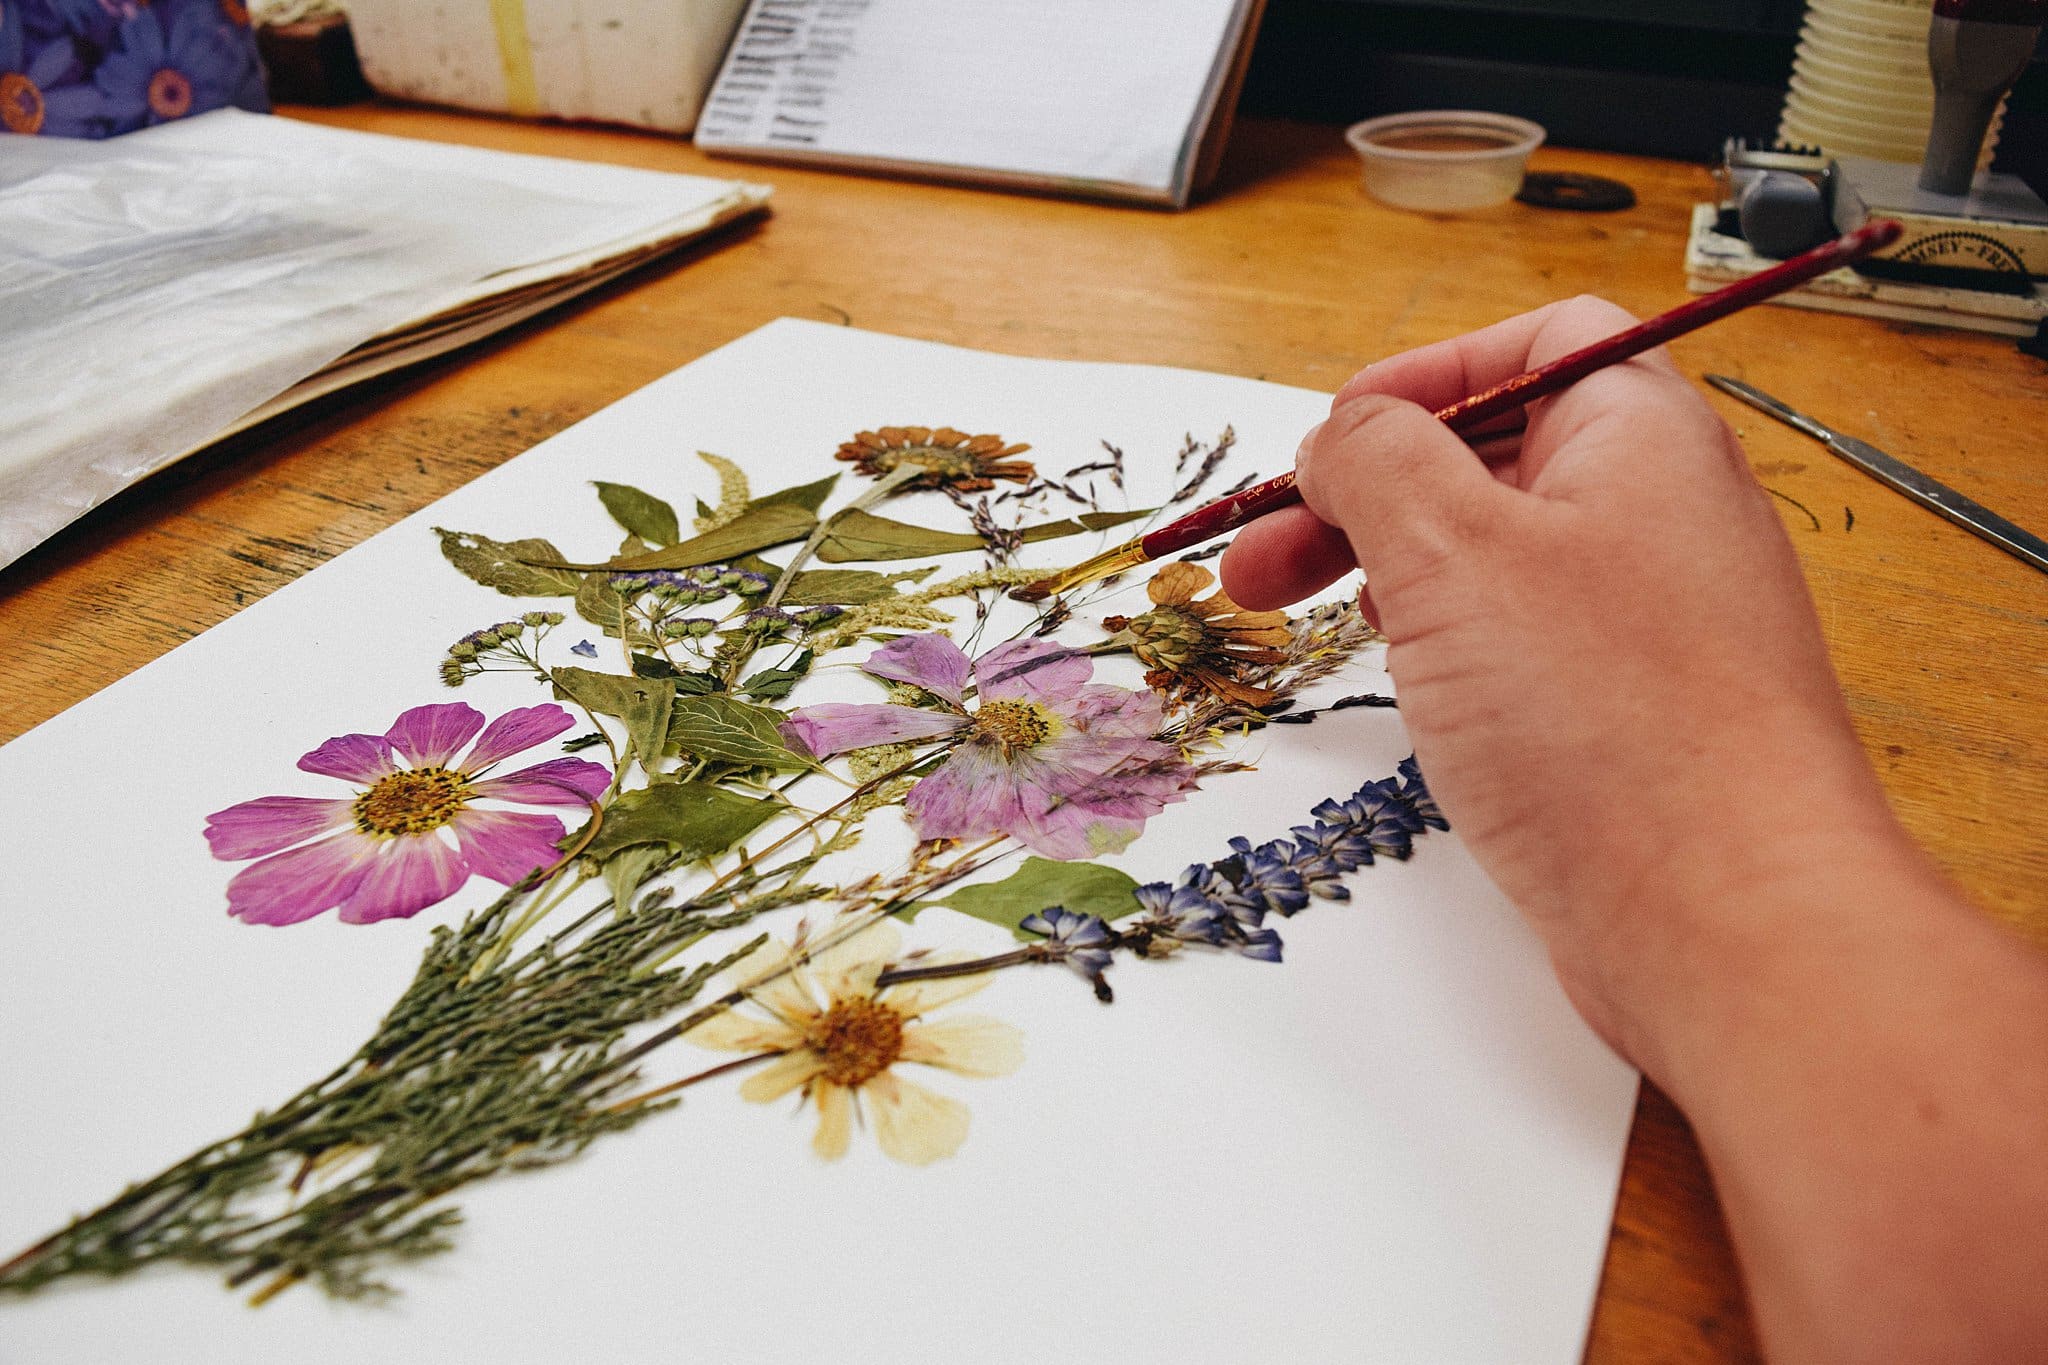
7. Let your final pressed flower arrangement dry.
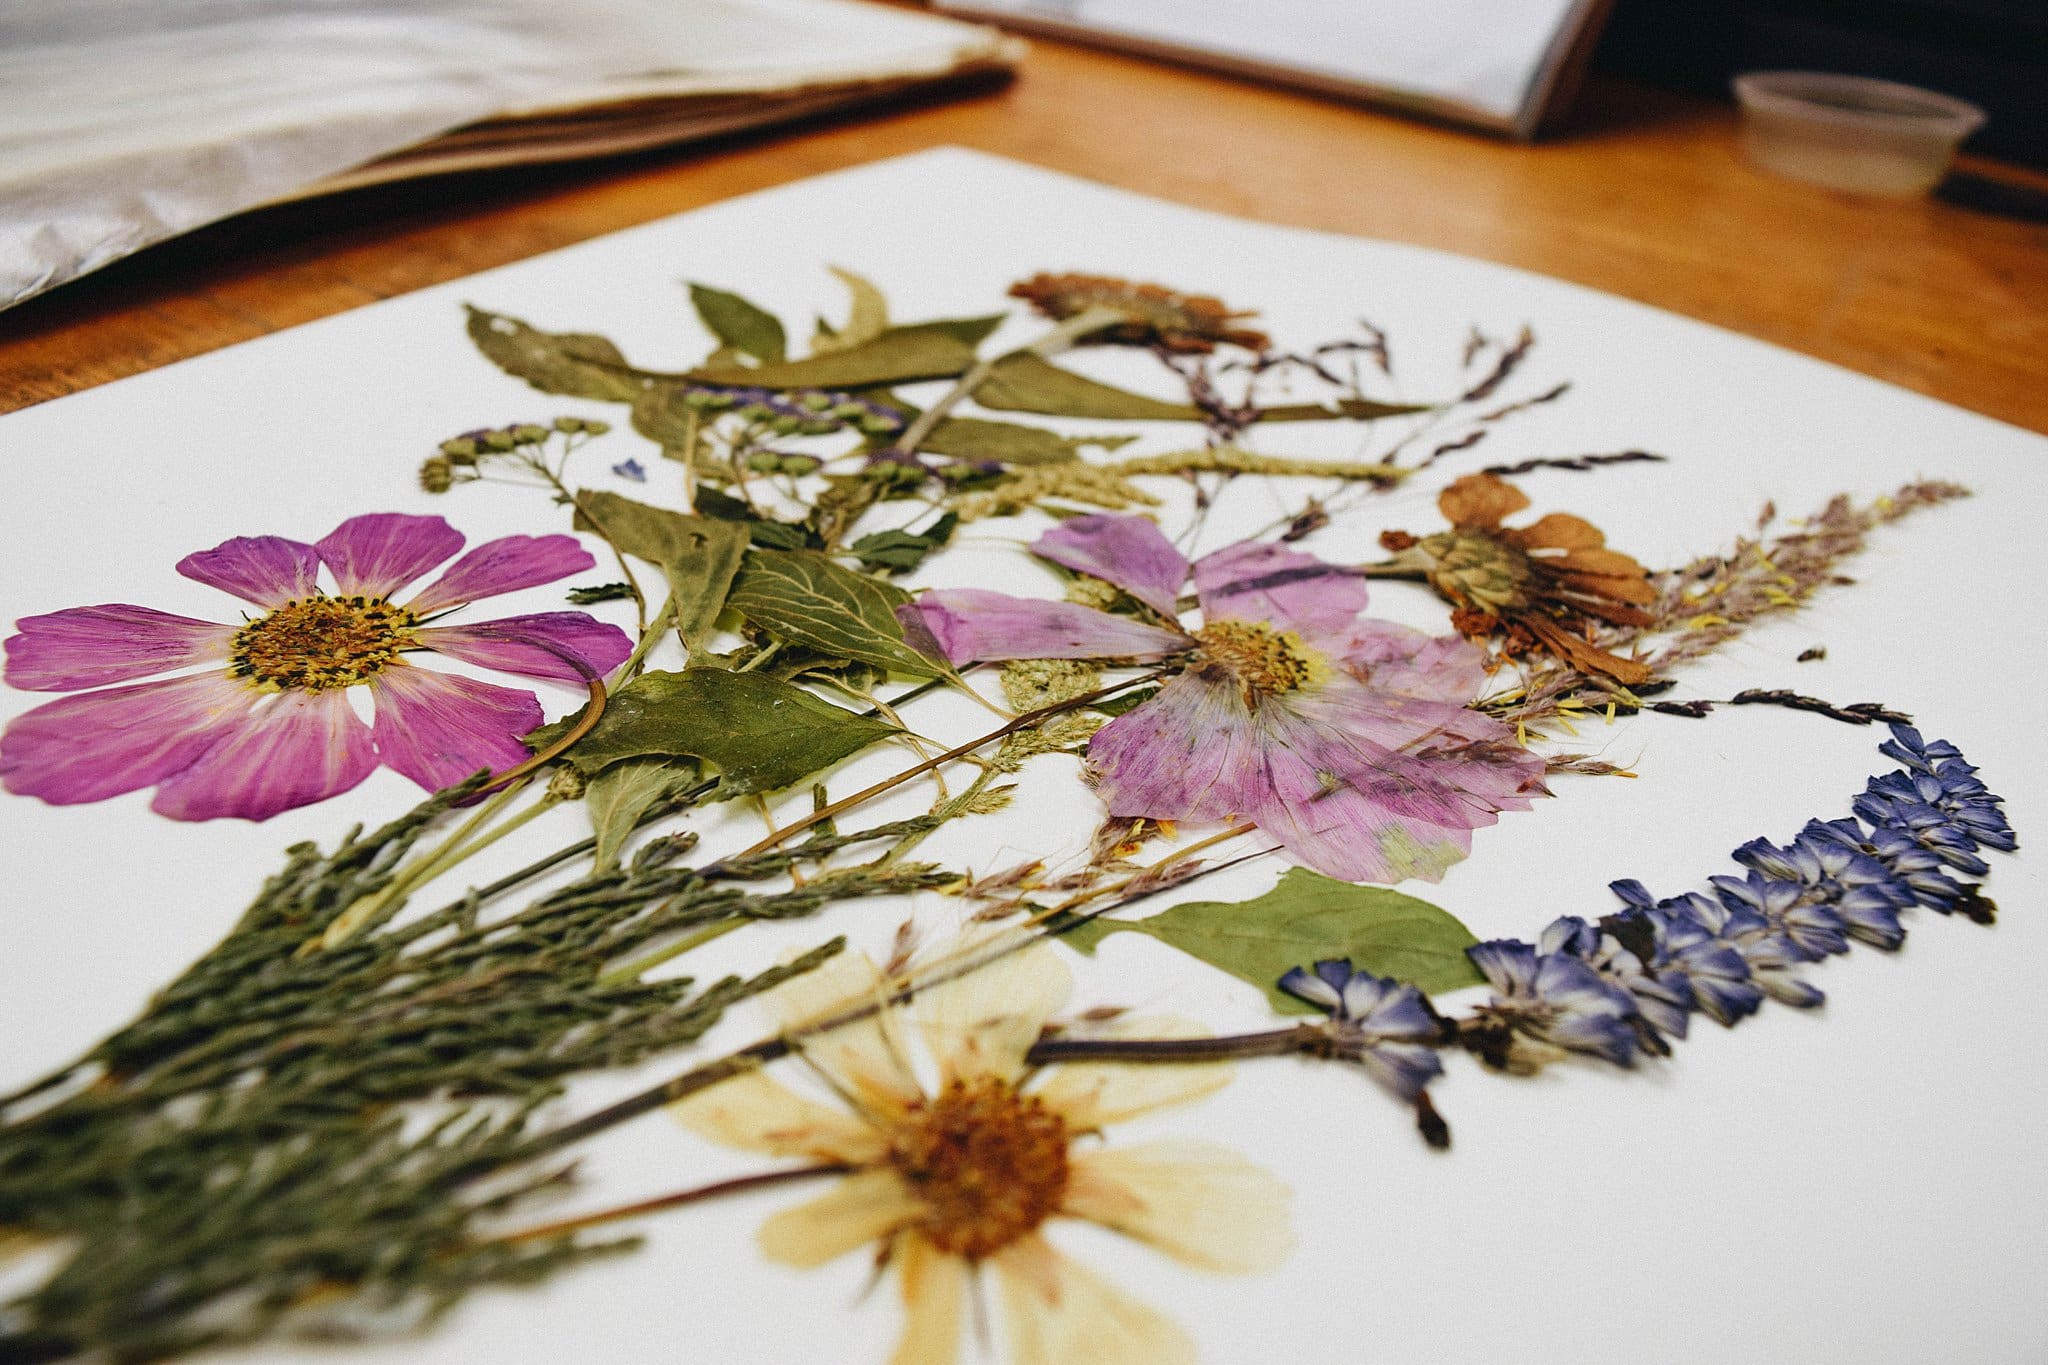
Cover the pressed arrangement with either parchment or waxed paper. Then place weights on top and let it dry for 2-4 days. The final result is stunning and can be framed. Now that you know how to press flowers for framing, the options are endless for gift giving!
What to Do With Pressed Flowers
After the two weeks were up, the dried pressed blooms were ready. The flowers were then arranged in lovely groupings and attached to thick paper to place in a frame or display on their own.
If you dry your flowers at home, knowing how to display pressed flowers can be tricky. You can put pressed flower art in glass, but there are also many other options.
How to Display Pressed Flowers
- Make a pressed flower bookmark.
- Framing pressed flowers allows you to keep blooms protected under glass.
- Attach flattened petals to the front of a homemade greeting card.
- Learn how to put a flower in a picture frame to preserve it.
The Final Result of the Pressed Flower Art
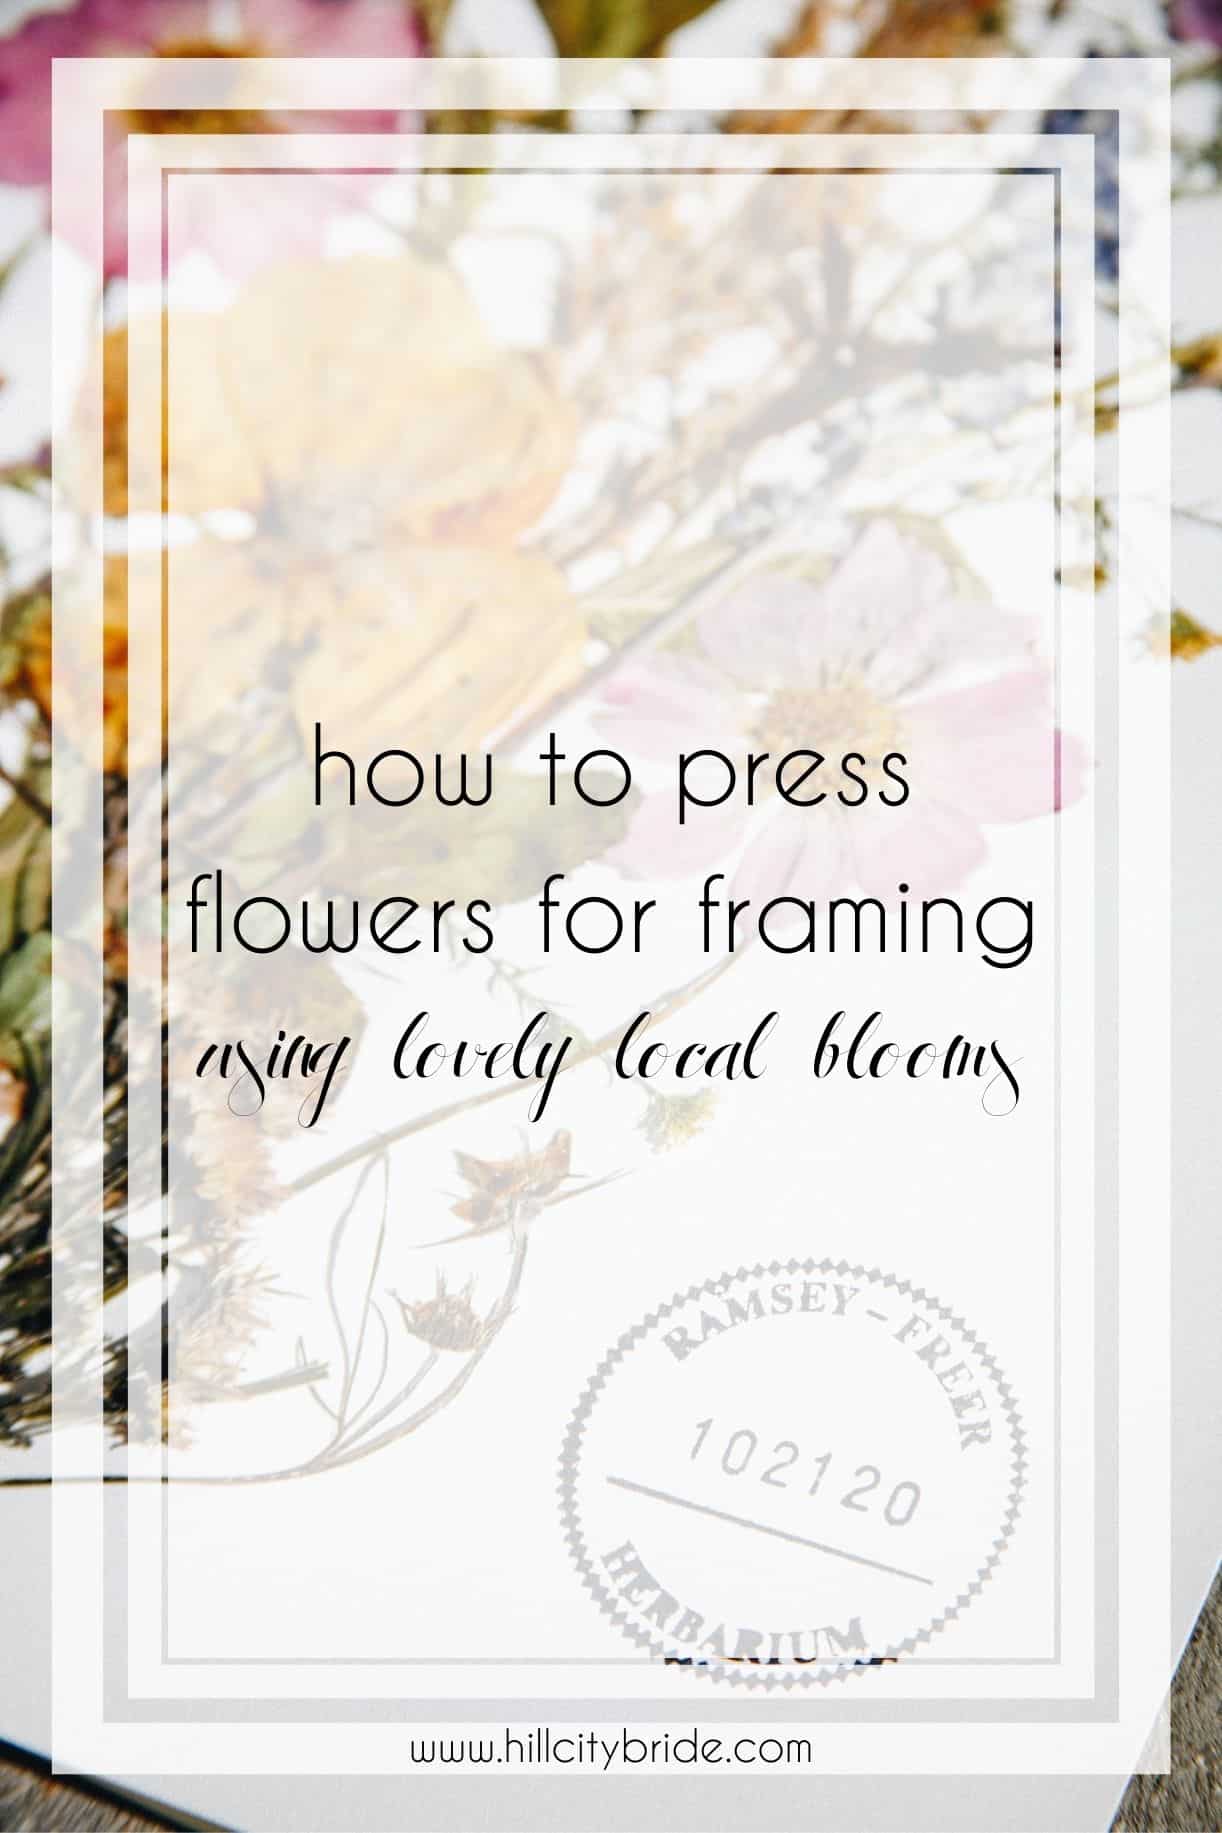
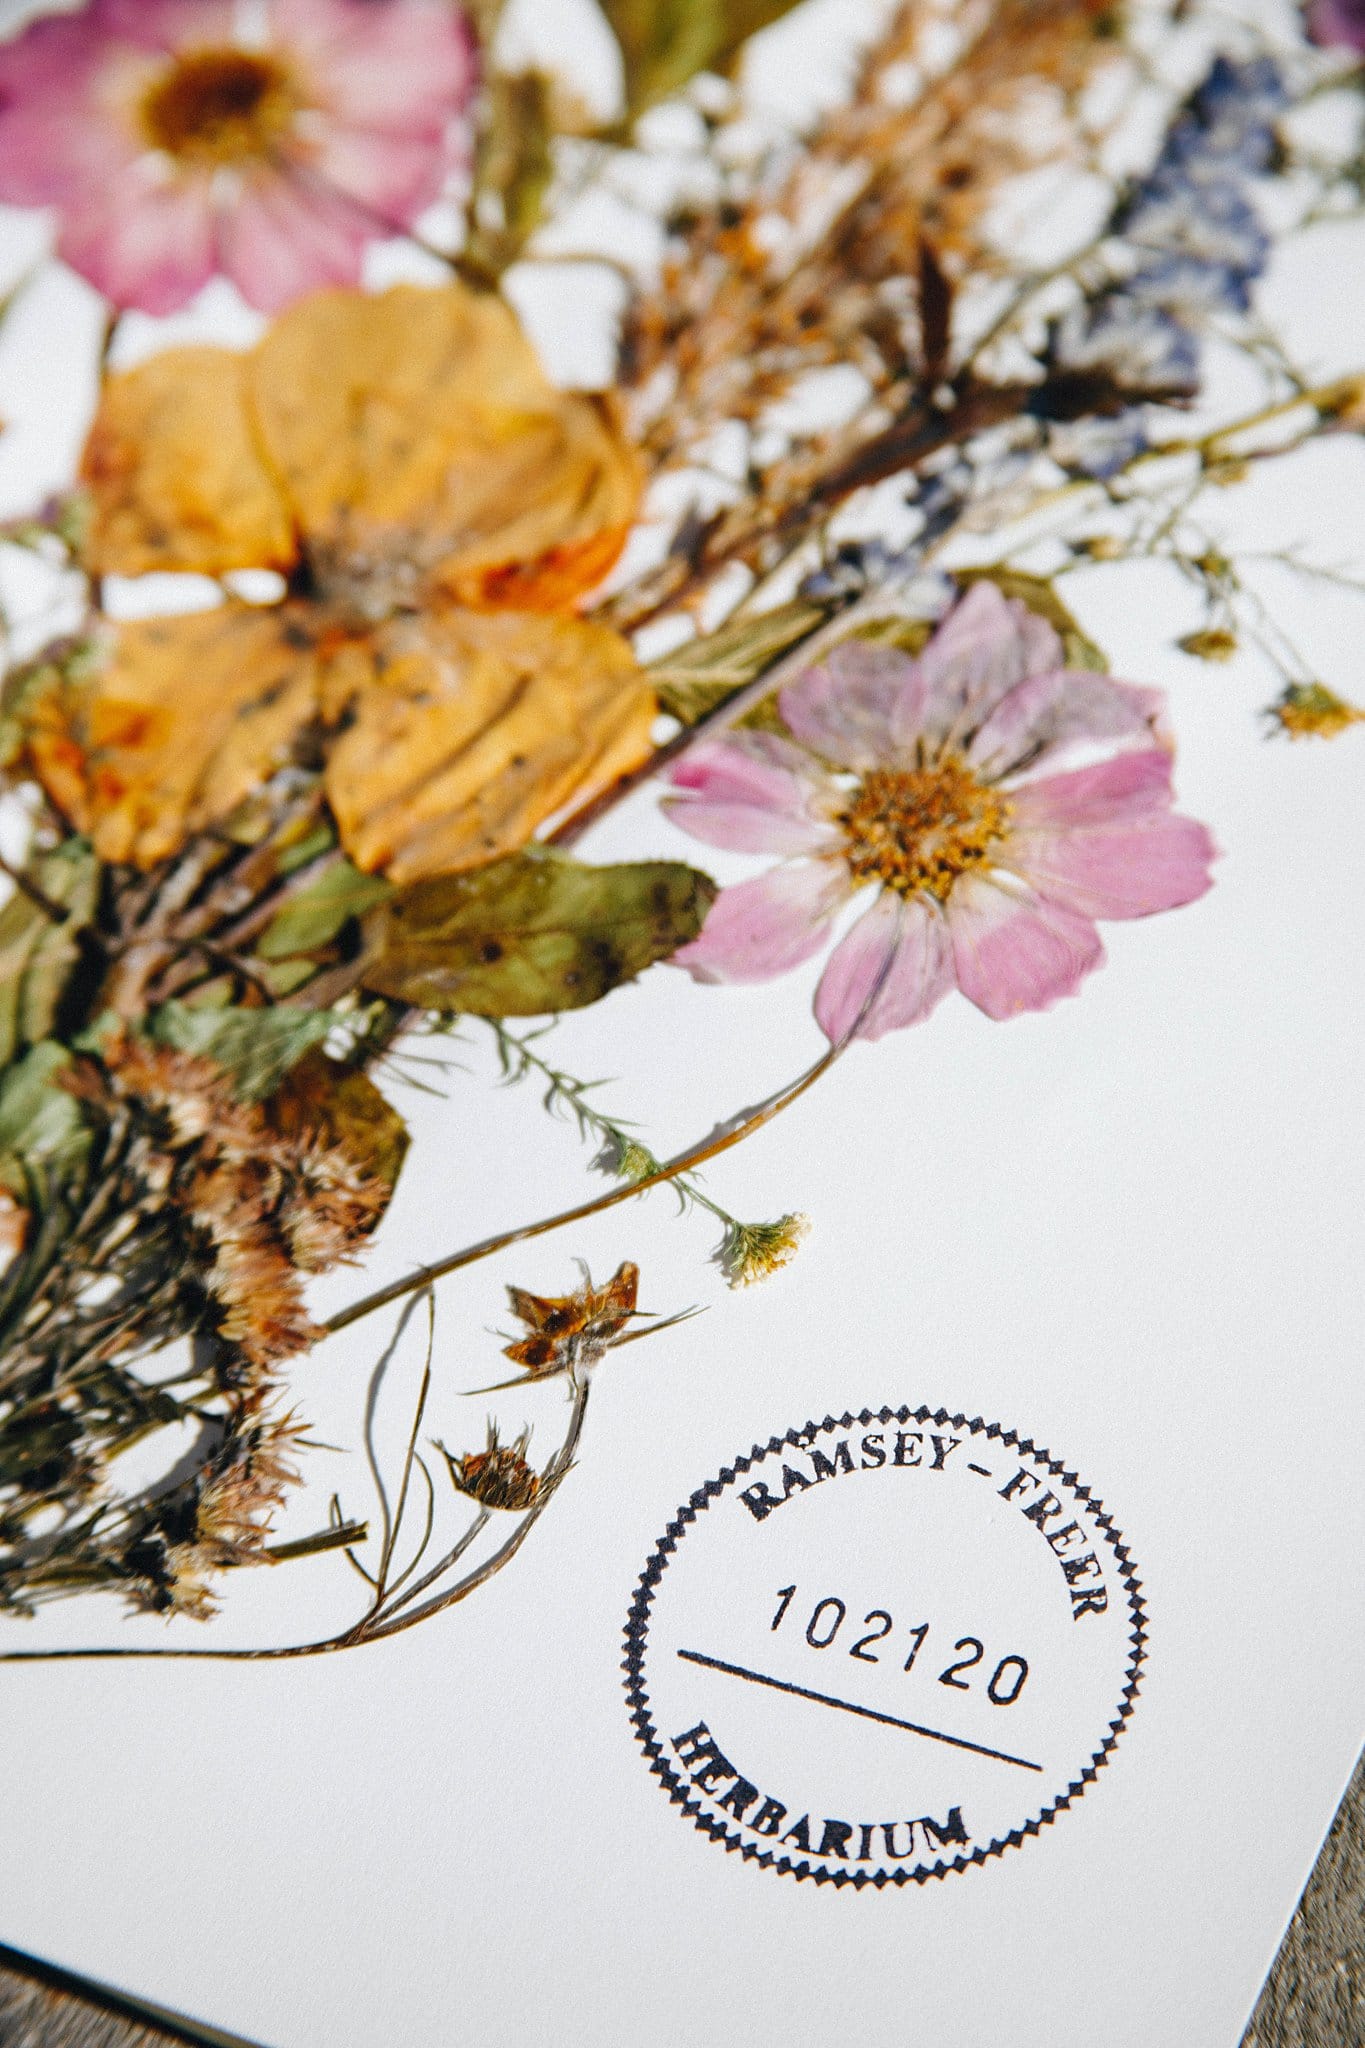
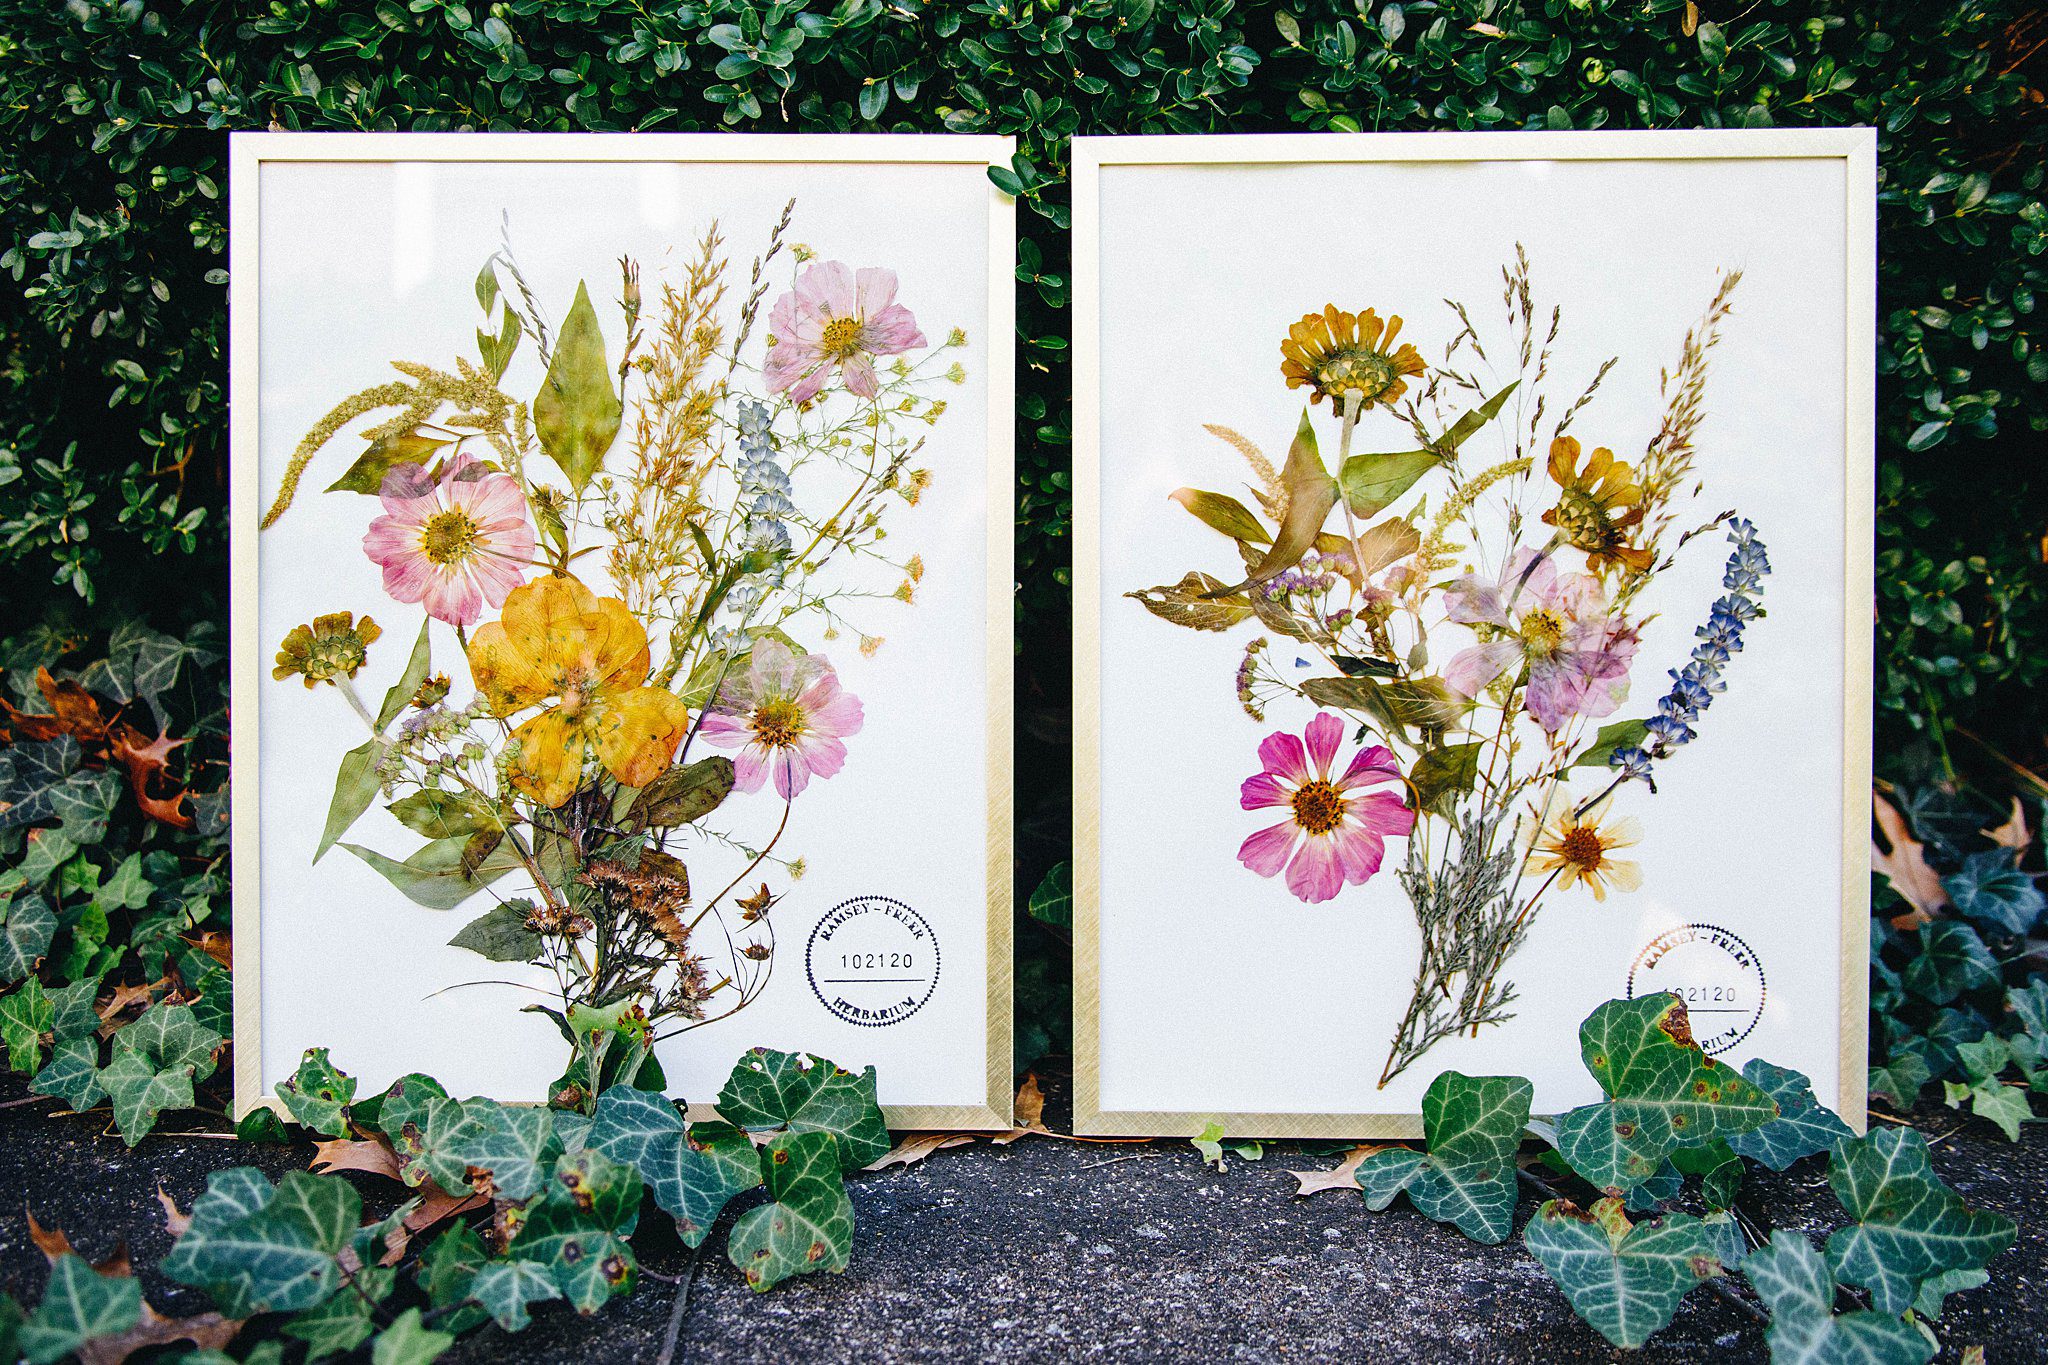
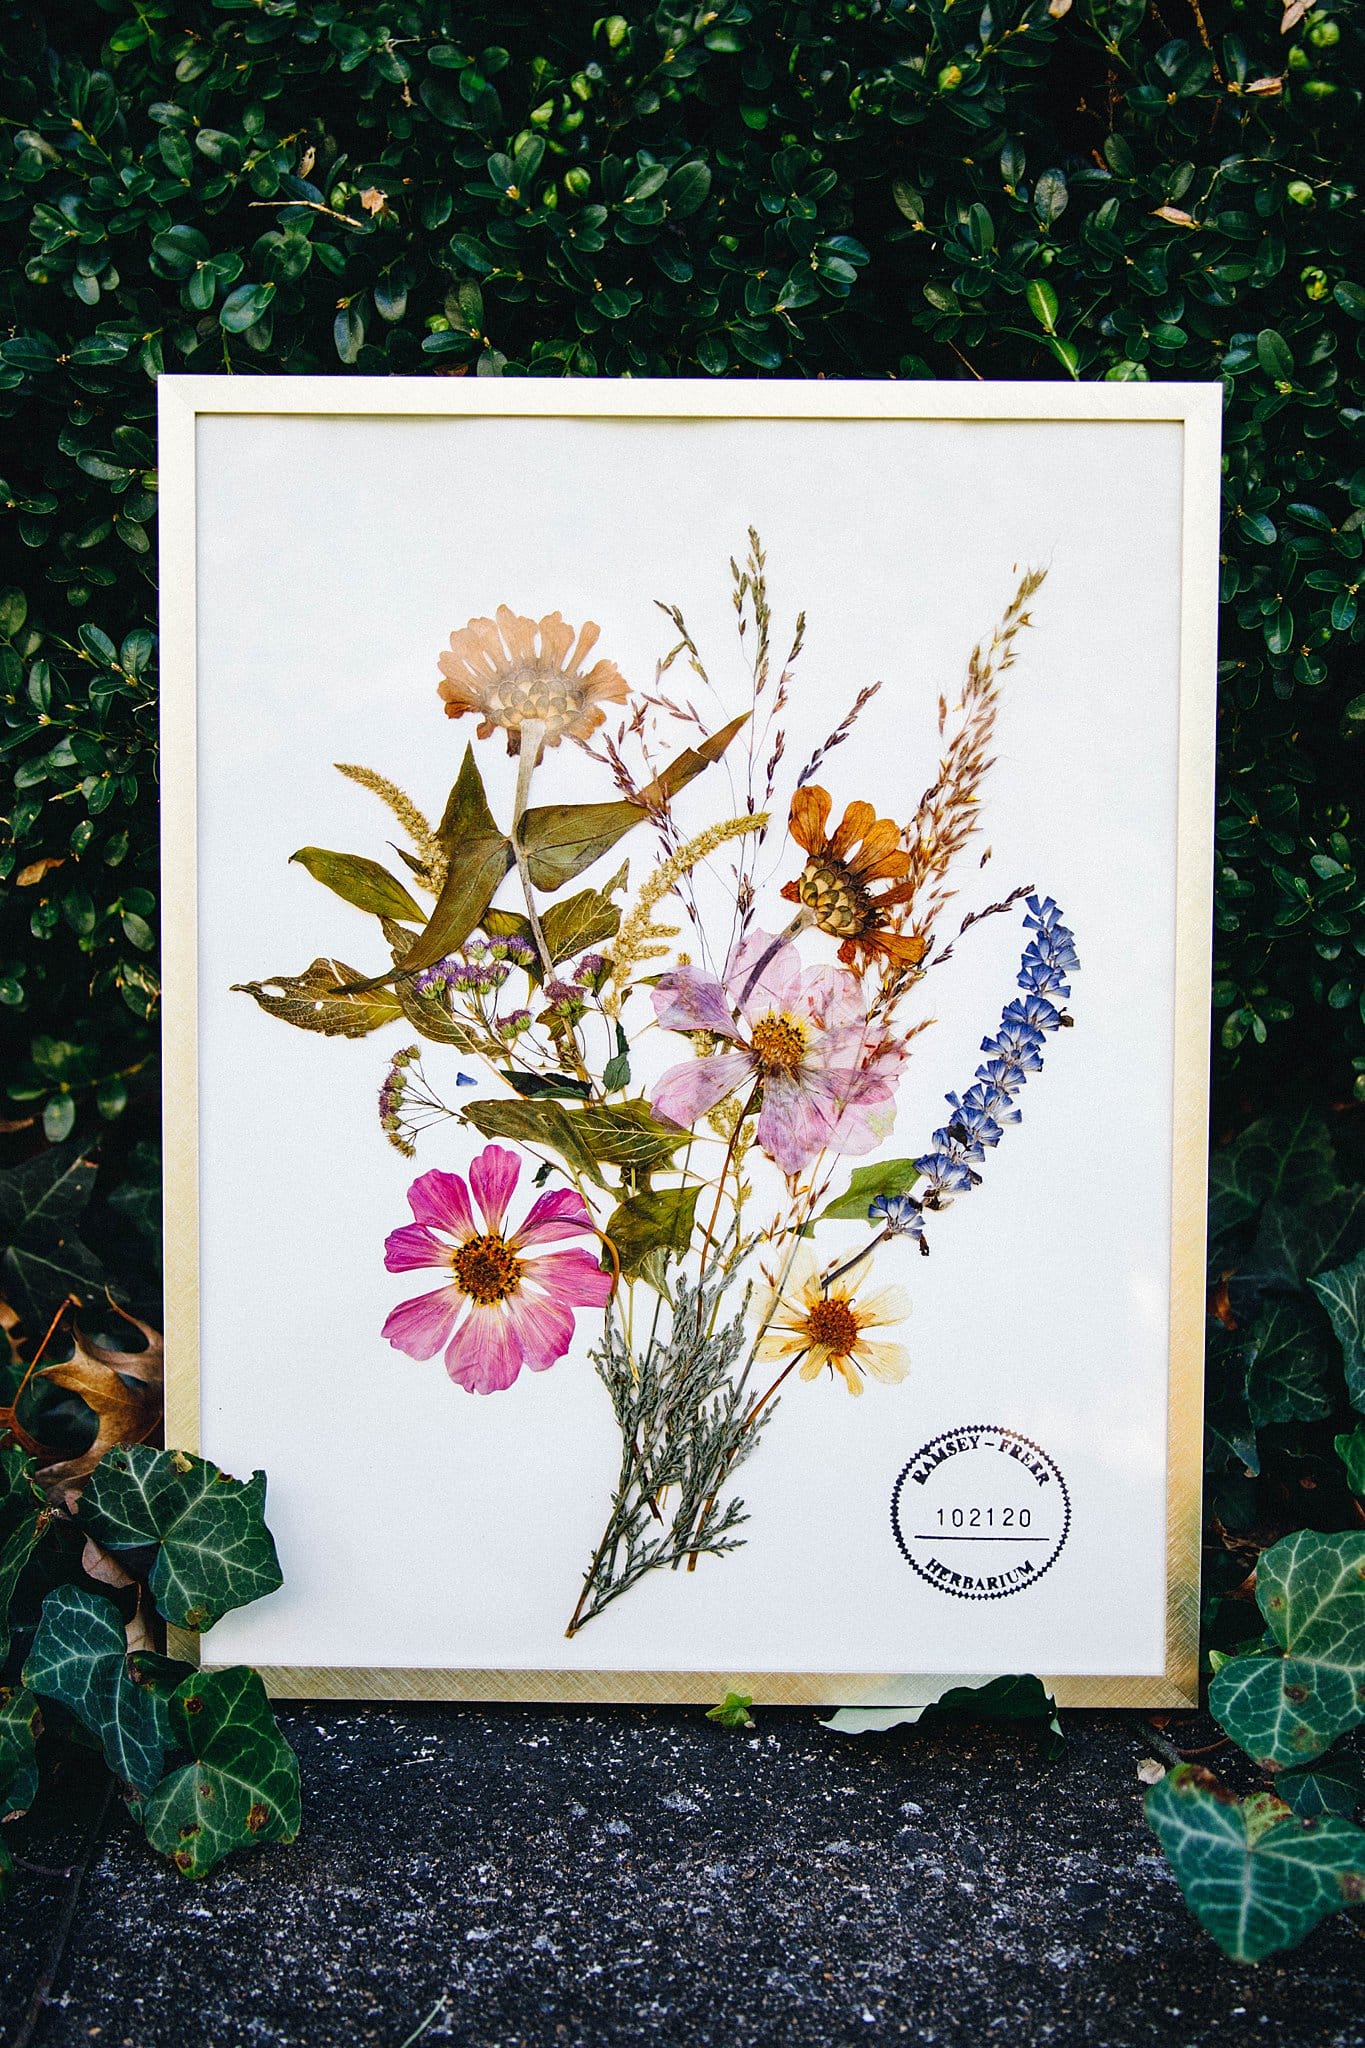
Guests were able to keep their gorgeous pressed flower art, which featured the Ramsey-Freer Herbarium seal. What a special touch!
What a lovely keepsake from time spent with friends in celebration. Learning how to press flowers for framing with friends is a wonderful activity for a bridal shower, bachelorette, girls’ night out, or even a baby shower.
Learn How to Press Flowers for Framing
If you live in Virginia, you can have the same experience of learning how to preserve pressed flowers. Cloverlea Farmhouse is a lovely location. Plus, making pressed flower art with your friends is such a memorable experience.
A Special Note About the Project’s Curator
Dr. Nancy Cowden, who was the curator of the Ramsey-Freer Herbarium of the Biology Department at the University of Lynchburg, taught guests how to press flowers.
Dr. Cowden had a love for plants and a heart for others. She passed away suddenly, and we thank her for teaching others to love nature and its beauty.
Want to learn how to press flowers for framing? Save it!
Thank you to Gray Cat Photos for the use of their images.

