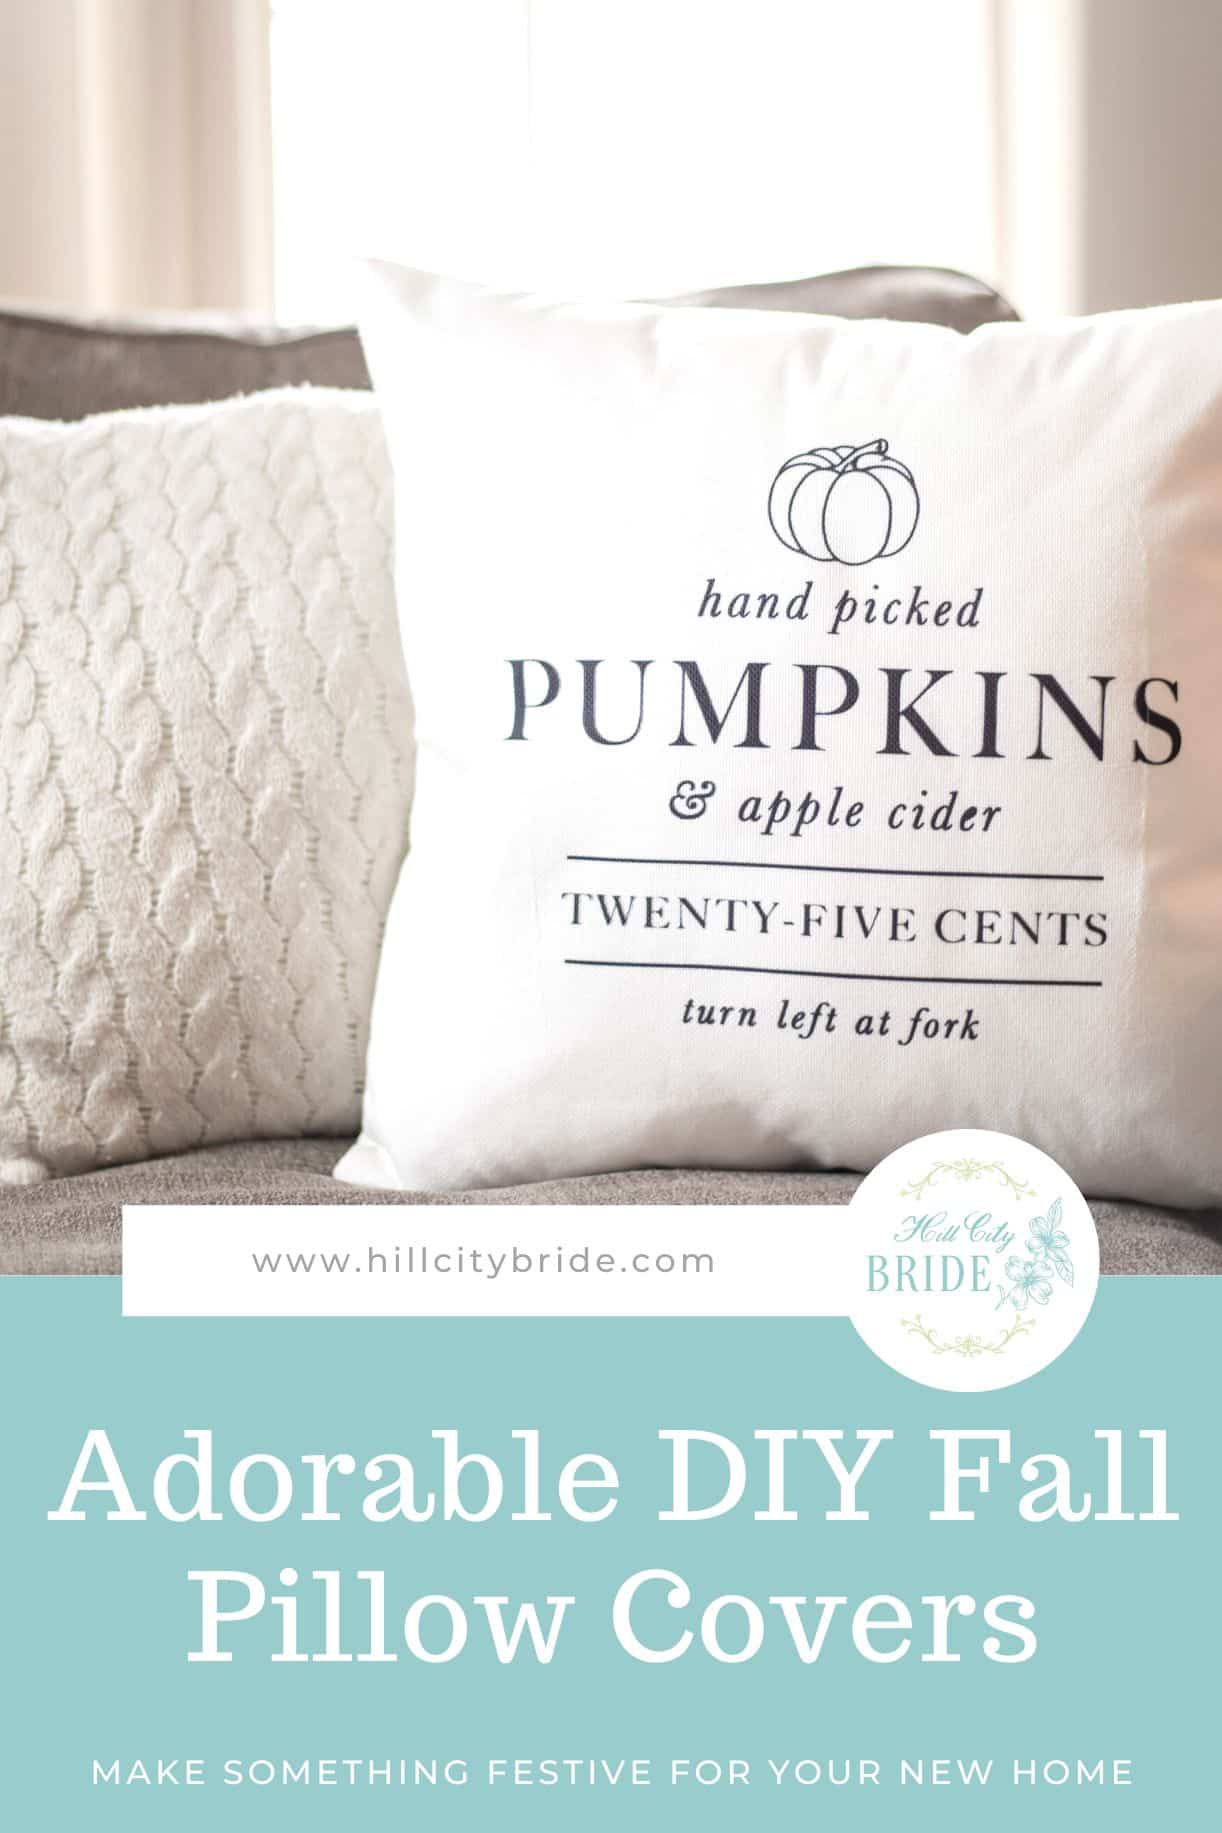
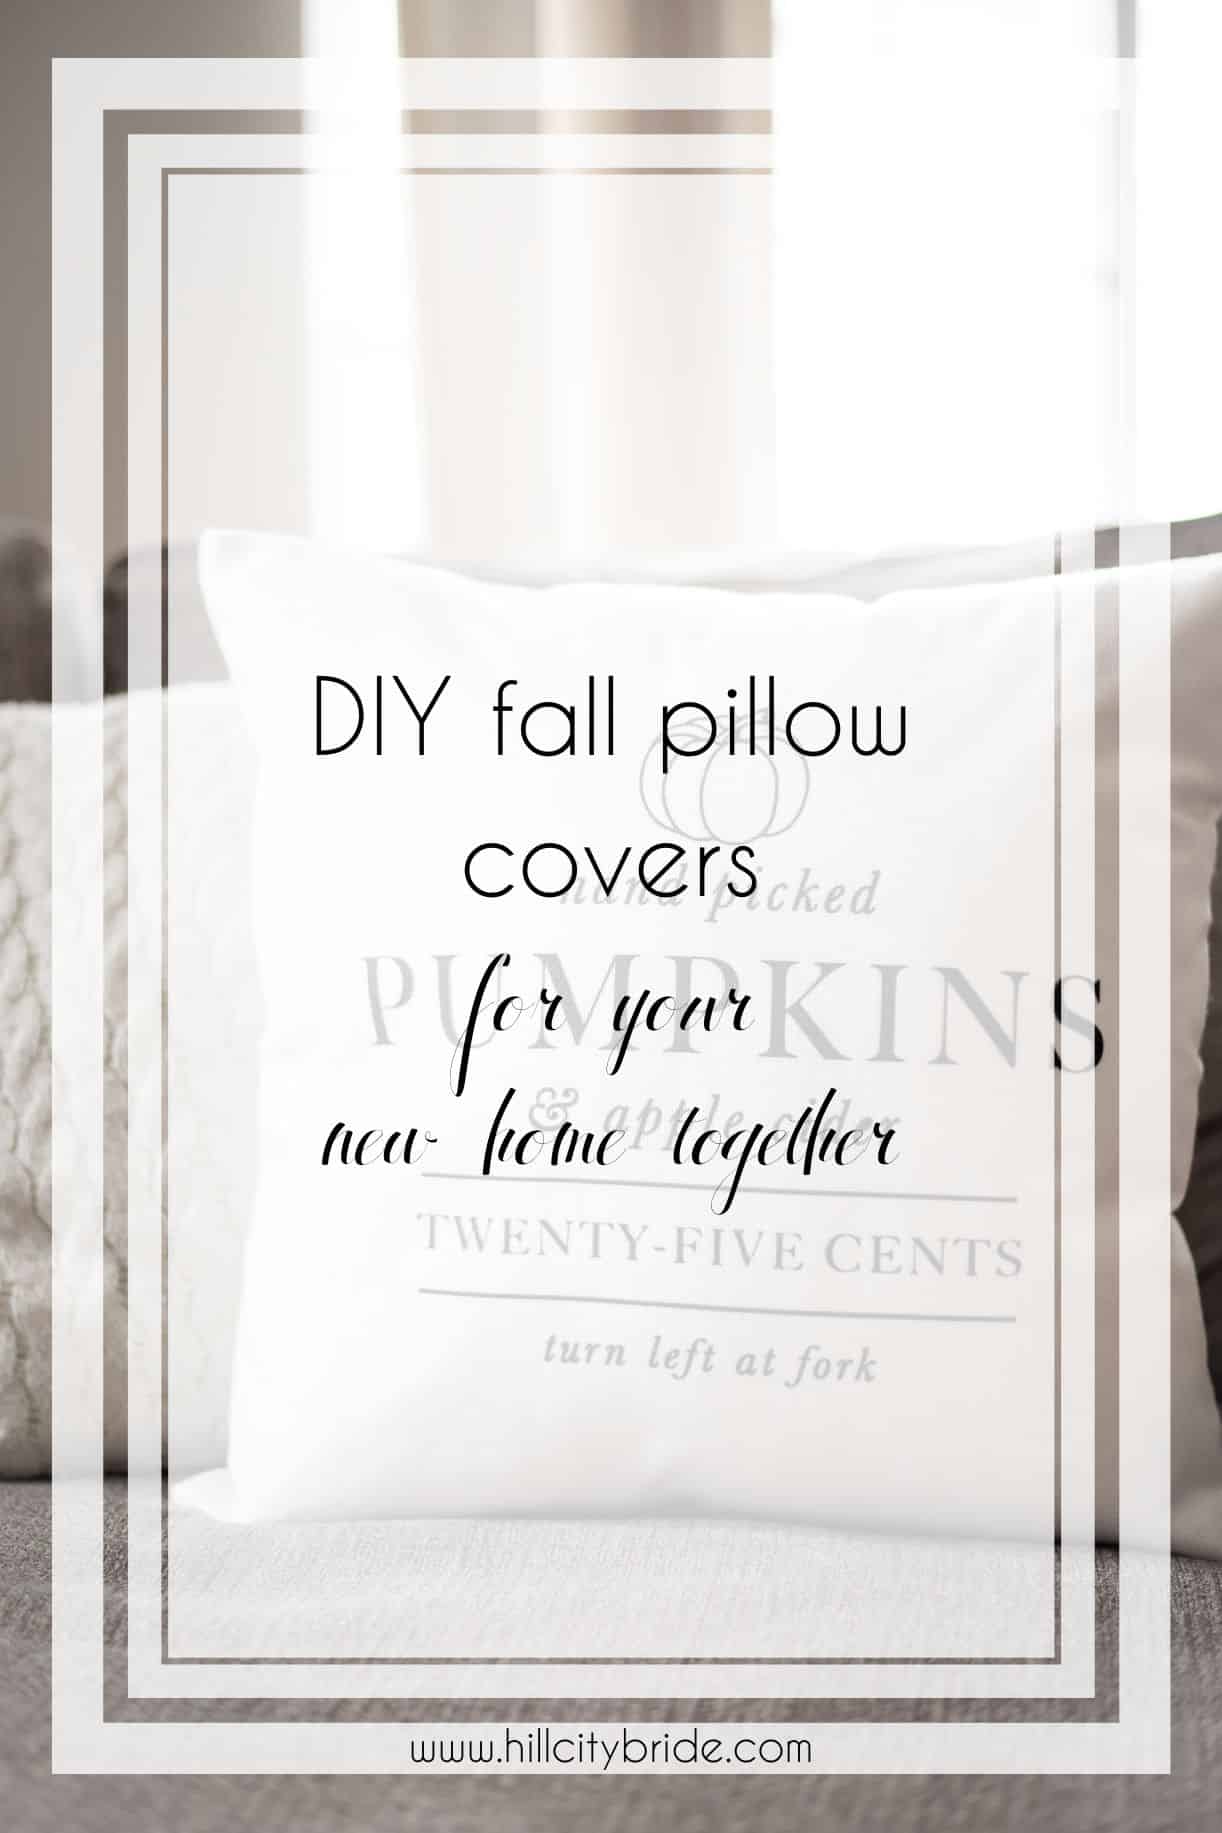
Once you’re married, you’ll have your new home to concentrate on. And these DIY fall pillow covers are the perfect accent for autumn. As a result, they’re the perfect way to add whimsy to your fall decor.
How to Decorate With Fall Pillows
1. Embrace autumnal hues.
Mix pillows with varying tones—think traditional fall tones and neutrals—for an engaging look. Whether that means bold fall tones in solids and strips or motifs with pumpkins and leaves, do what matches your style and taste.
2. Play with texture.
Fall is all about warmth and comfort, so achieve this by adding texture. Think about using sweater knits or velvet for your pillows. You can also layer pillows of varying fabrics for more depth and coziness.
3. Incorporate seasonal patterns.
Don’t shy away from patterns that scream autumn. Floral designs, plaid prints, or motifs featuring leaves, pumpkins, or even woodland animals can bring a festive touch to your home.
4. Mix and match shapes.
Don’t limit yourself to just square pillows! Throw pillows come in round, rectangular, and all sorts of fun shapes. Again, you can combine lots of different styles to create the look you want.
5. Create a focal point.
One creative way to utilize throw pillows is by arranging them in a way that serves as a centerpiece for your seating area. Group them at the sides or in the middle for a strategic look.
6. Put pillows outside.
Fall is also an excellent time to enjoy the outdoors, and adding throw pillows to your patio or deck can enhance your outdoor aesthetic. Look for pillows made with weather-resistant fabrics. Who says you can’t bring the indoors out in any season (and vice versa!).
7. Make seasonal swaps.
As the season changes, consider swapping your decorative throw pillows to keep things fresh. You can store your summer pillows and replace them entirely or rotate fall pillows in and out as the weeks go by.
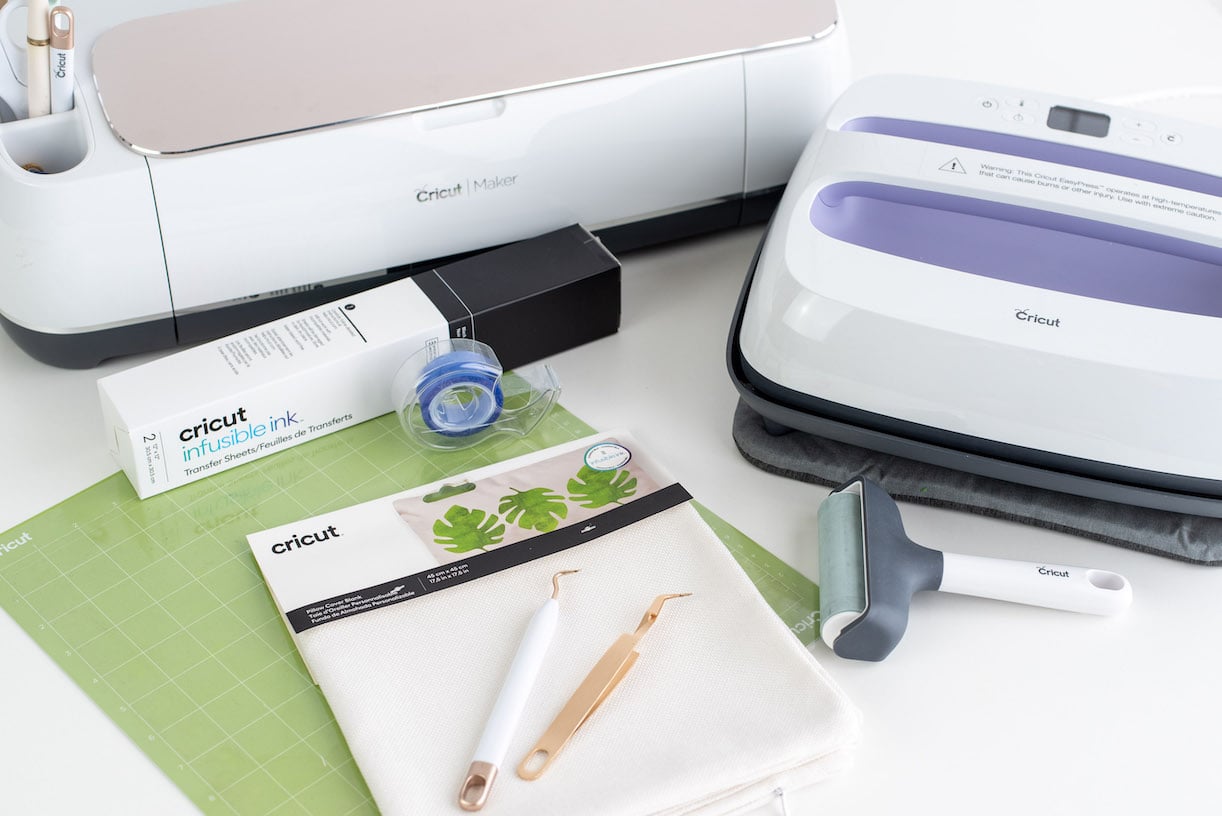
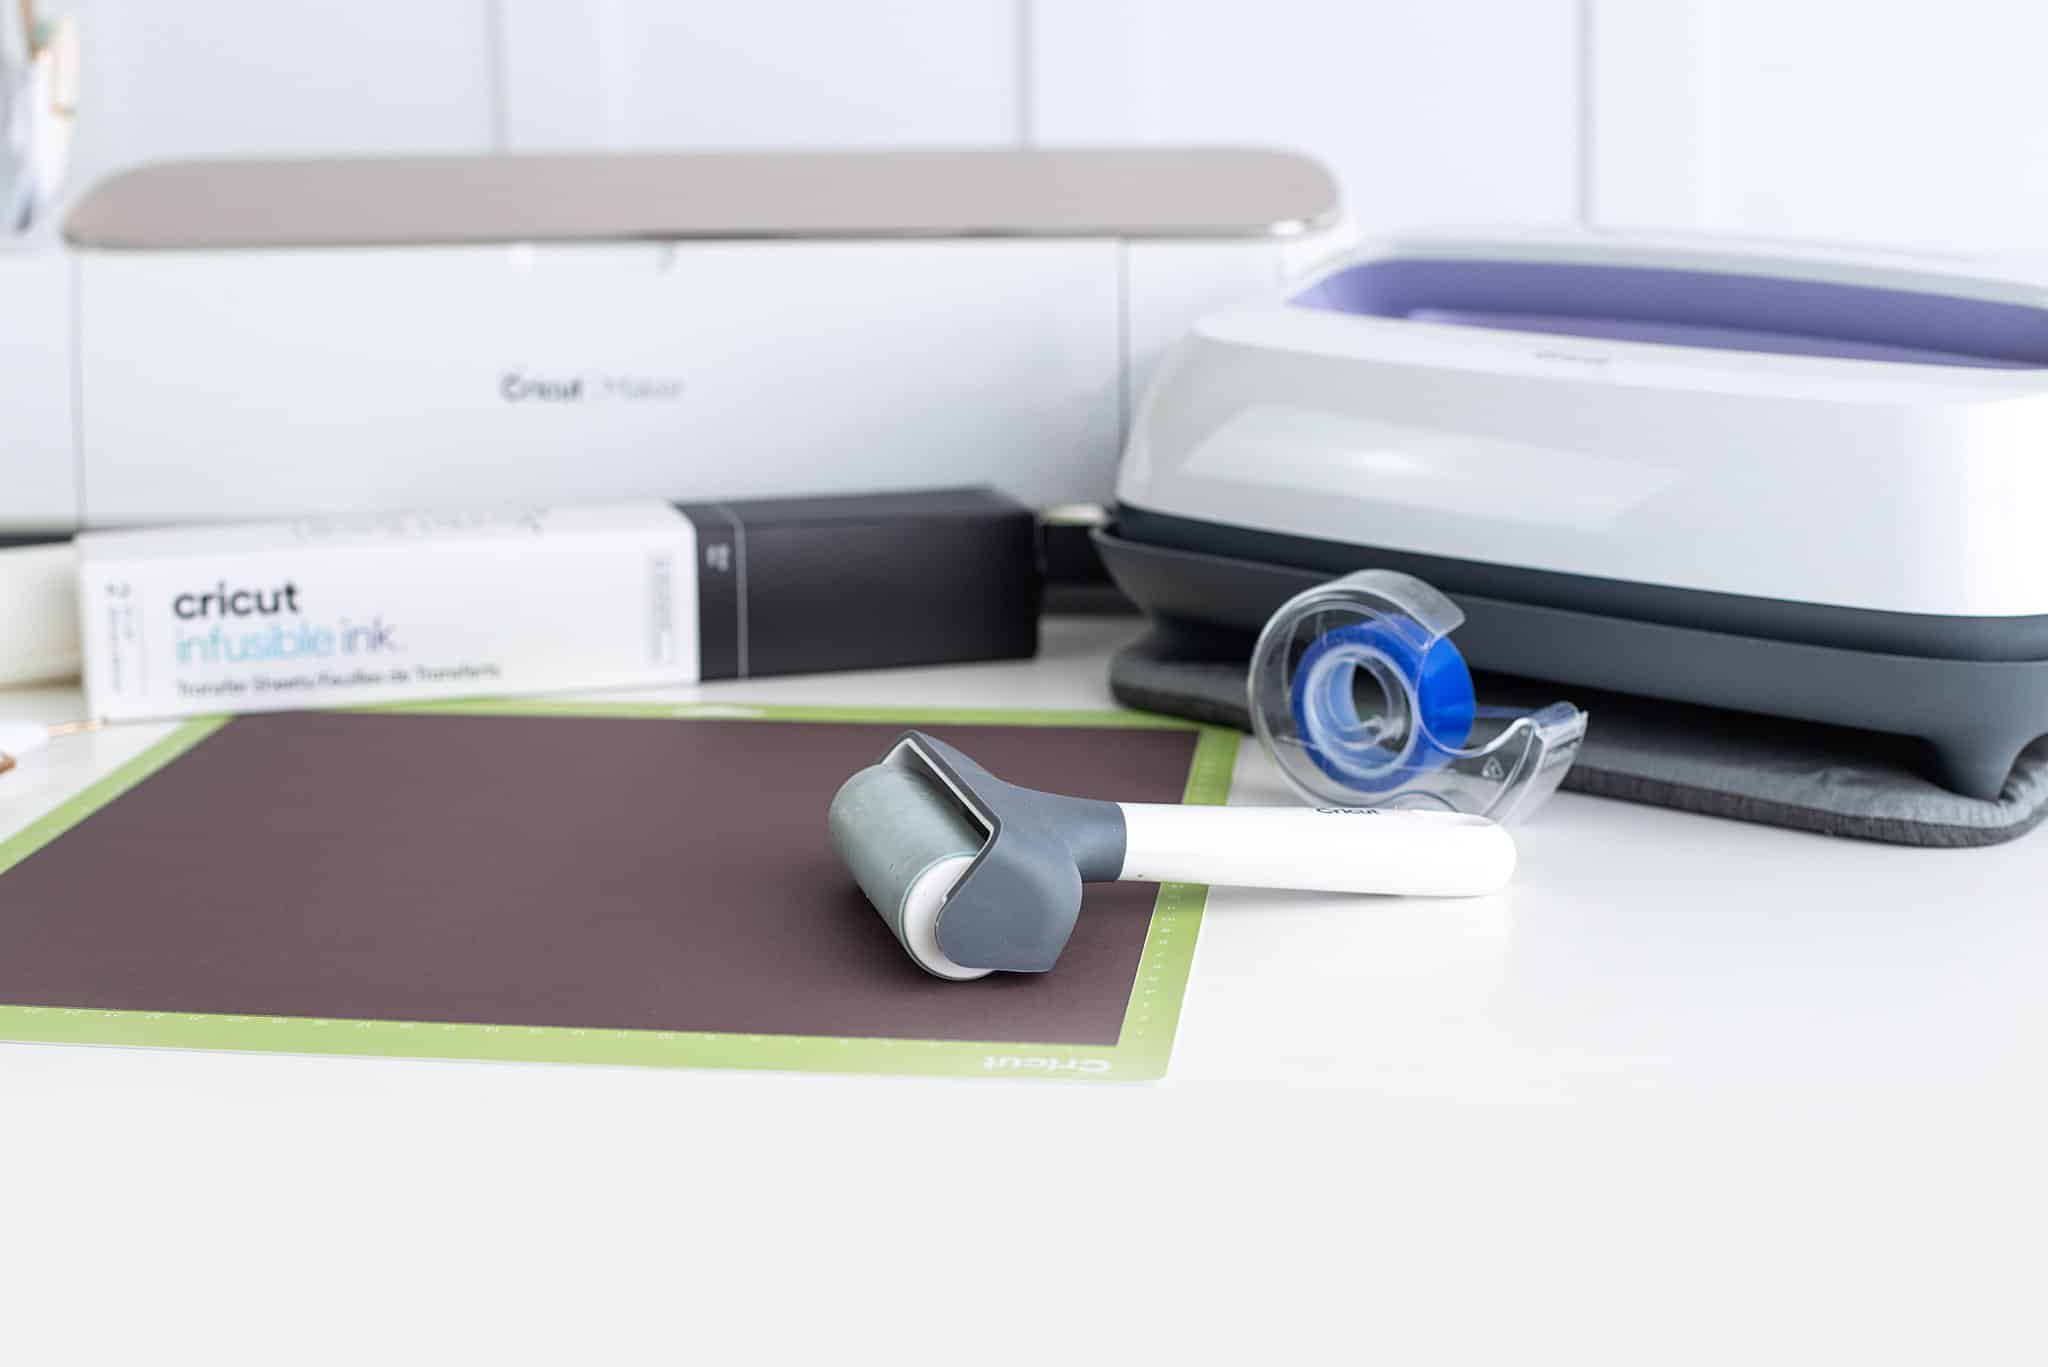
Supplies for DIY Fall Pillow Covers
- Cricut machine
- Iron or heat press
- Infusible ink
- Sublimation pillow cover or infusible ink pillow cover
- Heat-resistant tape
- Weeding tool
- Crafting tweezers
- Cricut mat (blue or green)
- Brayer from Cricut
- Lint roller
- Pillow form insert

Autumn Pillow Cover Instructions
Step 1: Design the Space
- Download the SVG file here, or view it below.
- Upload the file to the design space, and change the sizing accordingly. This will depend on the size of your pillow cover. Consequently, the largest cut is 11.5” x 11.5”, so plan beforehand.
- Hit “make it” to continue designing your pillow cover.
- Once you see it on the preview screen (also known as the grid screen), turn on the “mirror” feature.
- Press “continue.”
- Adjust the material dial to the “infusible ink” setting.
- Use “more pressure” to ensure a clean print.

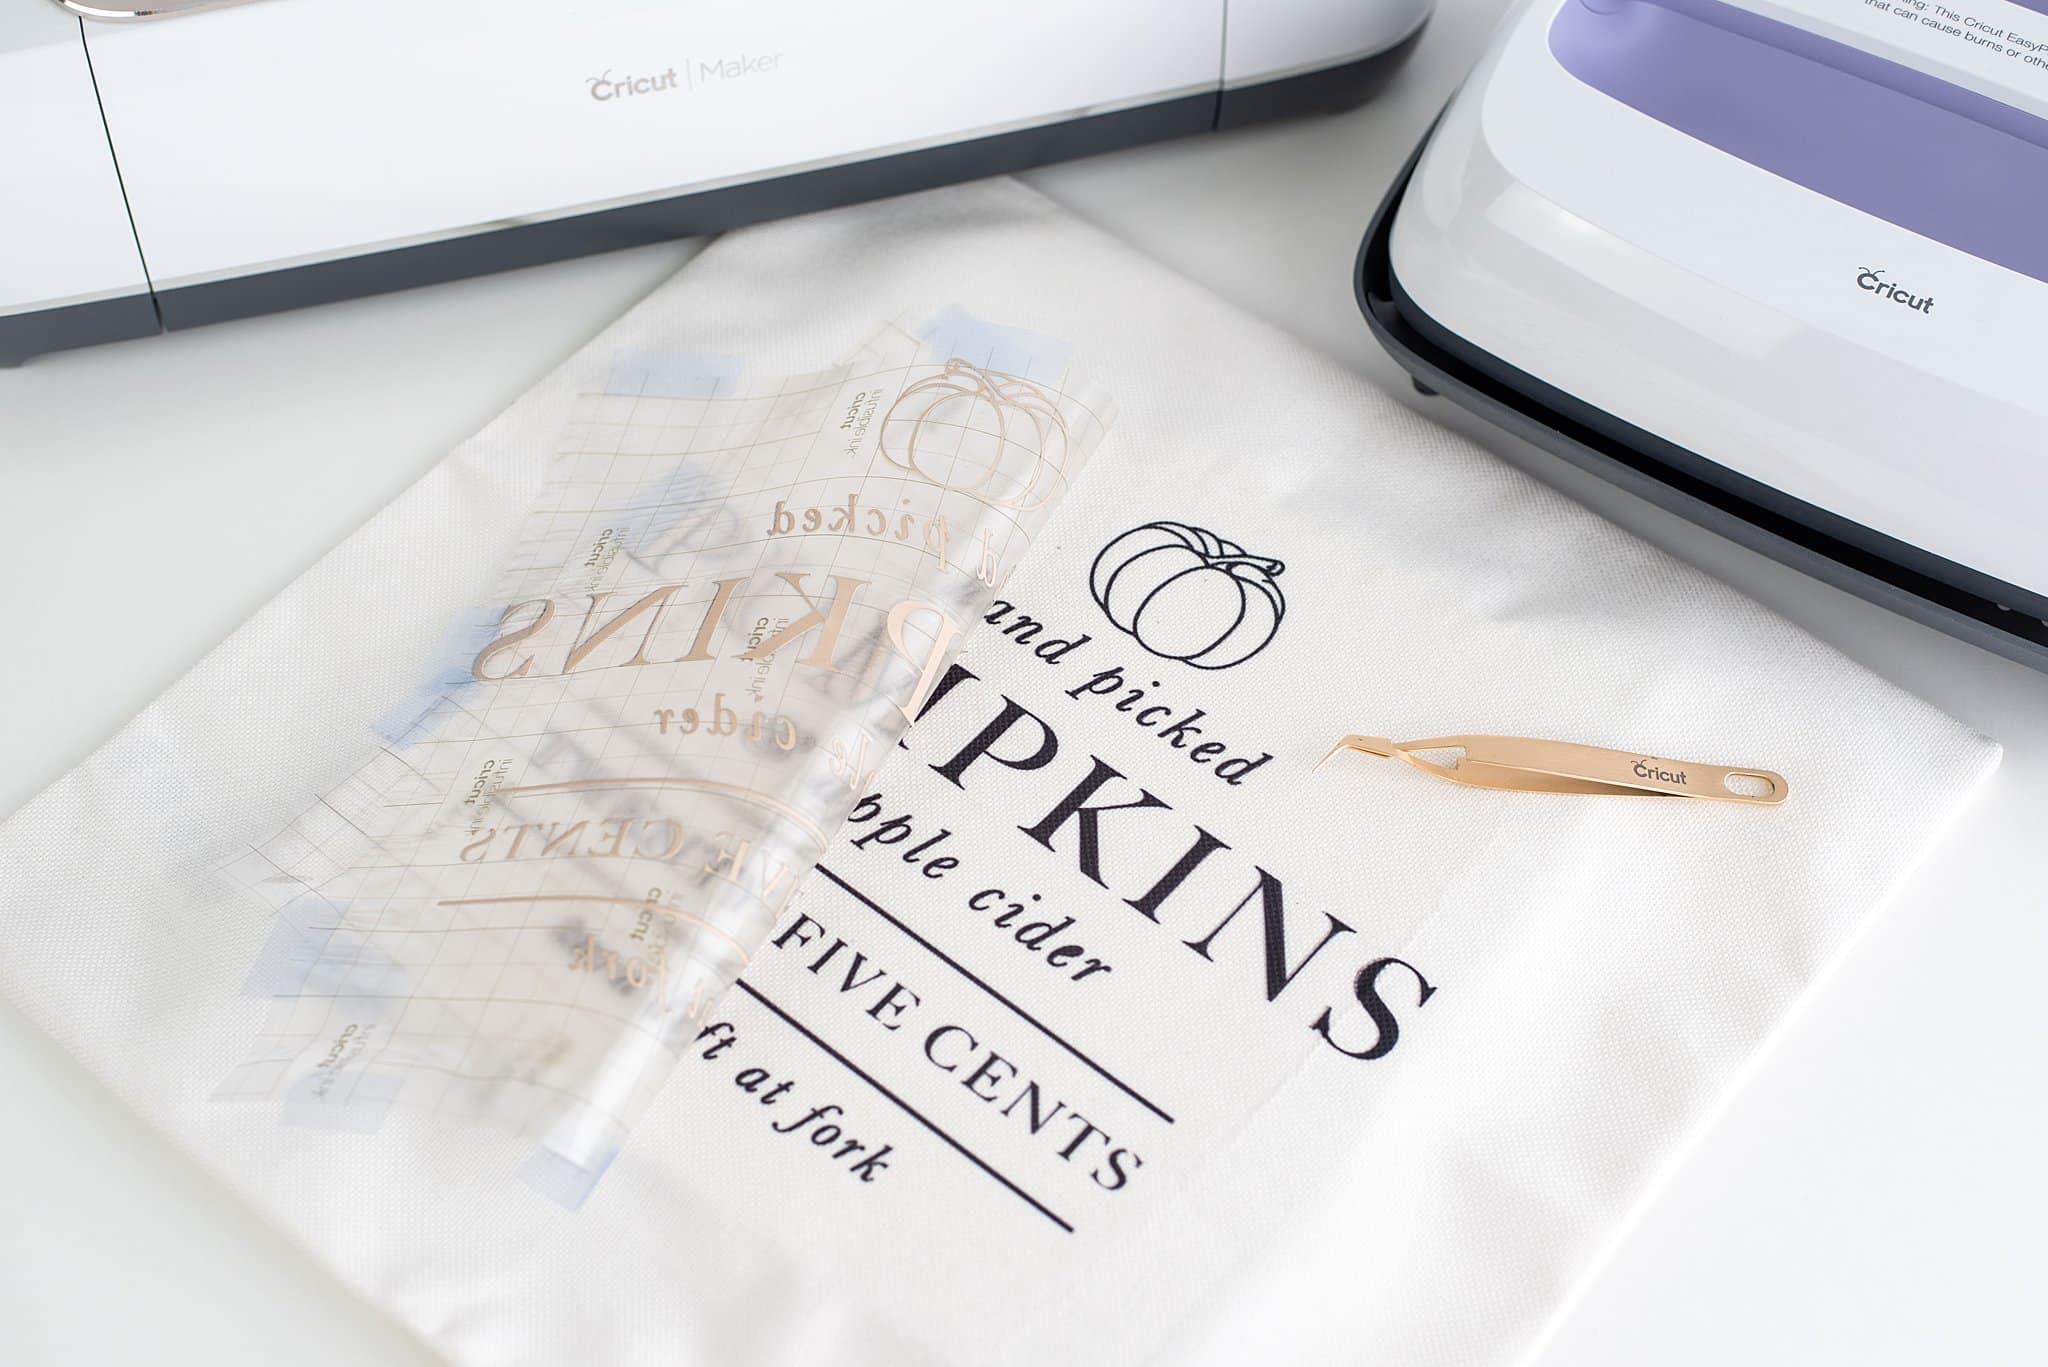
Step 2: Add infusible ink to the mat.
- Carefully remove the infusible ink sheet from the packaging.
- Next, use the brayer tool, and add the infusible ink sheet to the Cricut mat.
- Try not to over-touch the sheet to prevent any natural oils from your hands from interfering with ink transfer.

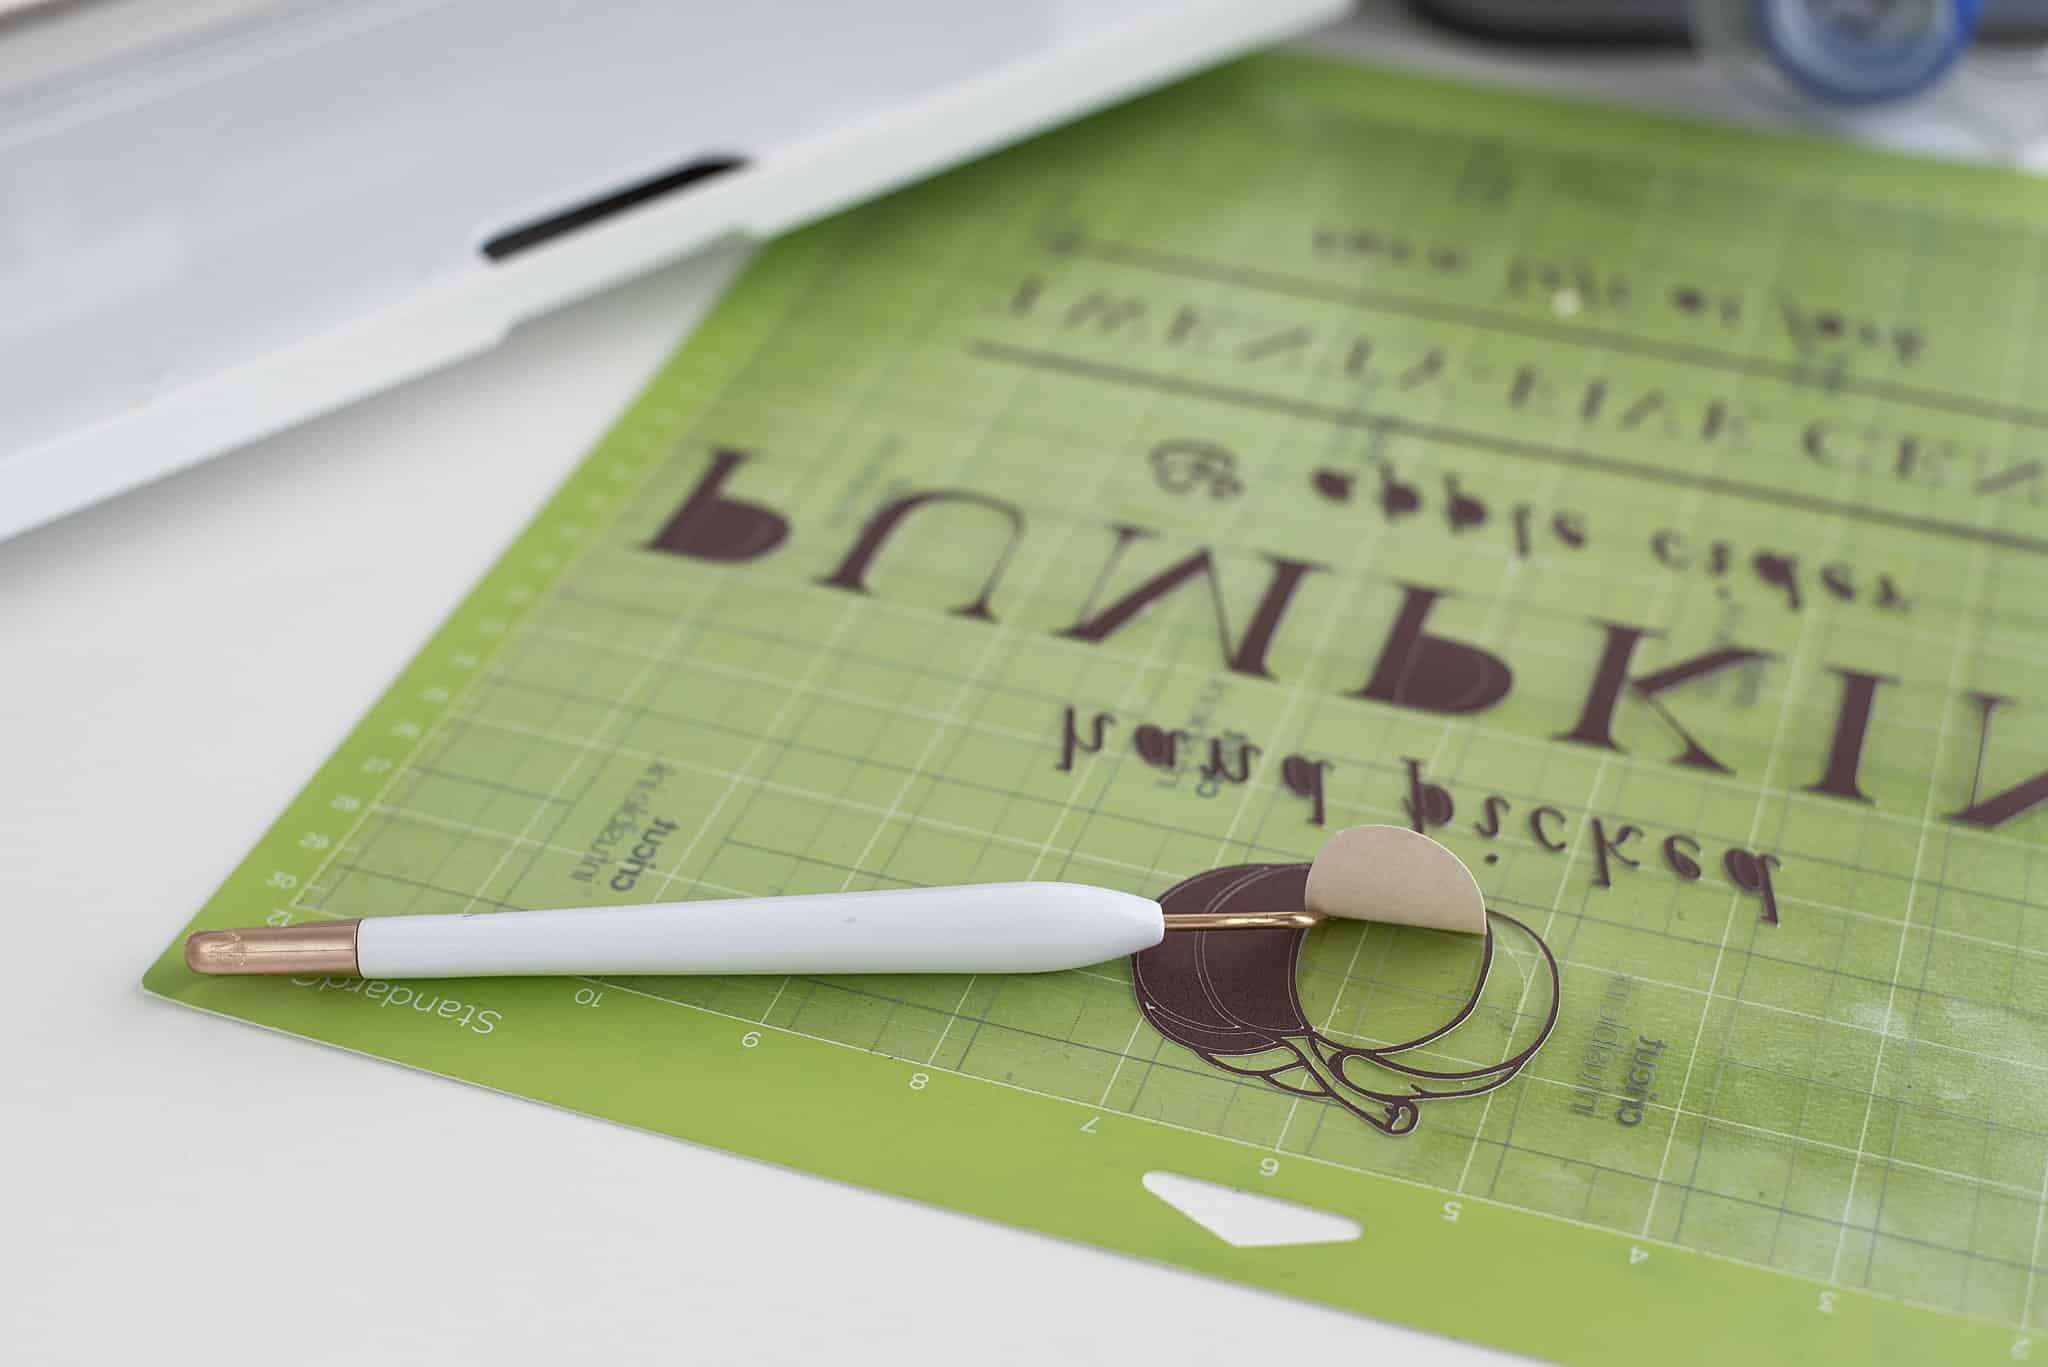
Step 3: Cut and weed the transfer.
- Load the mat into the Cricut machine.
- Push the flashing “go” button to cut.
- Once cut, leave the sheet on the mat, and then begin to weed between and around the letters of the design.
- The infusible ink is thick and may possibly make a cracking sound when removed. Additionally, completely remove it from the mat to fully separate it.
- Use your judgment and apply the tweezers and weeder as necessary to get the small details.
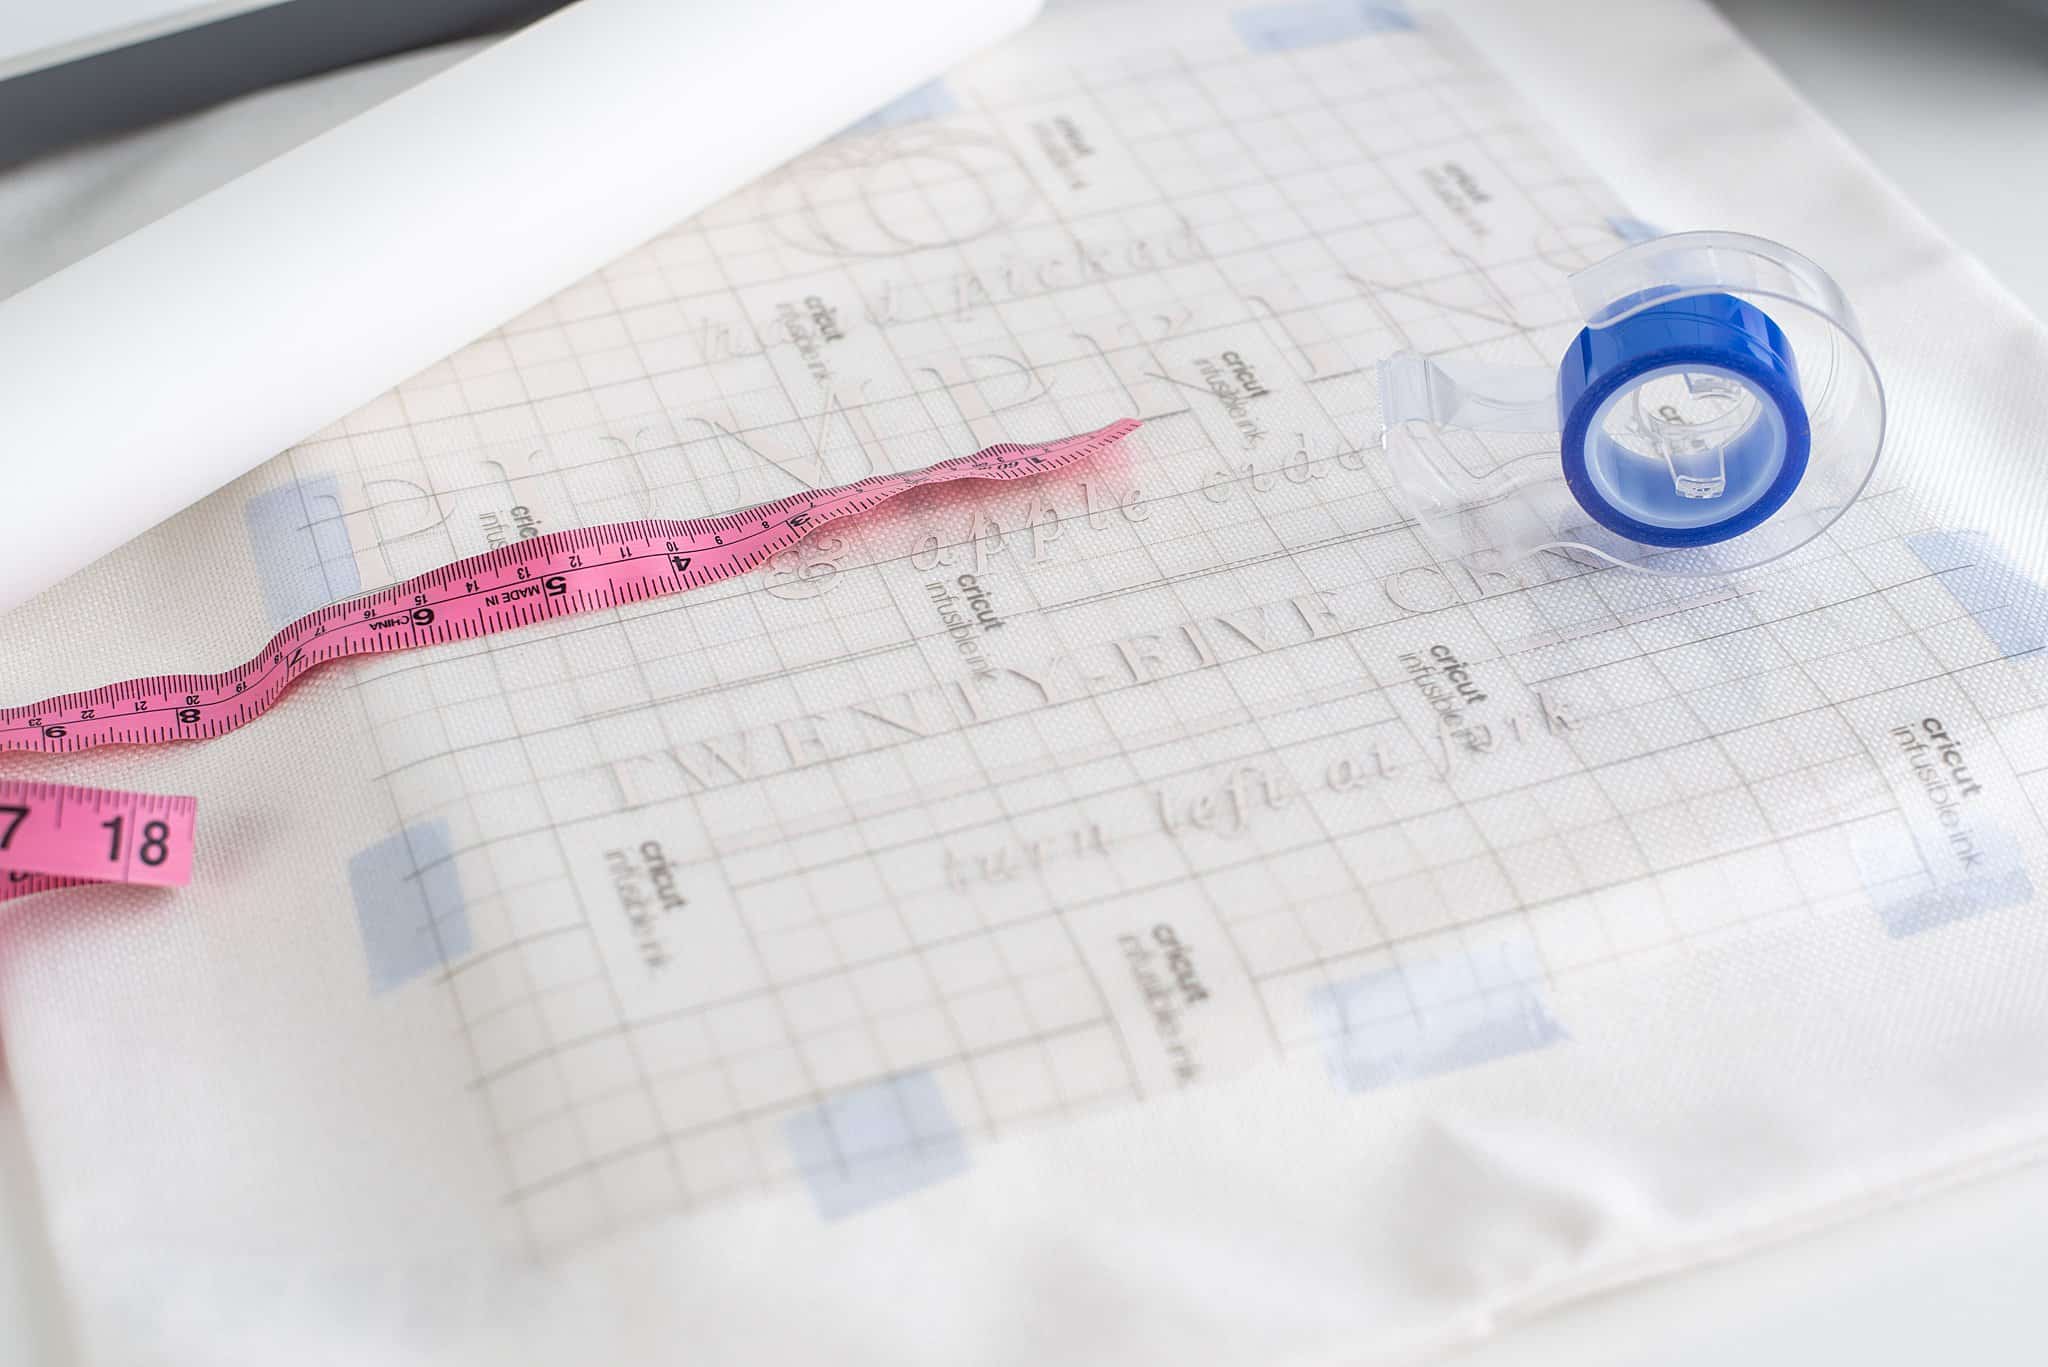
Step 4: Add the infusible ink transfer to the pillow cover.
- Use a lint roller to try and remove any fuzz, pills, or debris from the pillow cover.
- Next, use a measuring tape to center the design.
- Ink face down, place the heat-resistant tape all around the design to hold it in place when you press it.
- Add a sheet of the included butcher paper (it should be in the box) to the pillow’s inside and on top of the design before pressing.
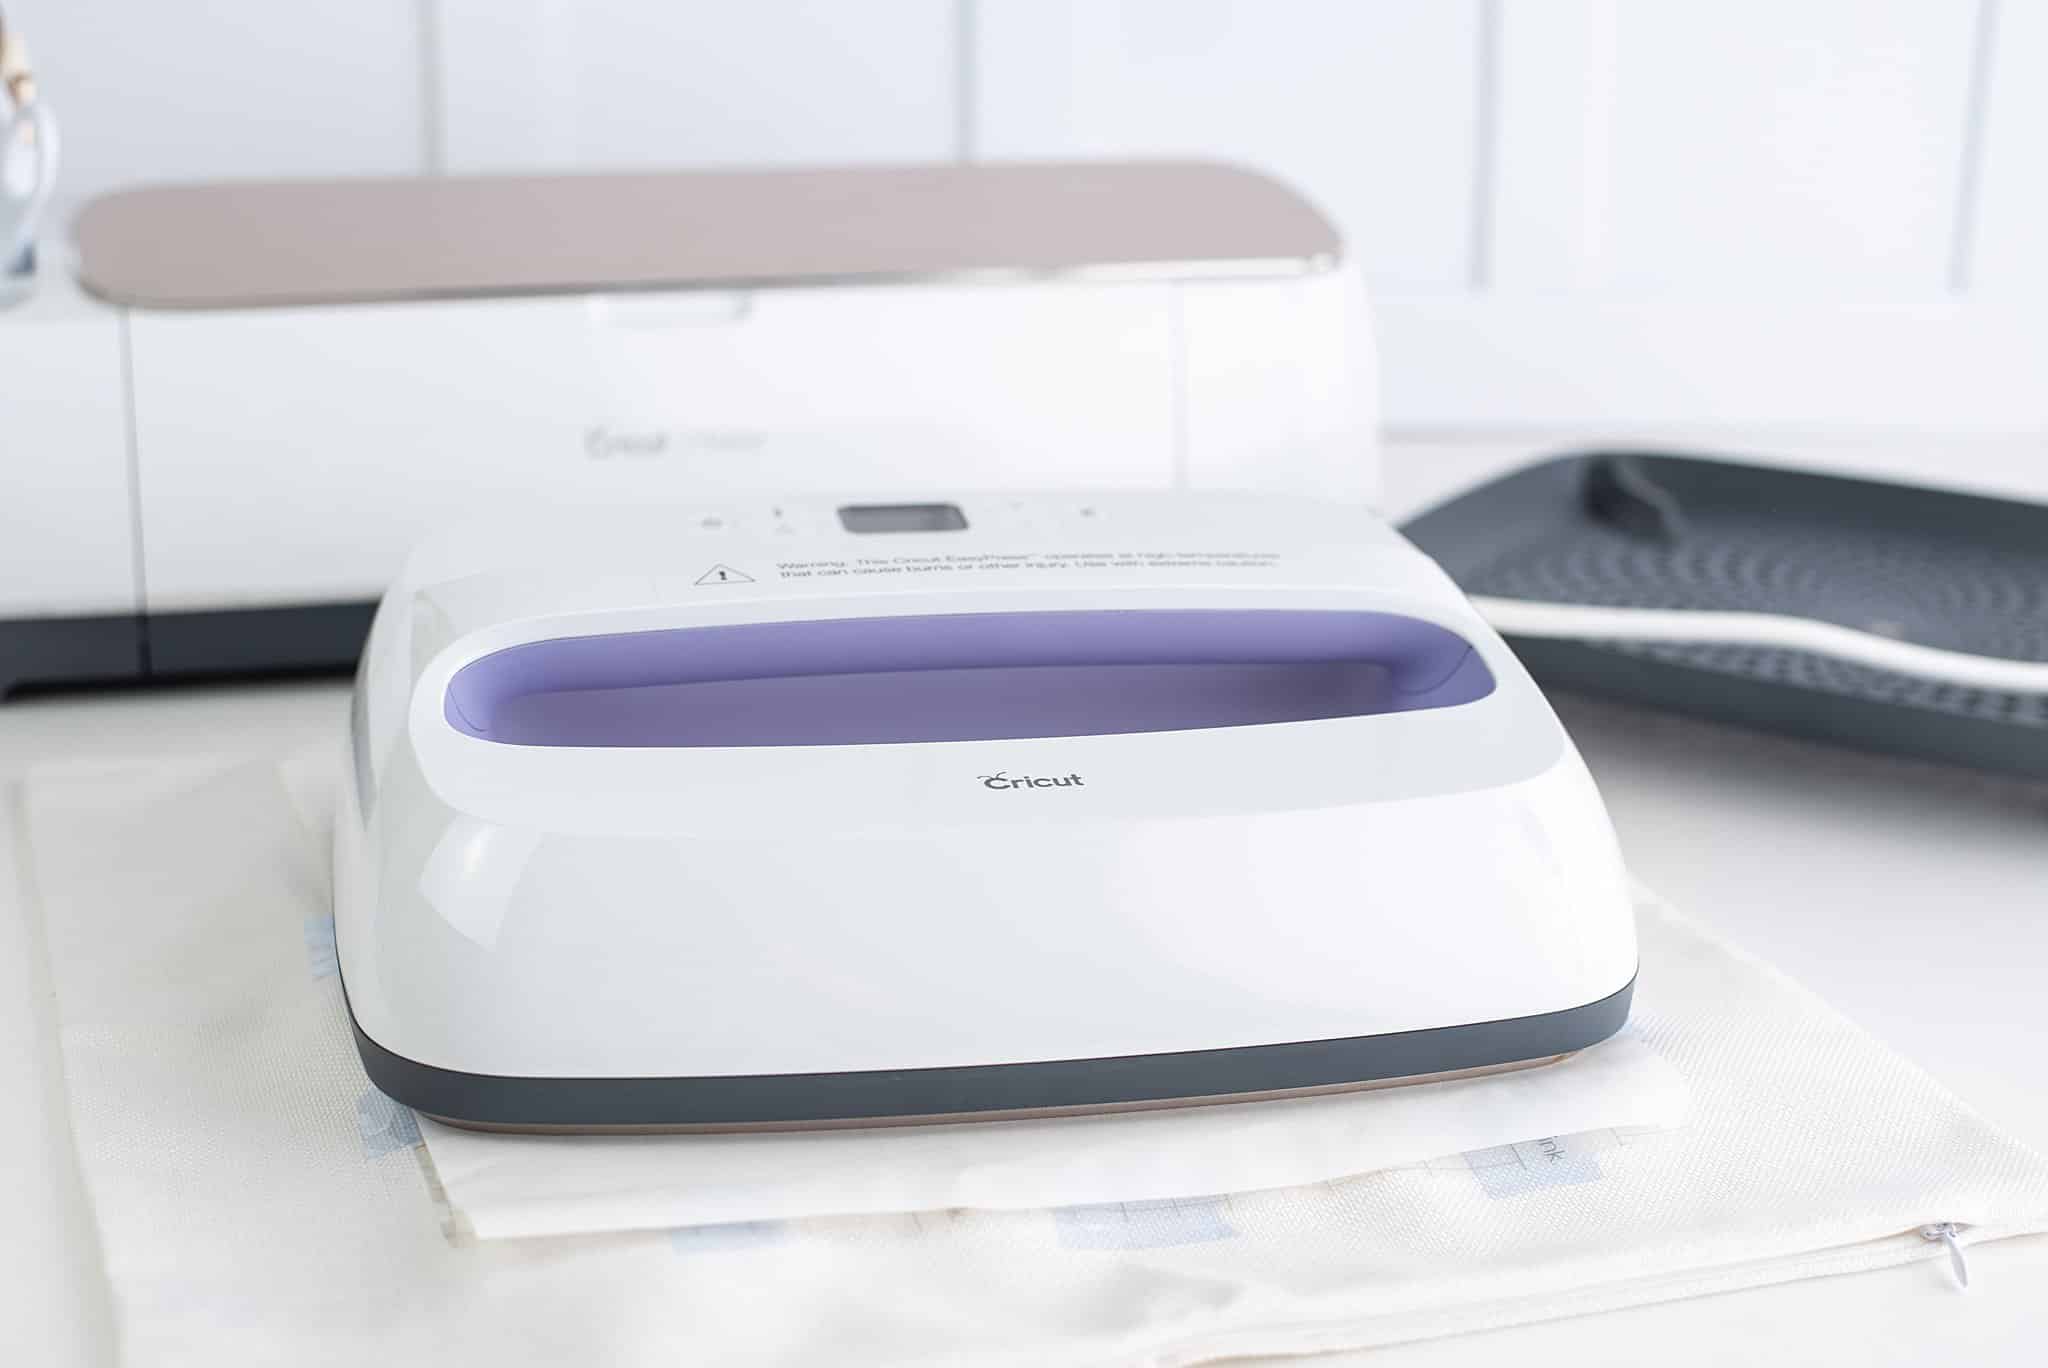
Step 5: Heat press the pillow to transfer the ink.
- Next, as recommended by Cricut, heat the ink at 380 degrees for 60 seconds.
- Press or iron the surface carefully and slowly while lifting the transfer straight off, keeping the design from moving.
Step 6: Remove the transfer paper and add the pillow.
- After the pillow’s surface is completely cooled, remove the tape and transfer.
- Lastly, place your pillow form or poly-fil inside the pillow cover.
- Enjoy!
DIY Fall Pillow Covers Final Result
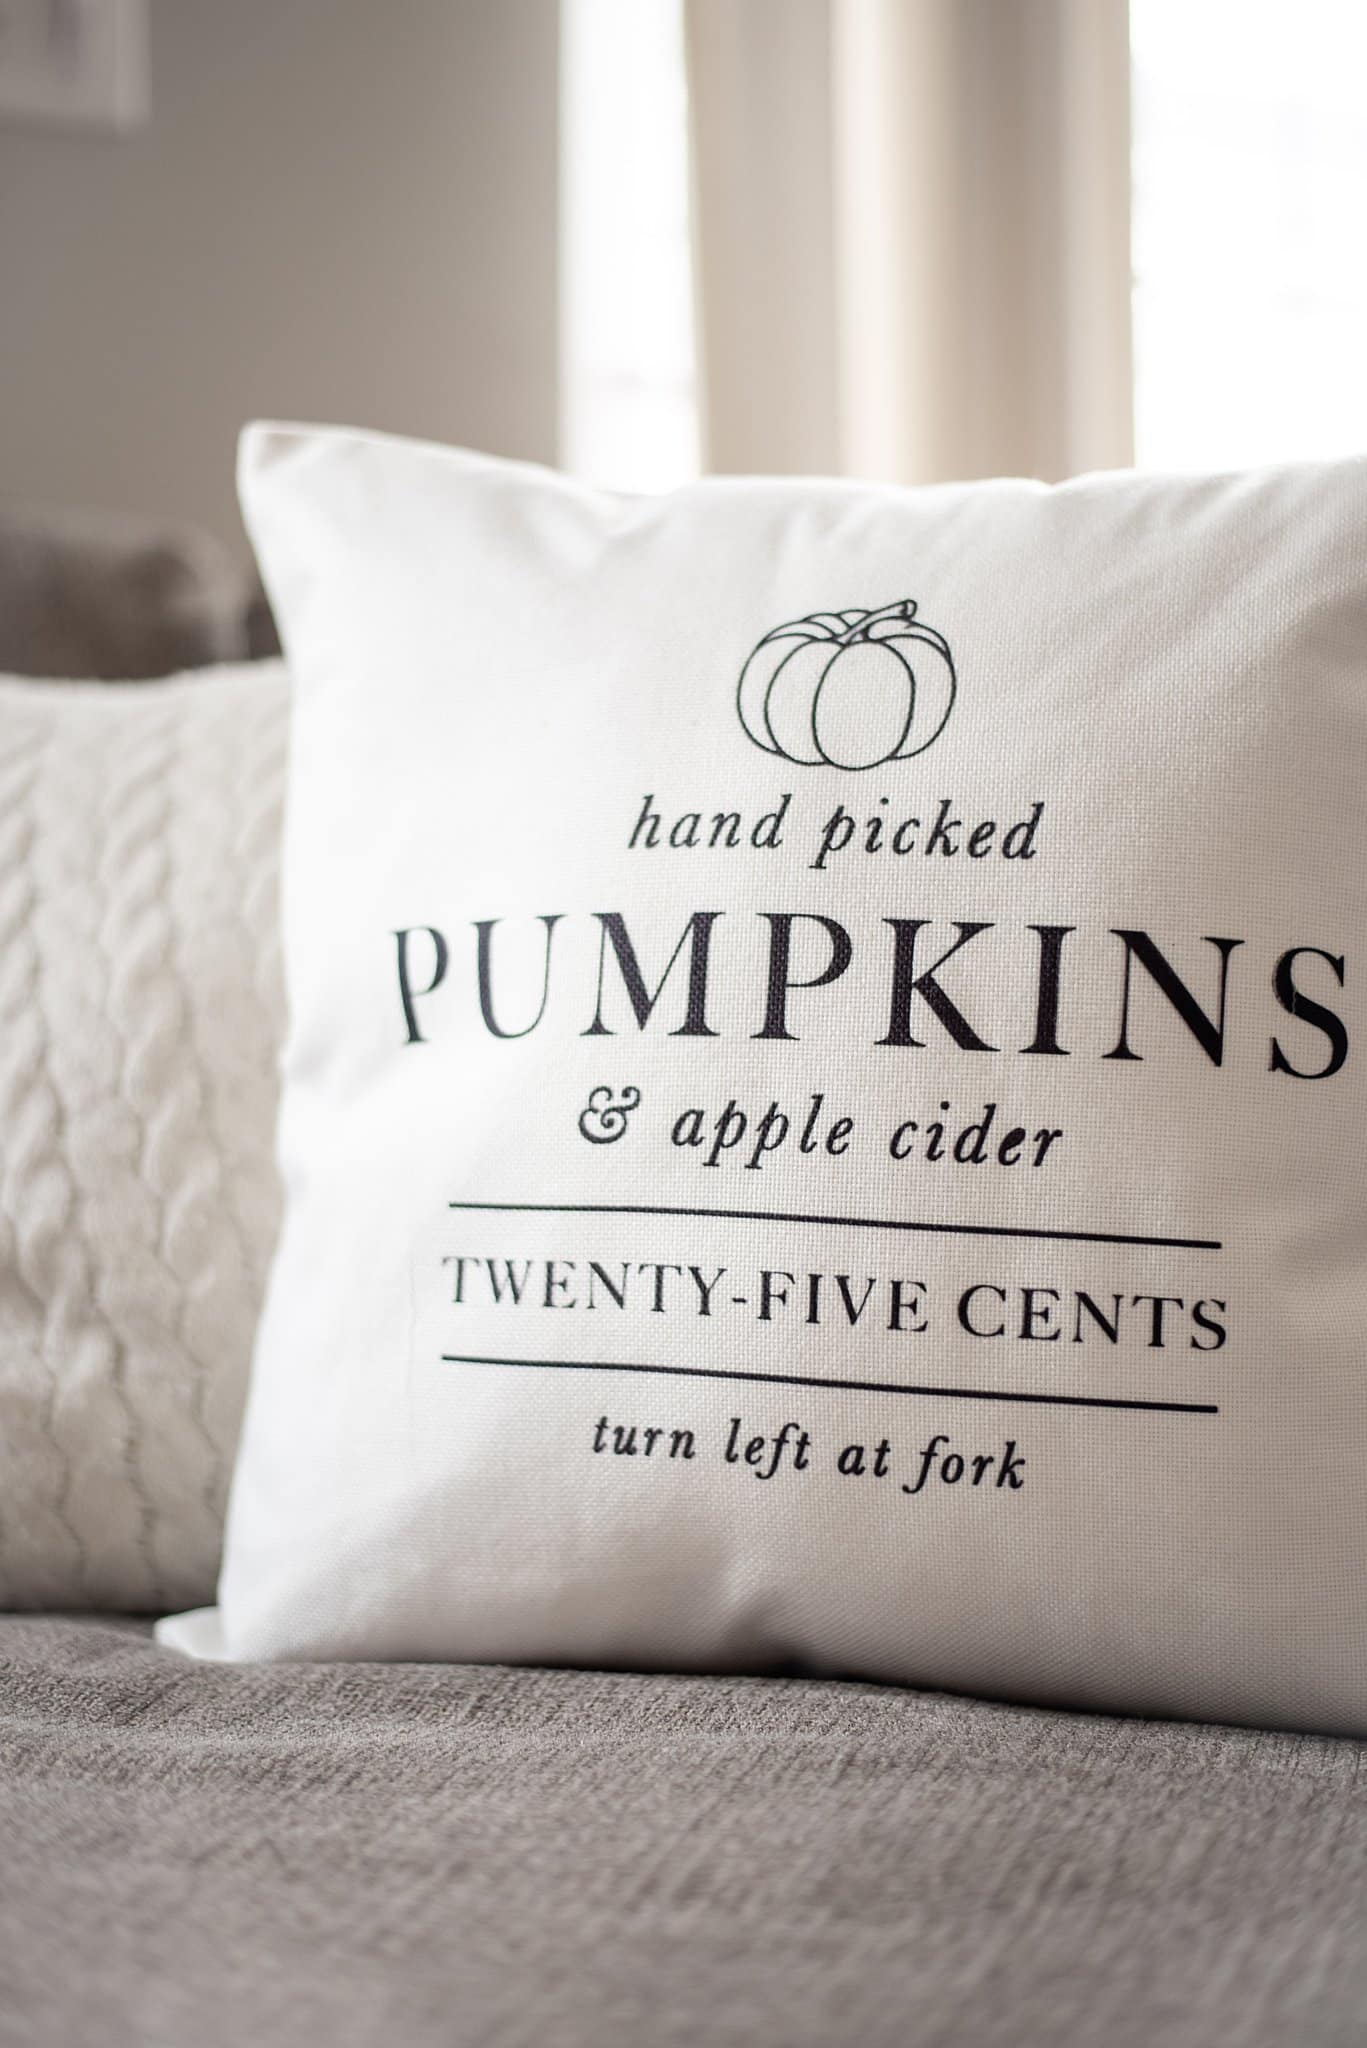
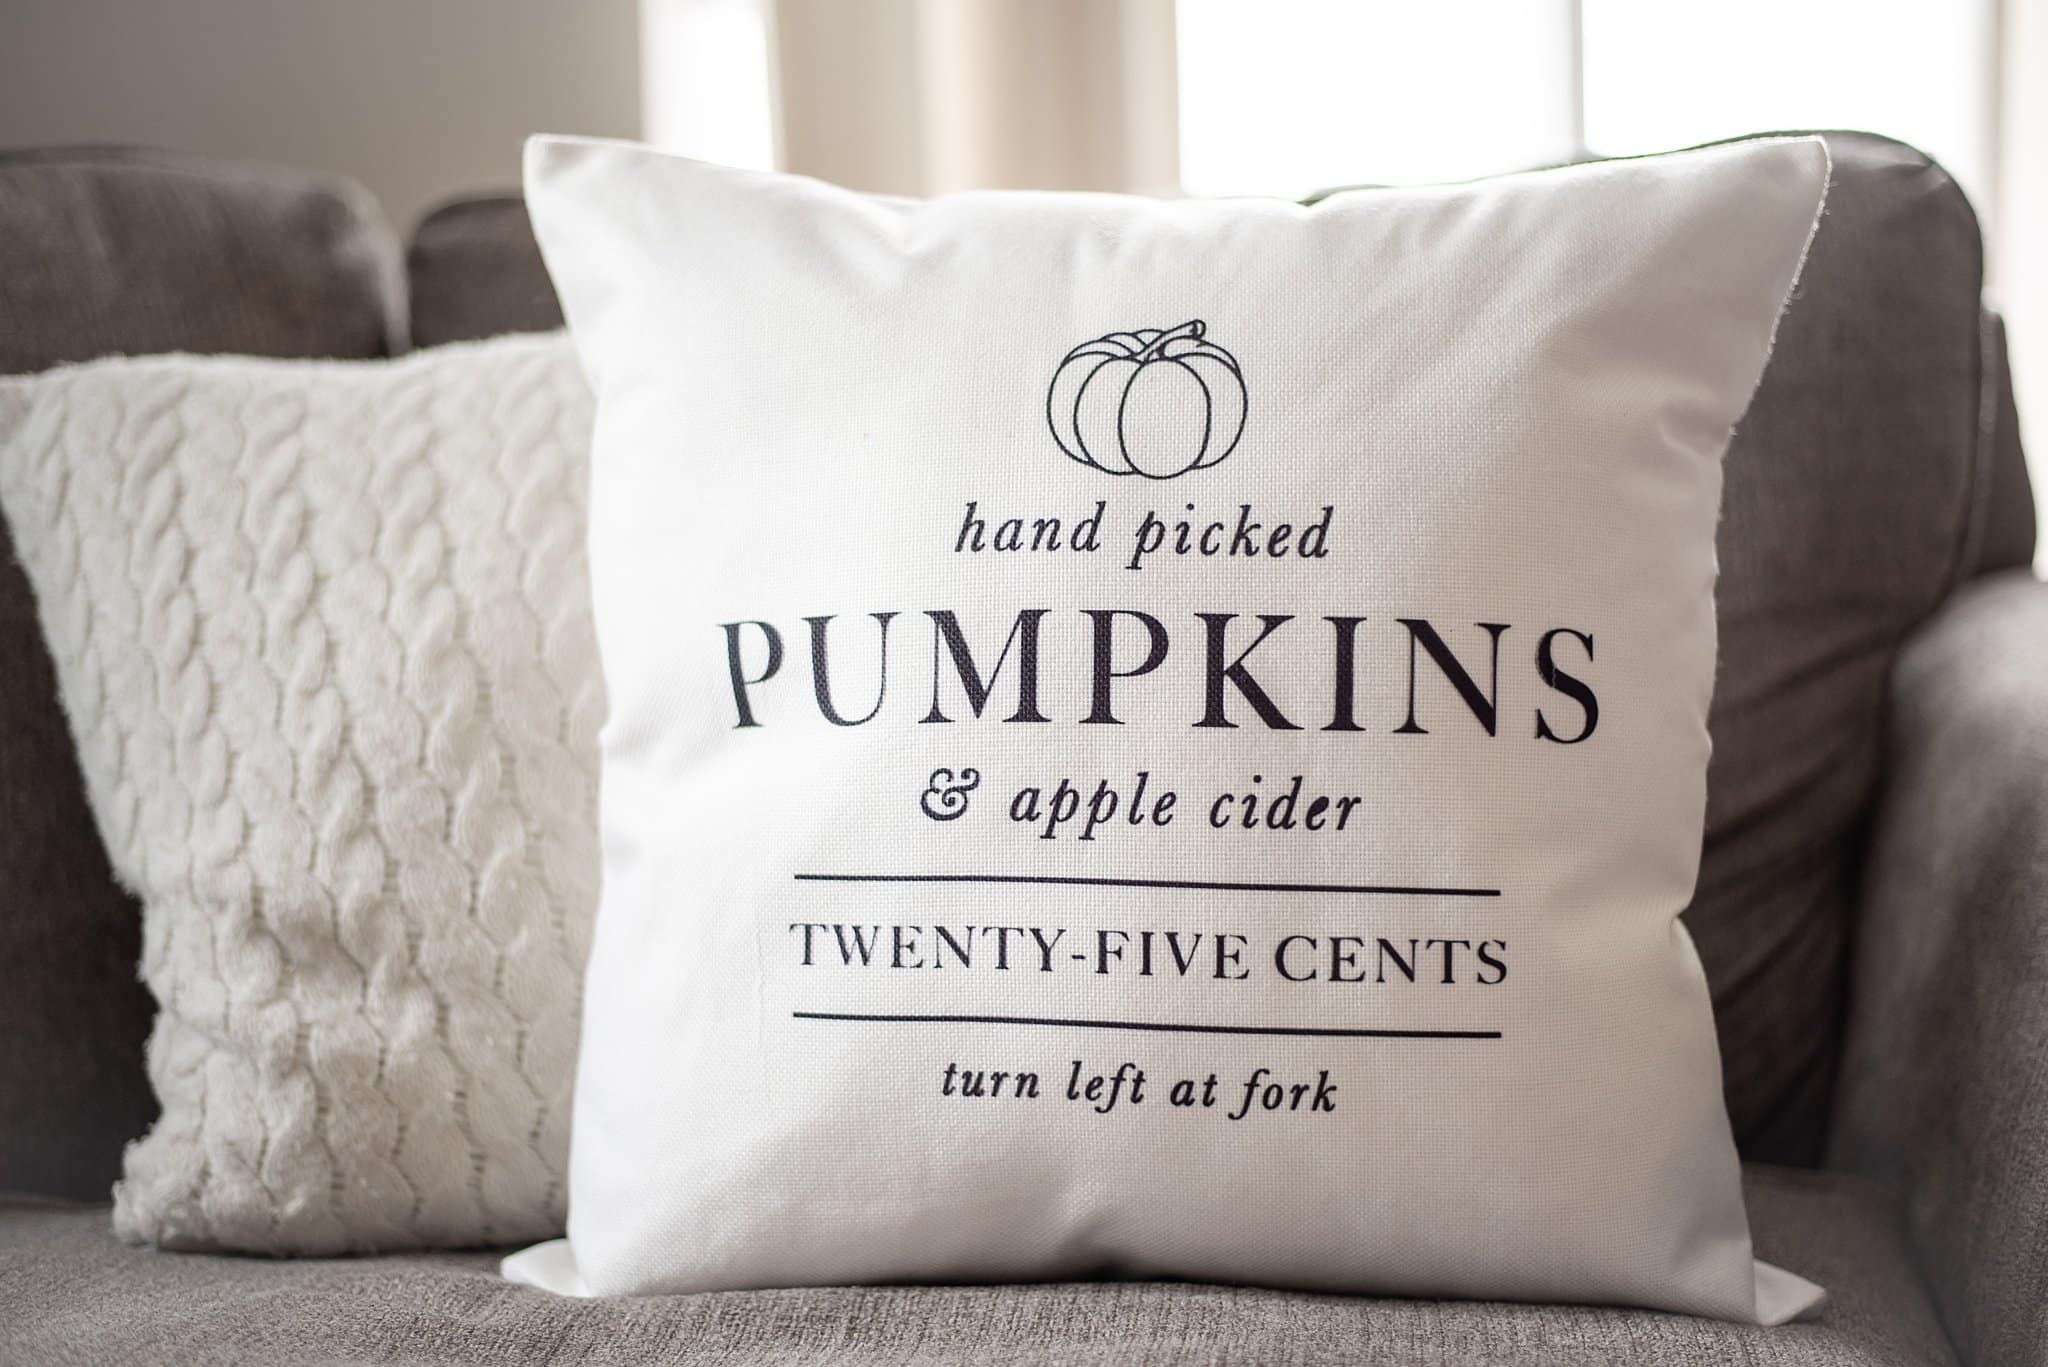
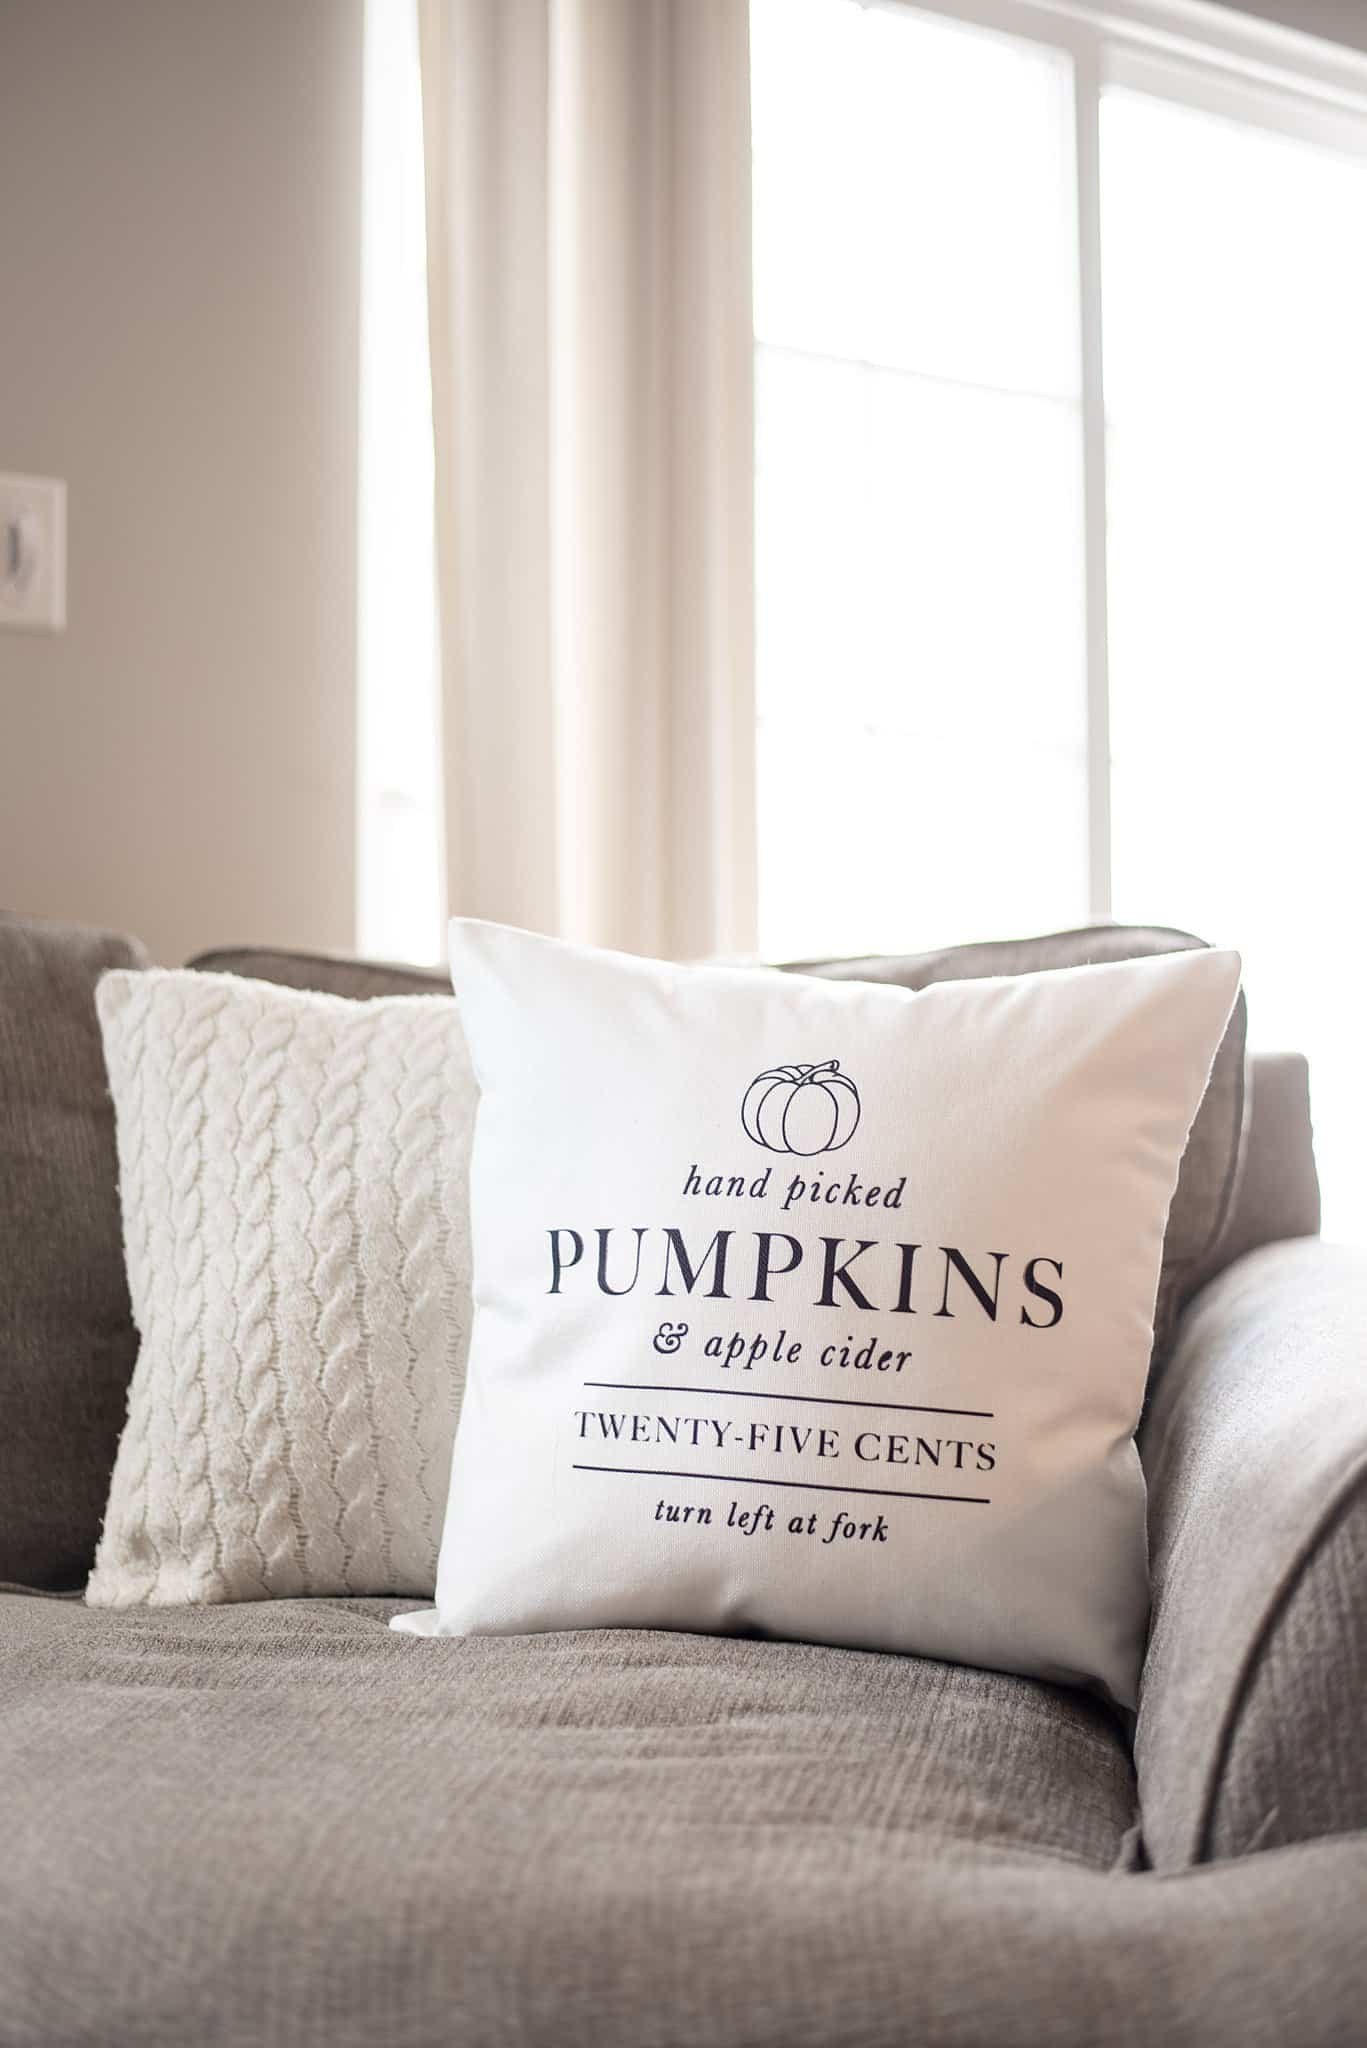
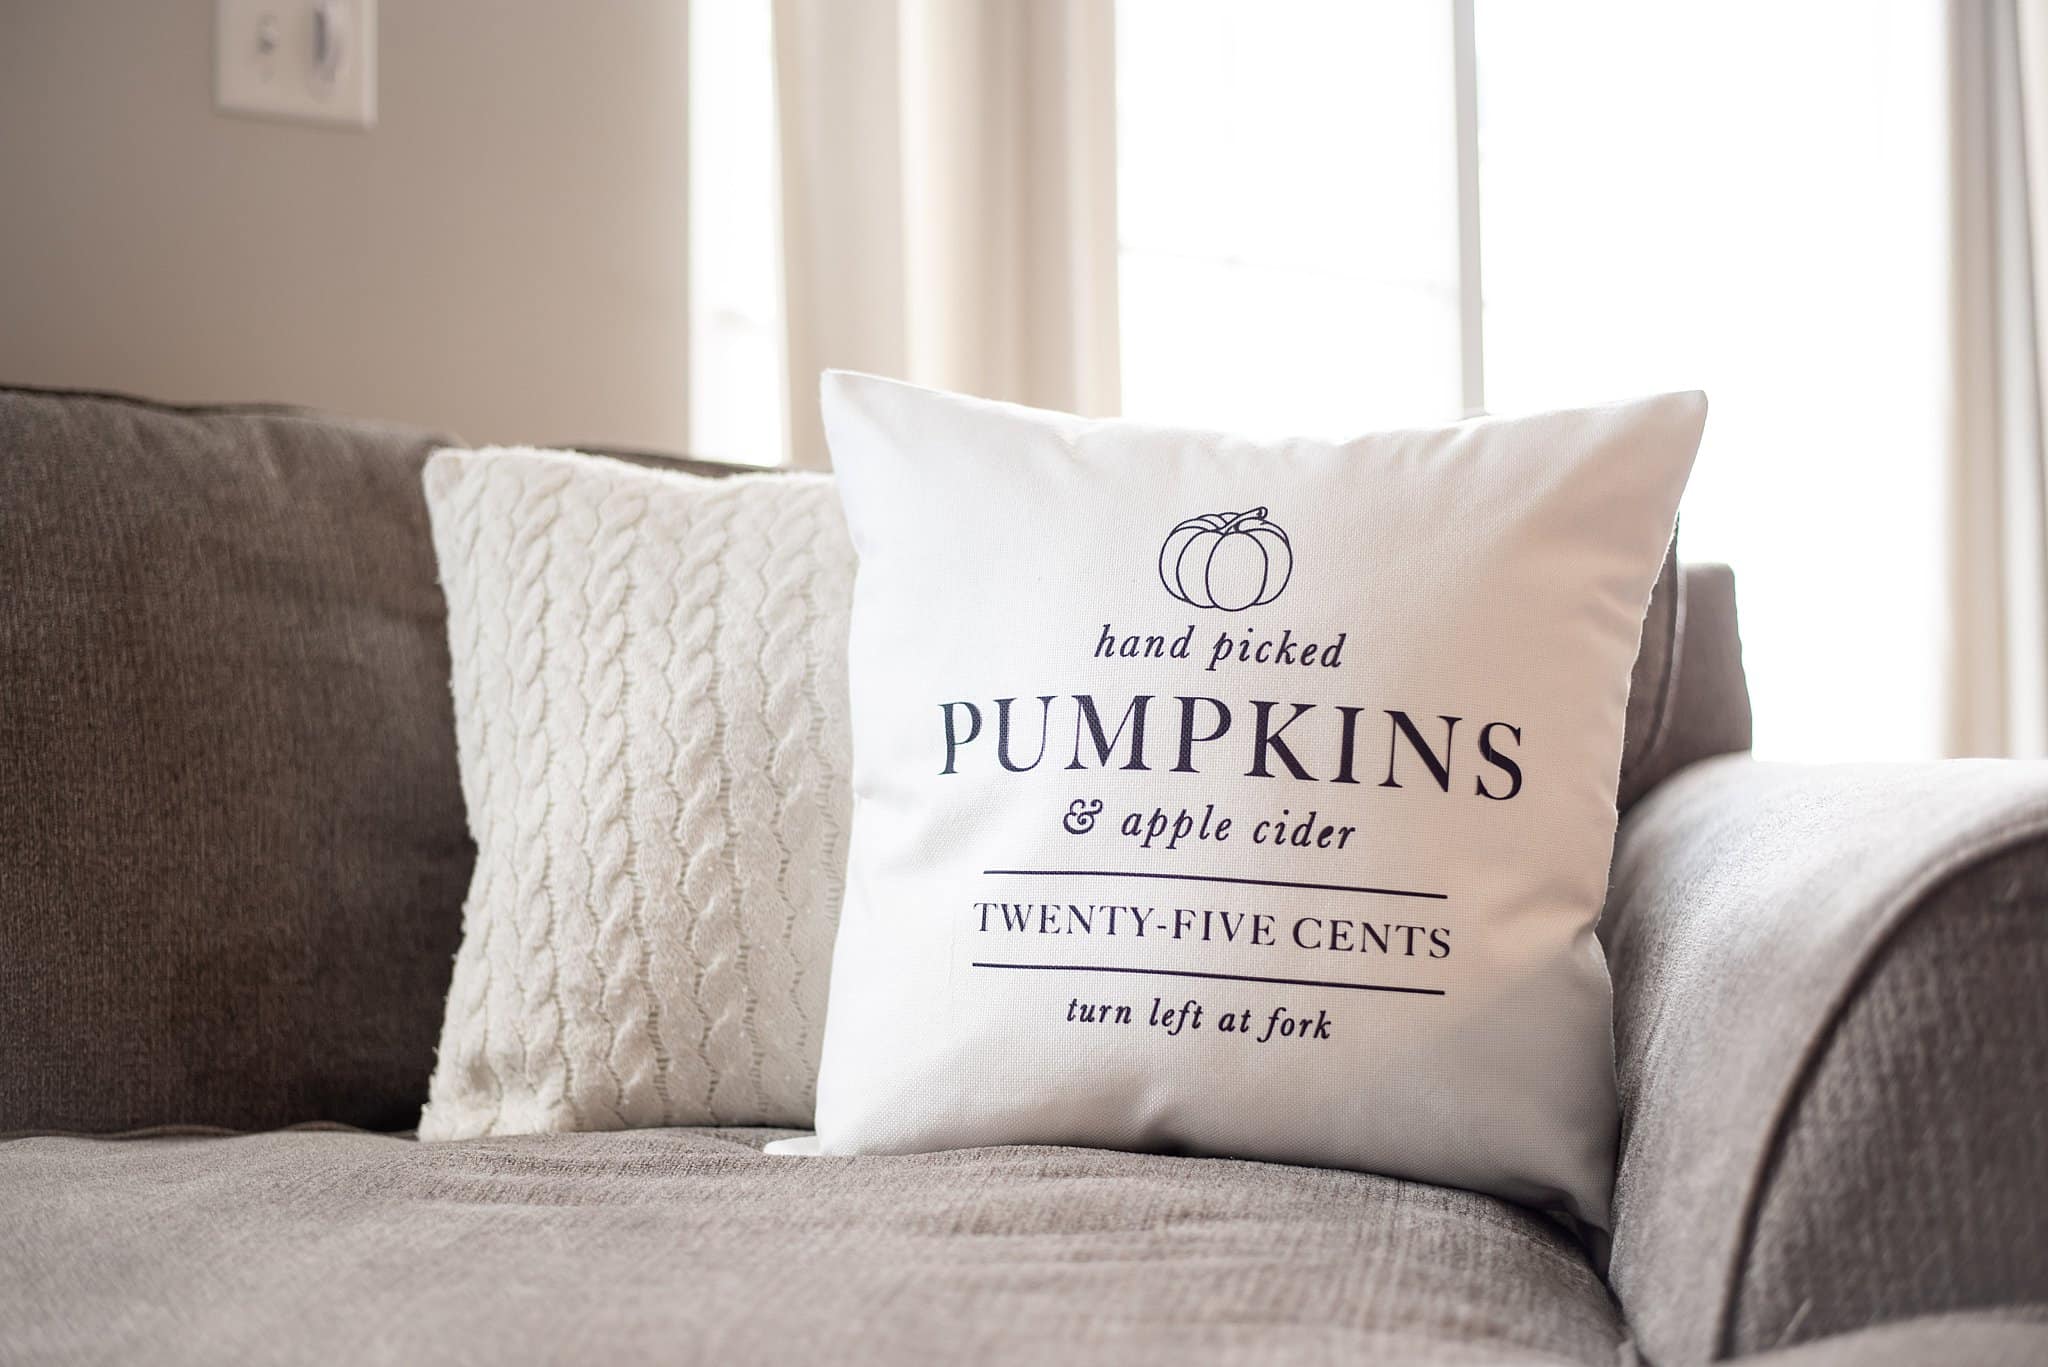
Save our Cricut DIY fall pillow covers and get crafting!