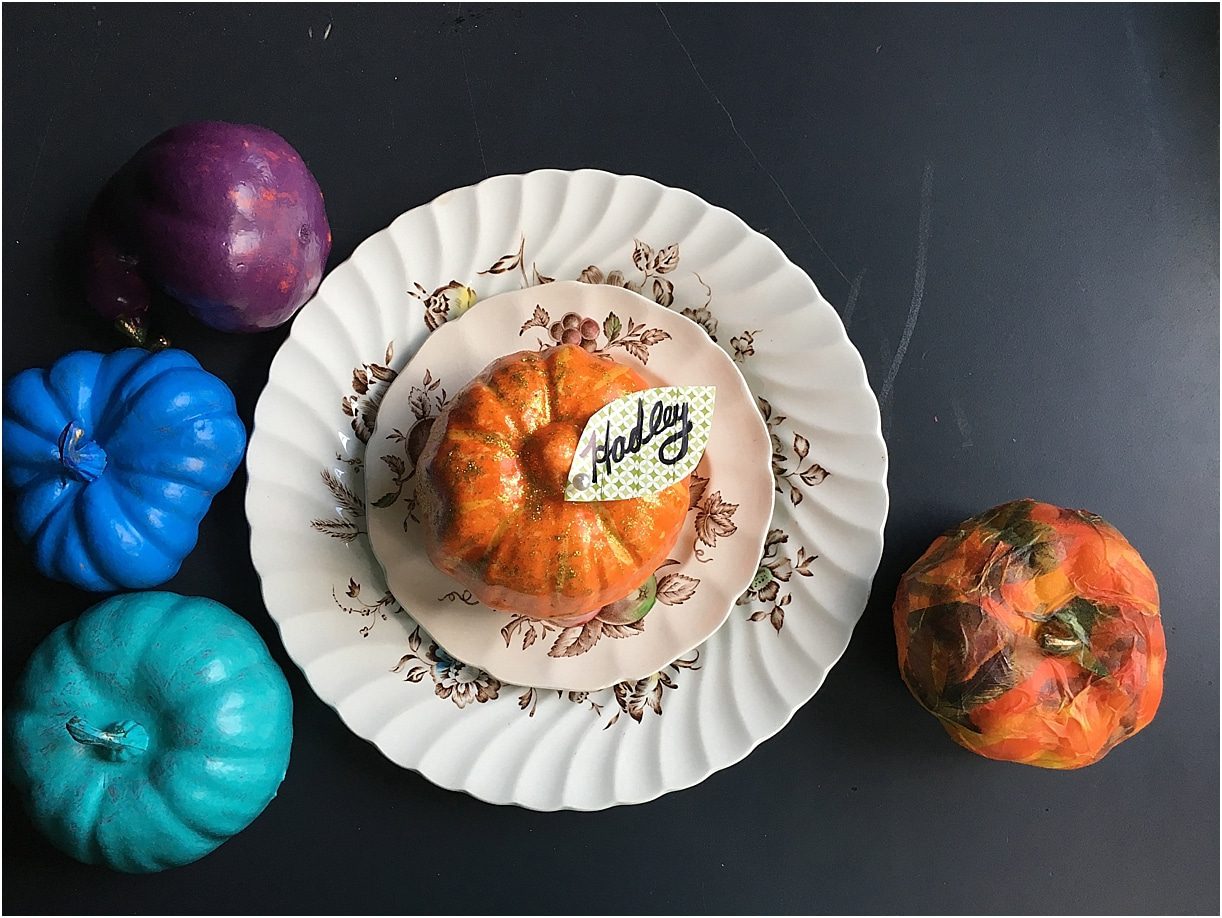
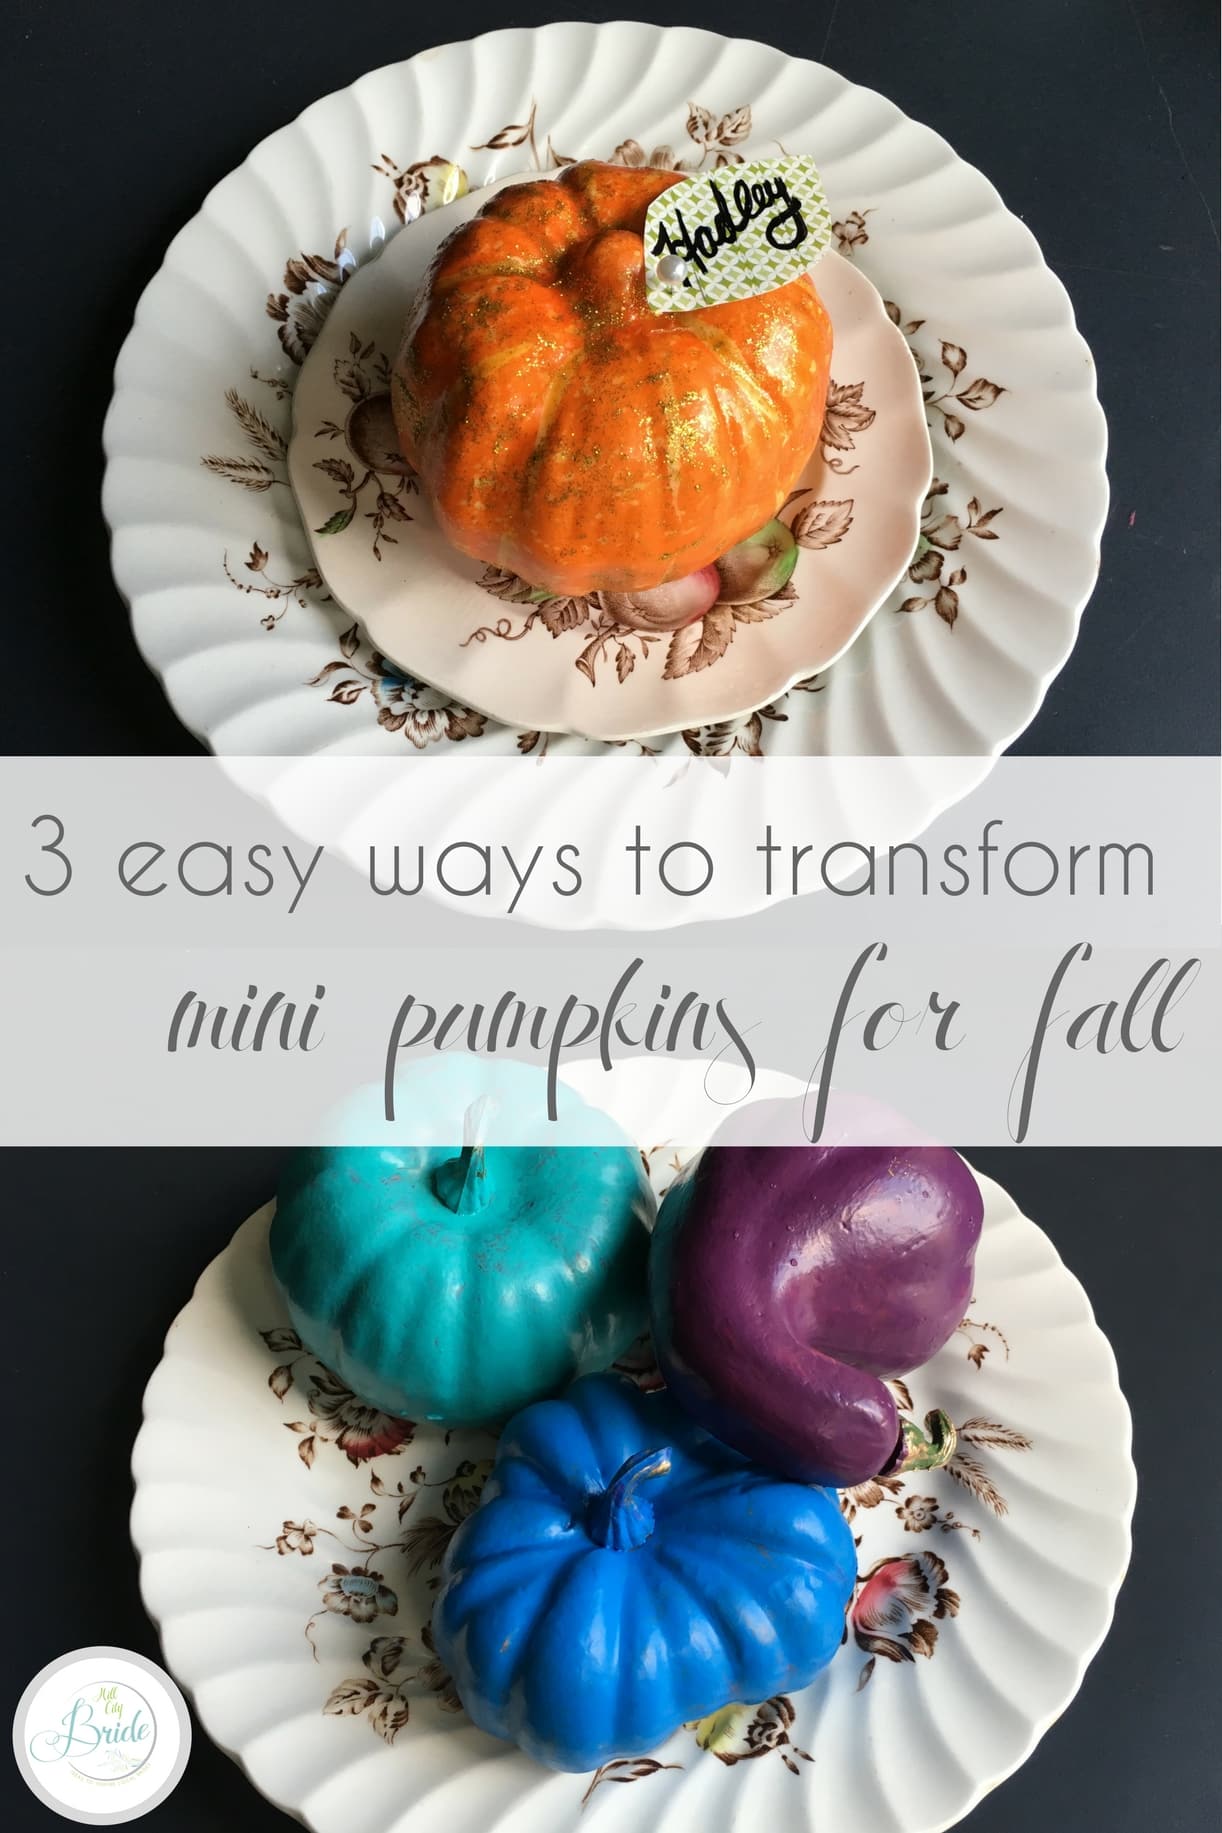
It’s fall! And there are so many easy ways to transform mini pumpkins for fall. From a fun table number to hints of color to a decoupage pumpkin to coordinate with your decor, check out our 3 fun and inexpensive ways to incorporate these cuties into your tablescape.
Napkin Decoupaged Mini Pumpkins
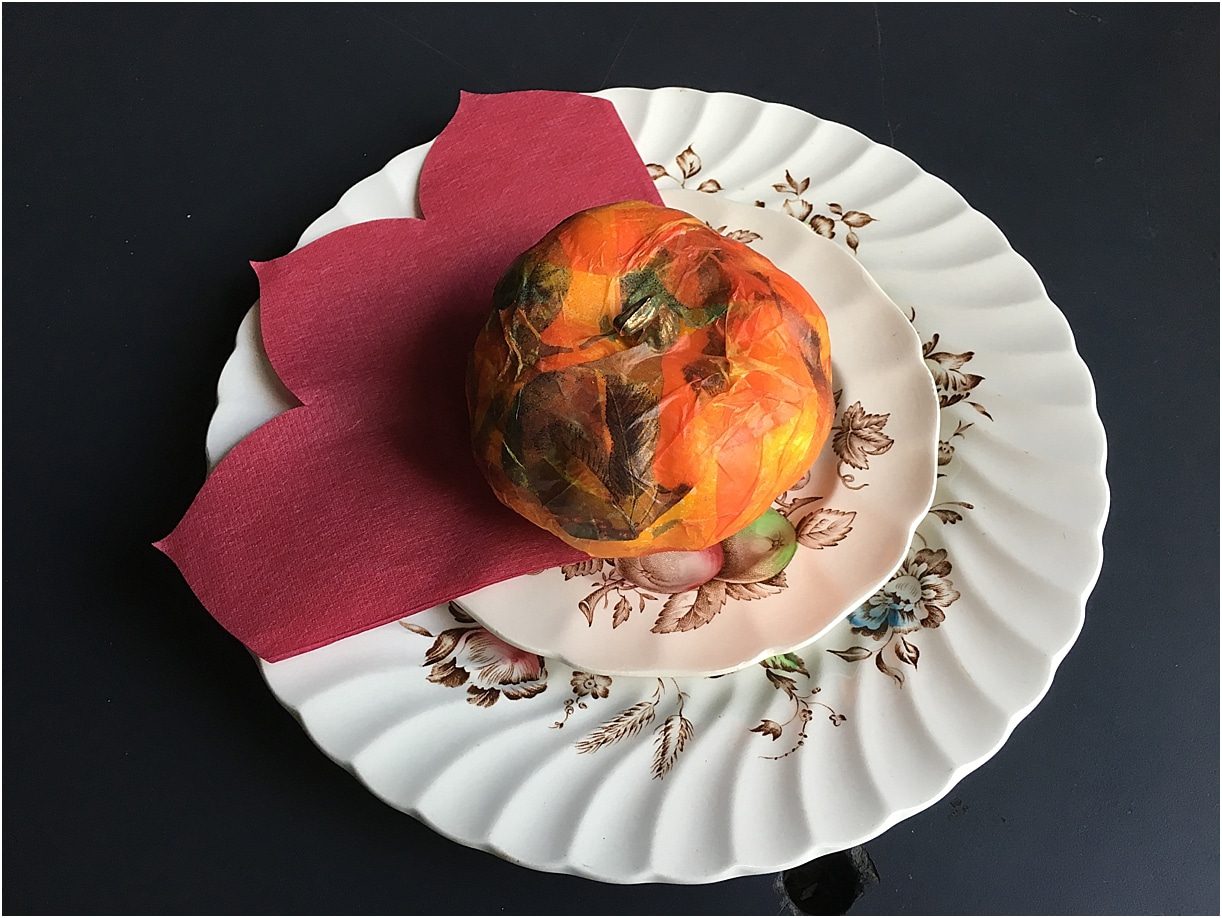
These pumpkins are so cute, and the best part is that you can take an actual paper napkin that you are using in your decor so that your pumpkin coordinates with your tablescape. So fun!
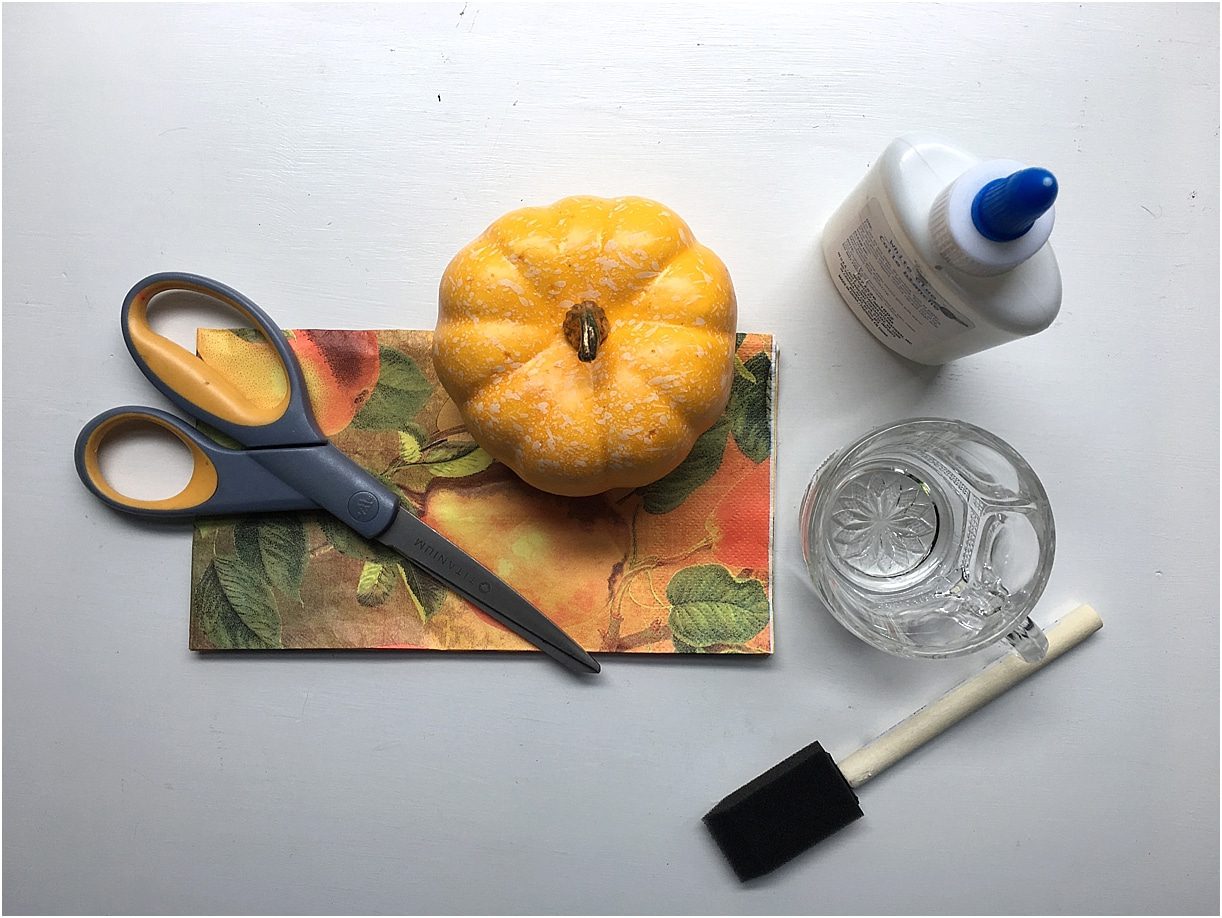
Supplies:
- Paper Napkin
- Mini Pumpkin
- Scissors
- Brush
- Glue (watered down)
- Wax Paper
Instructions:
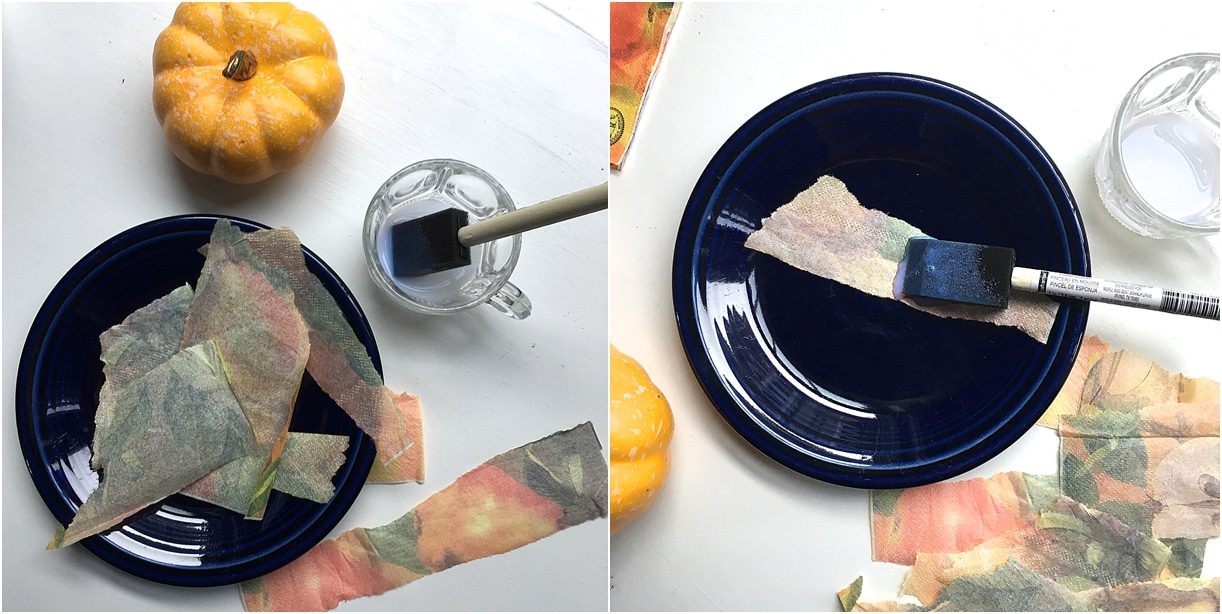
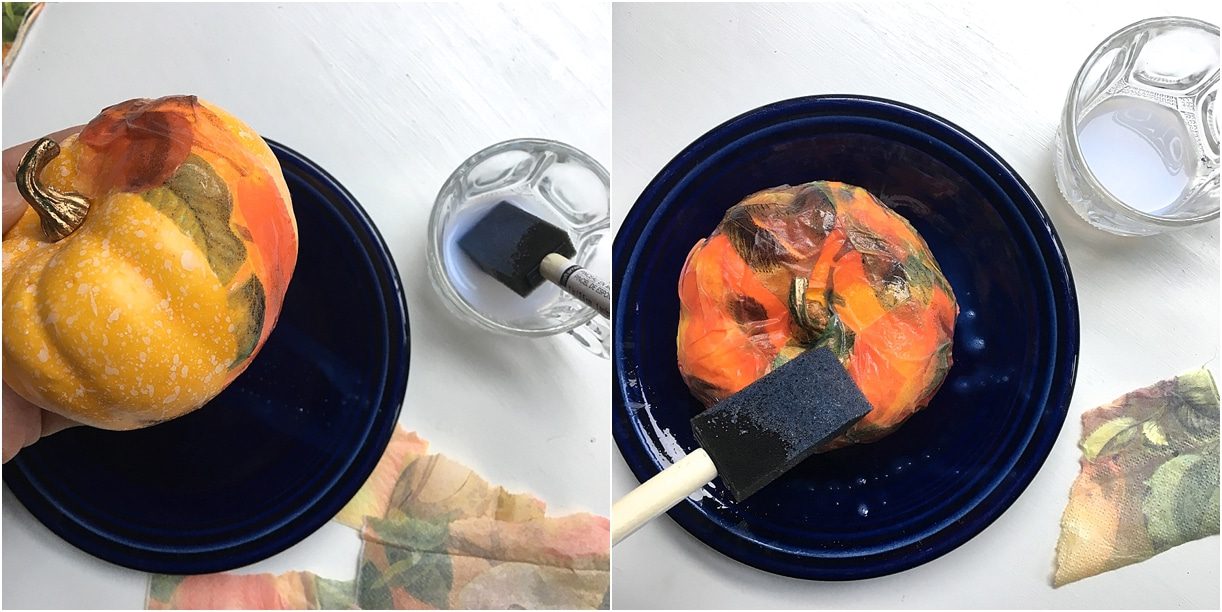
- Take your paper napkin and separate out the layers so that you only have the printed layer.
- Tear the napkin into small pieces.
- Wet each piece thoroughly with your watered down glue mixture.
- Place the wet napkin pieces onto the pumpkin in sections, and try to press them onto the pumpkin so that the napkin adheres.
- If you need to, you can give the pumpkin a final pressing with the foam brush.
- Let the pumpkin dry upside down or on wax paper so that the napkin doesn’t adhere to a surface.
- Enjoy in your table decor for fall!
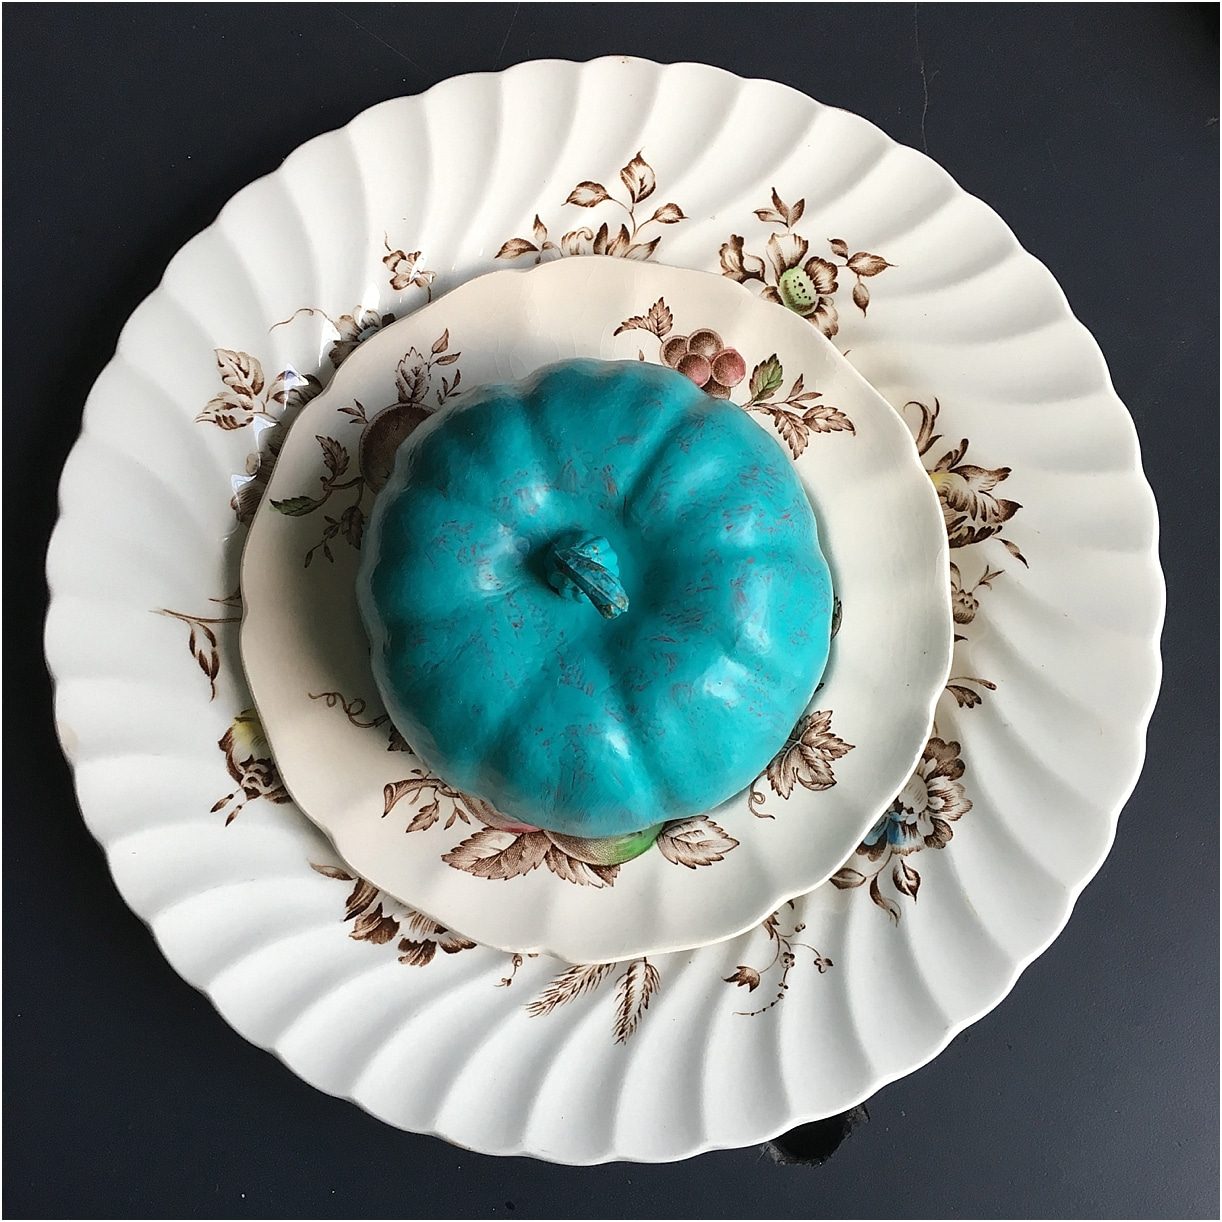
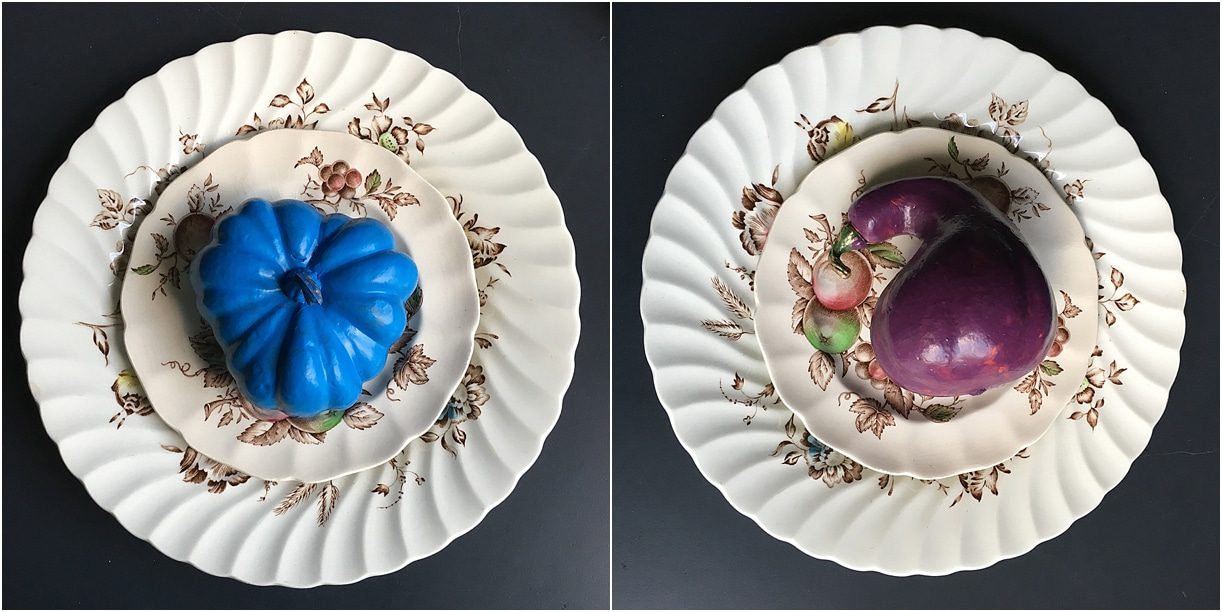
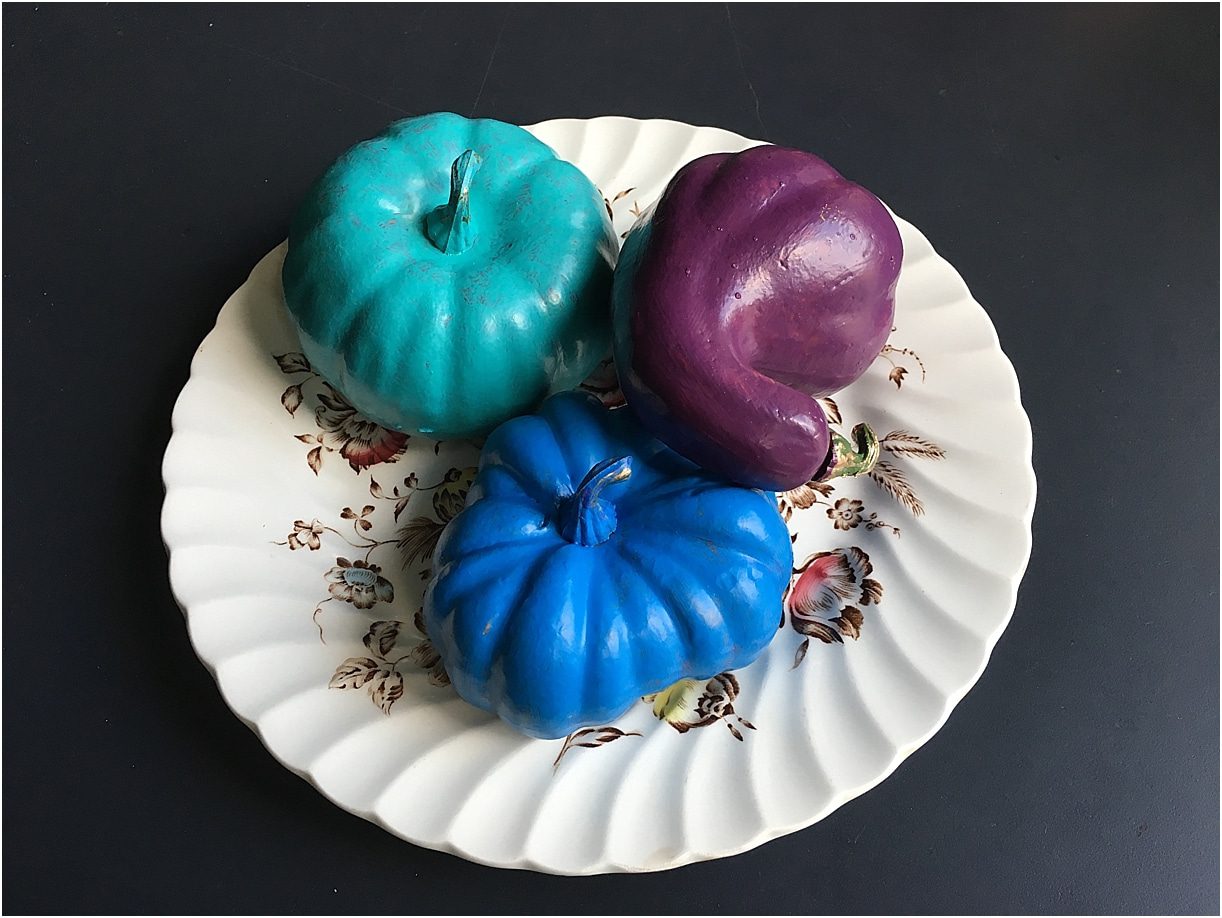
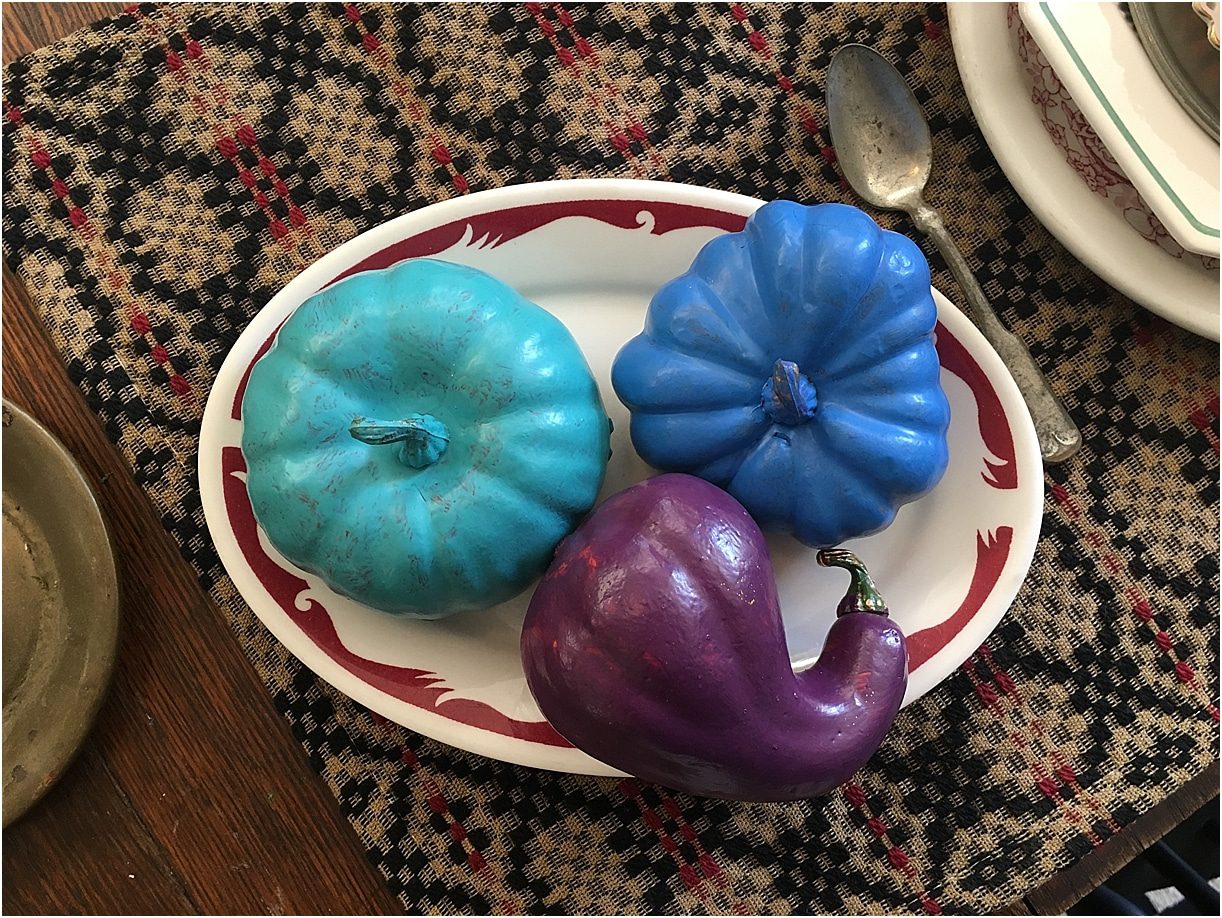
Colorful Painted Mini Pumpkins
These cuties are a great way to add a pop of color to your table, and it’s unexpected to find crazy colored pumpkins. Adorable!
Supplies:
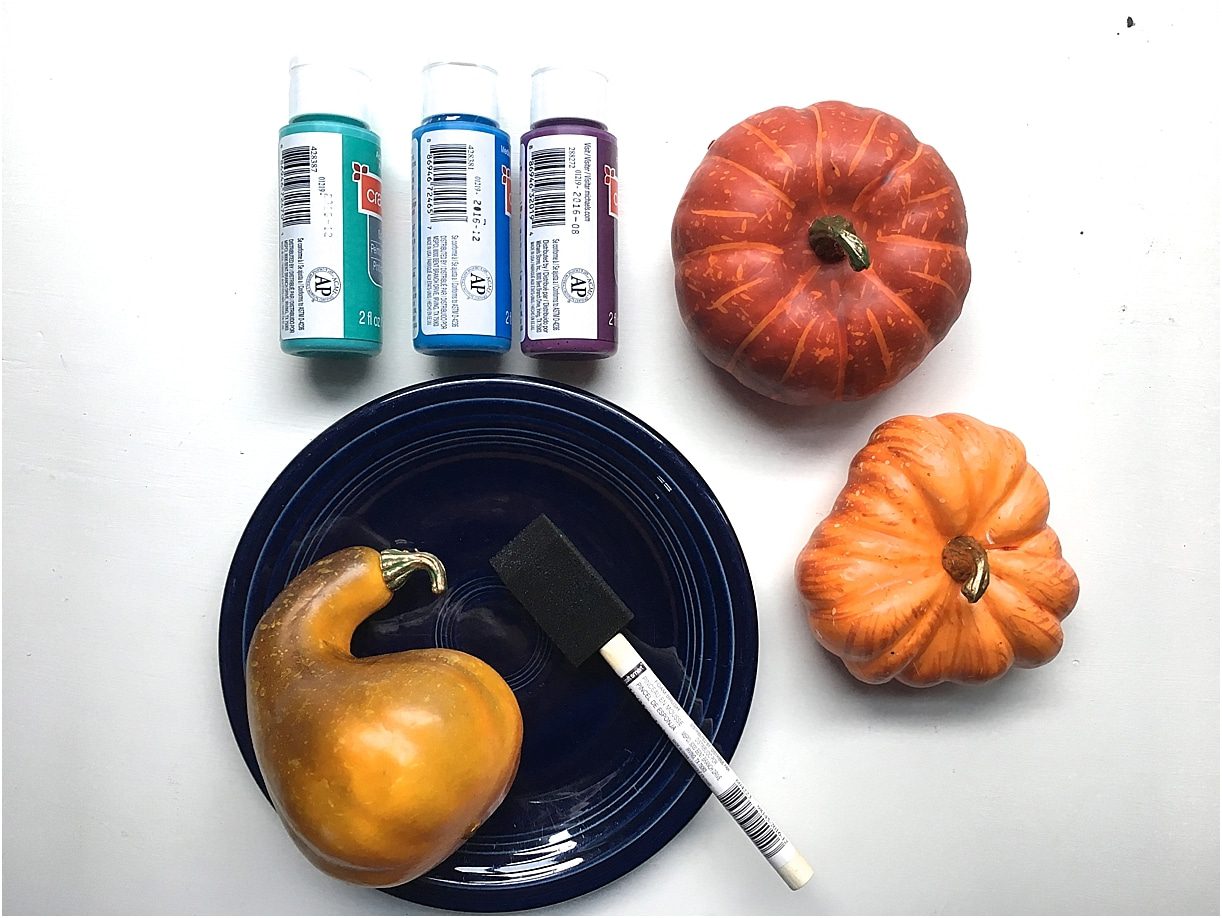
- Mini Pumpkins
- Acrylic Paint in Various Colors
- Foam Brush
- Wax Paper
Instructions:
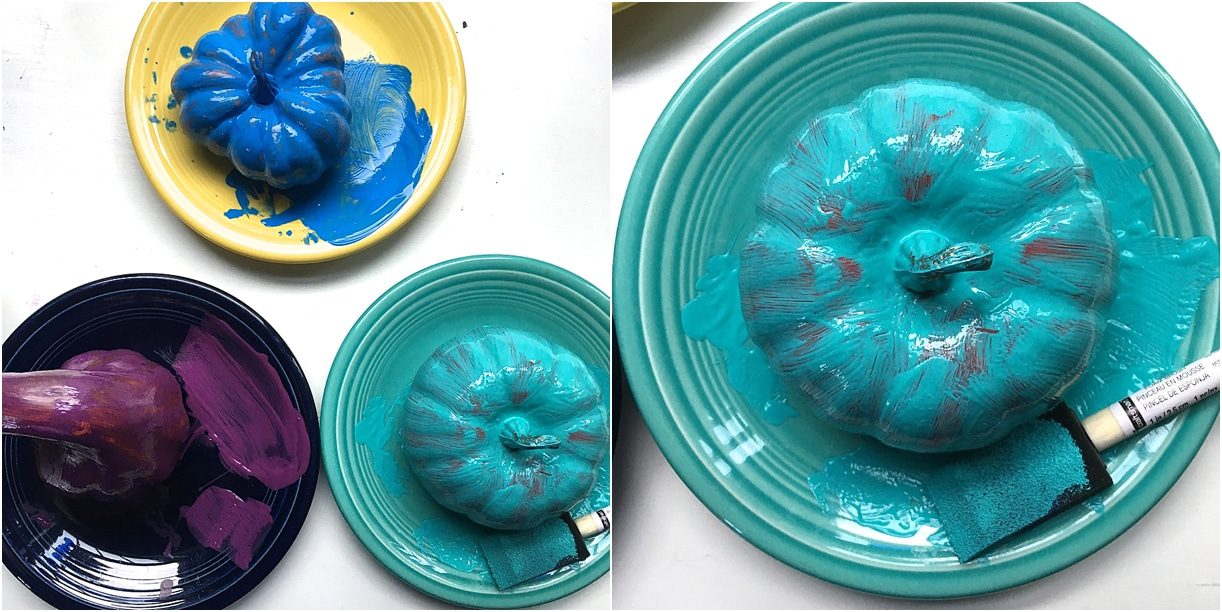
- Super simple! Just paint a coat of your favorite colors onto the pumpkins.
- Let dry.
- Repeat until you get the coverage you want.
- Enjoy and use for decorating!
Place Card Mini Pumpkins
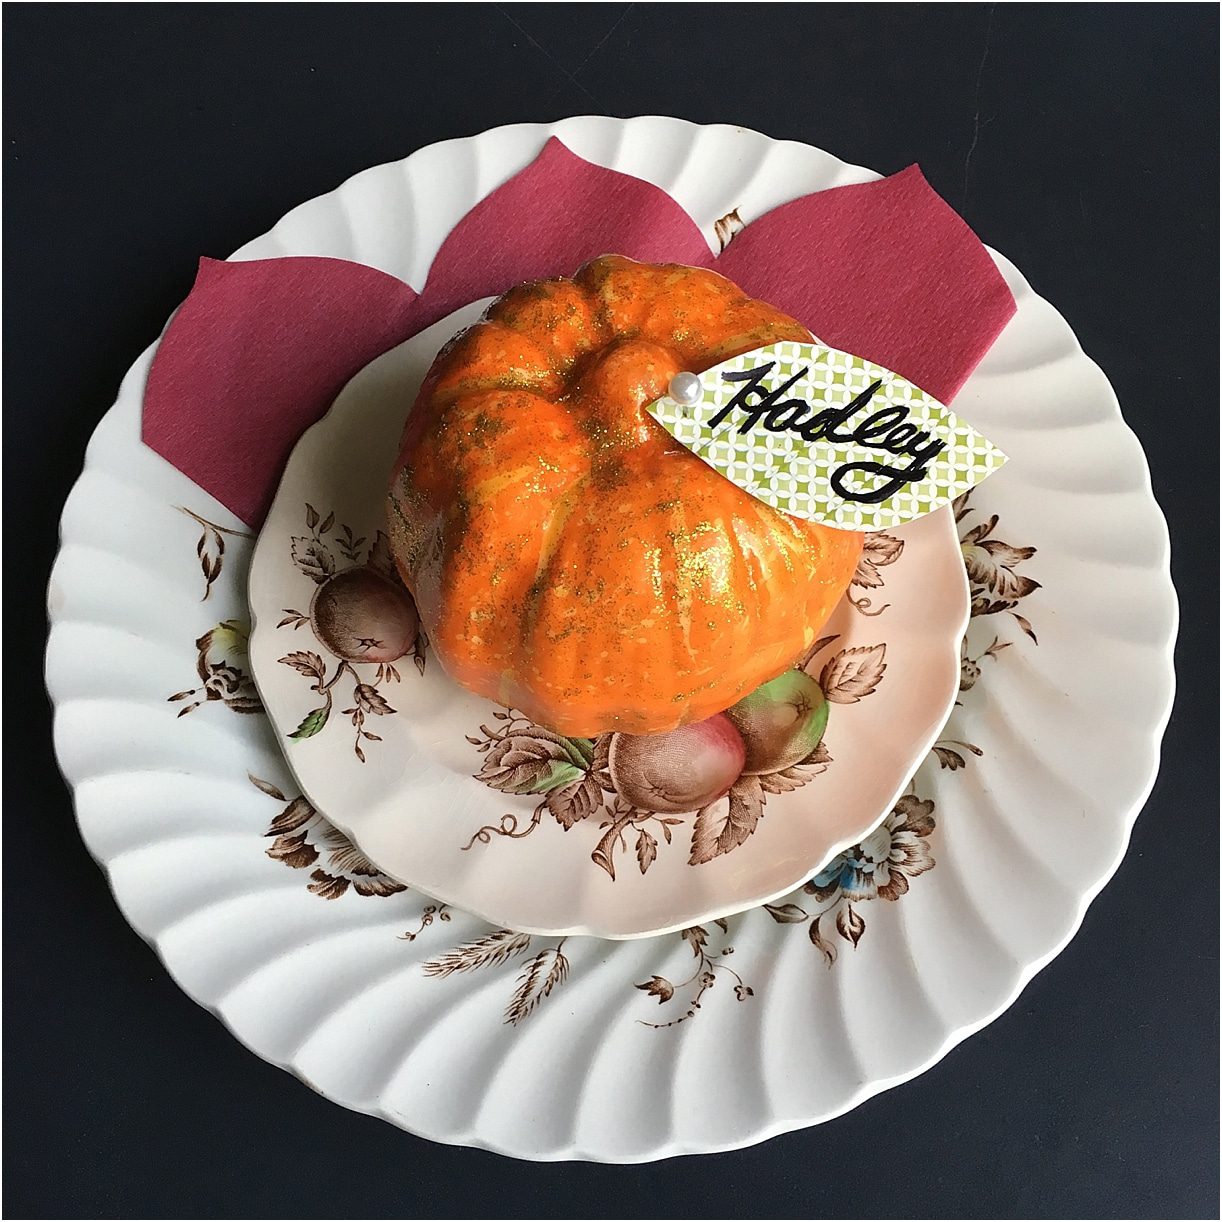
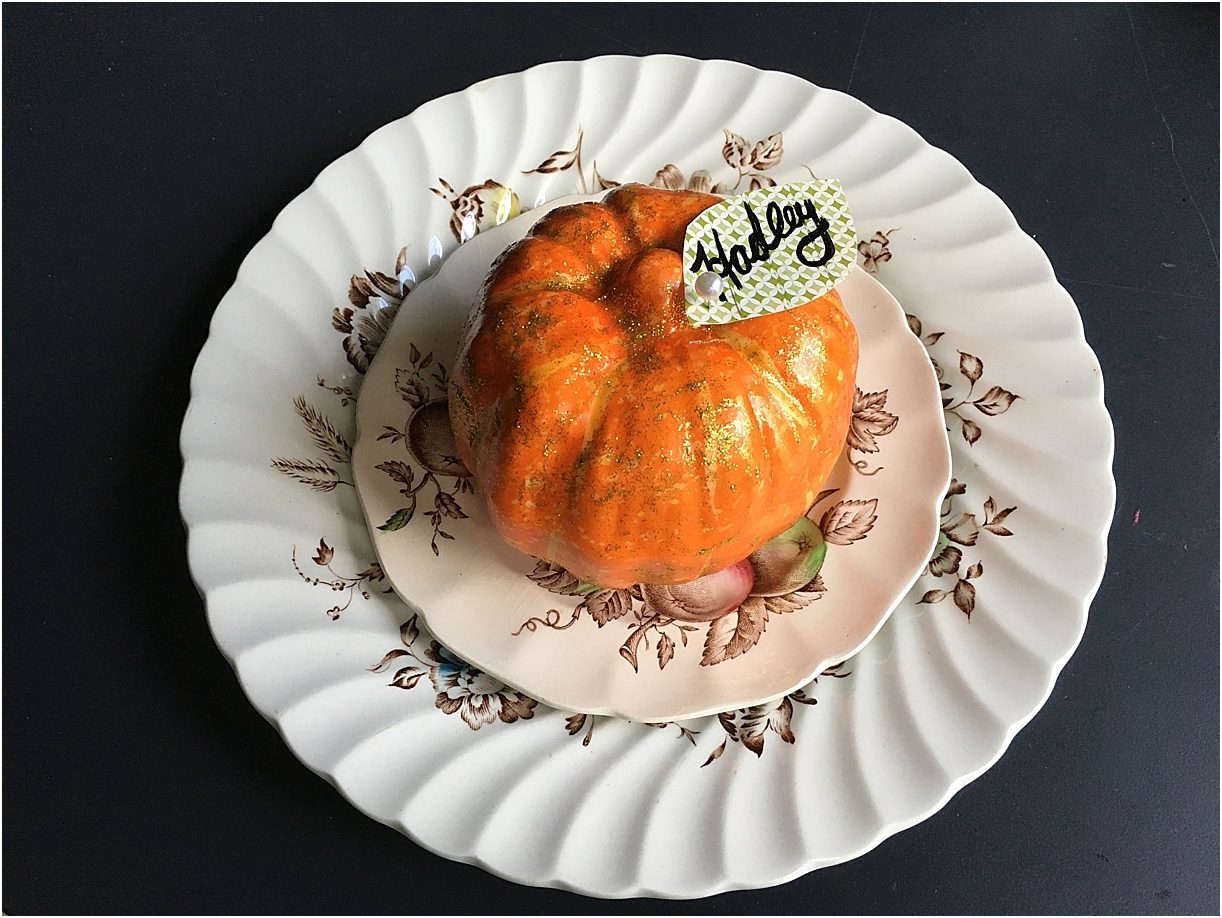
I am a little biased in saying that this mini pumpkin DIY just might be my favorite. They do double duty as a favor, decor and a place card… wait! Make that triple duty. Fabulous!
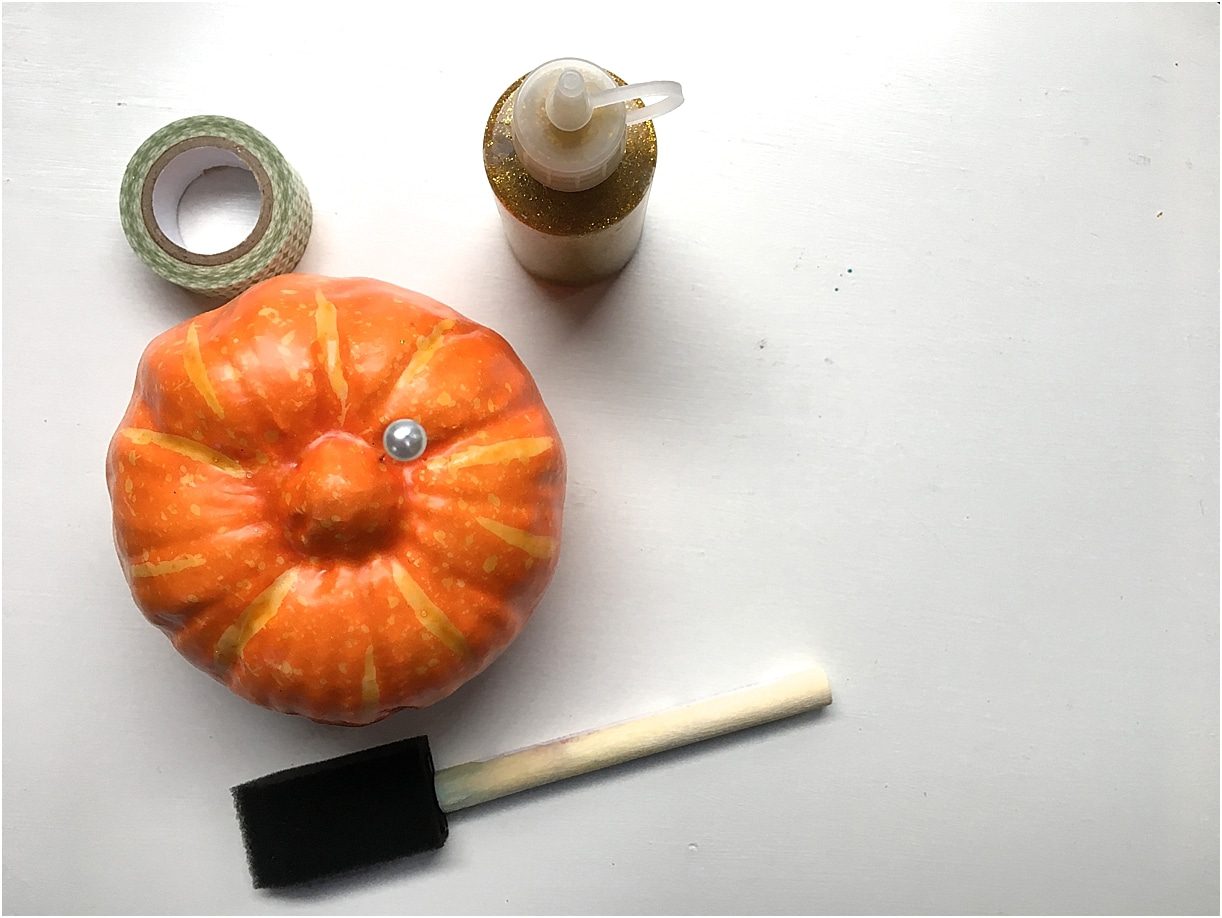
Supplies:
- Mini Pumpkin
- Glitter Glue
- Washi Tape
- Scissors
- Marker
- Corsage Pin
- Foam Brush
- Wax Paper
Instructions:
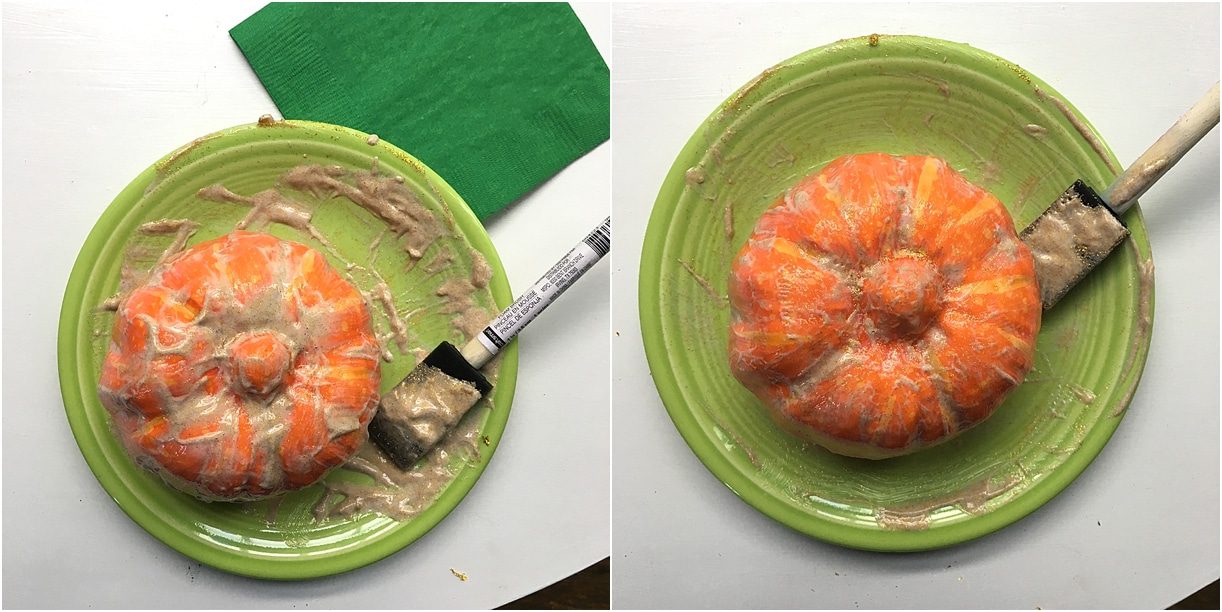
- Cover your pumpkin with glitter glue – a LOT of glitter glue – and let dry on wax paper. Another alternative would be to cover the pumpkin in glue and sprinkle glitter on it.
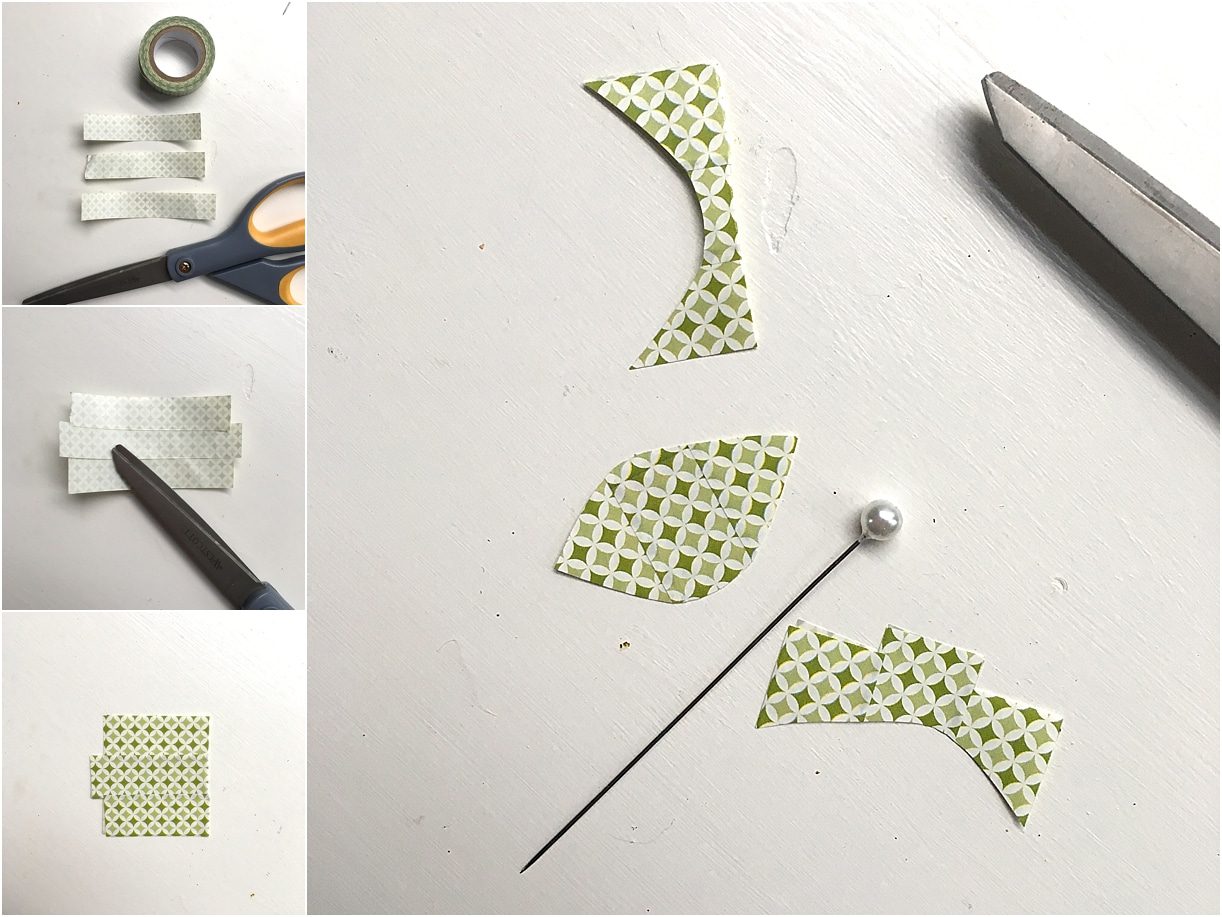
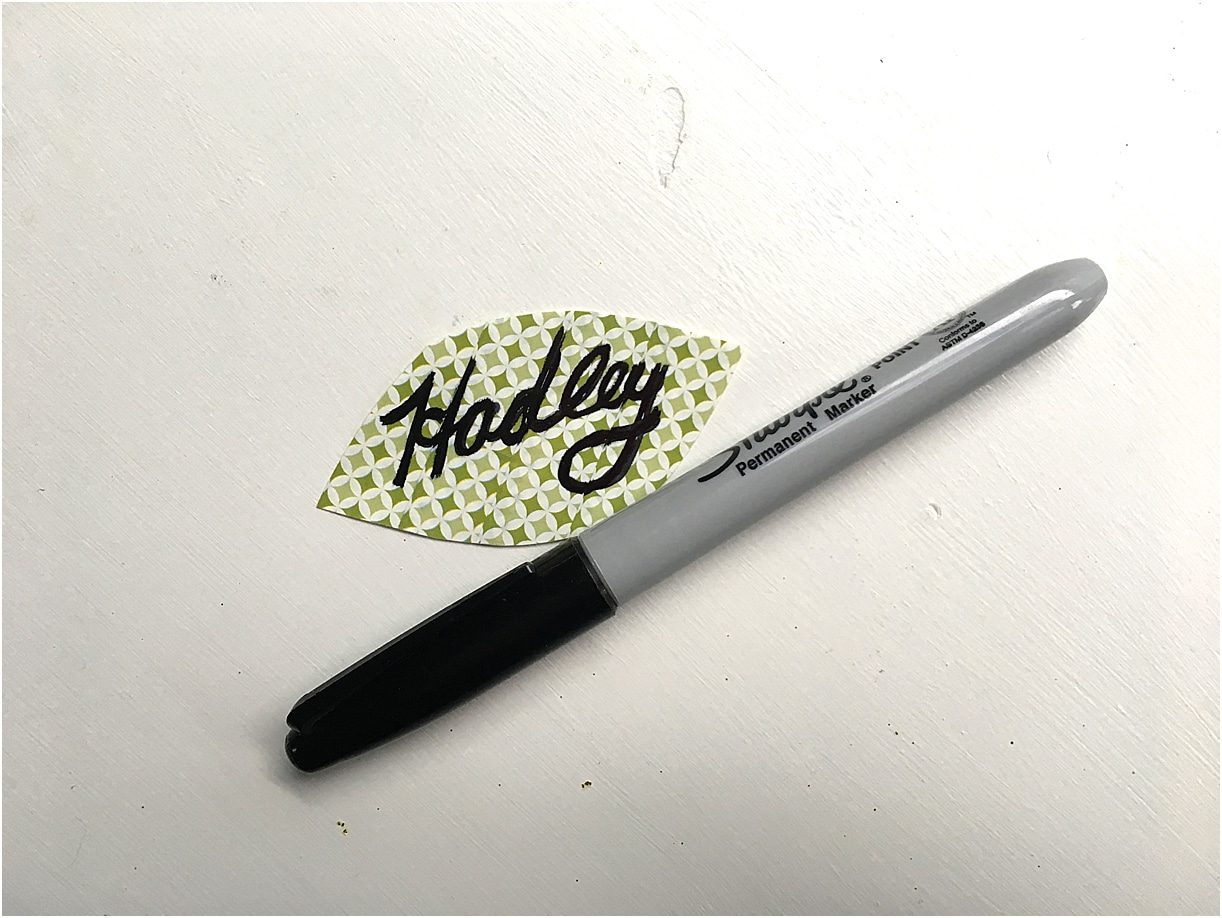
- Take your washi tape and create a leaf. I did mine by laying 3 sections of tape side by side with a slight overlap (so they’d stick to each other!). Then I folded the entire thing in half so that it stuck together. Then, I cut out a leaf shape and wrote a name on it.
- Once the pumpkin is dry, take your pin and stick the leaf into the pumpkin.
- Voila! Set at a place setting and enjoy your fun decor. Super duper cute!!

I hope you enjoyed our fall ideas for mini pumpkins! Craving more DIY ideas? Take a peek at our archives here!
