
Once you’re married, you’ll have your new home to concentrate on. And these DIY fall pillow covers are the perfect accent for autumn. As a result, they’re the perfect way to add whimsy to your fall decor.

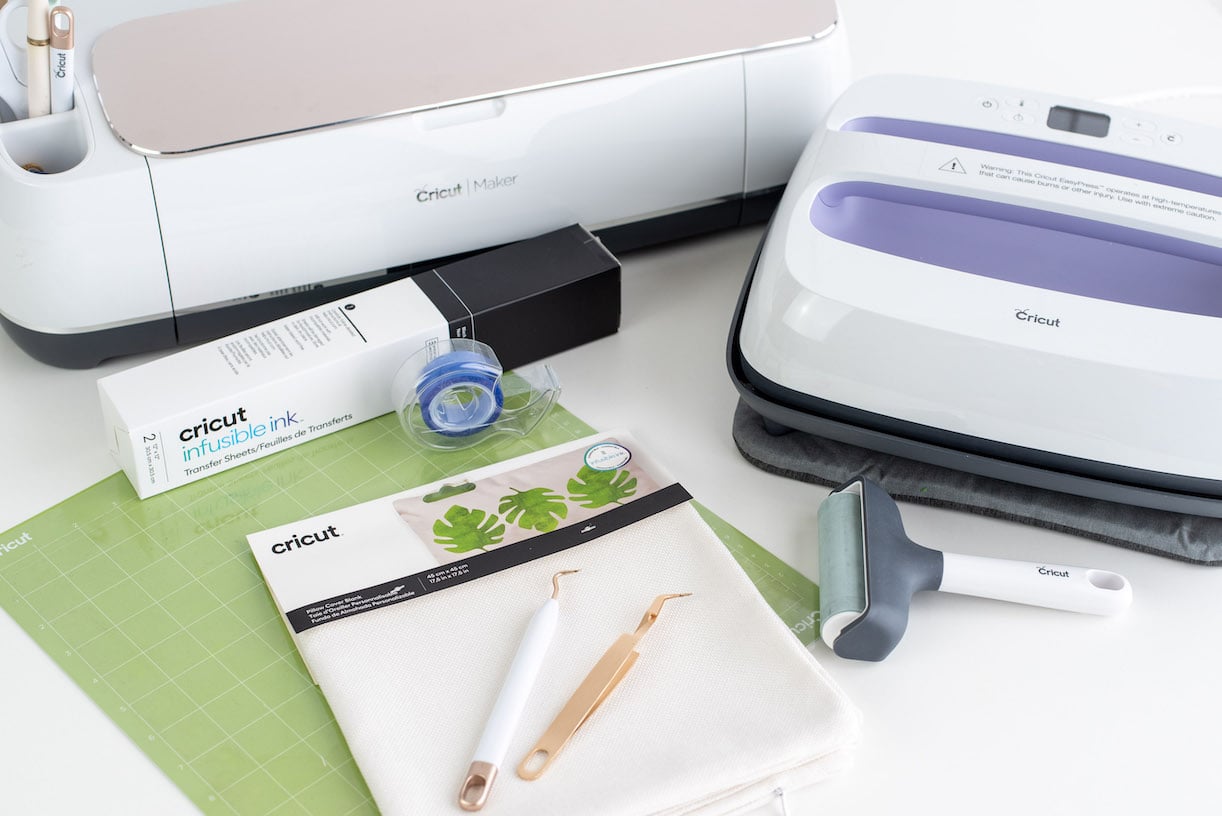
Supplies for DIY Fall Pillow Covers
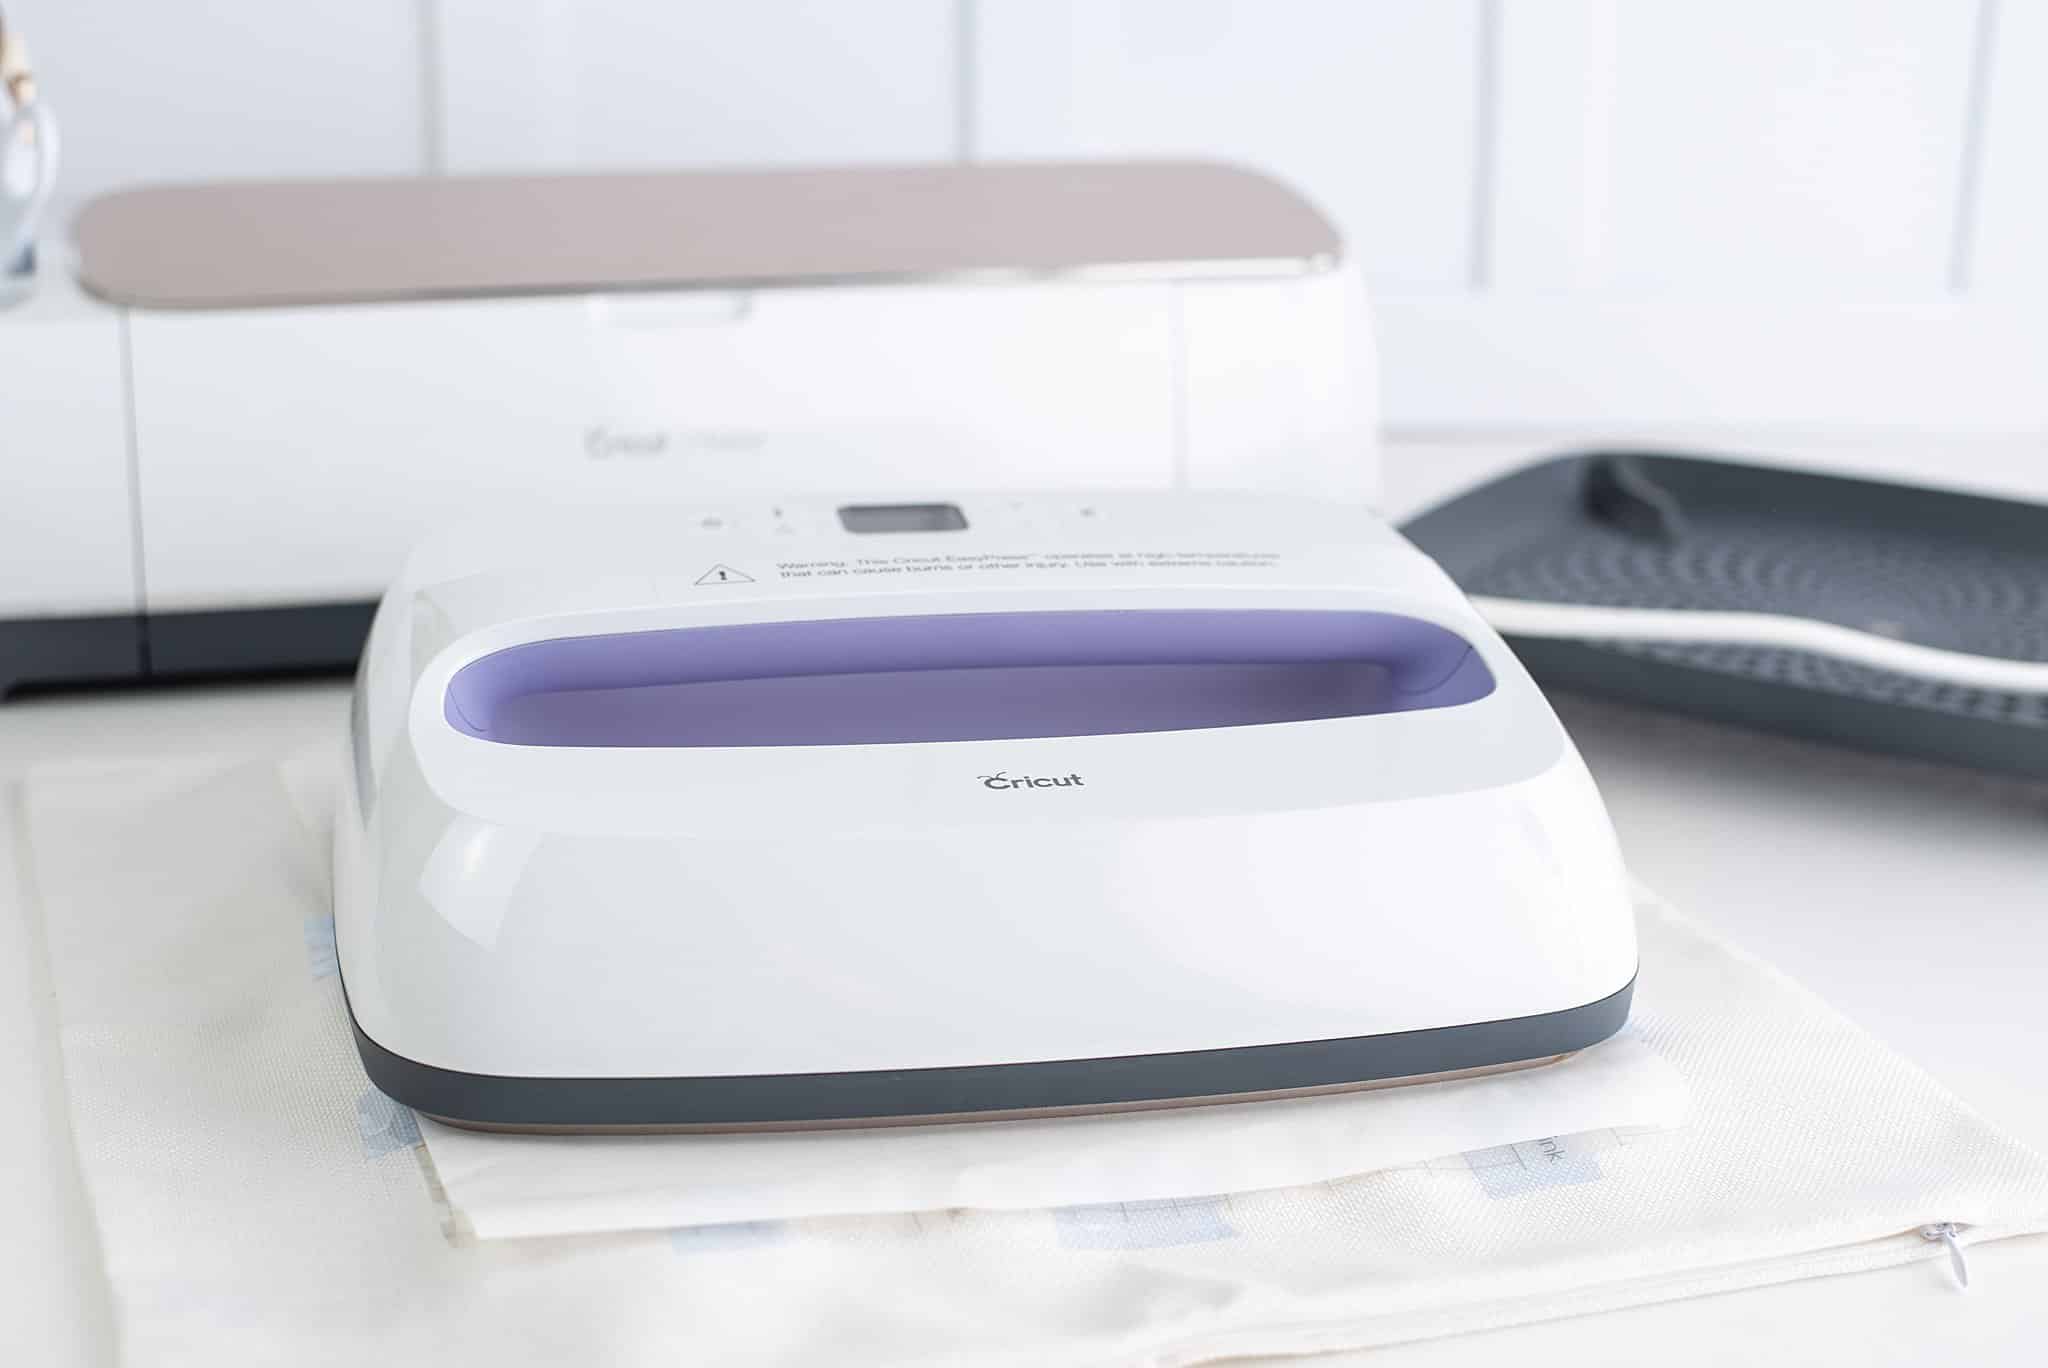
- Cricut machine
- Iron or heat press
- Infusible ink
- Sublimation pillow cover or infusible ink pillow cover
- Heat-resistant tape
- Weeding tool
- Crafting tweezers
- Cricut mat (blue or green)
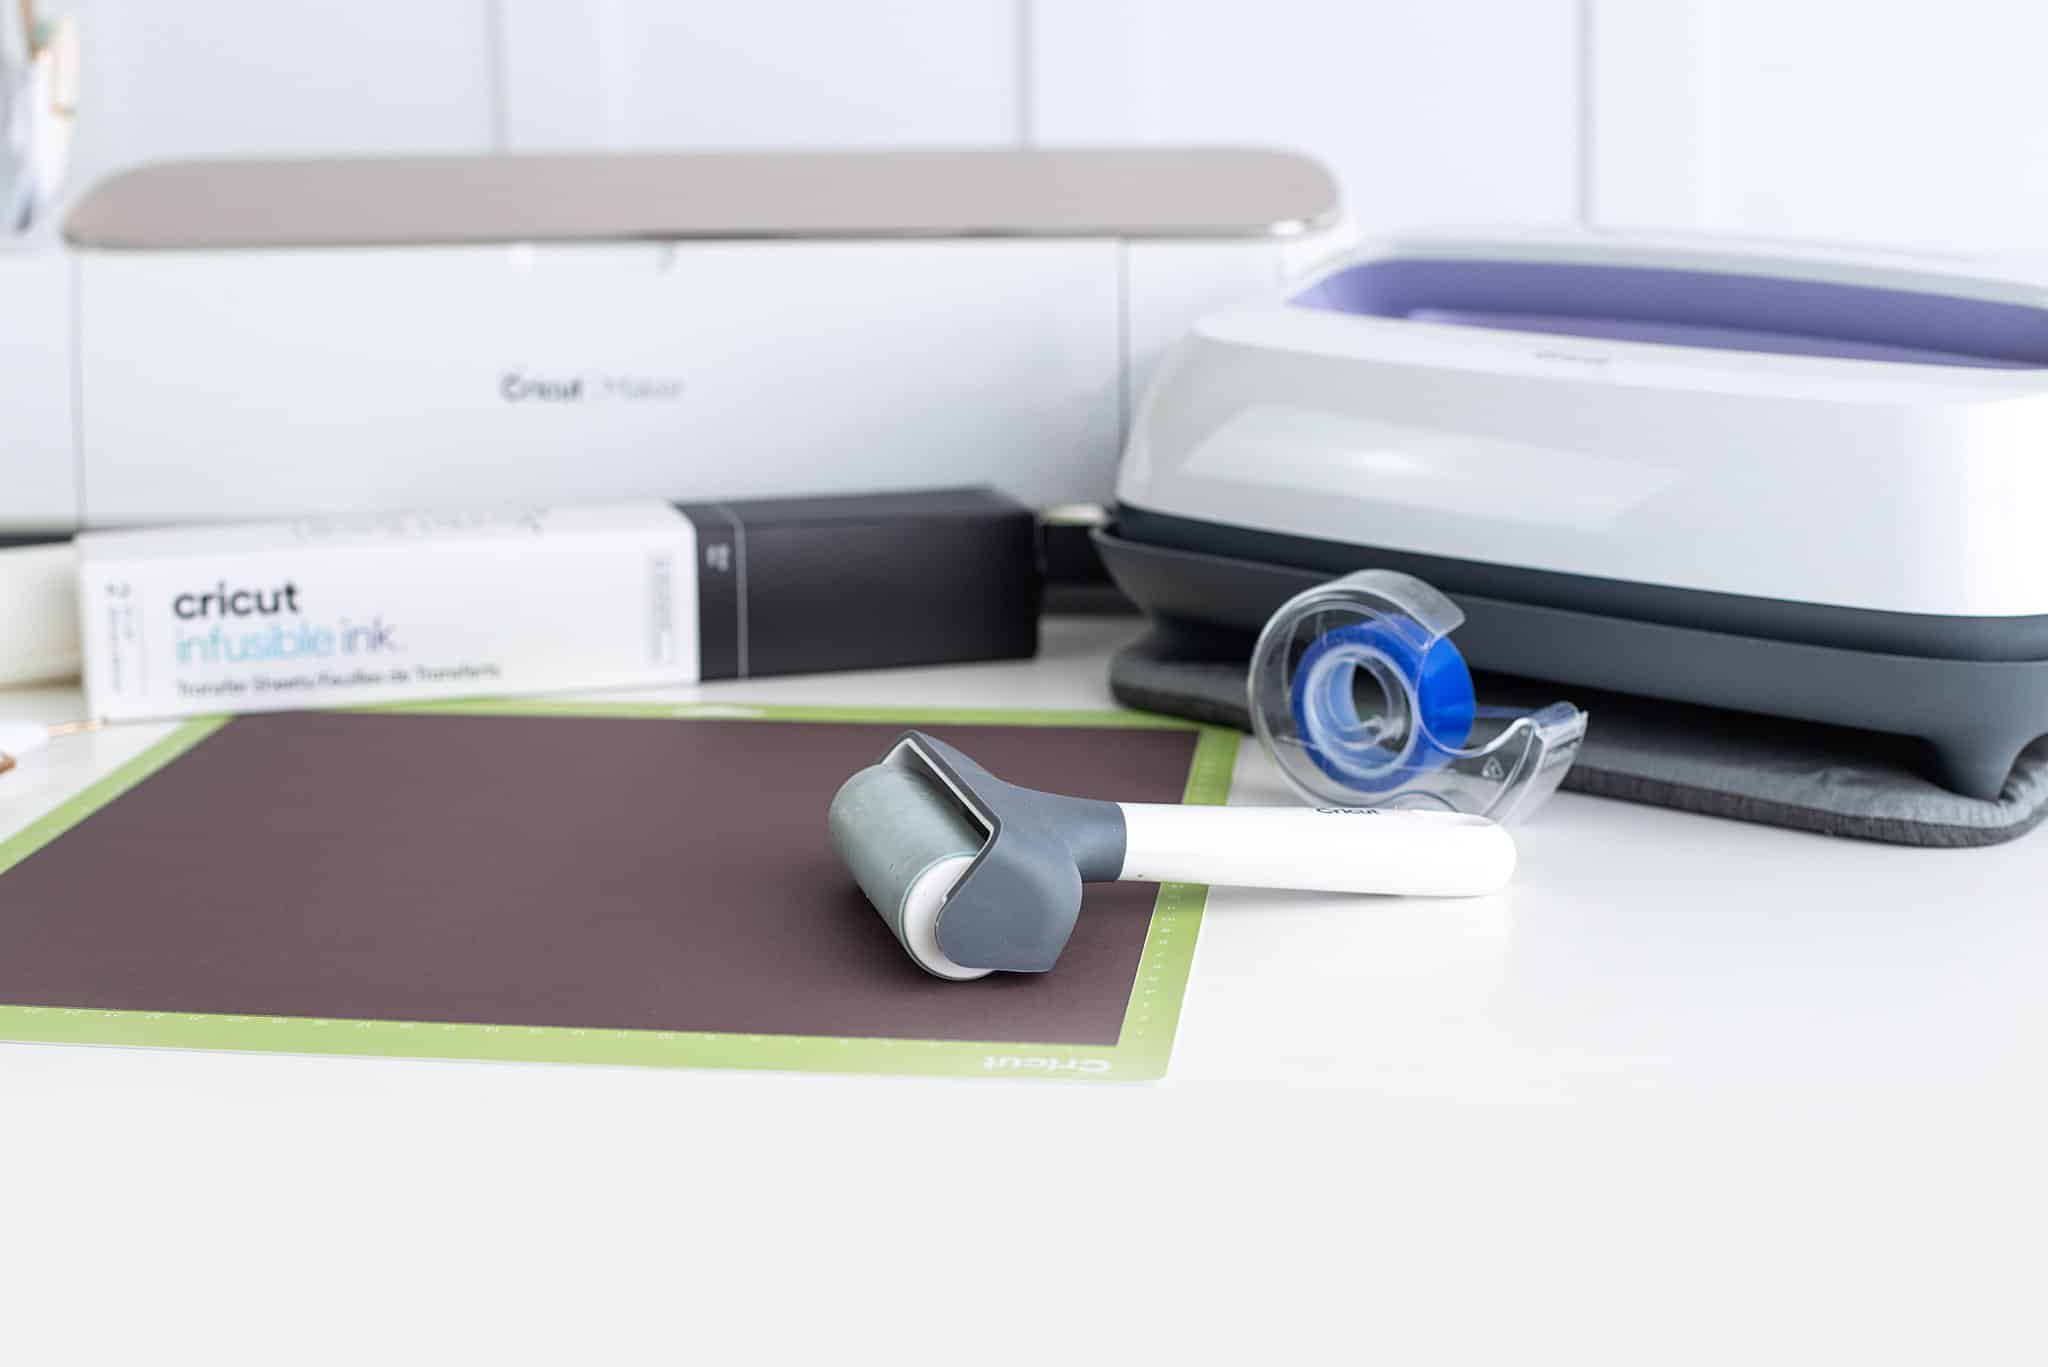
- Brayer from Cricut
- Lint roller
- Pillow form insert

Autumn Pillow Cover Instructions
Step 1: Design the Space
- Download the SVG file here, and you can also see it below.
- Upload the file to the design space, and change the sizing accordingly. This will depend on the size of your pillow cover. Consequently, the largest cut is 11.5” x 11.5”, so plan beforehand.
- Hit “make it” to continue designing your pillow cover.
- Once you see it on the preview screen (also known as the grid screen), turn on the “mirror” feature.
- Press “continue.”
- Adjust the material dial to the “infusible ink” setting.
- Use “more pressure” to ensure a clean print.

Step 2: Add infusible ink to mat.
- Carefully remove the infusible ink sheet from the packaging.
- Next, use the brayer tool, and add the infusible ink sheet to the Cricut mat.
- Try not to over-touch the sheet to prevent any natural oils from your hands from interfering with ink transfer.

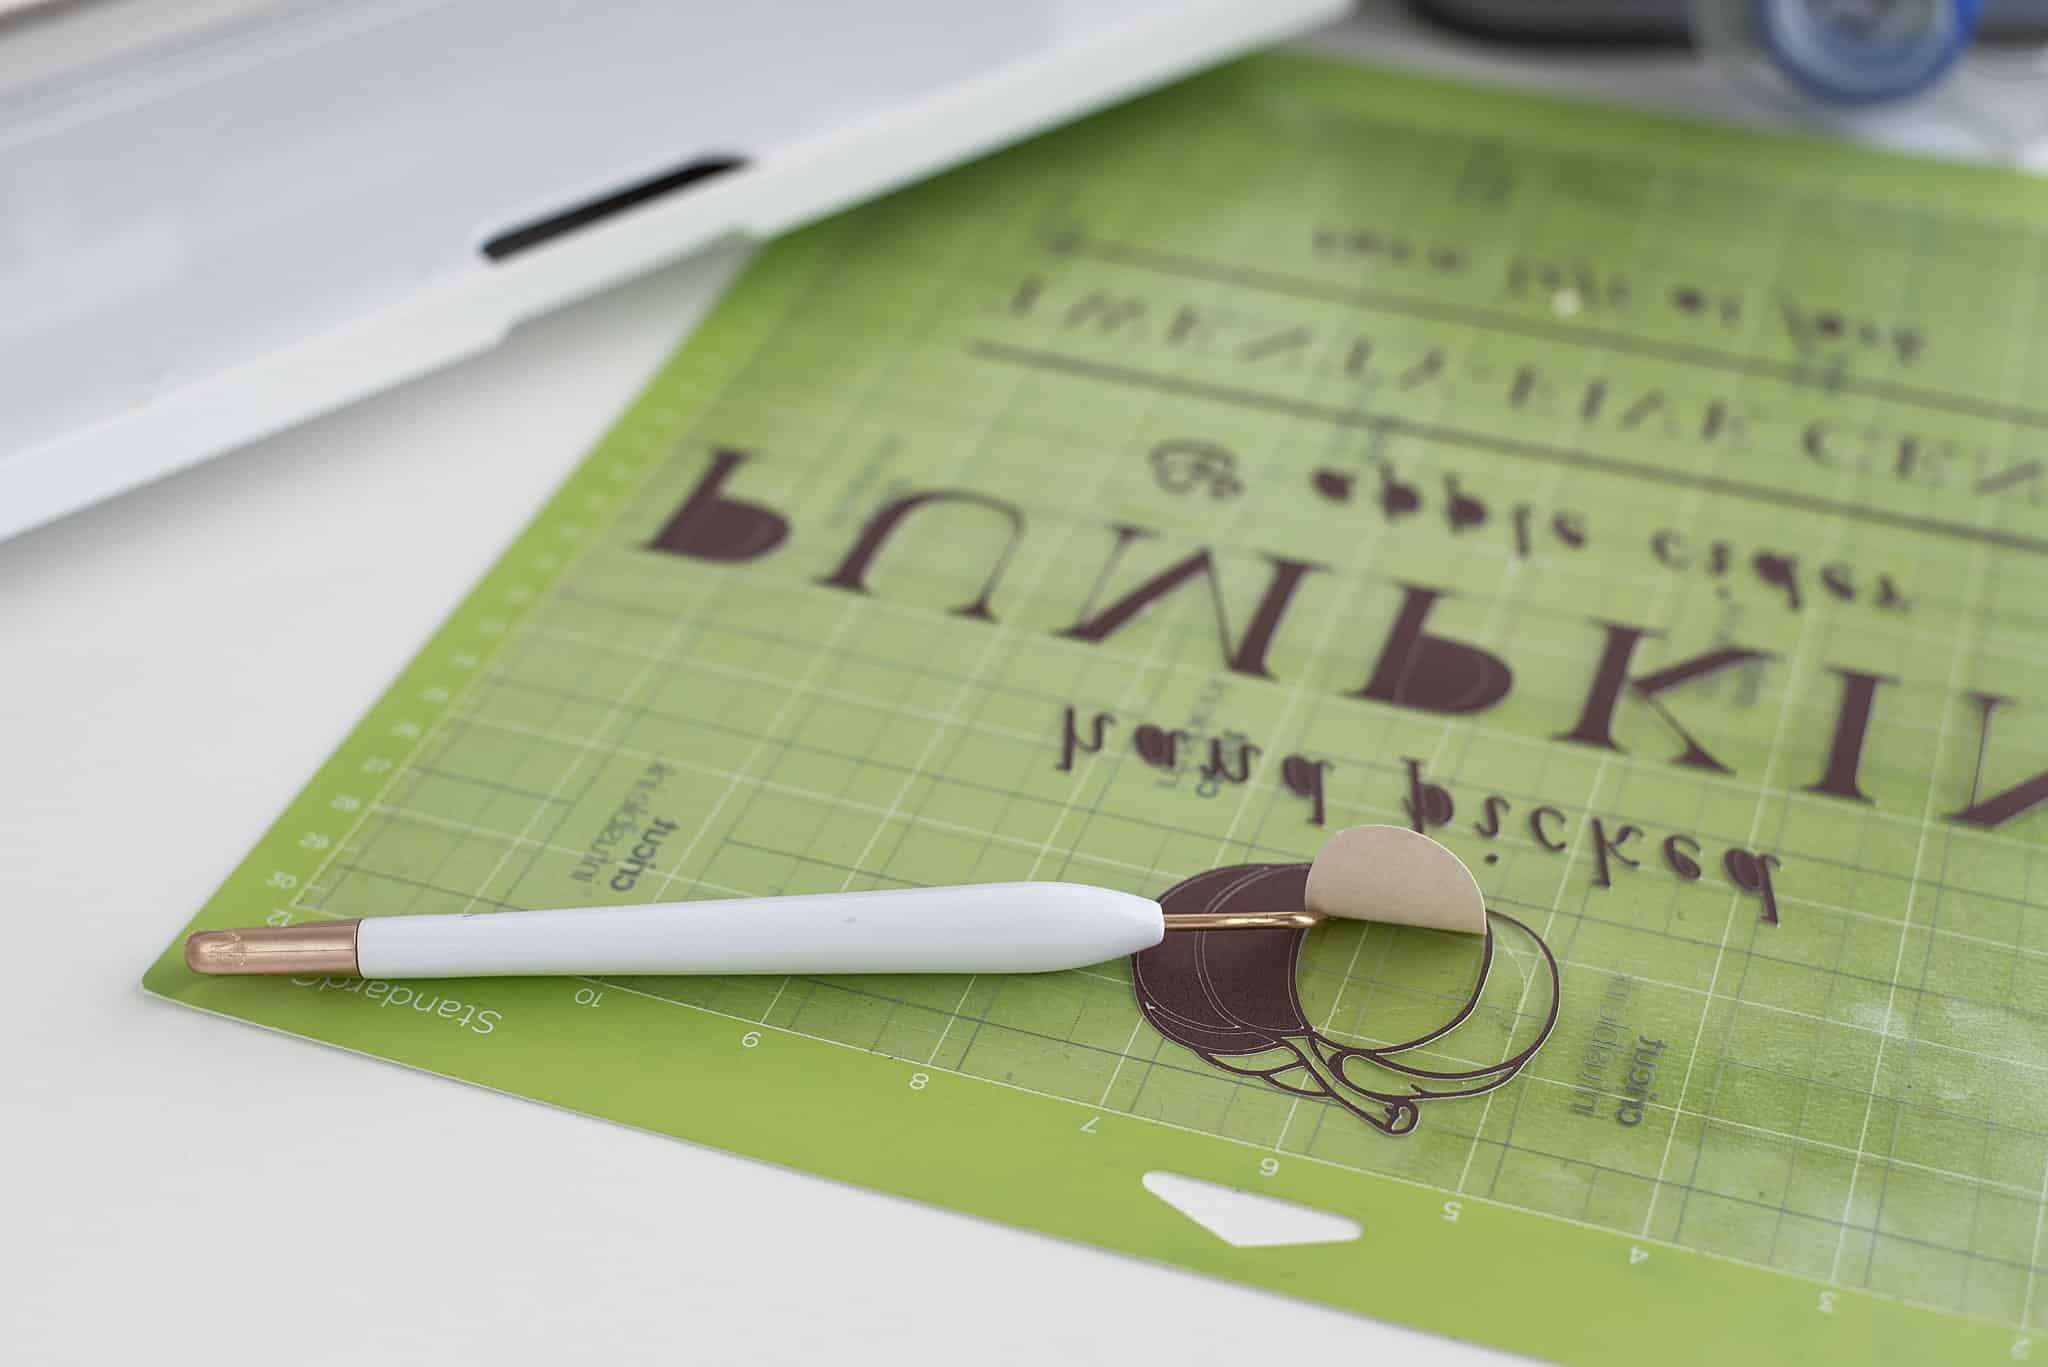
Step 3: Cut and weed the transfer.
- Load the mat into the Cricut machine.
- Push the flashing “go” button to cut.
- Once cut, leave the sheet on the mat, and then begin to weed between and around the letters of the design.
- The infusible ink is thick and may possibly make a cracking sound when removed. Additionally, completely remove it from the mat to fully separate it.
- Use your judgment and apply the tweezers and weeder as necessary to get the small details.
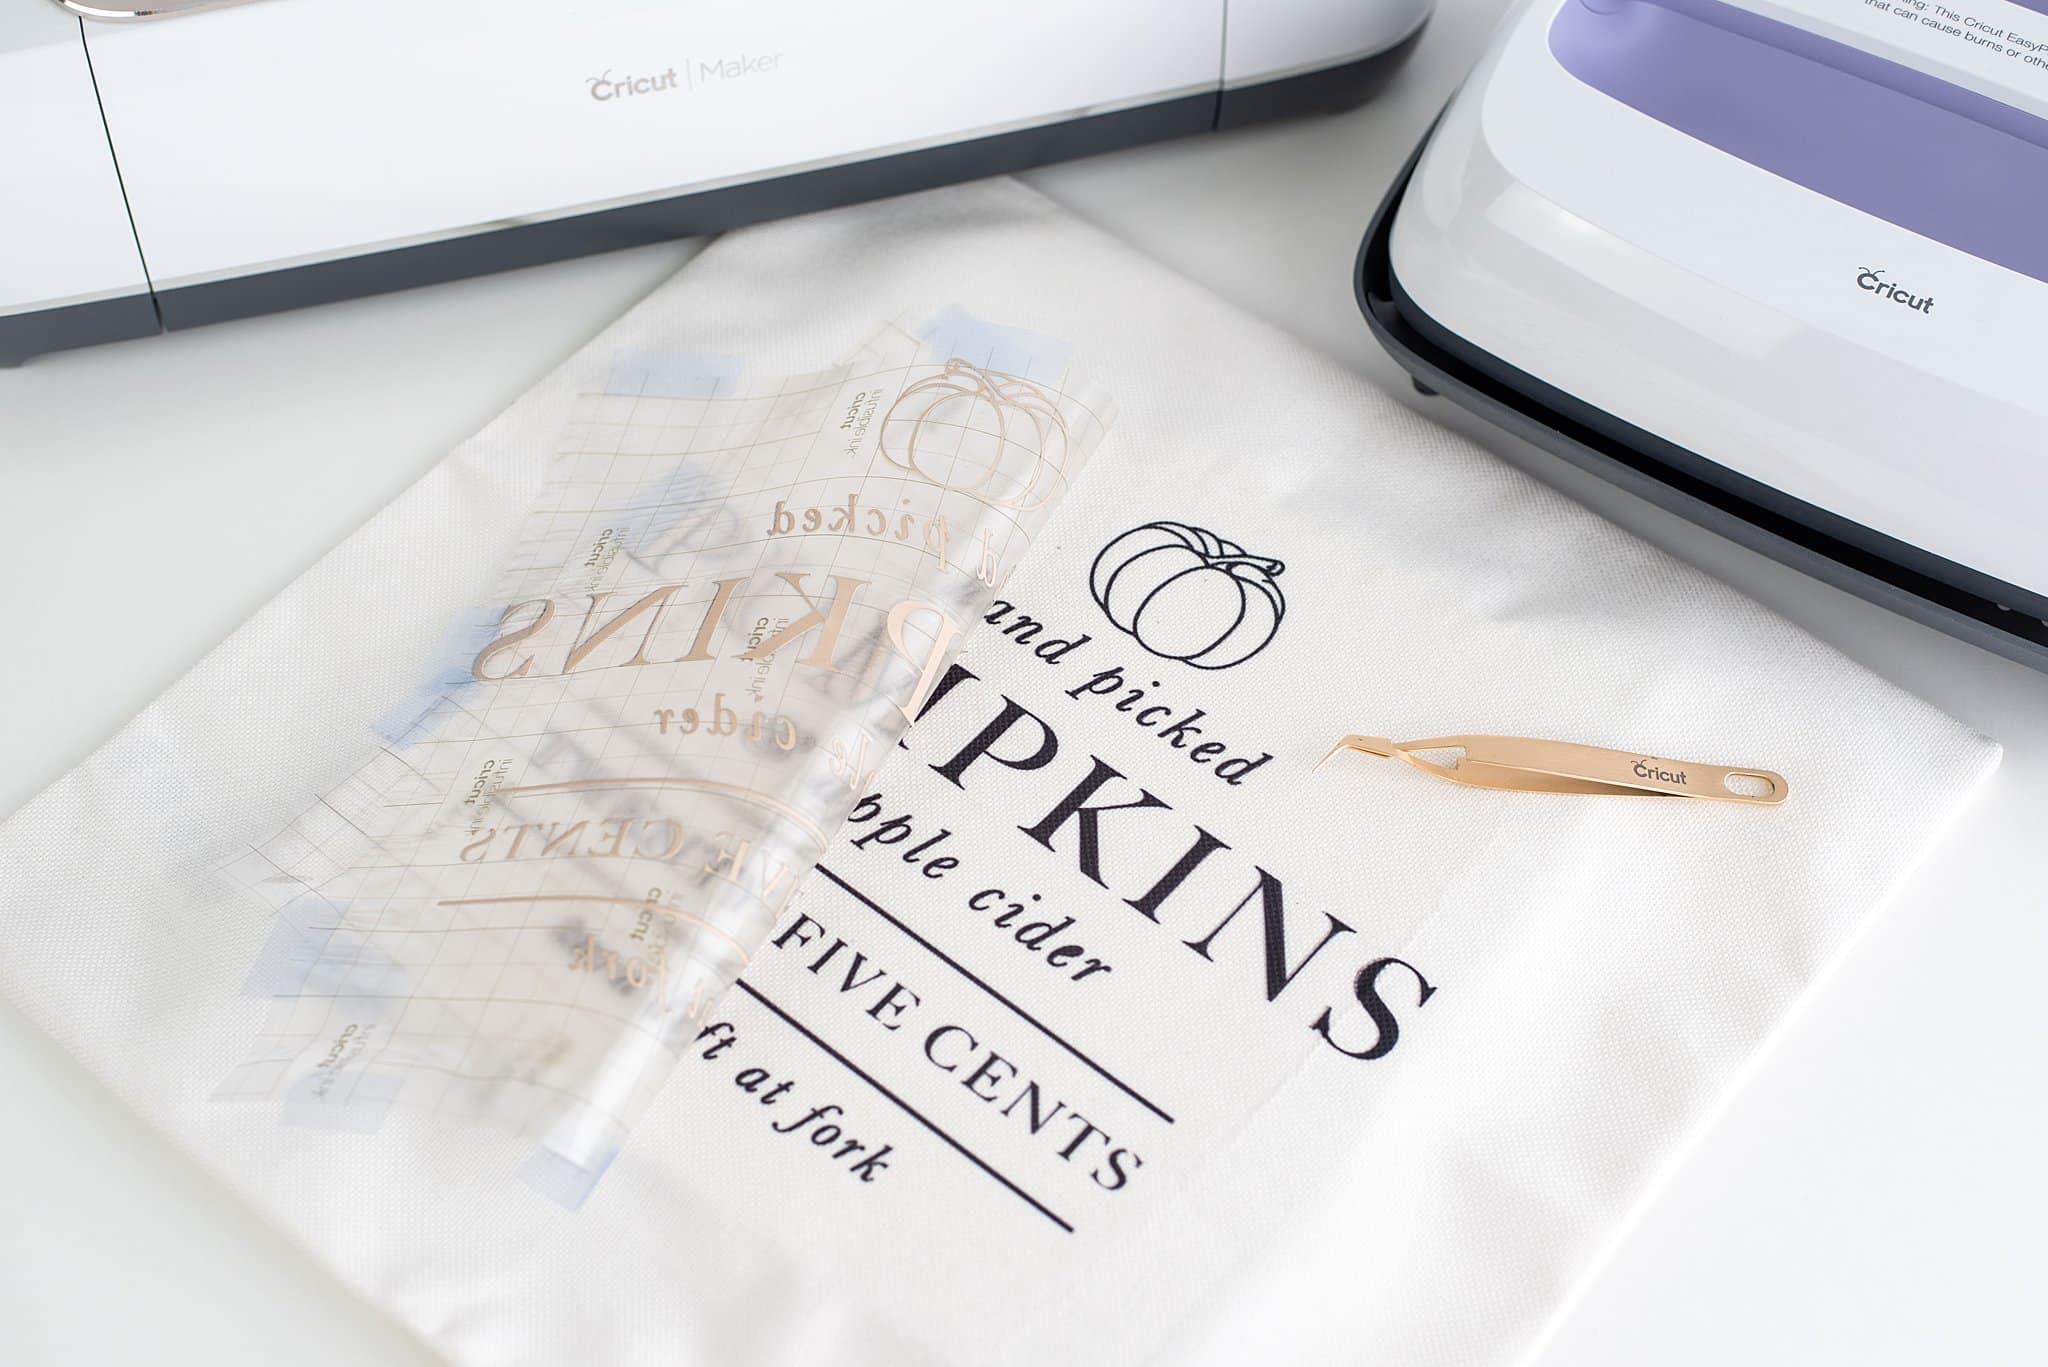
Step 4: Add the infusible ink transfer to the pillow cover.
- Use a lint roller to try and remove any fuzz, pills, or debris from the pillow cover.
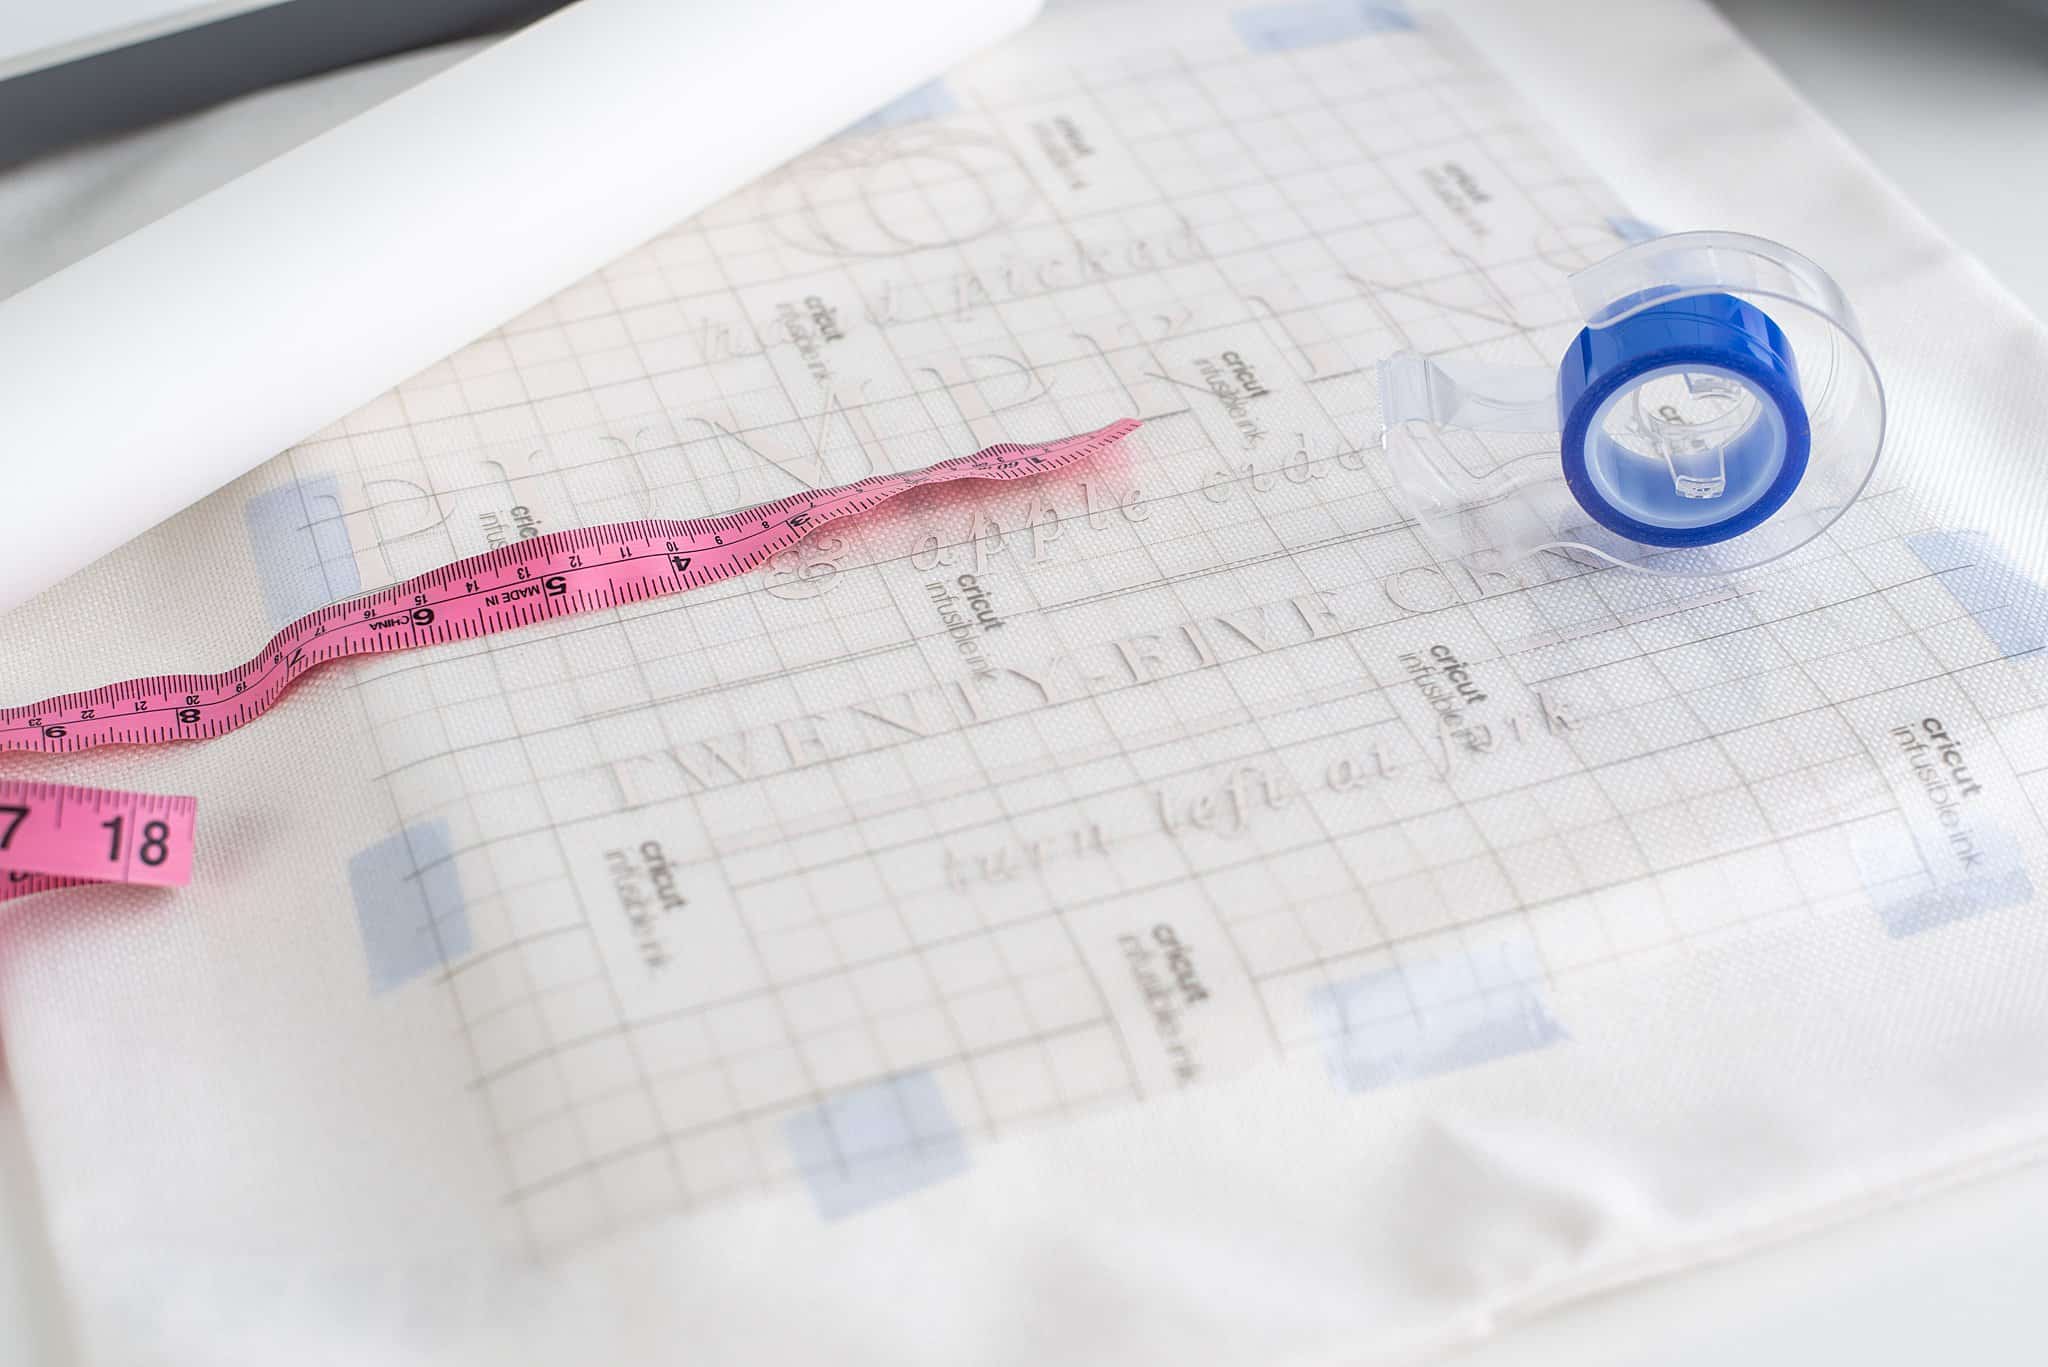
- Next, use a measuring tape to center the design.
- Ink face down, place the heat-resistant tape all around the design to hold it in place when you press it.
- Add a sheet of the included butcher paper (it should be in the box) to the pillow’s inside and on top of the design before pressing.

Step 5: Heat press the pillow to transfer the ink.
- Next, as recommended by Cricut, heat the ink at 380 degrees for 60 seconds.
- Press or iron — carefully and slowly — the surface while you lift the transfer straight off and on the design to keep it from moving.
Step 6: Remove the transfer paper and add the pillow.
- After the pillow’s surface is completely cooled, remove the tape and transfer.
- Lastly, place your pillow form or poly-fil inside the pillow cover.
- Enjoy!
DIY Fall Pillow Covers Final Result
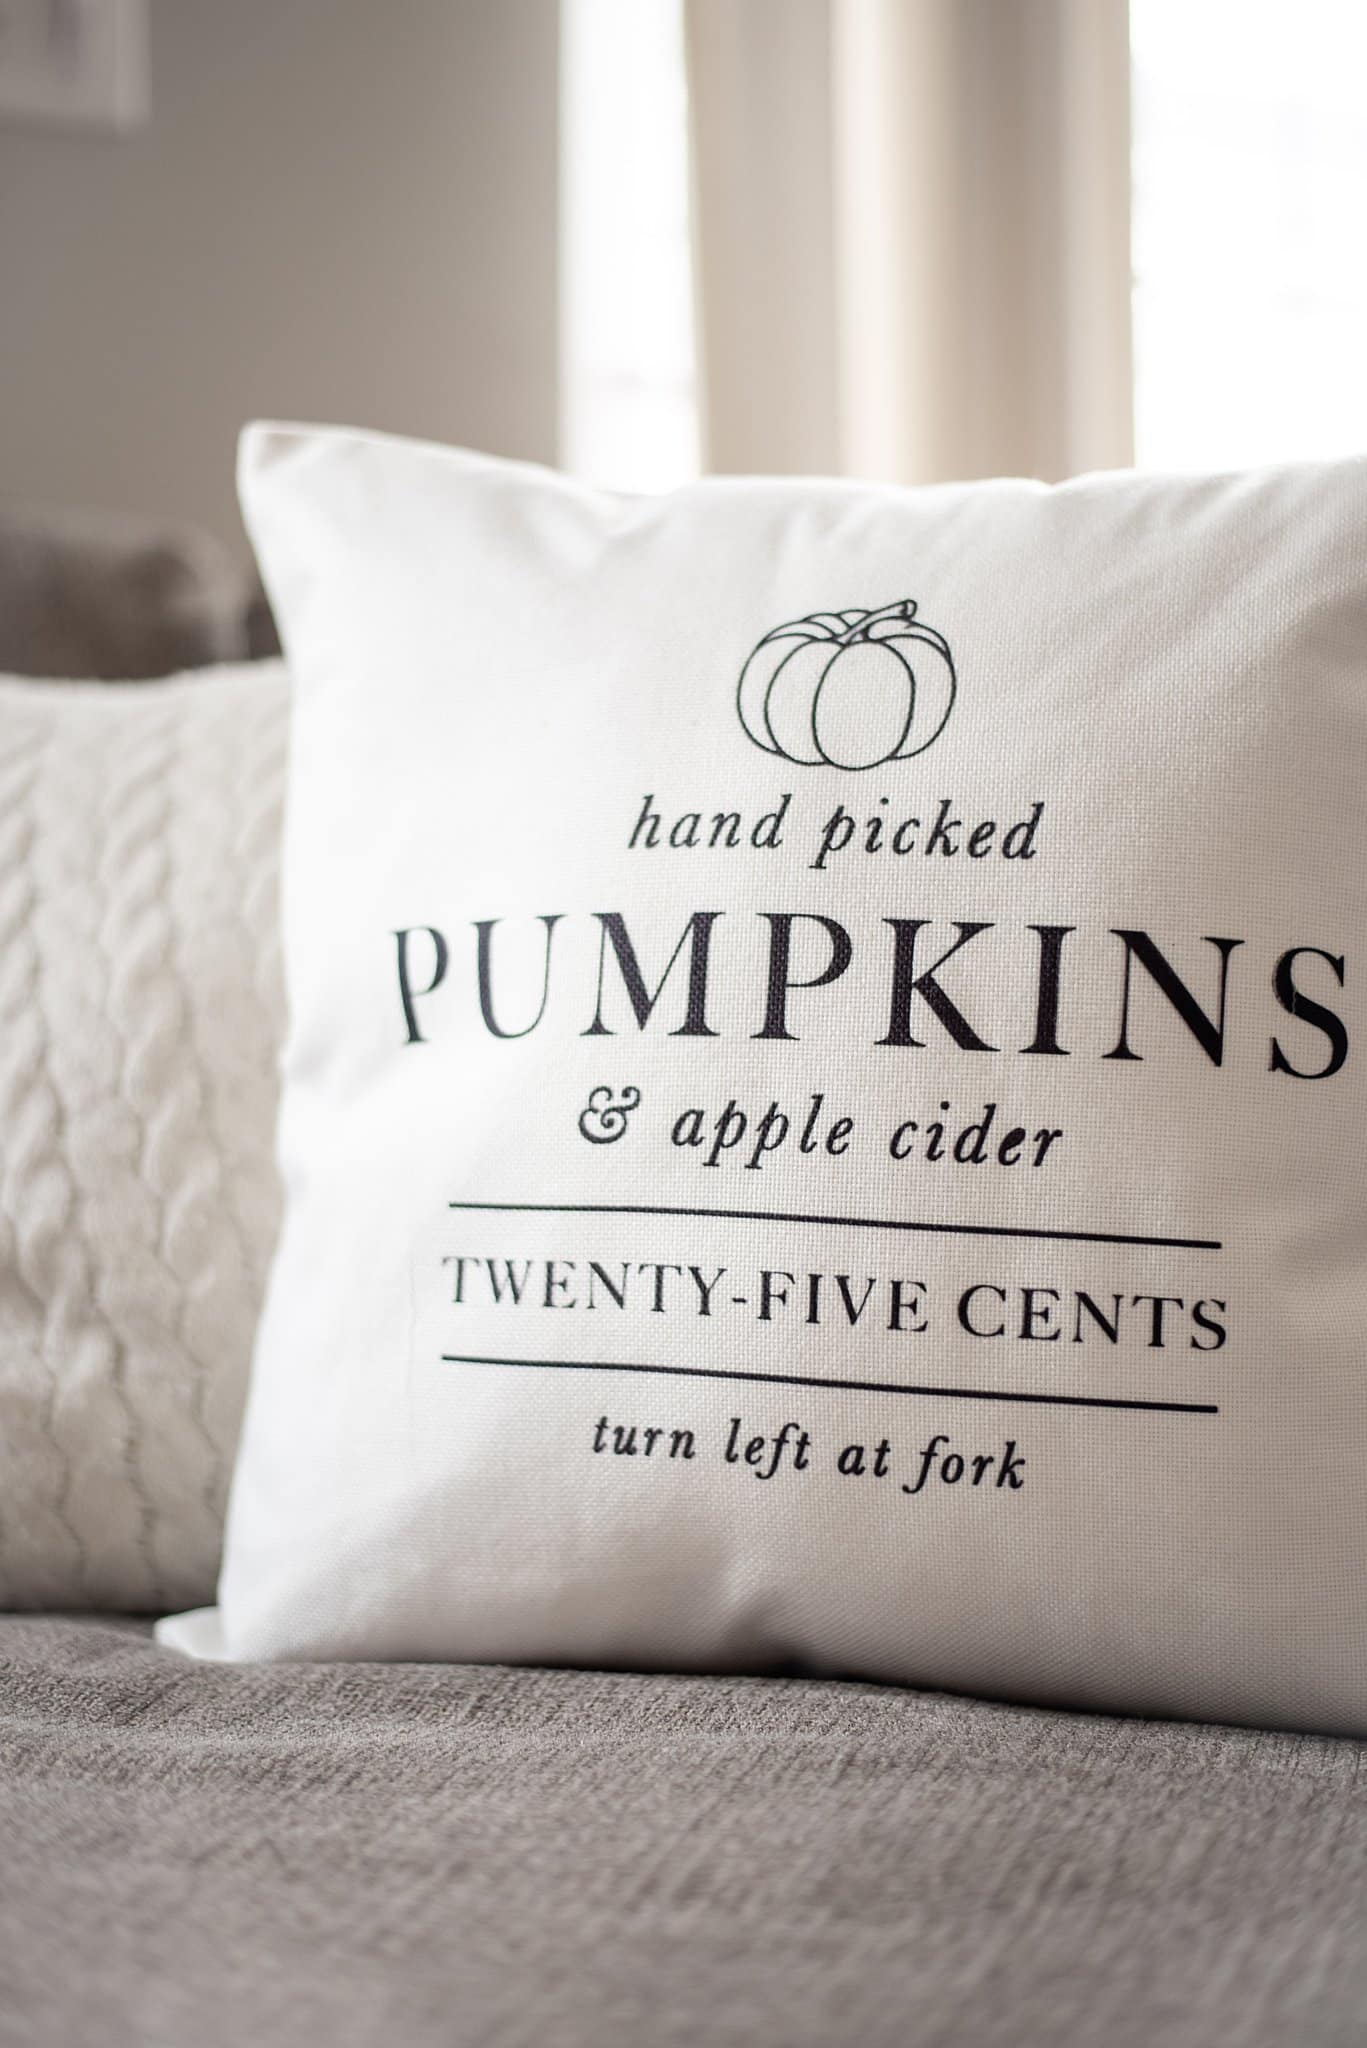
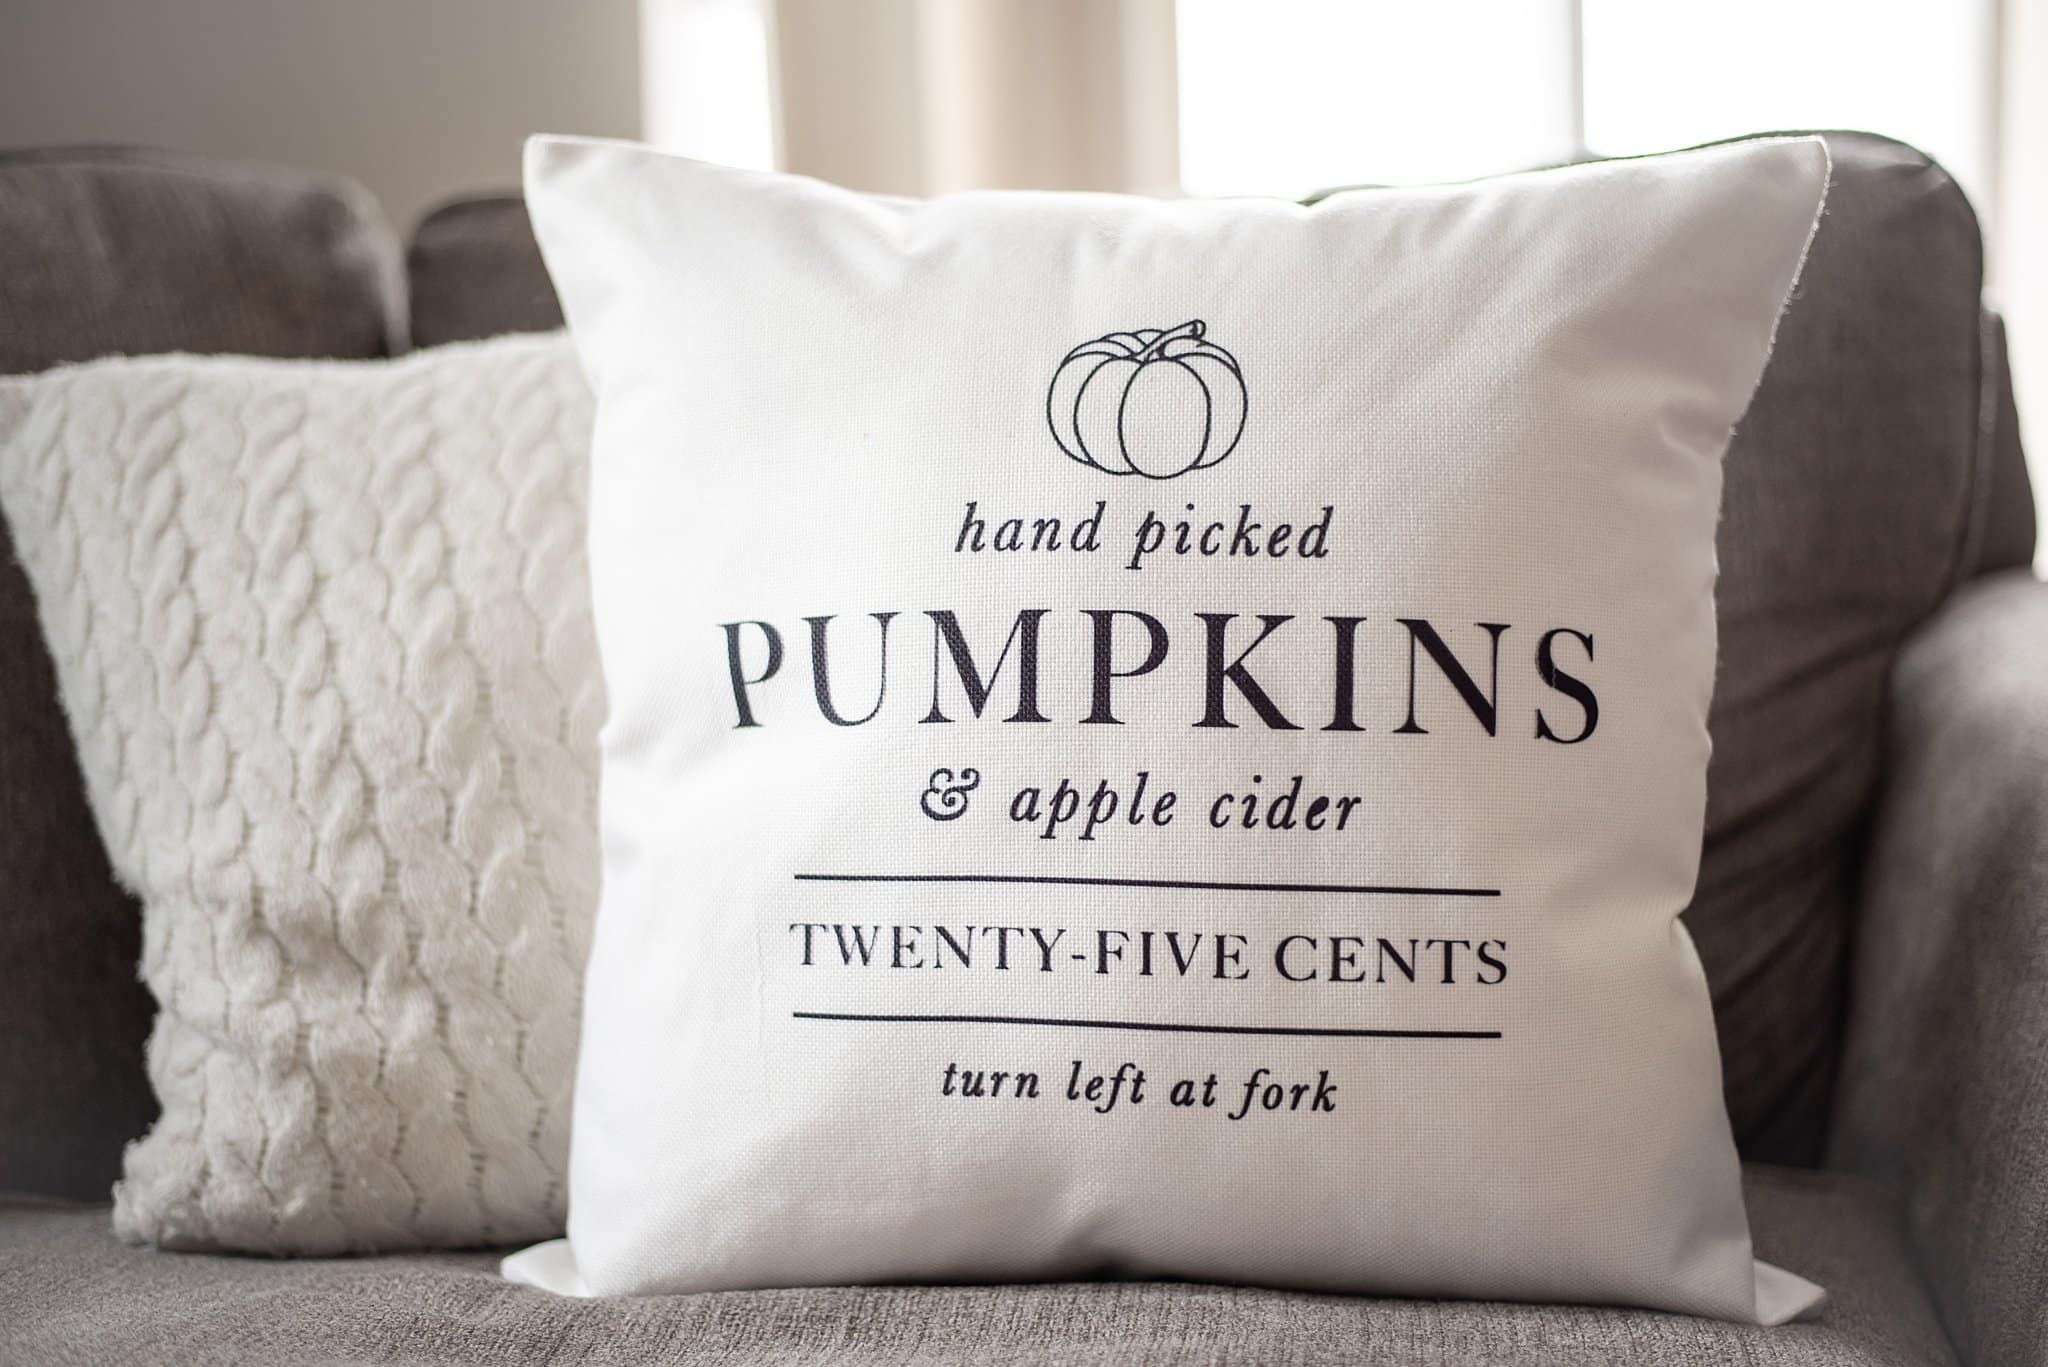
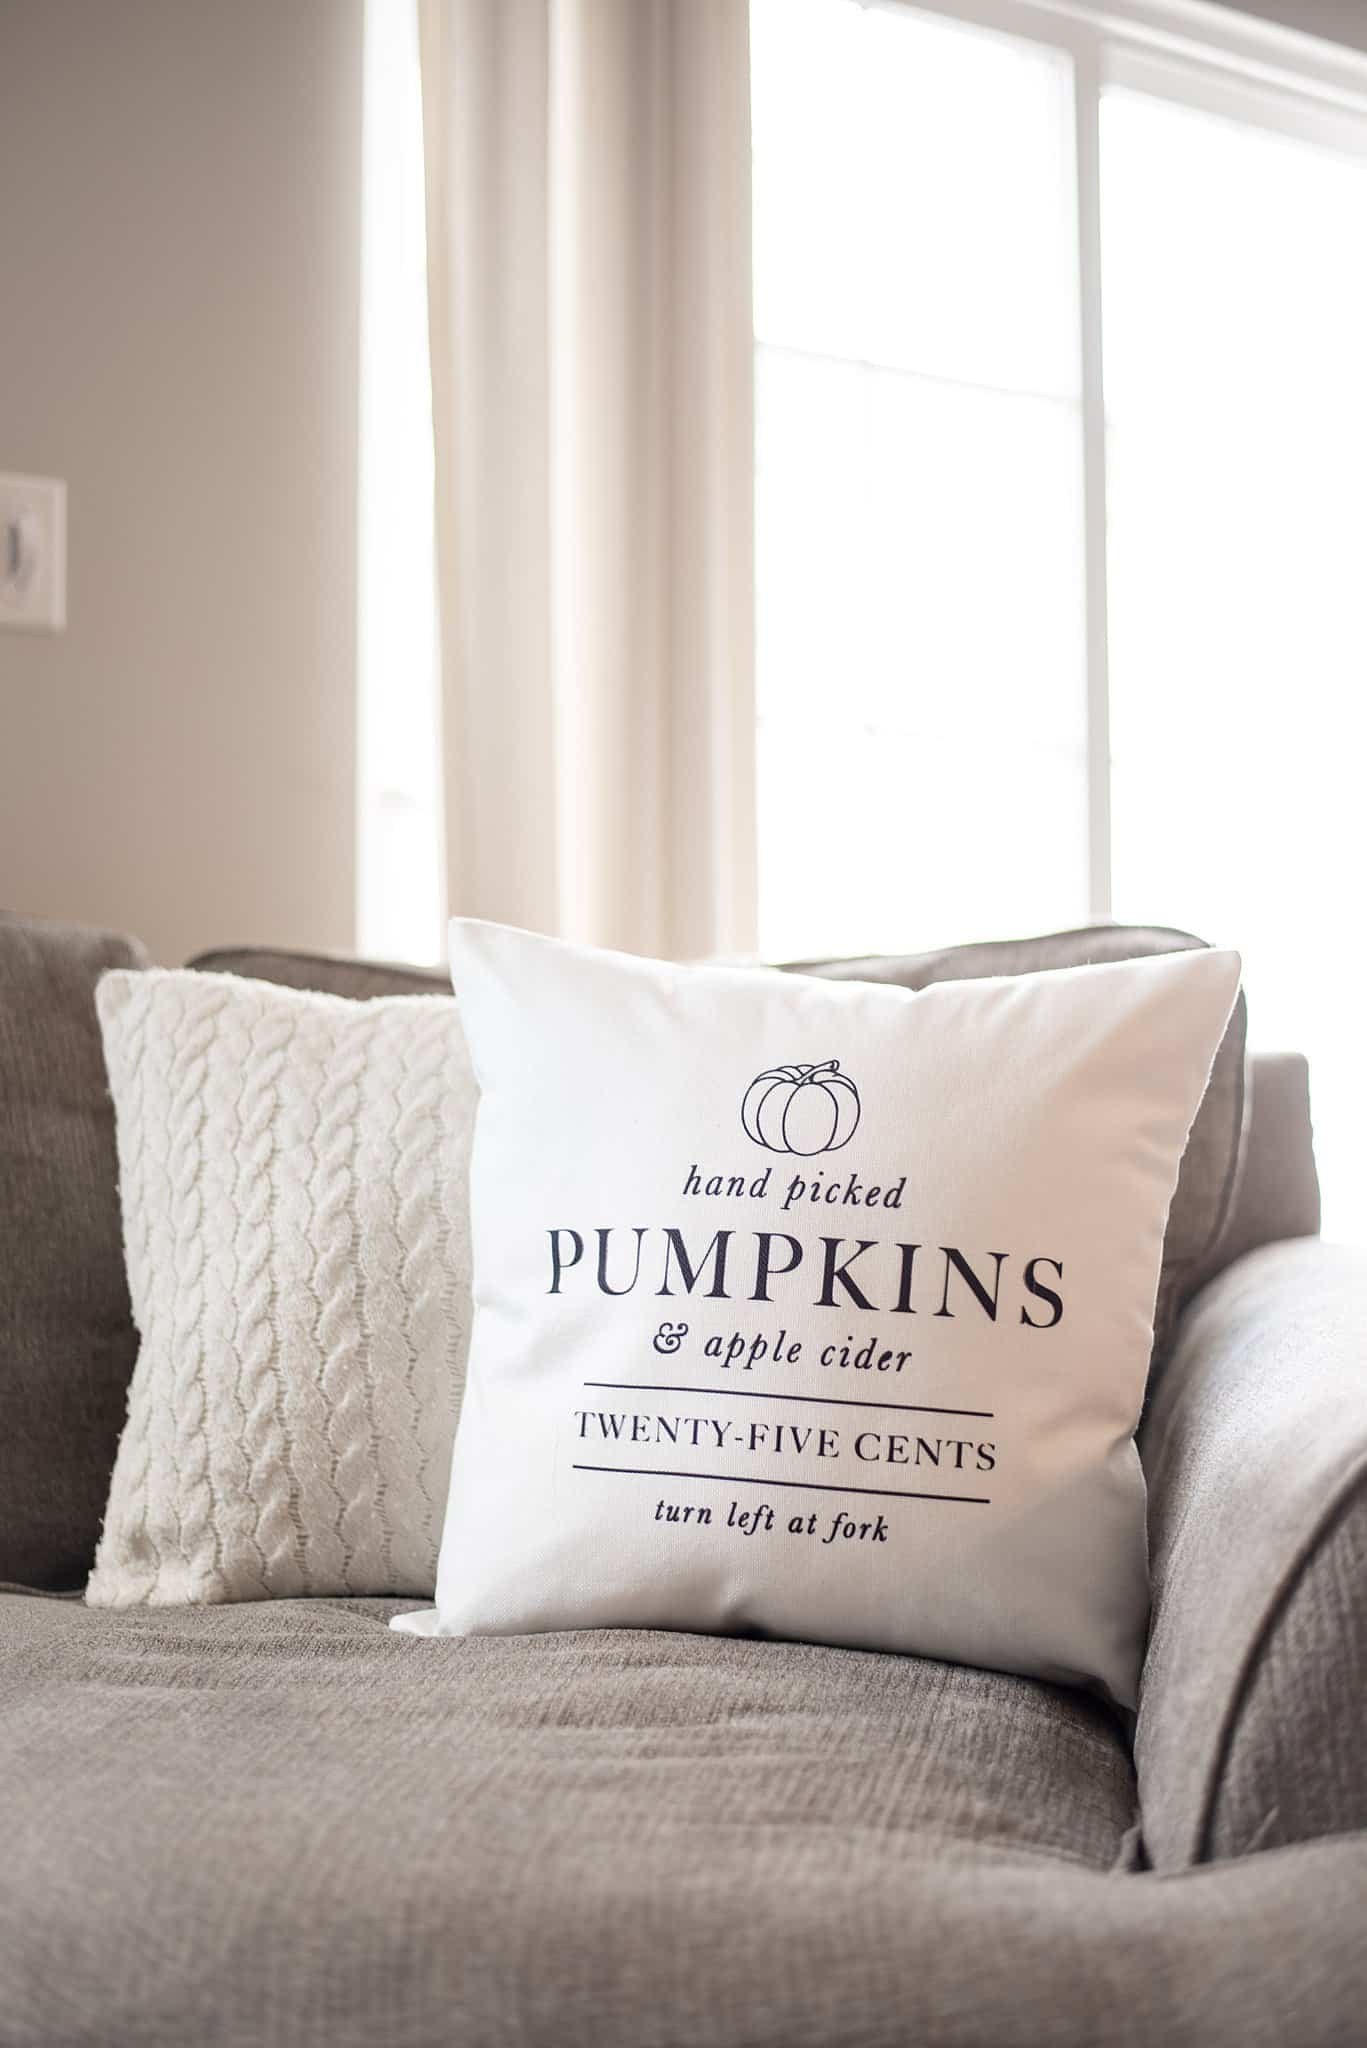
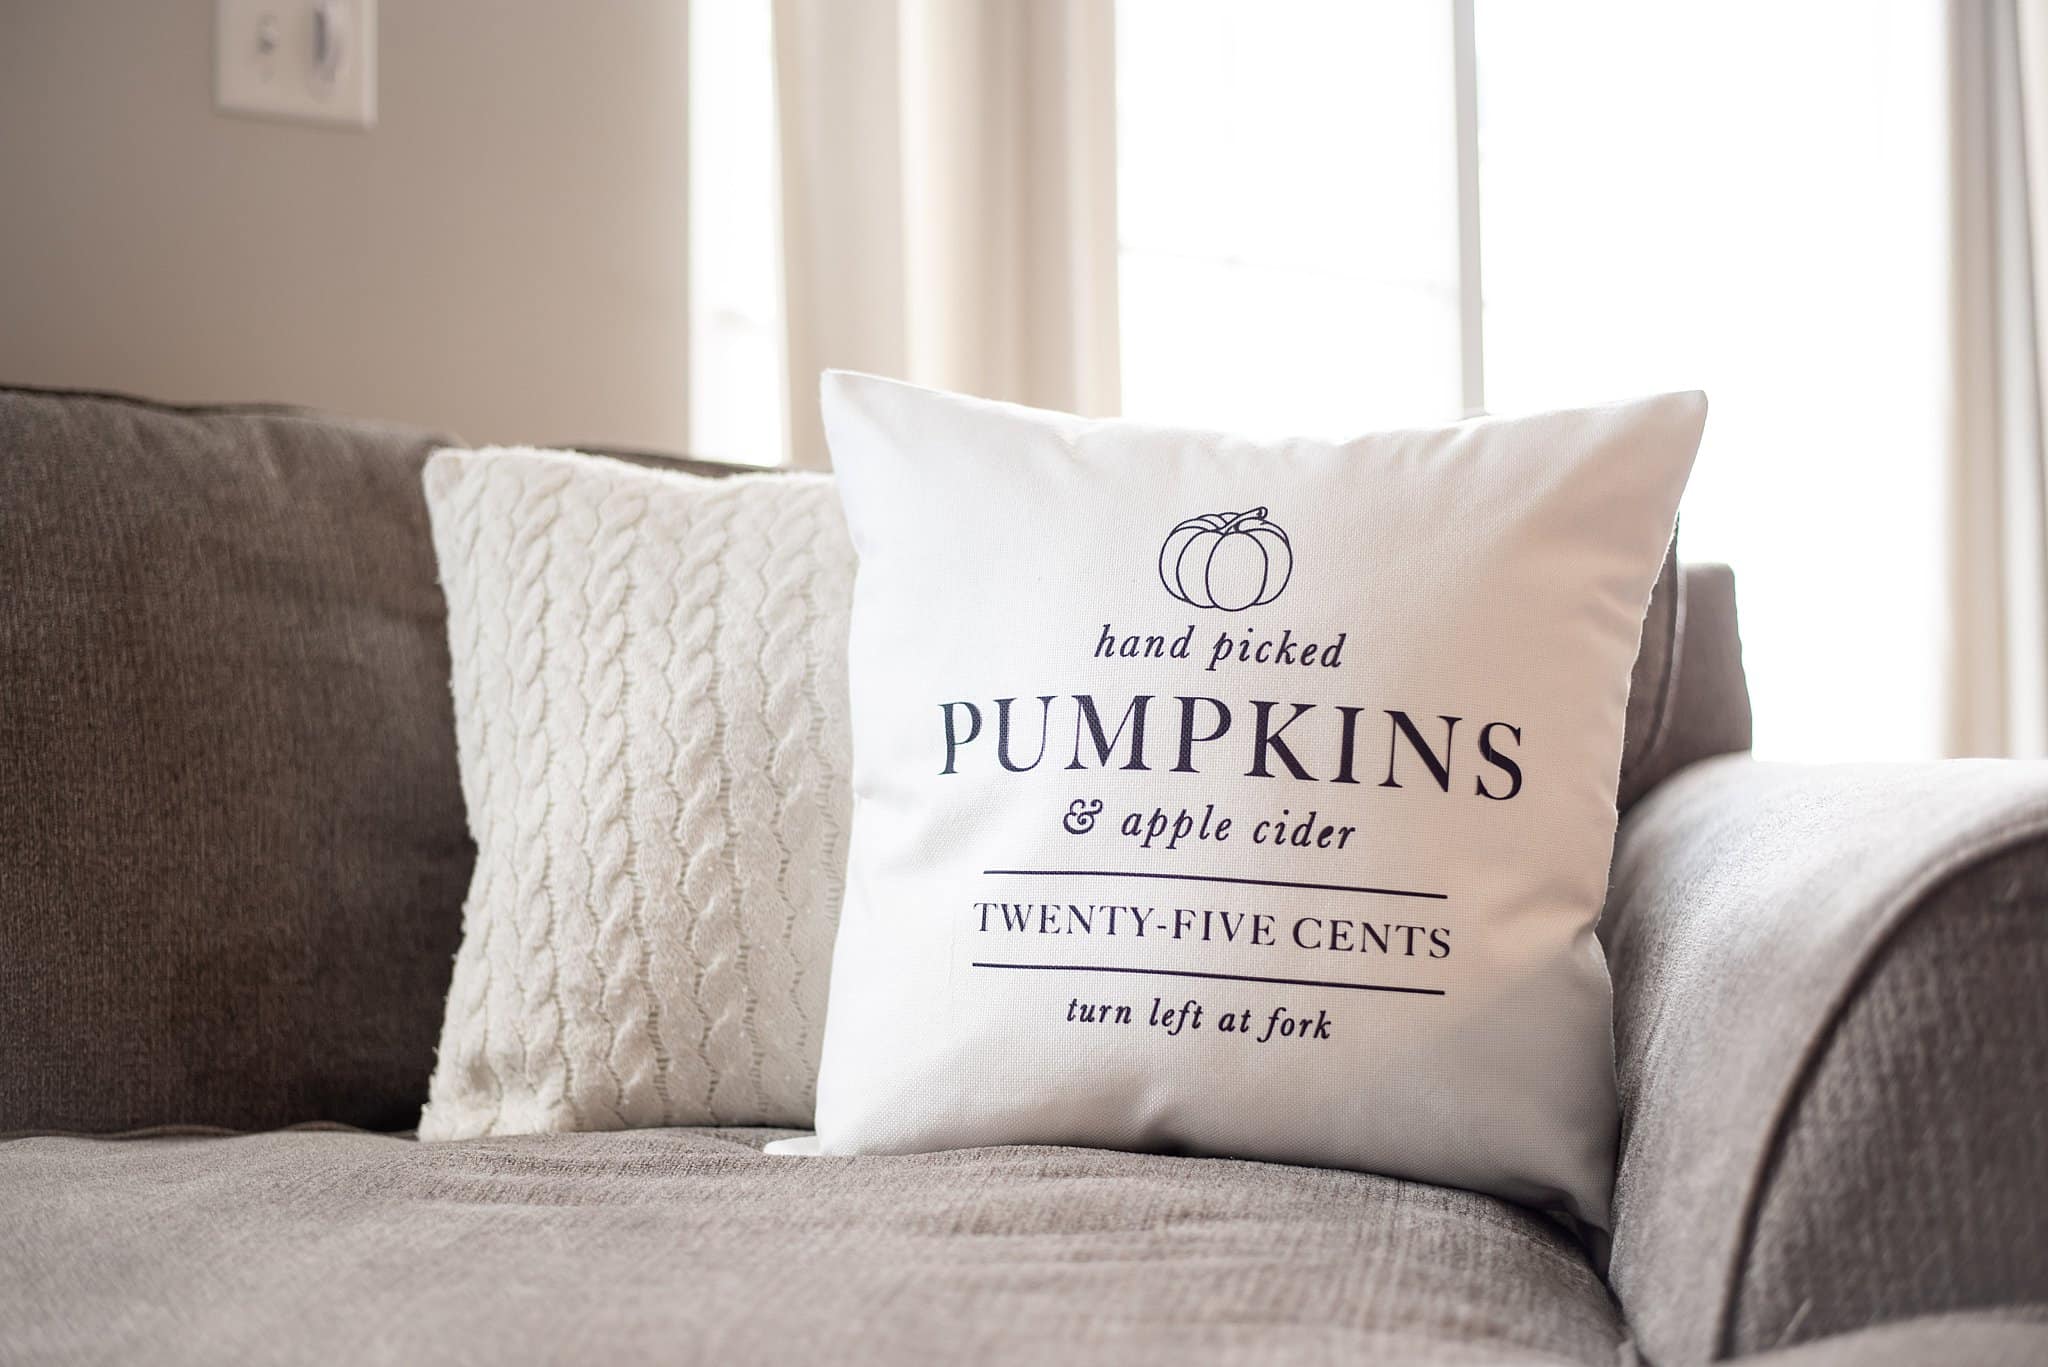

Save our Cricut DIY fall pillow covers and get crafting!