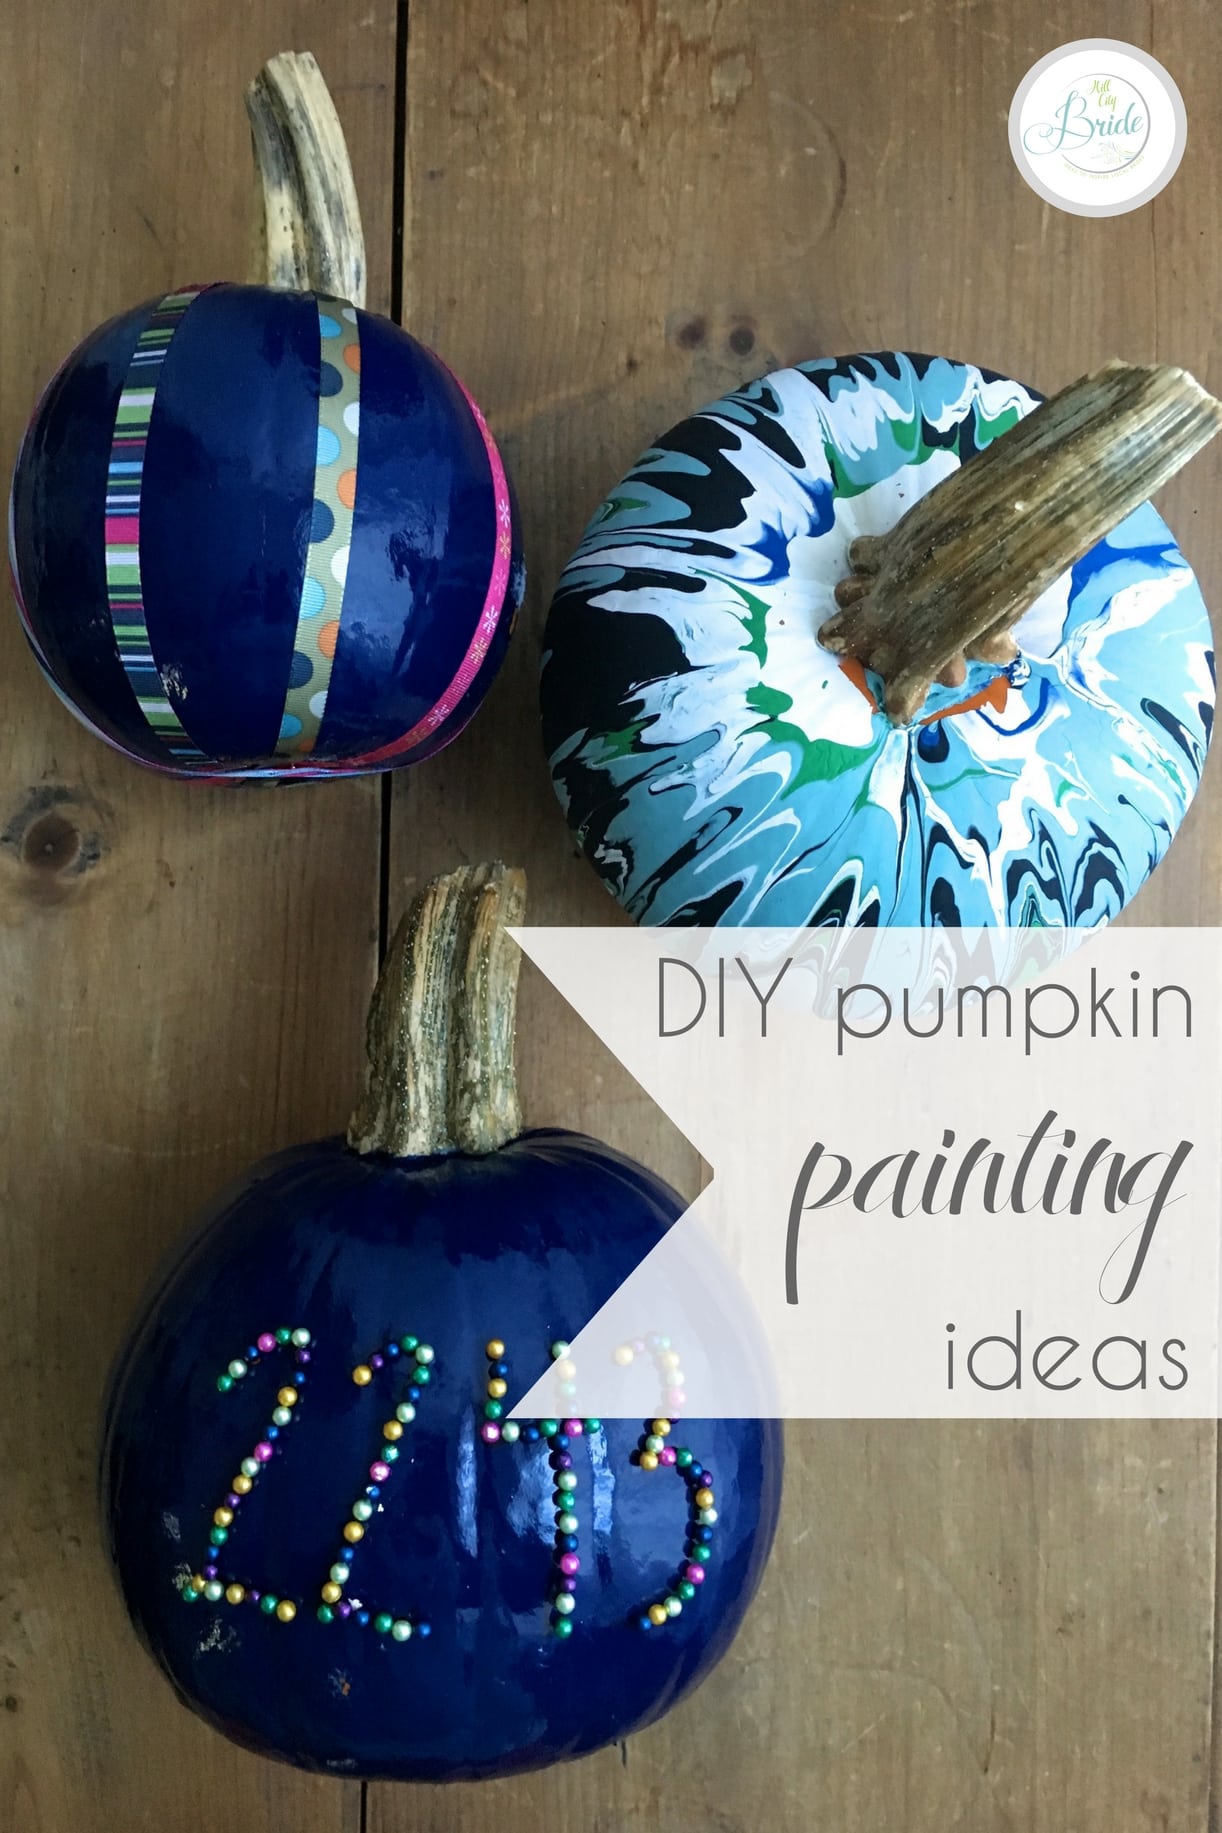
Wait! Don’t toss your pumpkins! If you haven’t carved them, they are the perfect candidates for our DIY pumpkin painting ideas. These are so budget friendly and super cute and easy, so be sure to put those leftover pumpkins to great use with these fun pumpkin DIY projects.
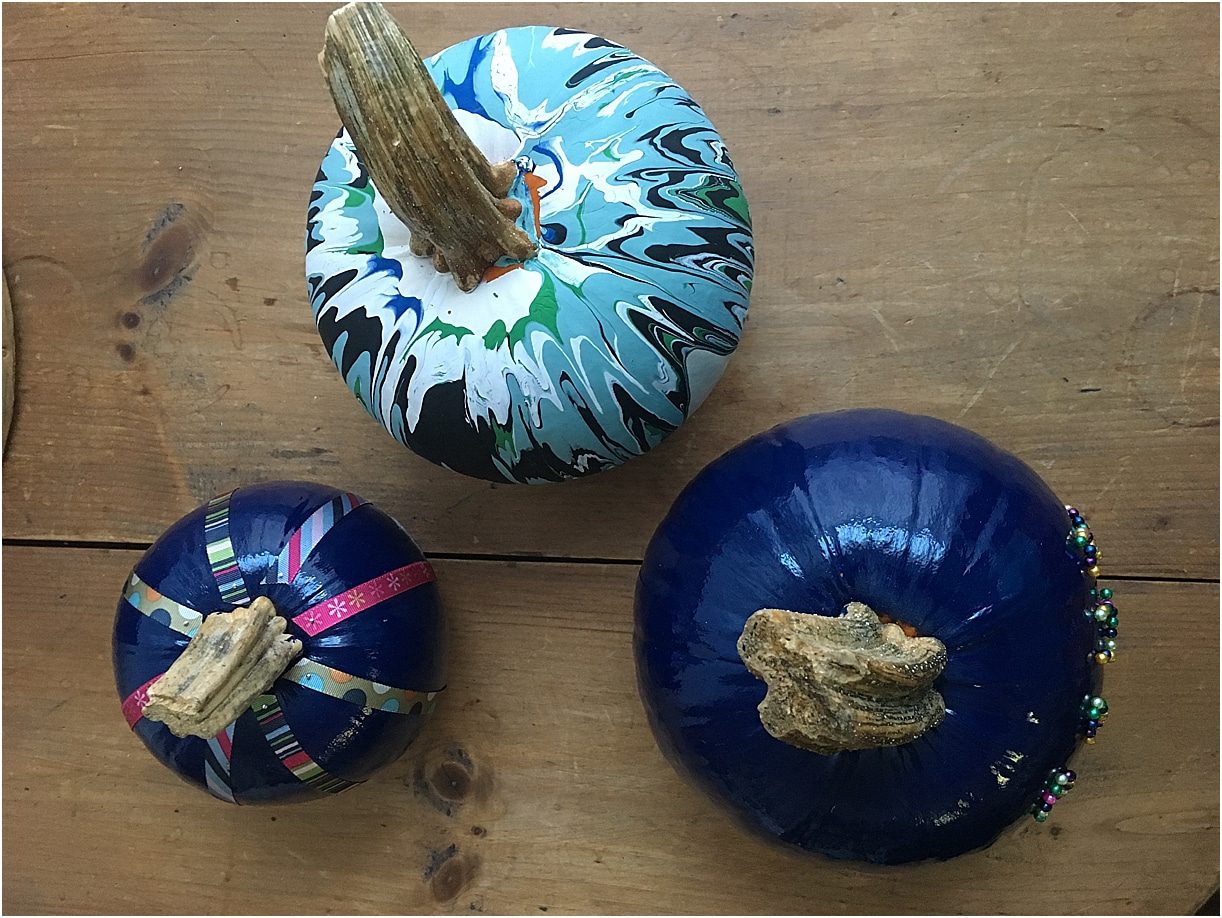
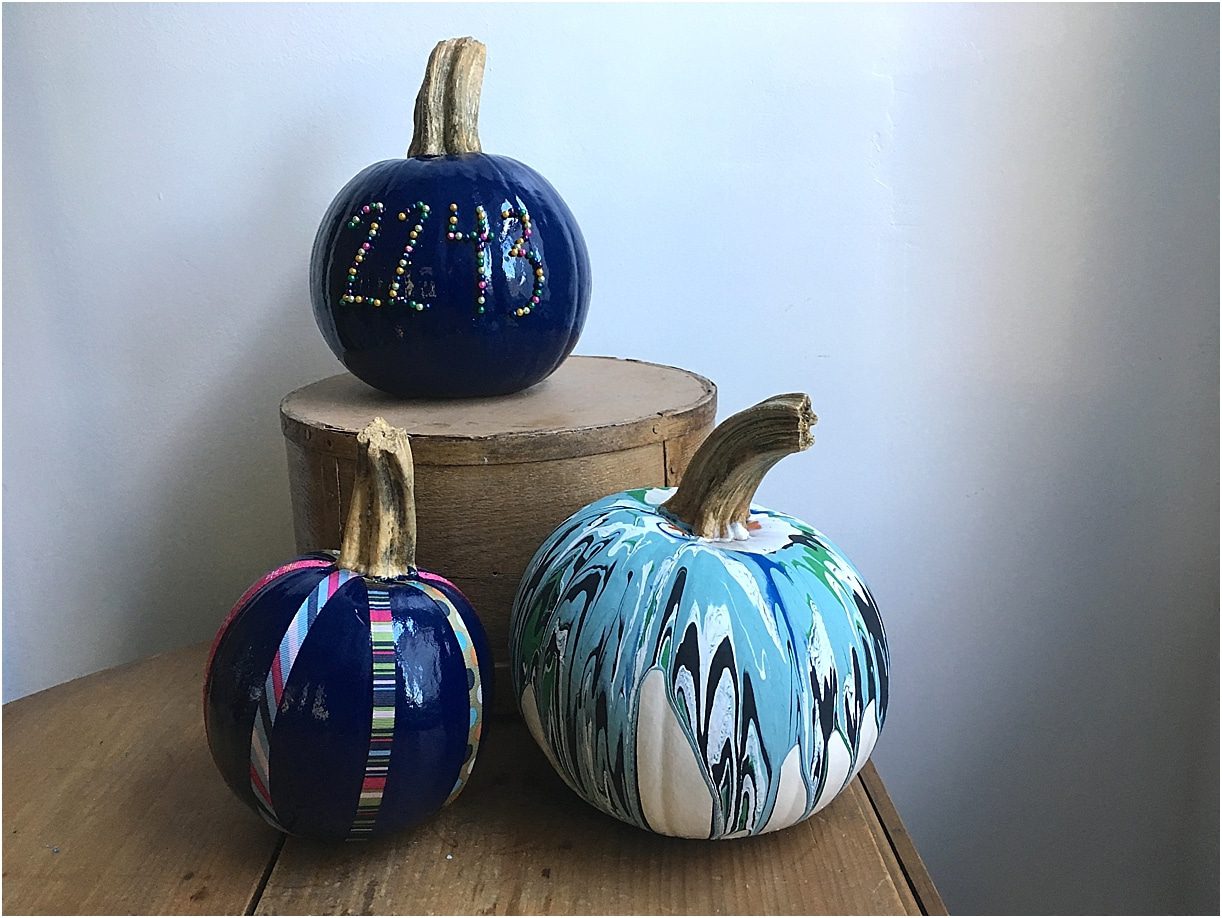
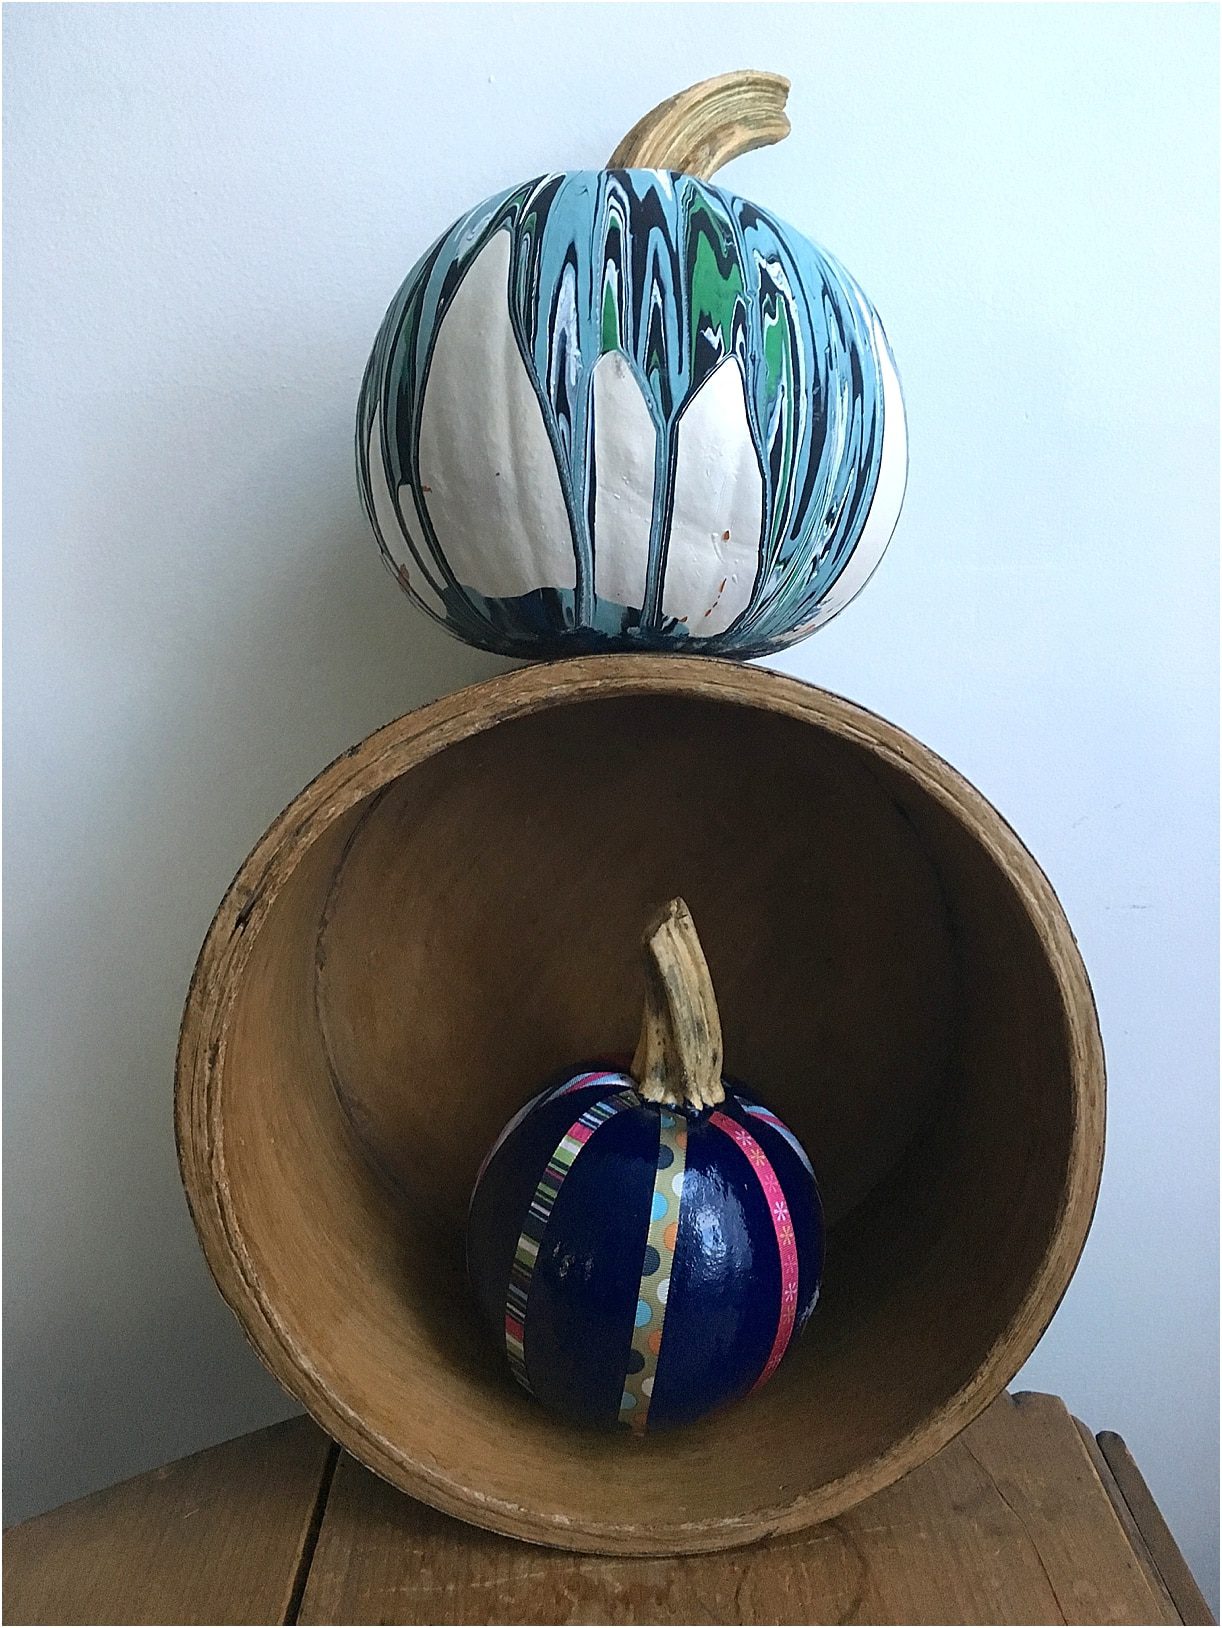
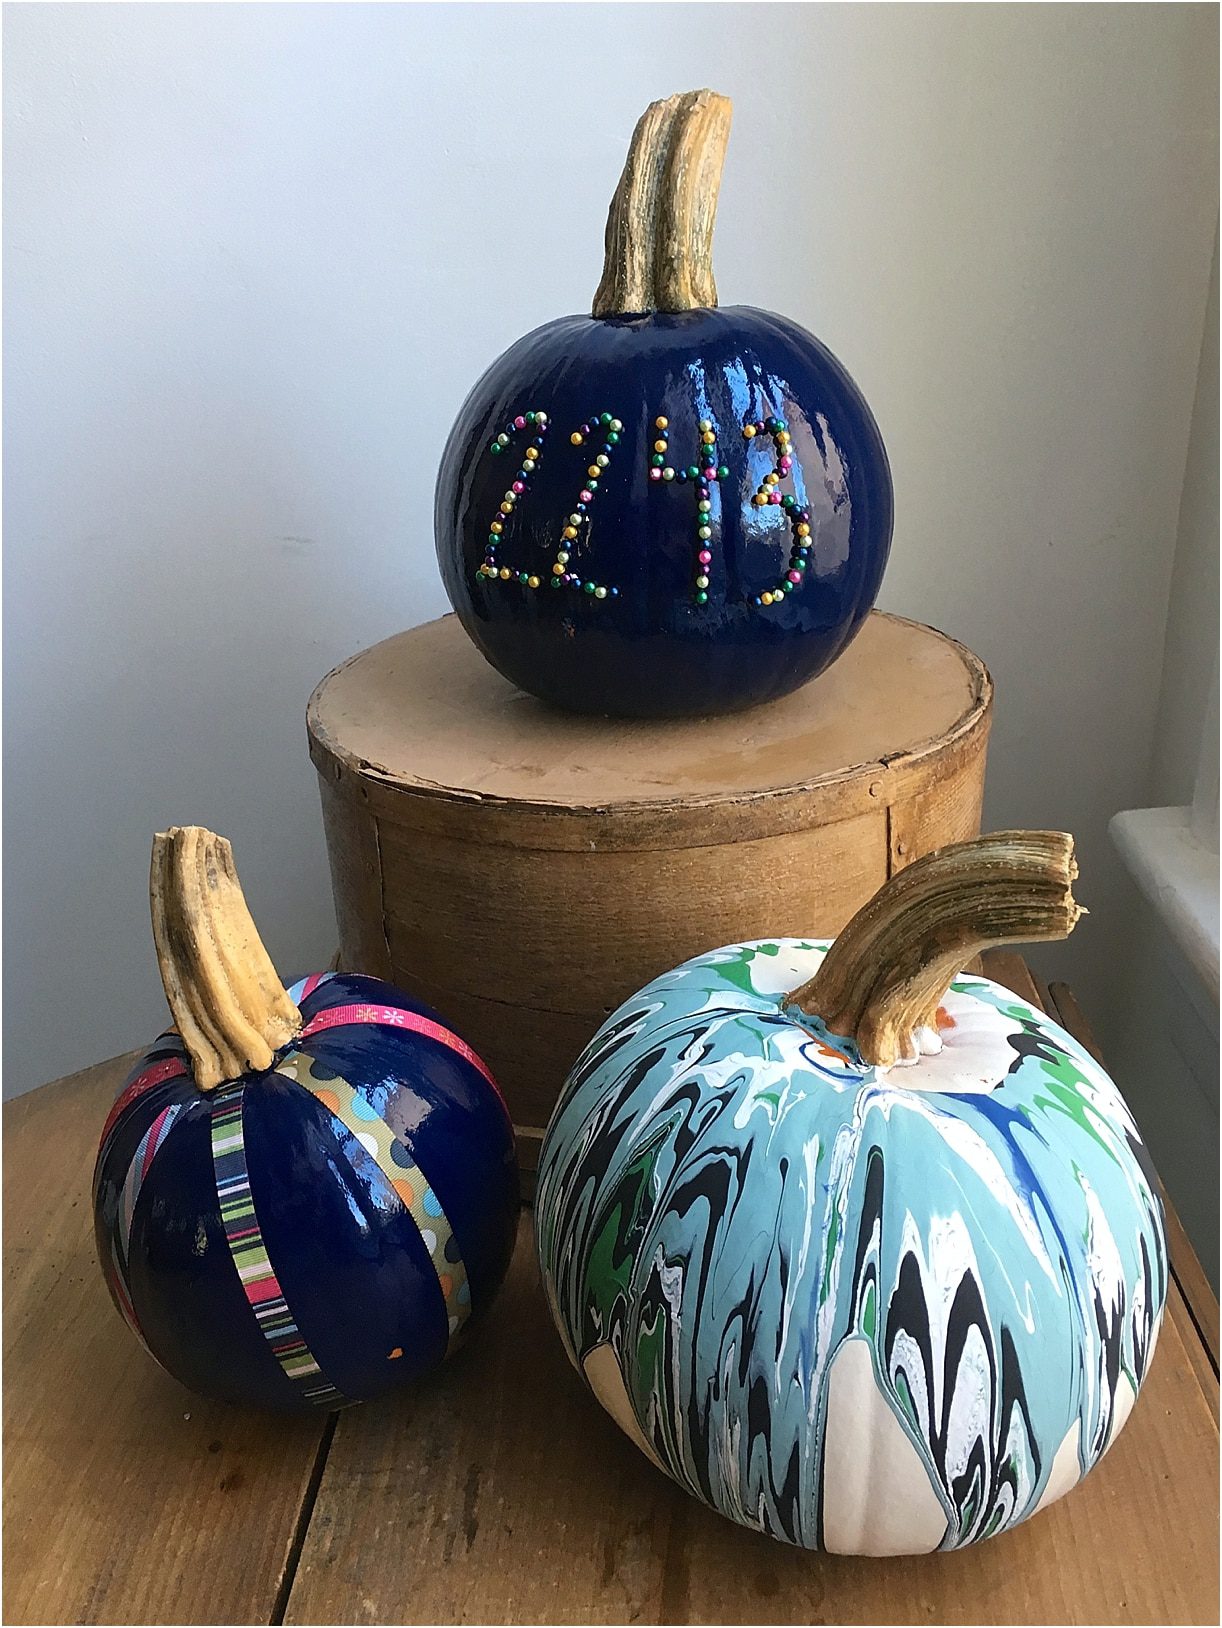
Aren’t they cute? I can’t wait to show you how to do these three DIY pumpkin painting ideas!
Drip Painted Pumpkin
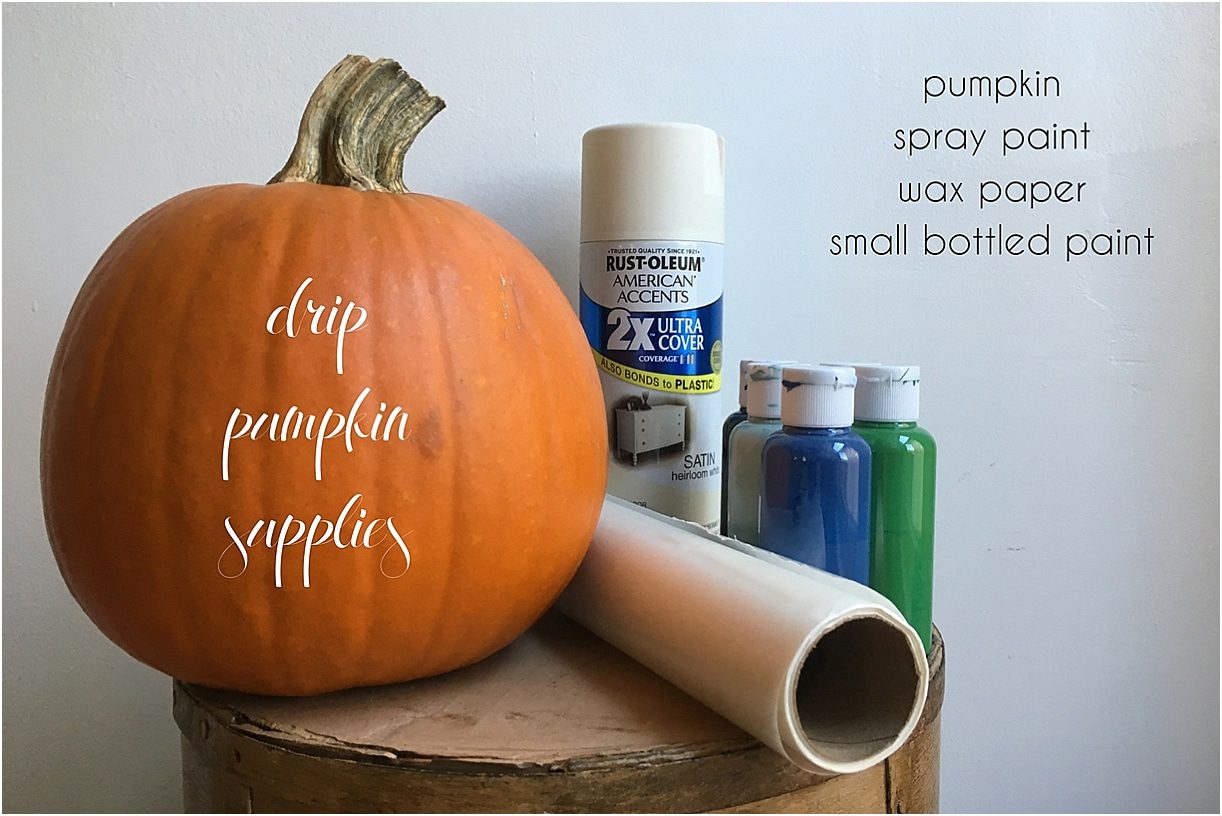
Supplies
- pumpkin
- paint (spray isn’t the best, but chalk or other would be great)
- wax paper
- small bottled paint, such as acrylic
Method
- Cover your surface with wax paper.
- Wrap your stem in masking tape or in some other fashion if you don’t want it painted.
- Paint your pumpkin one solid color (or you can choose to leave it orange).
- Go around the top of the pumpkin about 1/4″ from the stem, and pour paint. You may have to vary the height and angle depending on your pumpkin, but your goal is to have the paint flow down the side of the pumpkin.
- Layer paint color upon paint color to your liking to create a marbled effect.
- Set your pumpkin on a stable surface with waxed paper underneath. You will want to move the pumpkin every once in a while because paint will pool at the bottom of the pumpkin as it dries.
- Put it on your mantle for all to see!
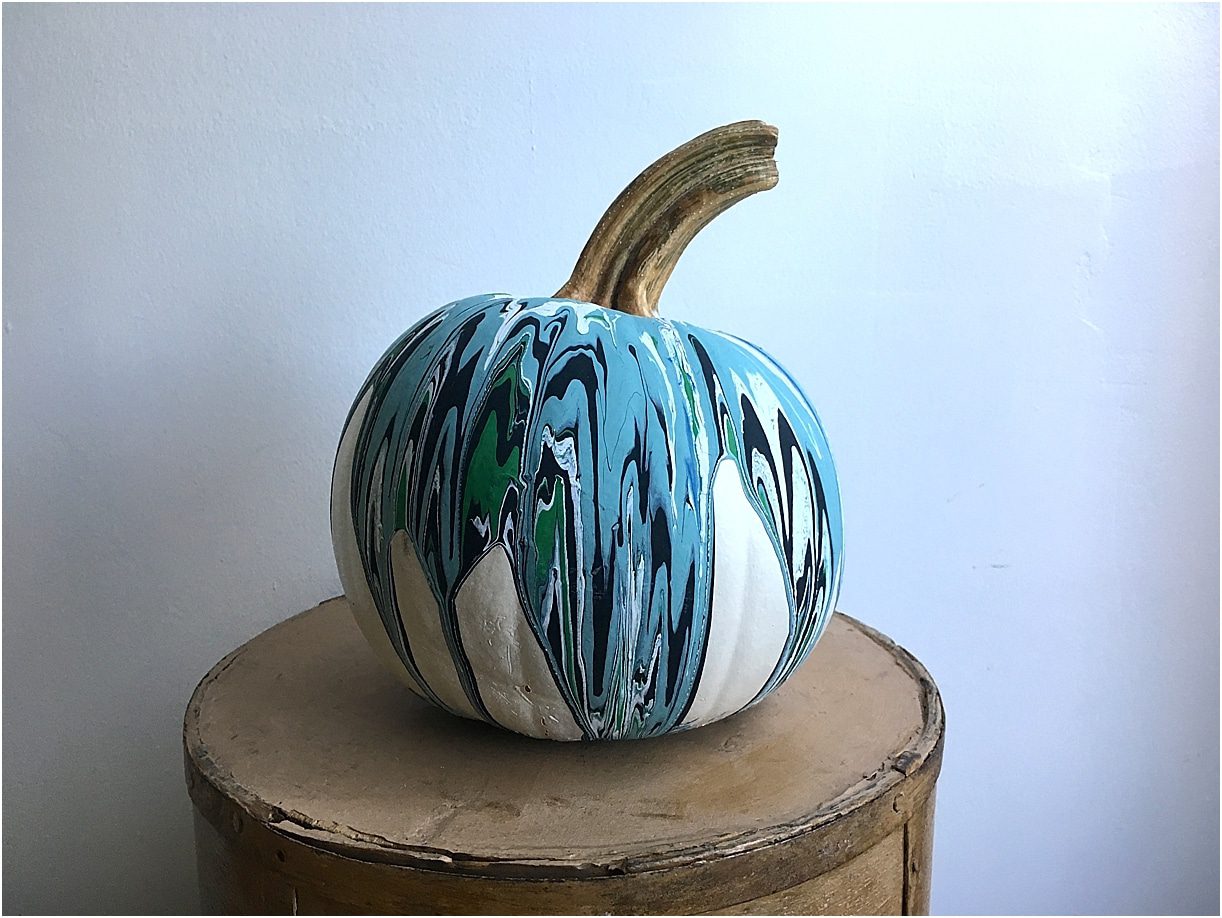
So cute! Here is the second of our DIY pumpkin painting ideas.
Pushpin House Number Pumpkin
Supplies
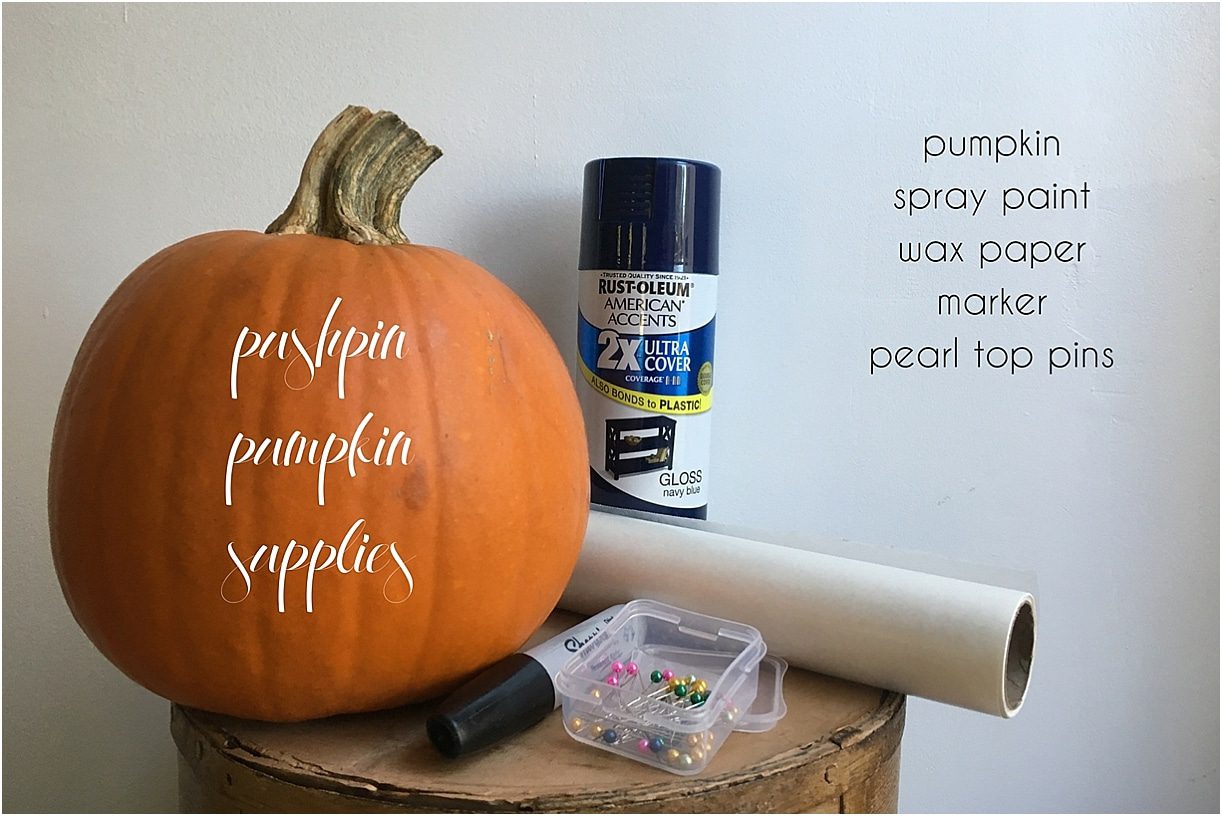
- pumpkin
- paint
- wax paper
- marker
- pearl top pins
Method
- Base coat your pumpkin in a color of your choosing.
- Use the marker to mark out what you’d like and also it’s thickness – house number, initial… etc.
- Push the pins into the pumpkin where you would like for your number(s) or letter(s) to be. The pins go in easily and are very forgiving if you want to take one out and place it somewhere else.
- Place on your porch and enjoy!
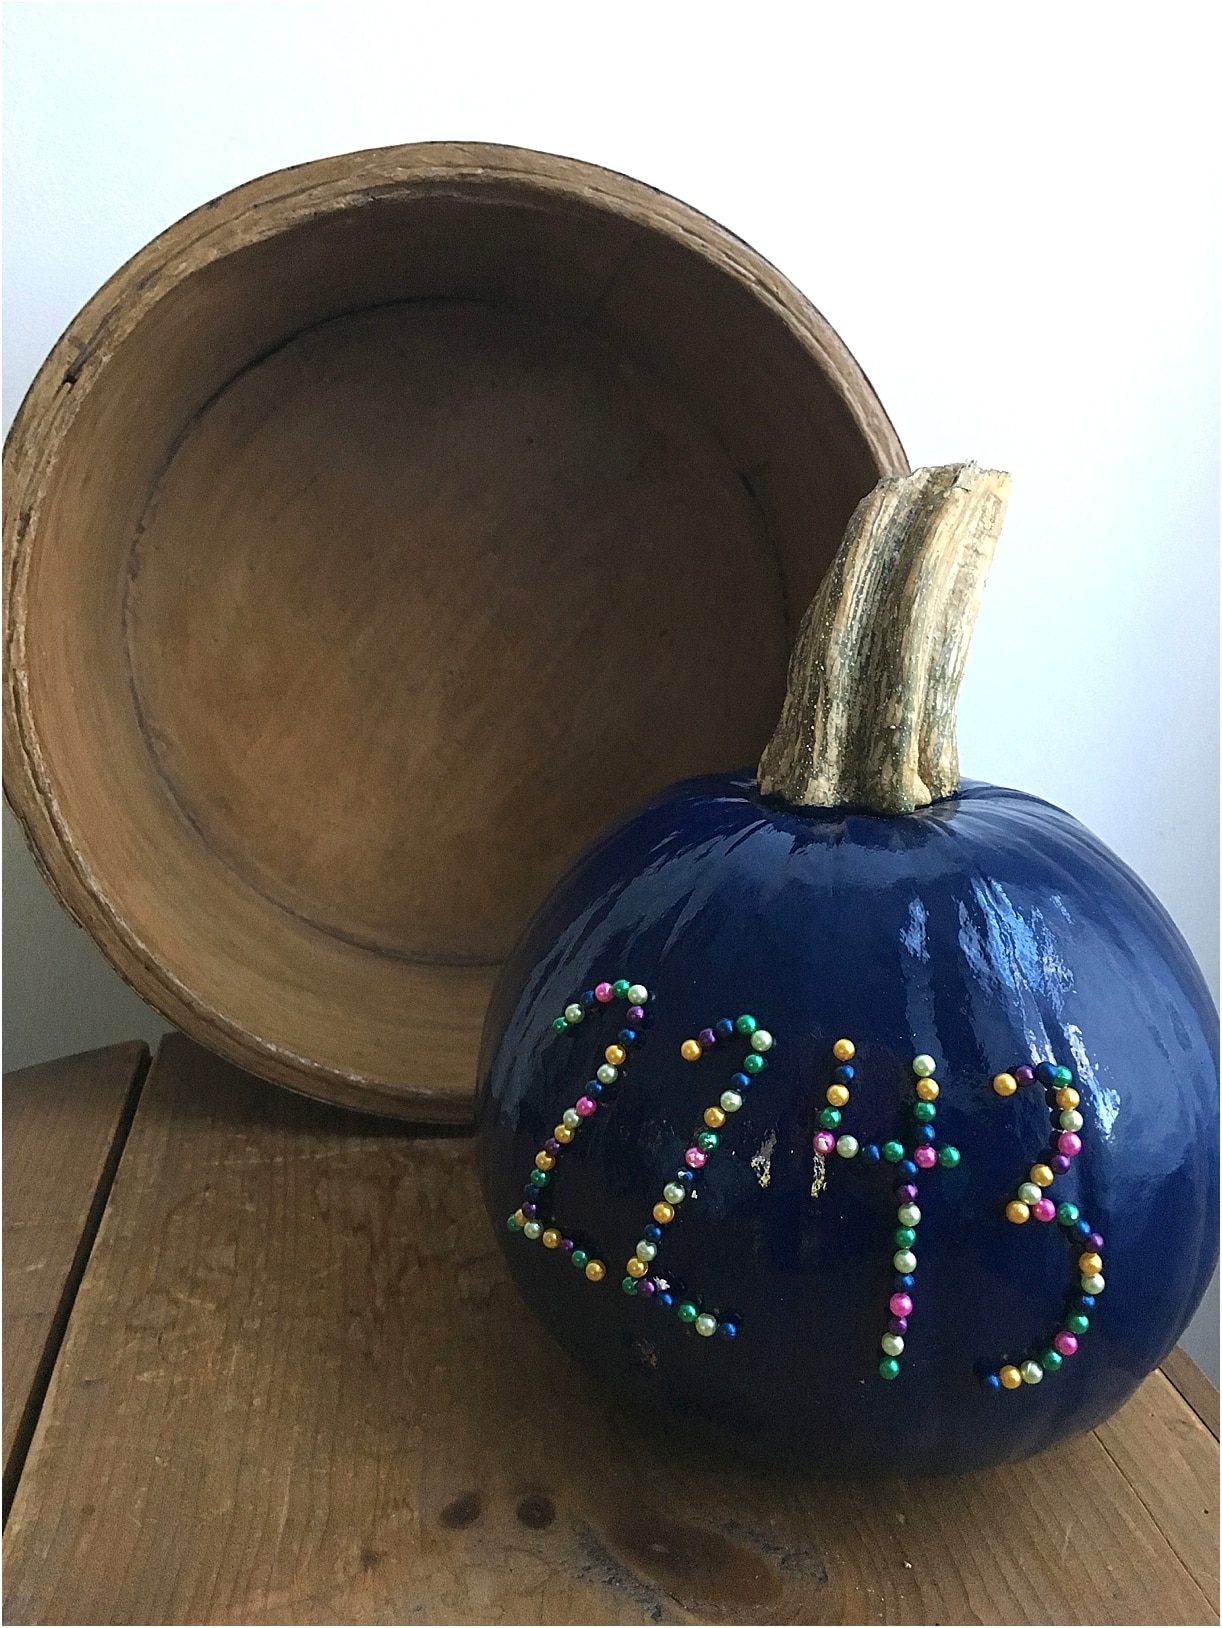
So cute! What a perfect hostess gift it would be. Here is the third of our DIY pumpkin painting ideas.
Ribbon Pumpkin
Supplies
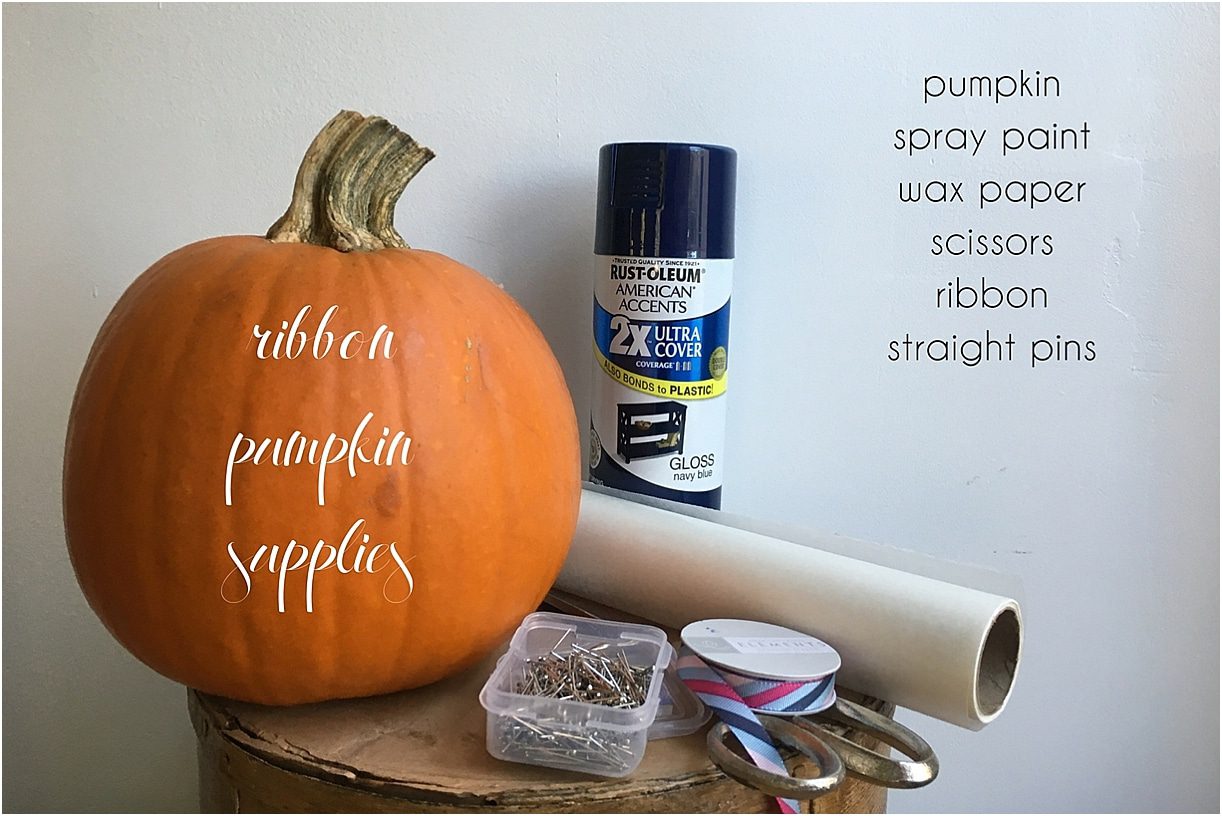
- pumpkin
- paint
- wax paper
- scissors
- ribbon in various patterns
- straight pins
Method
- Base coat your pumpkin.
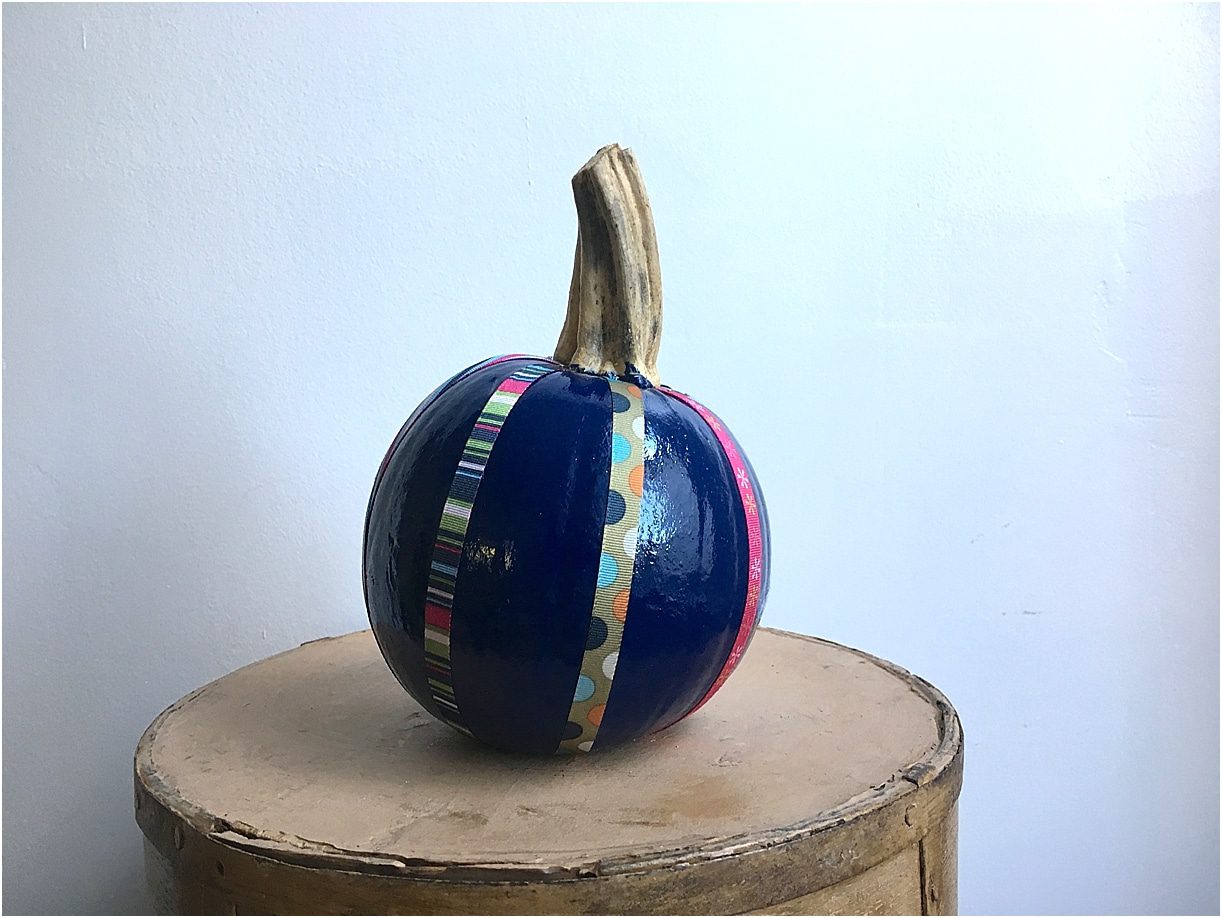
- For each ribbon, place an end near the stem, and secure with one straight pin.
- Go around the pumpkin so that the other end of the ribbon ends up directly across from the other end.
- Cut the ribbon to length, and secure the second end and the bottom with a straight pin.
- Use as part of a fun dining table centerpiece!
Check here for more fun pumpkin ideas.

