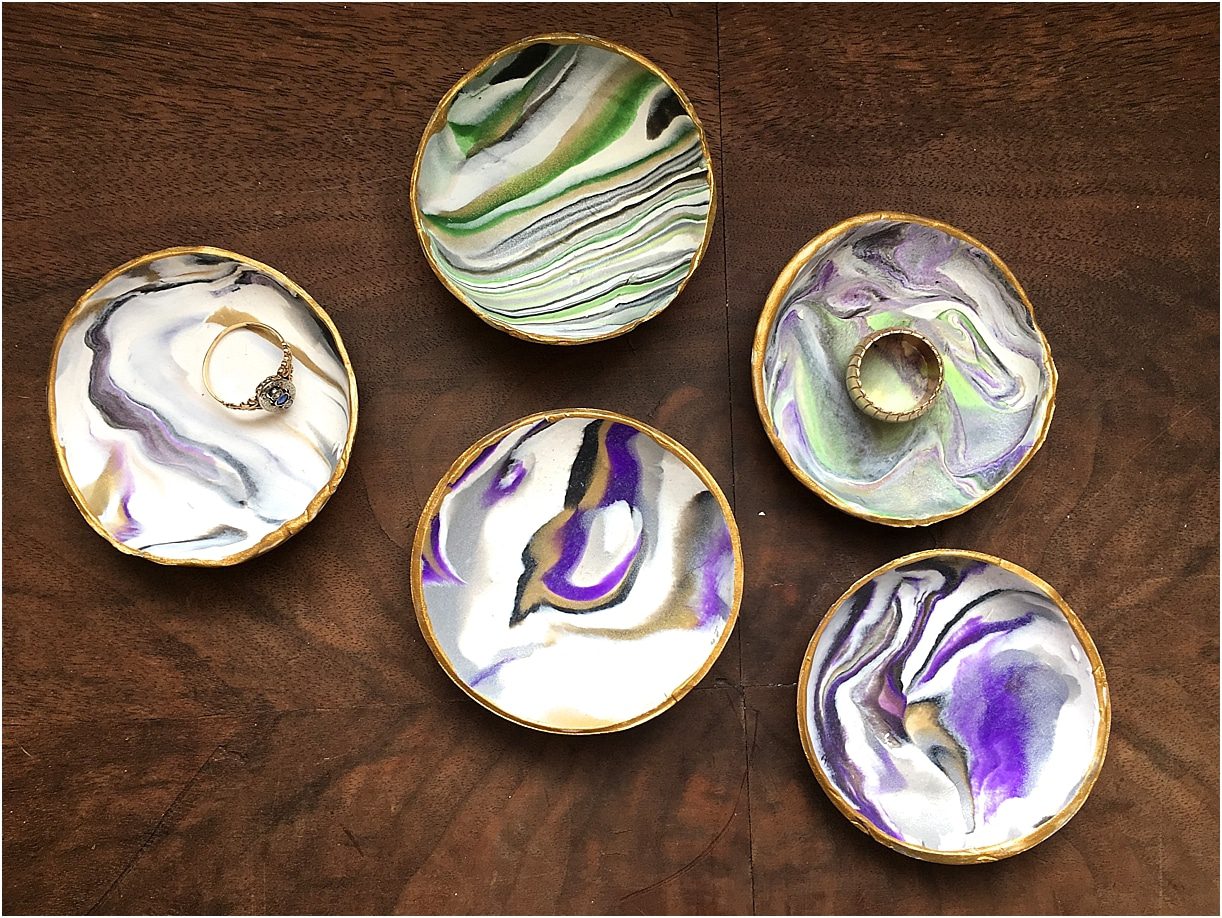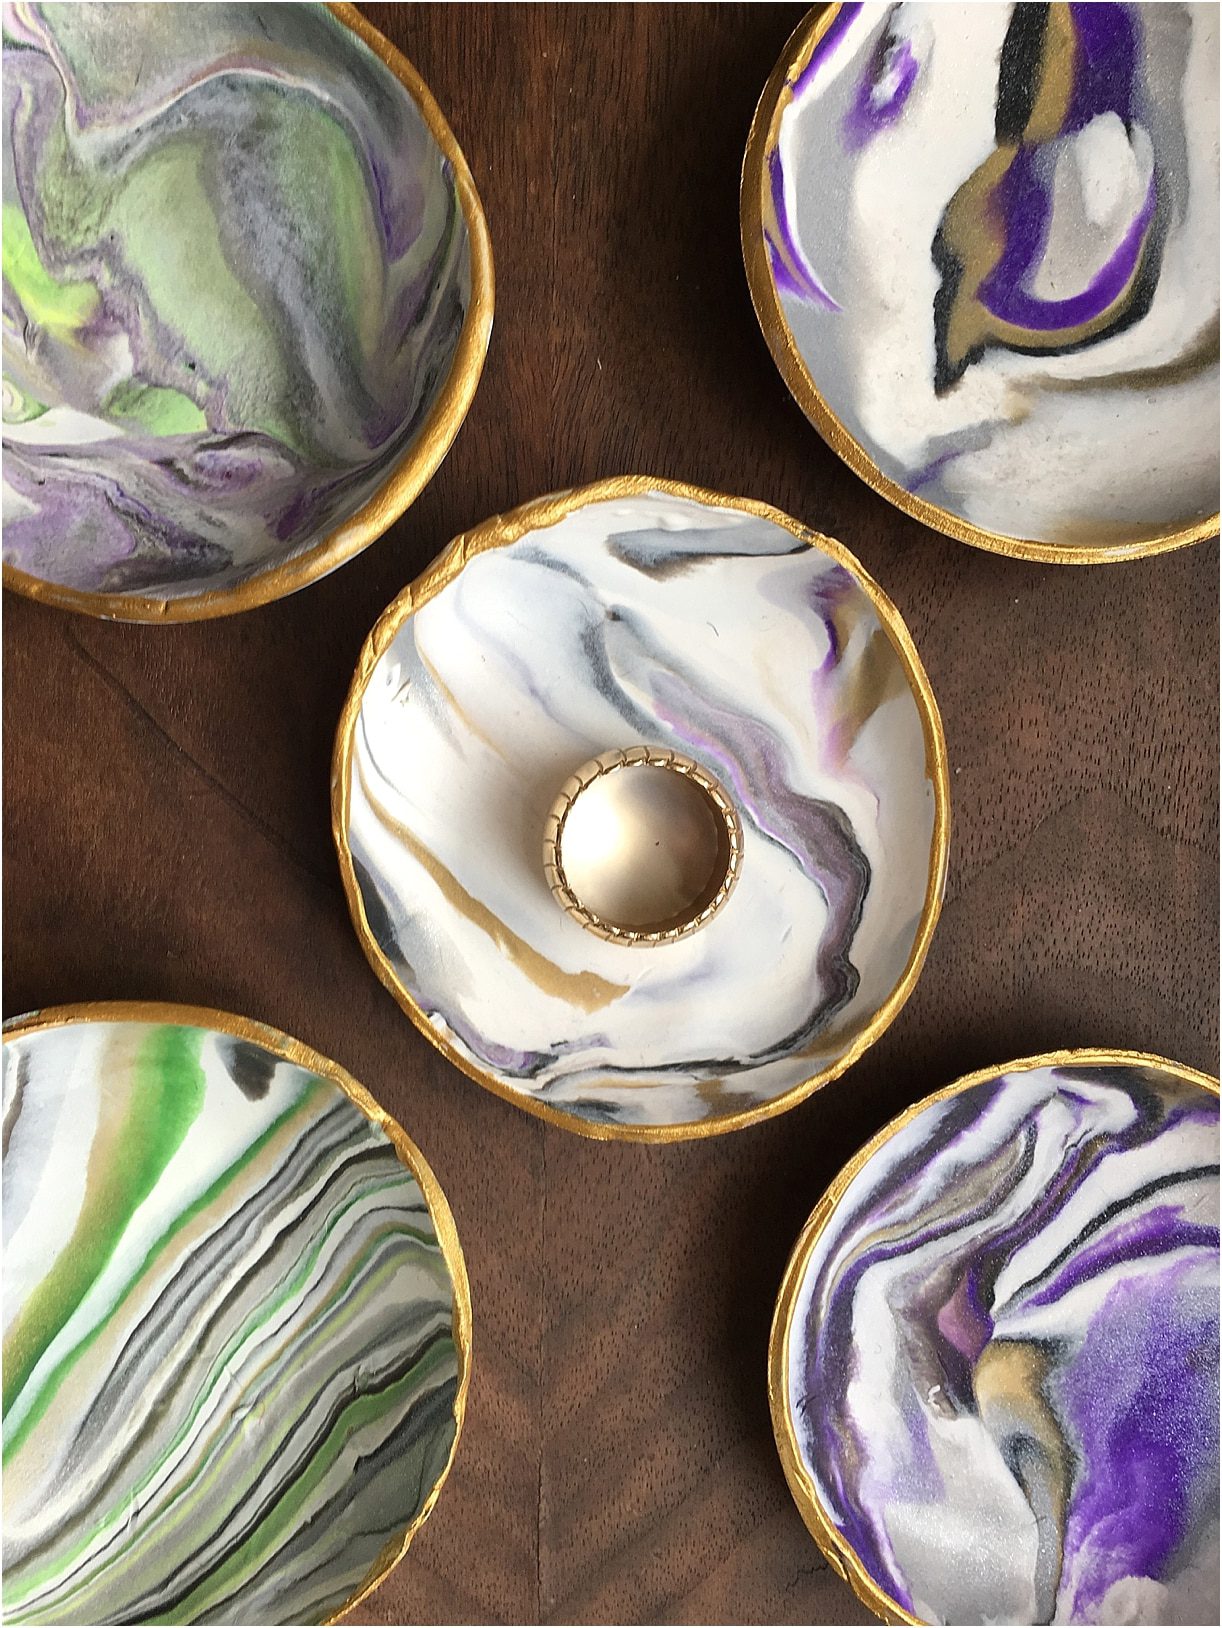
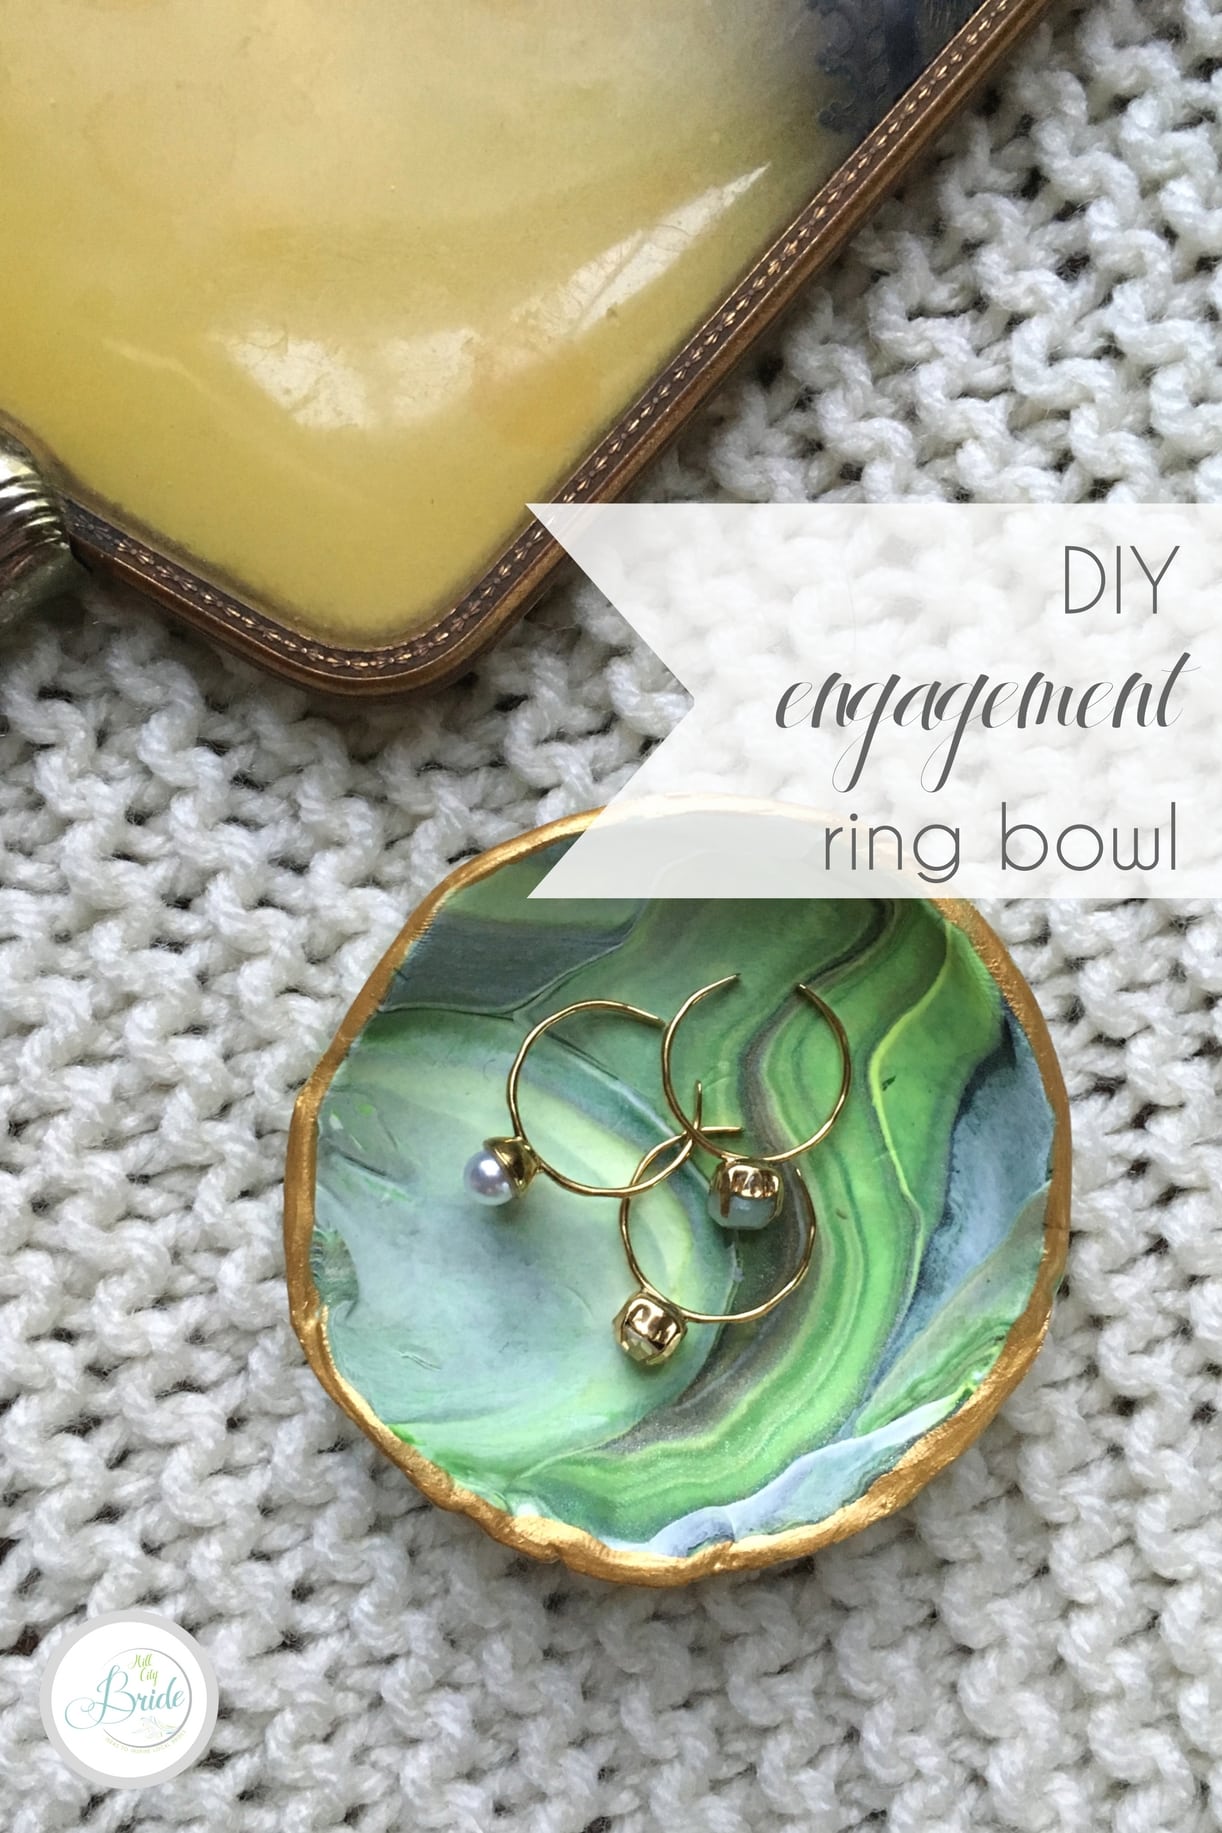
Whether you are newly engaged or have been married a while (or just have a special piece of jewelry!), trinket dishes are inexpensive, beautiful and fun to make. Make our DIY engagement ring bowl for yourself or as a gift for someone else. So practical and pretty!
This post contains affiliate links to Etsy, which means that a purchase through our linked products helps our blog keep going!
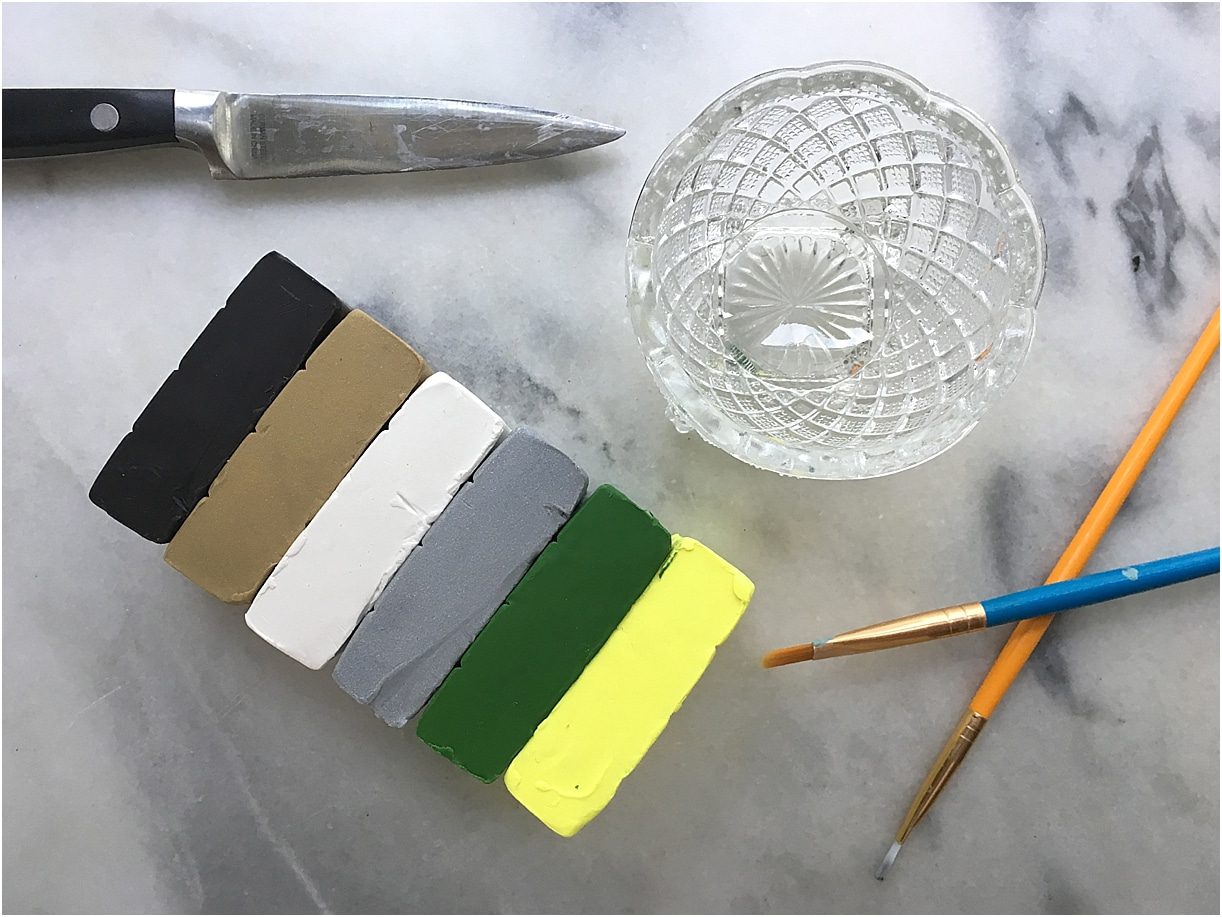
Here are the supplies you’ll need to make your own DIY engagement ring bowl.
- Clay in various colors (available here)
- Metallic gold acrylic paint (available here)
- Paint brushes
- Knife
- Rolling pin or another device to flatten clay by rolling
- Circular cookie cutter
- Bowl of the size and shape you would like your bowl to be
- Oven to bake bowl
- Cookie sheet or pan for baking
- Nonstick, clean surface
Instructions for your own engagement ring bowl.
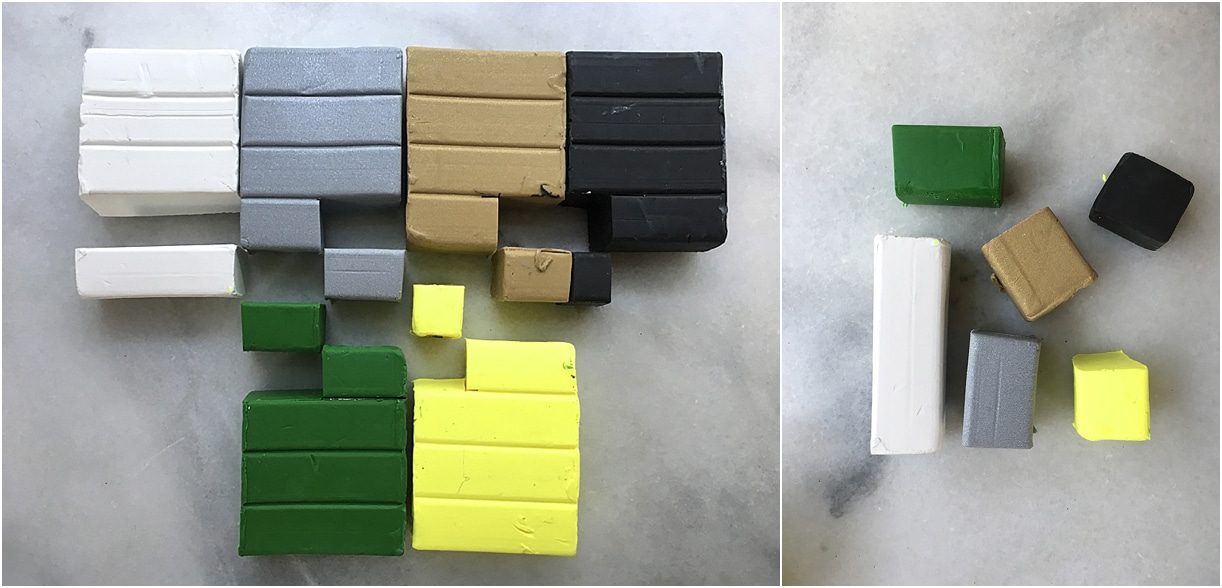
First, decide how much of each clay color you’d like to use. The clay comes with striations for easy cutting, and for this dish, I used:
- One full stripe of white clay
- Half stripe of gray clay
- Half stripe of beige clay
- Quarter stripe of black clay
I like a more natural look for the bowls, so I like to concentrate on the more neutral colors as the bulk of the clay. Then for this bowl, I added in the following colors:
- Half stripe of green clay
- Quarter stripe of yellow clay
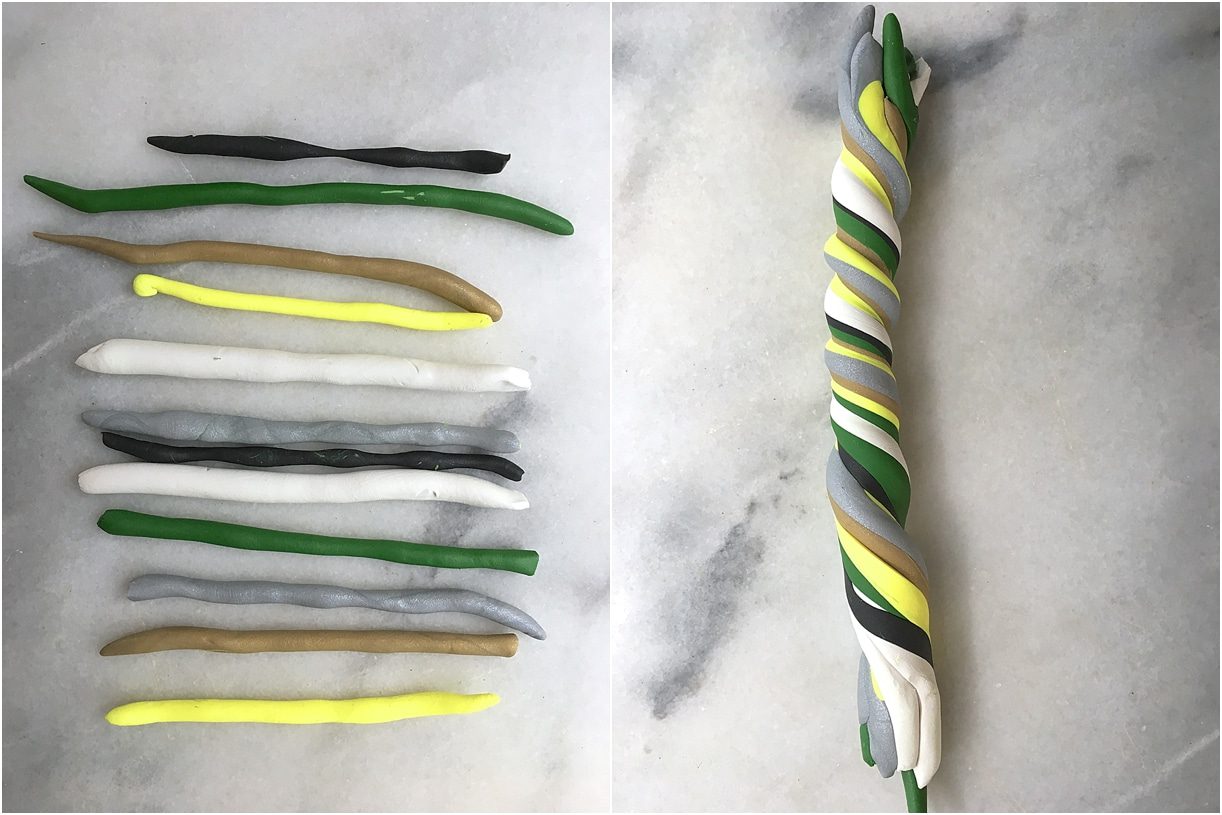
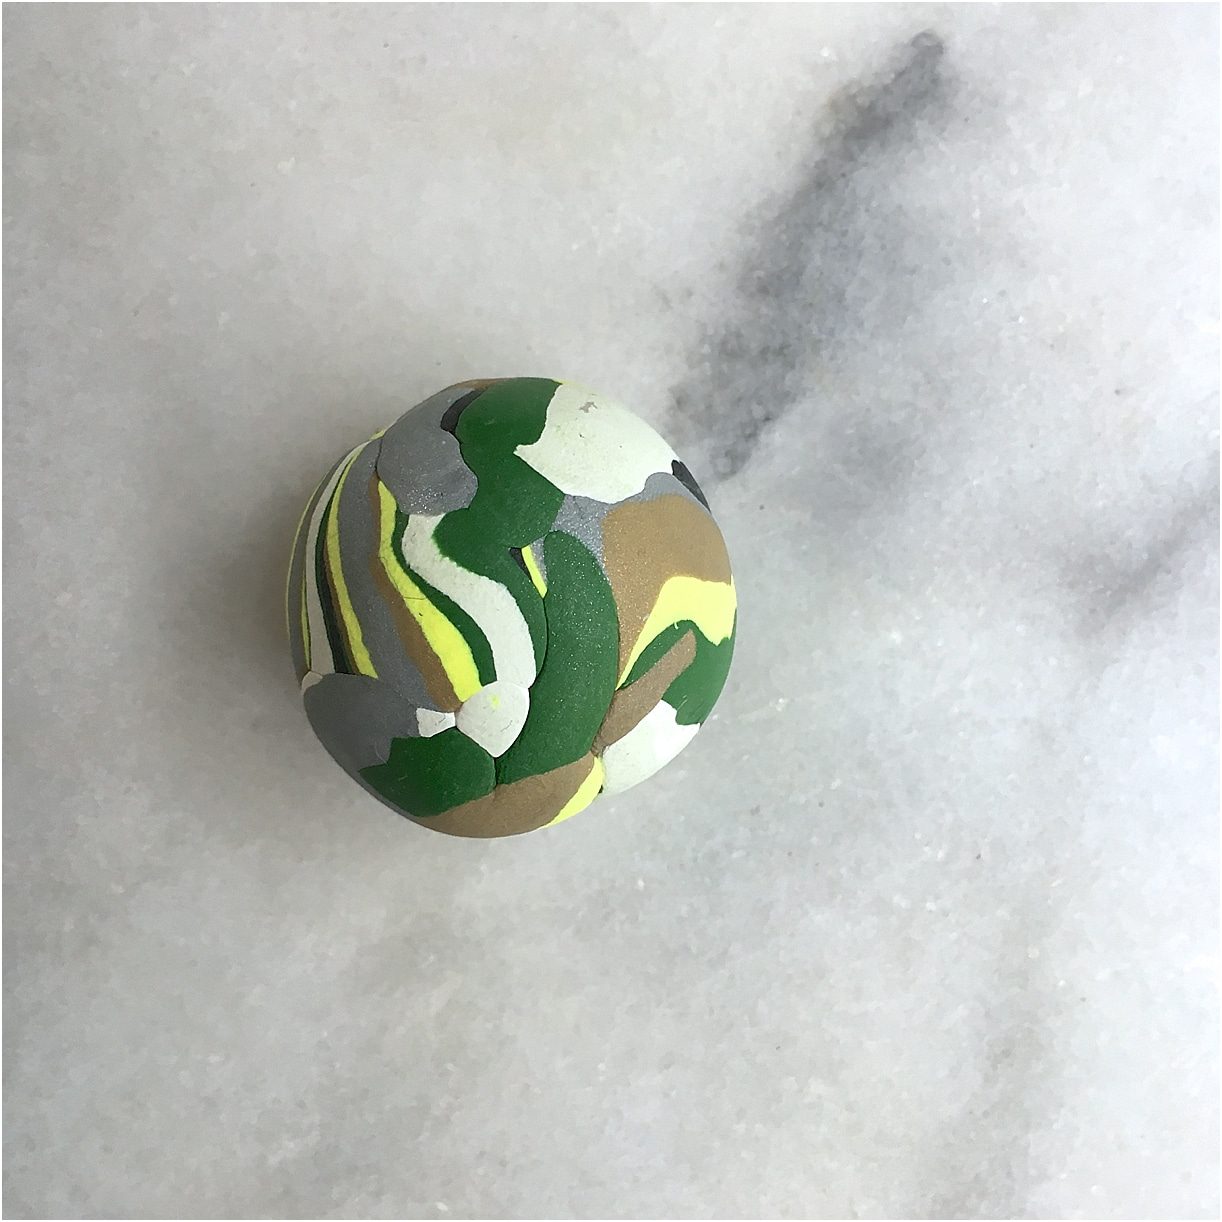
After portioning the clay, I then used the “snake” method of rolling clay in my hands – you know, the one we all learned in preschool? It’s kind of fun, actually! I randomly created segments of about the same length and laid them out. Once laying them out, I squished them together and then twisted them. This is a process, and the more you twist, the more “marbled” your bowl will look. I suggest doing this 2-3 times, and once you are done, you can roll the whole bit of clay up into a ball.
Then, use a rolling pin or round object to flatten out the clay to be about 1/4″ thick. Depending on the size dish you’d like, use a cookie or biscuit cutter (or another object) to press out a circular shape in the rolled out clay.
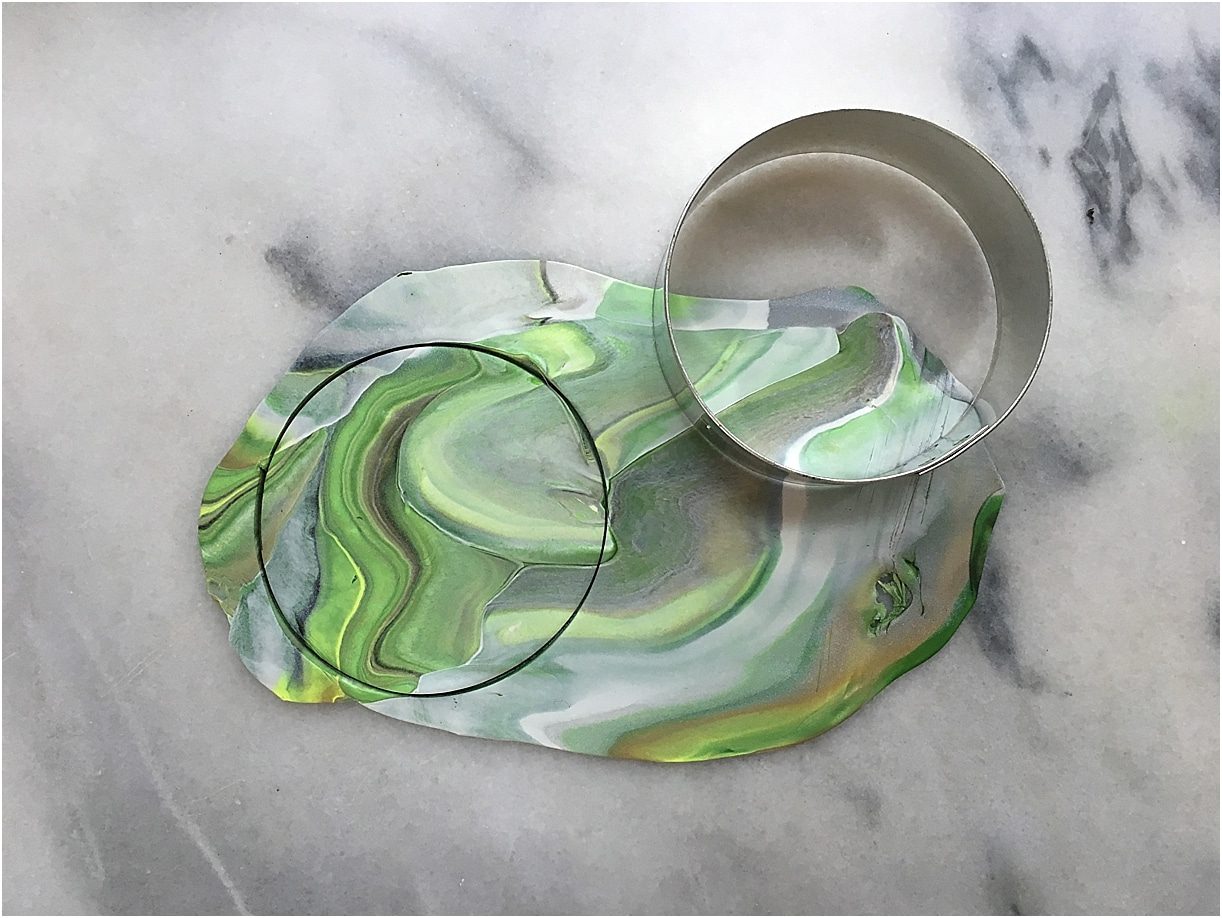
This next part was a bit hard to photograph, but basically, take the existing bowl and use it as a template for your own dish. Depending on the one you choose, you can use the inside or outside of the bowl as a guide. You can also try to freehand your dish. If you want to bake the bowl in the oven along with your clay, please be certain that it is made of a substance that can withstand oven temperatures.
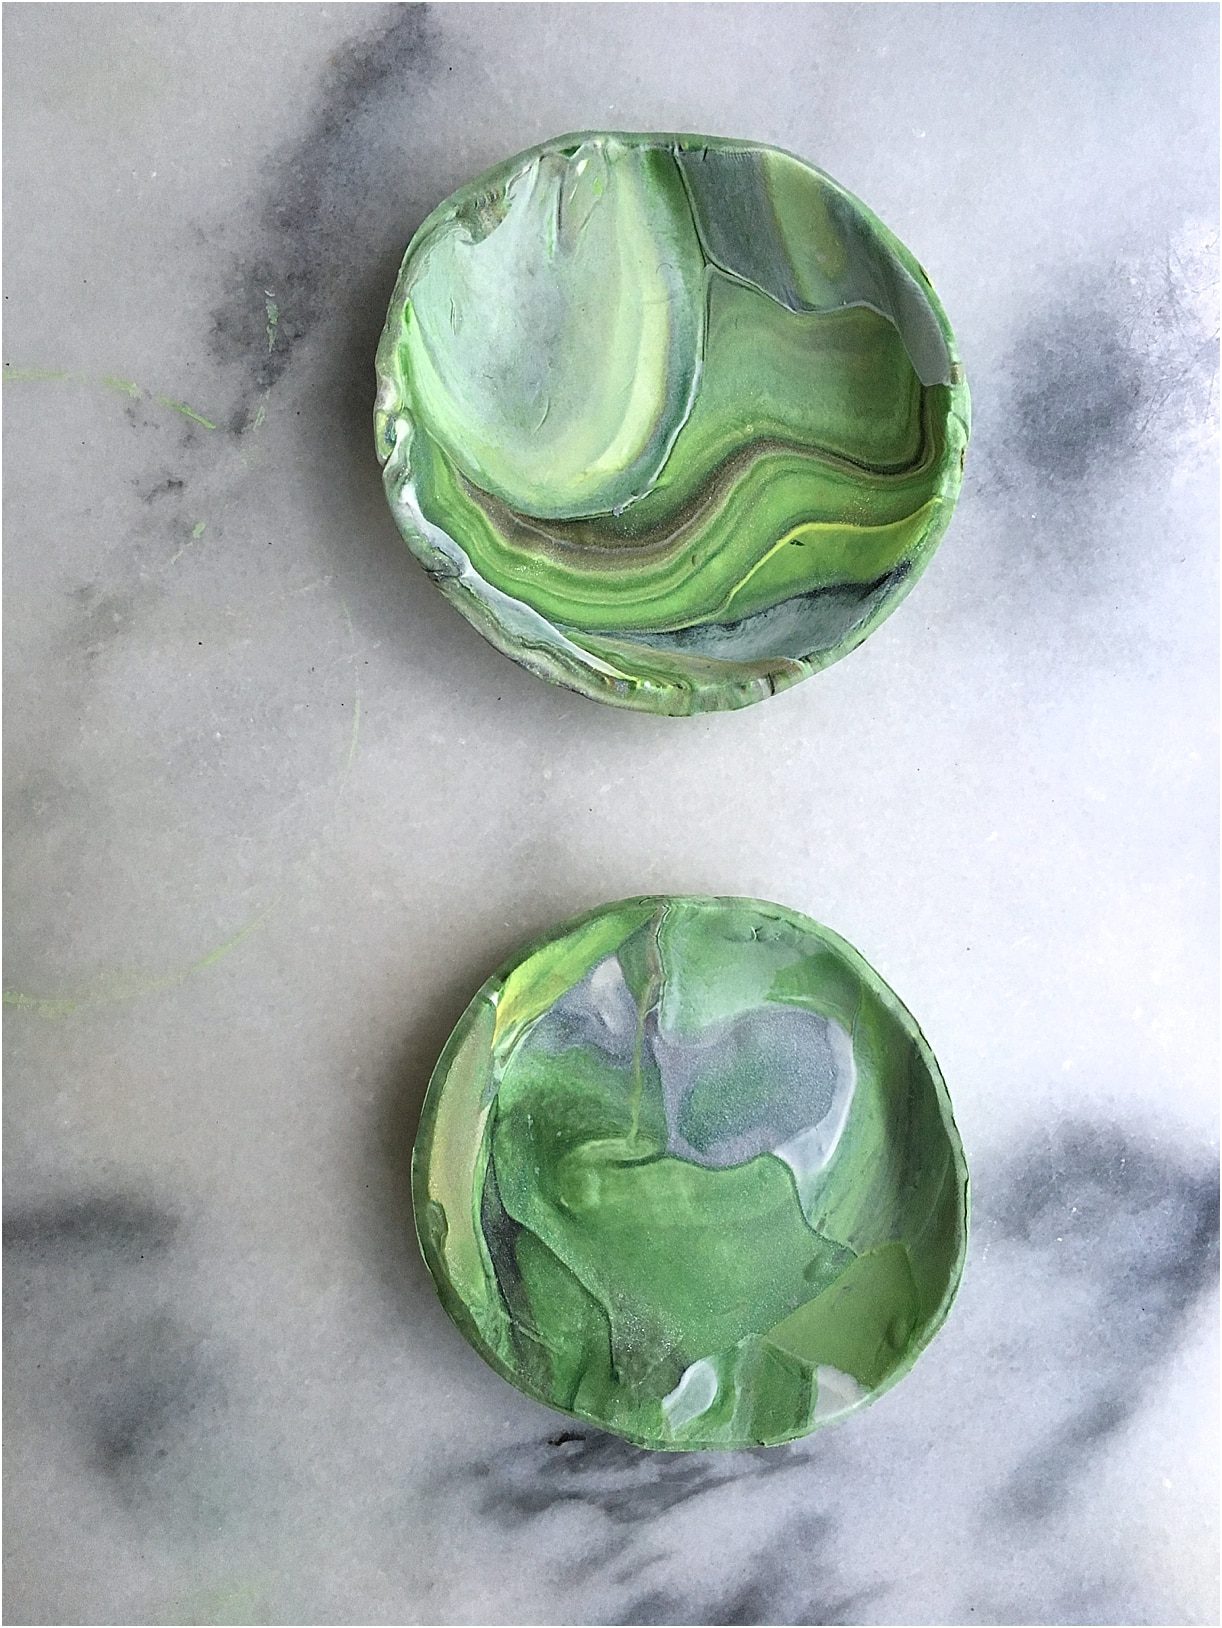
Then, bake your bowl!
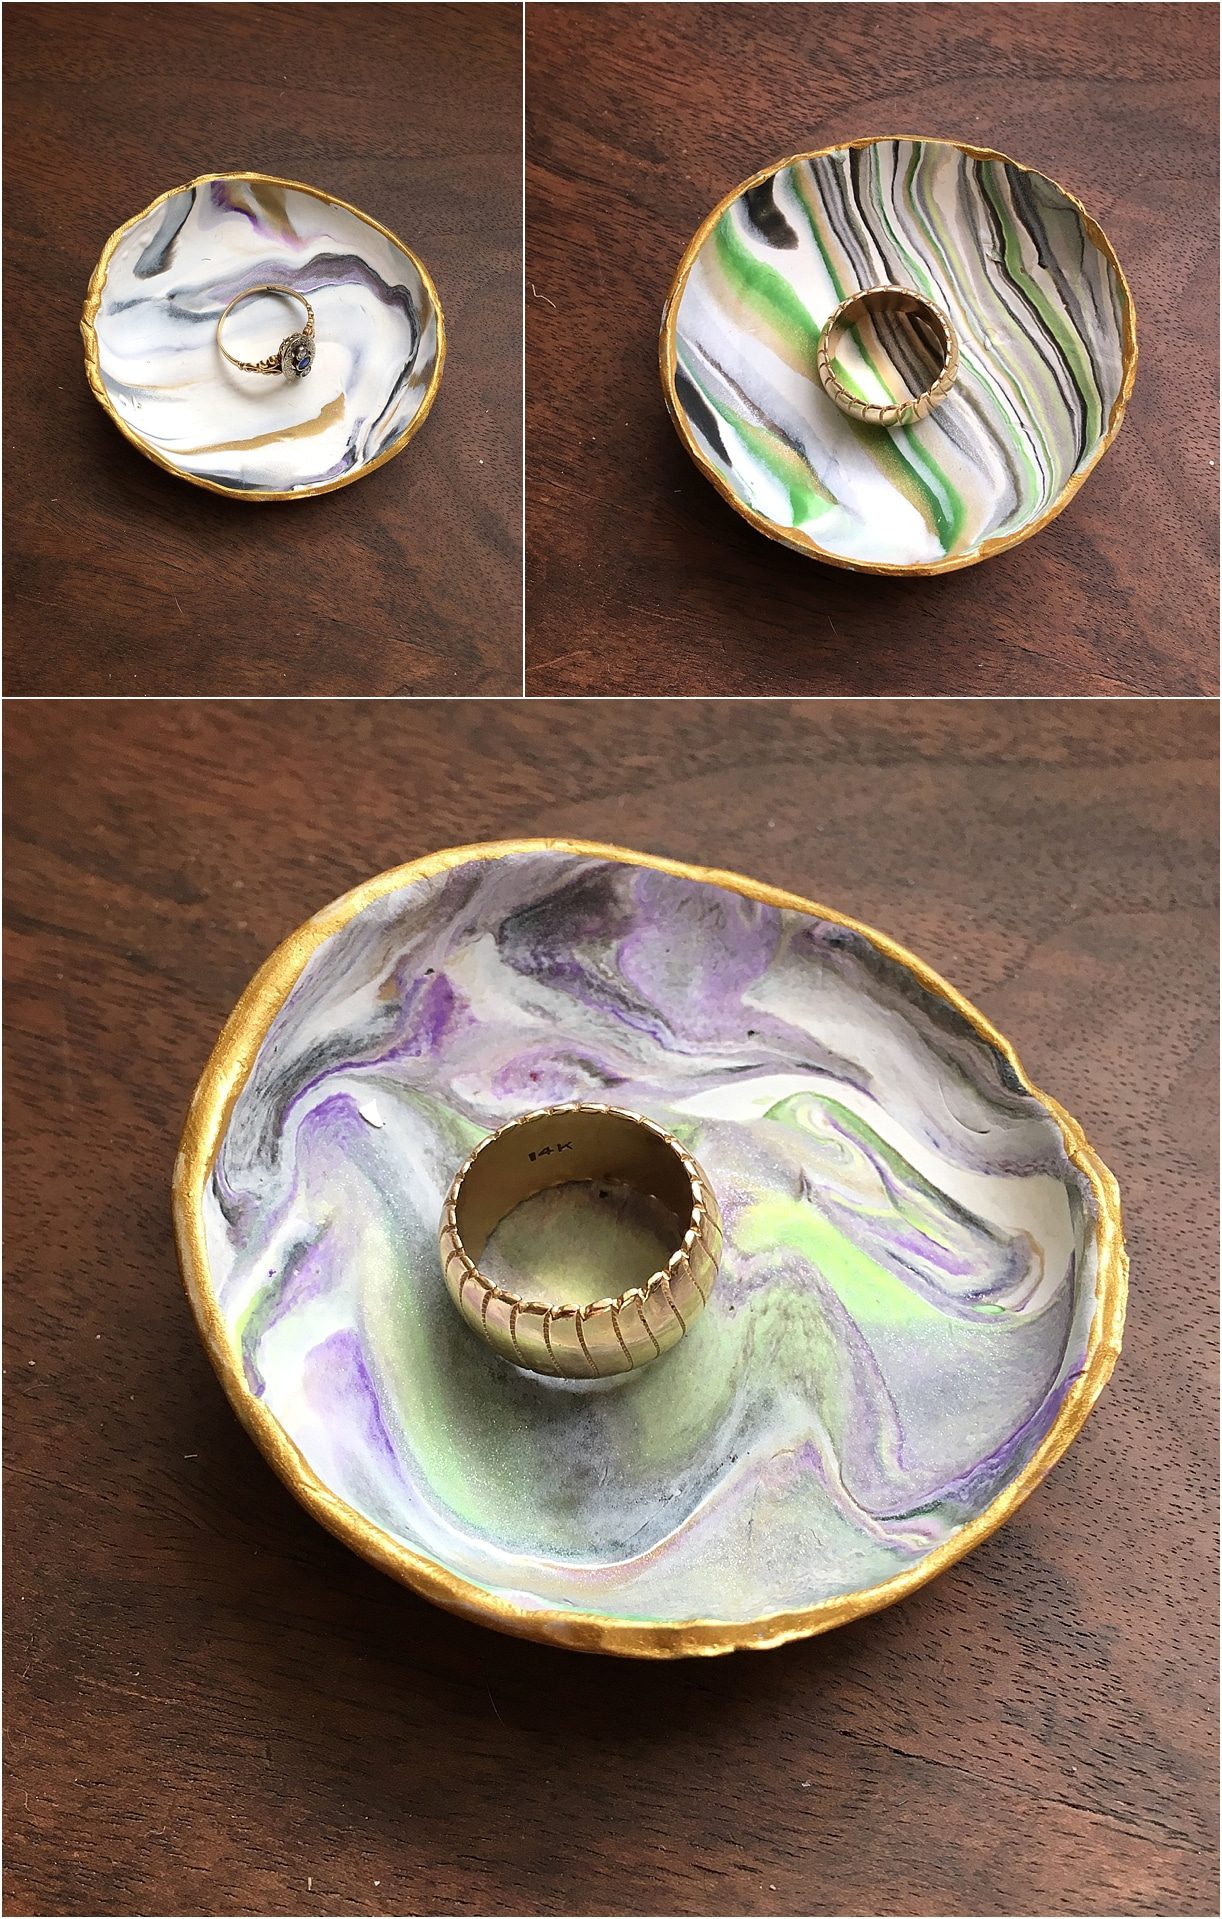
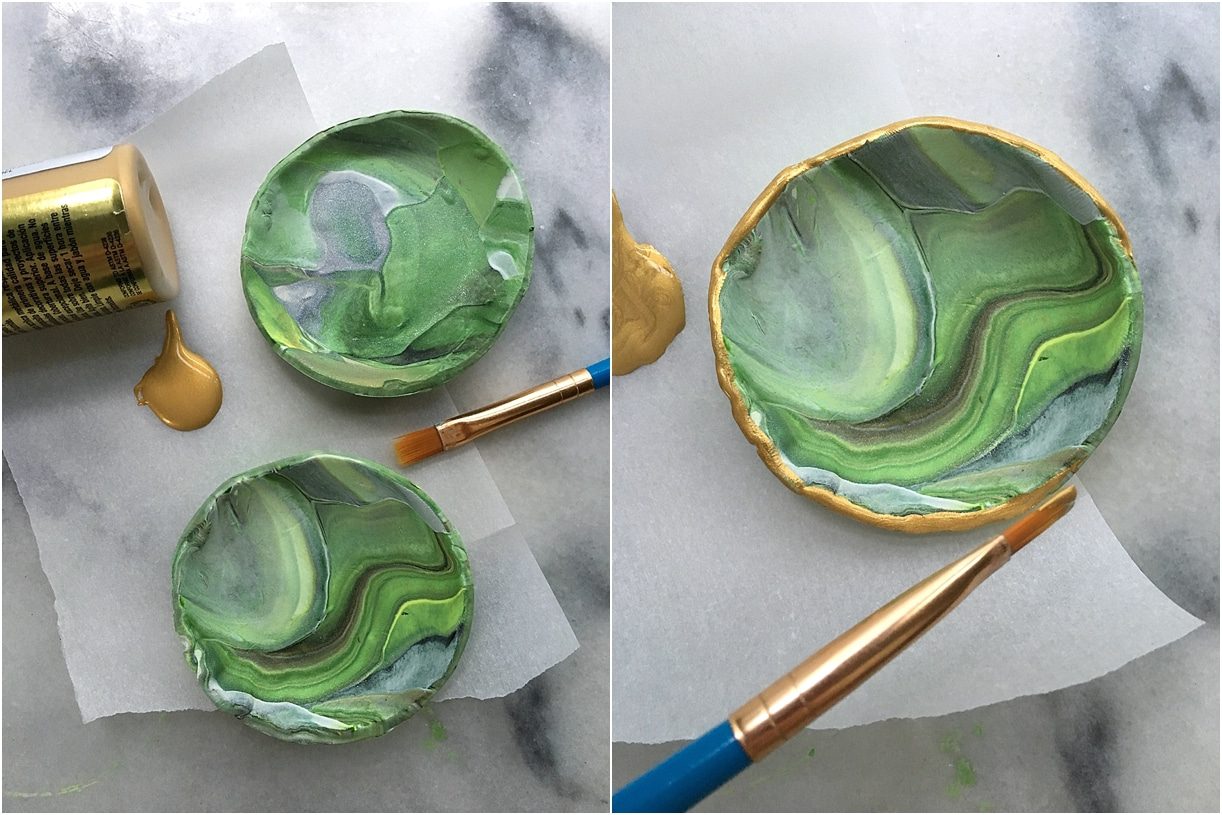
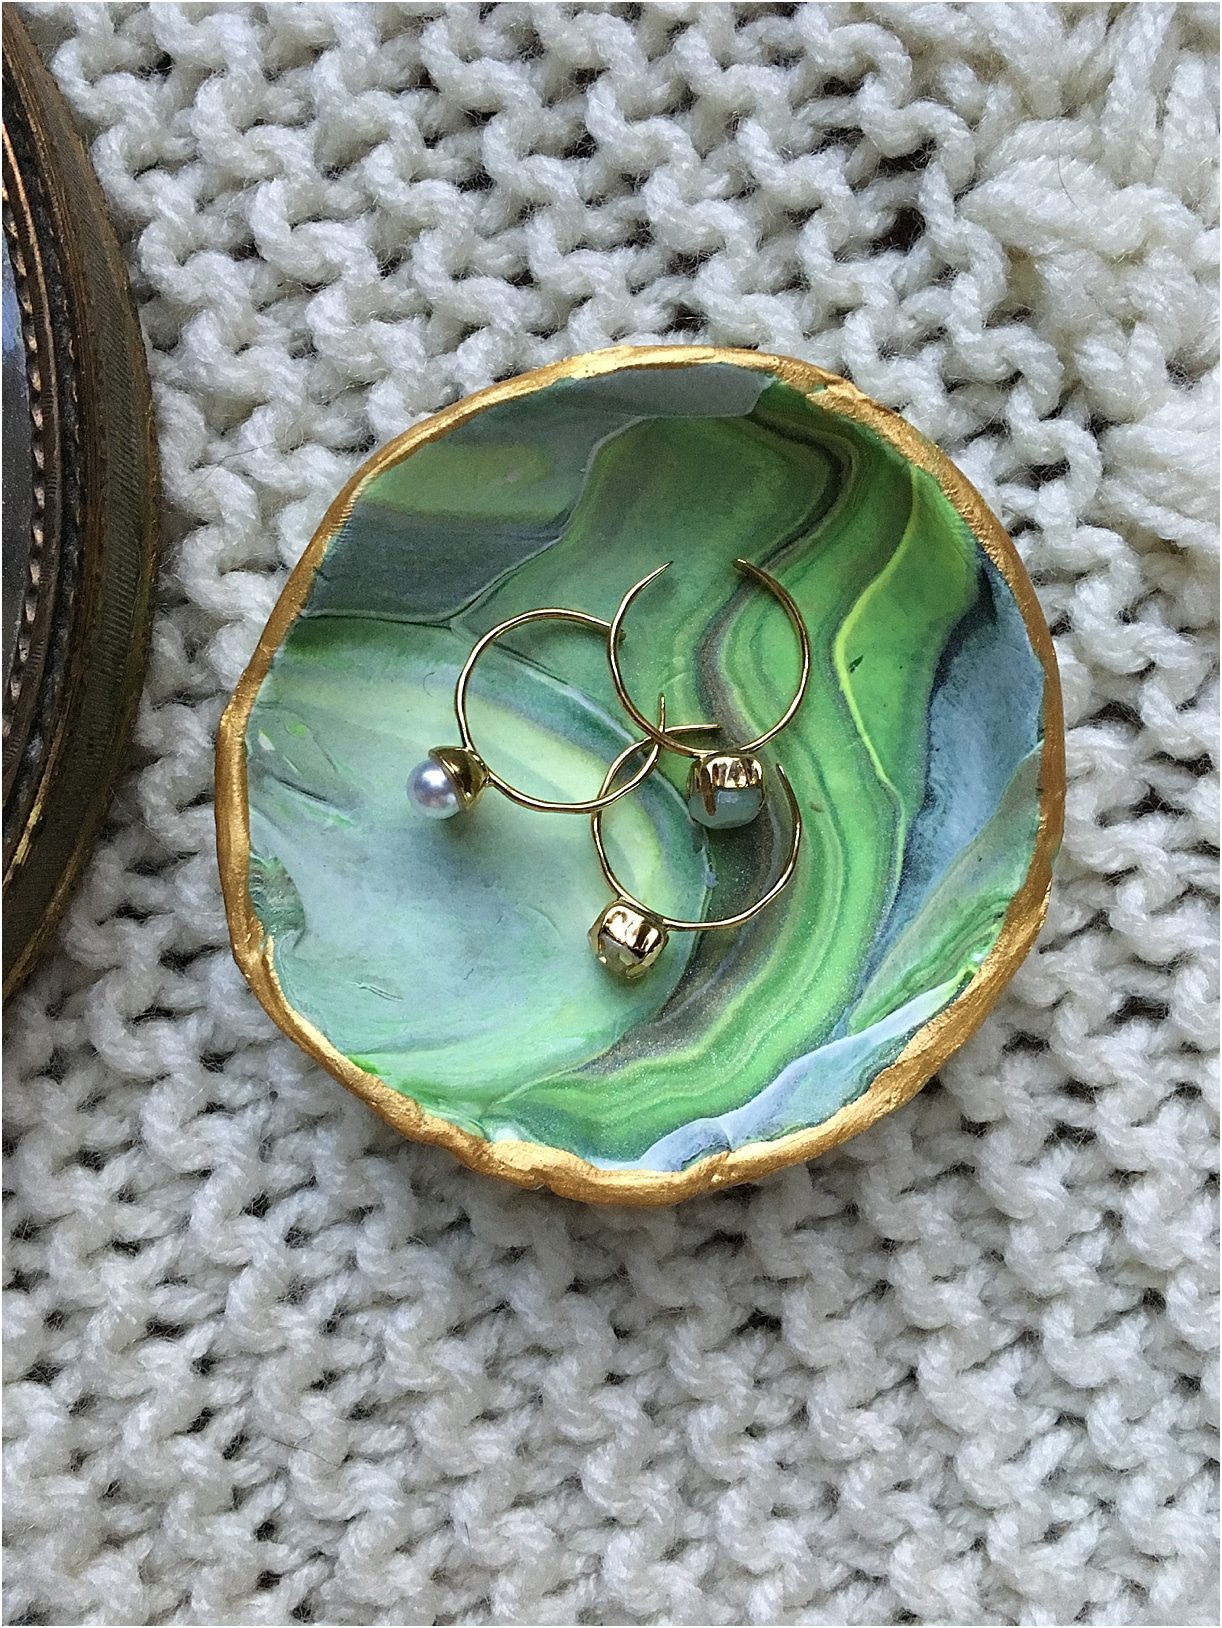
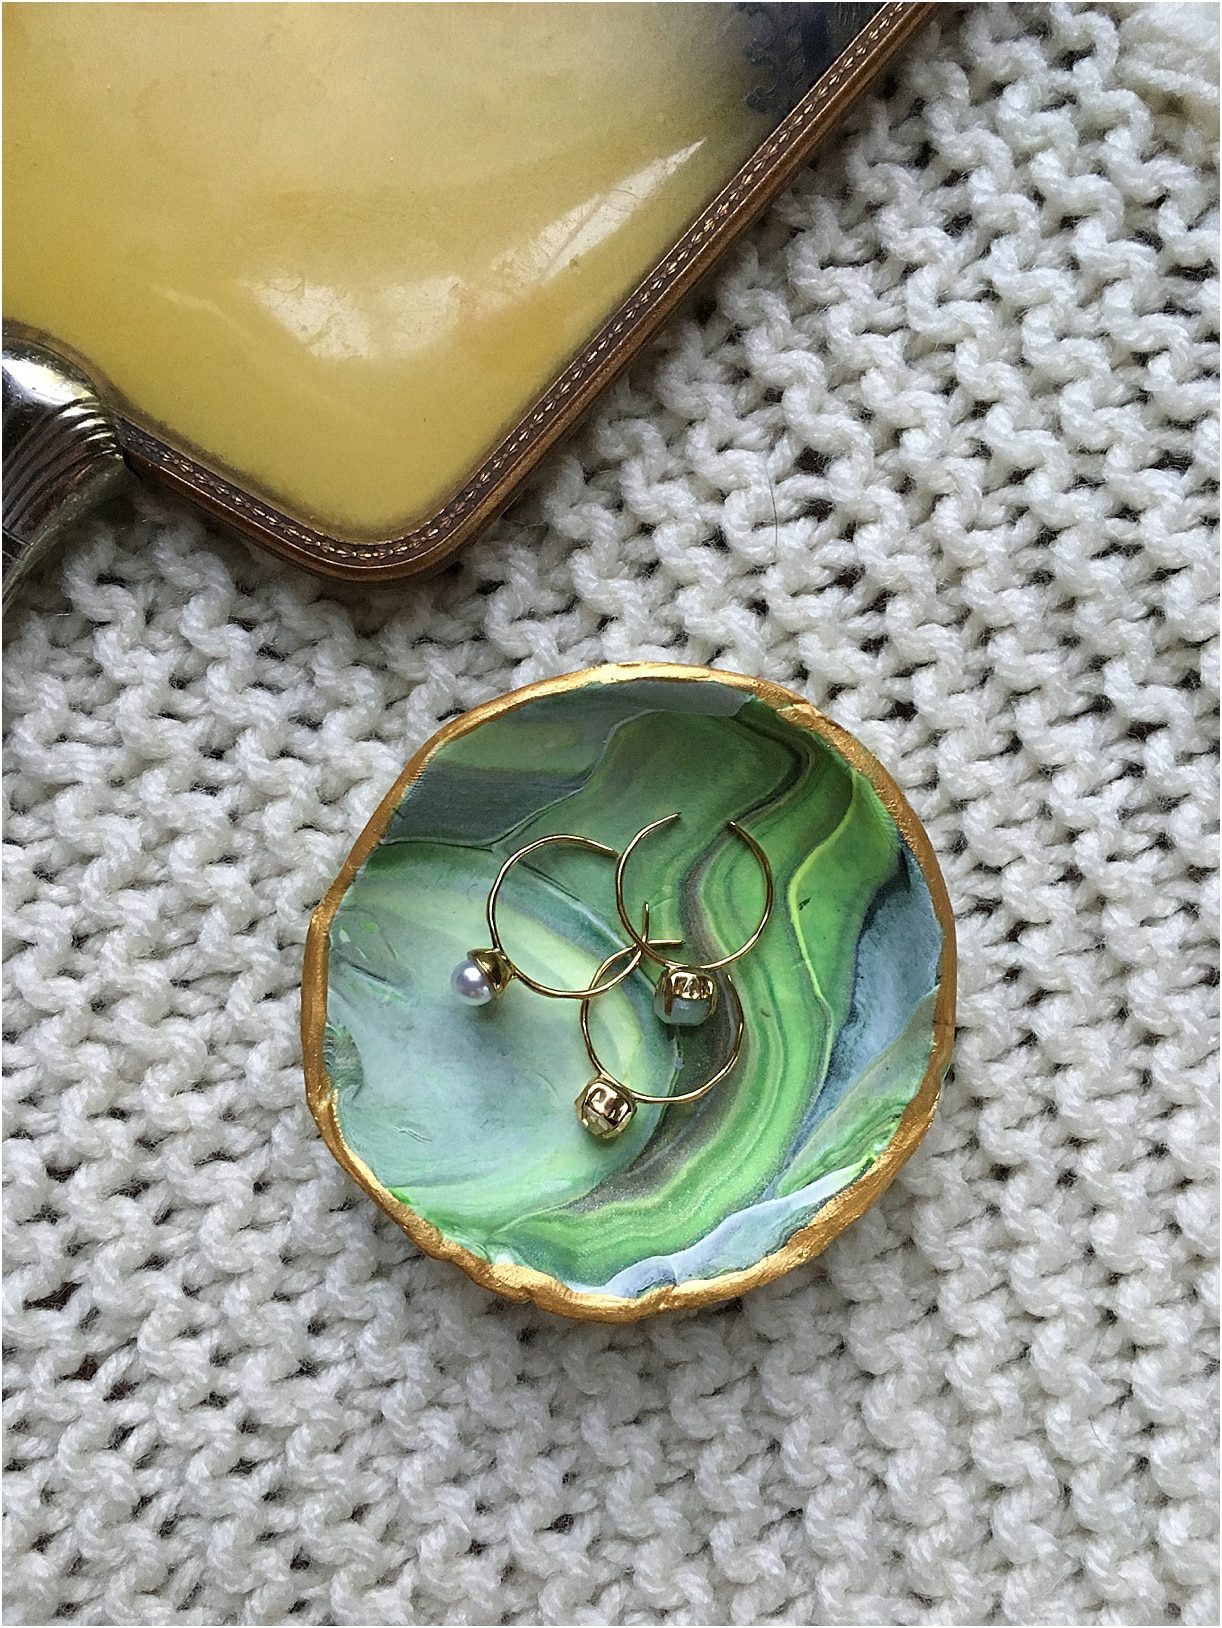
The clay recommends baking at 275 degrees F for 15 minutes per 1/4″ thickness of clay. Do preheat your oven, and do not over bake. Once your bowl is finished, let it cool, and finish off the edges with your metallic paint. I LOVE how this looks – it really gives it a polished edge worthy of your engagement ring.
Isn’t the DIY engagement ring bowl beautiful?? I love how mine turned out.
It would make such a nice gift, and the variety of colors is endless. These rings (from Violet & Brooks!) are pretty cute, too. These dishes look so natural and difficult to make – but I promise they are really easy!
Love the rings? Be sure to check out our post on Violet & Brooks here. Craving more DIY inspiration? We have a ton!! Check some out here.
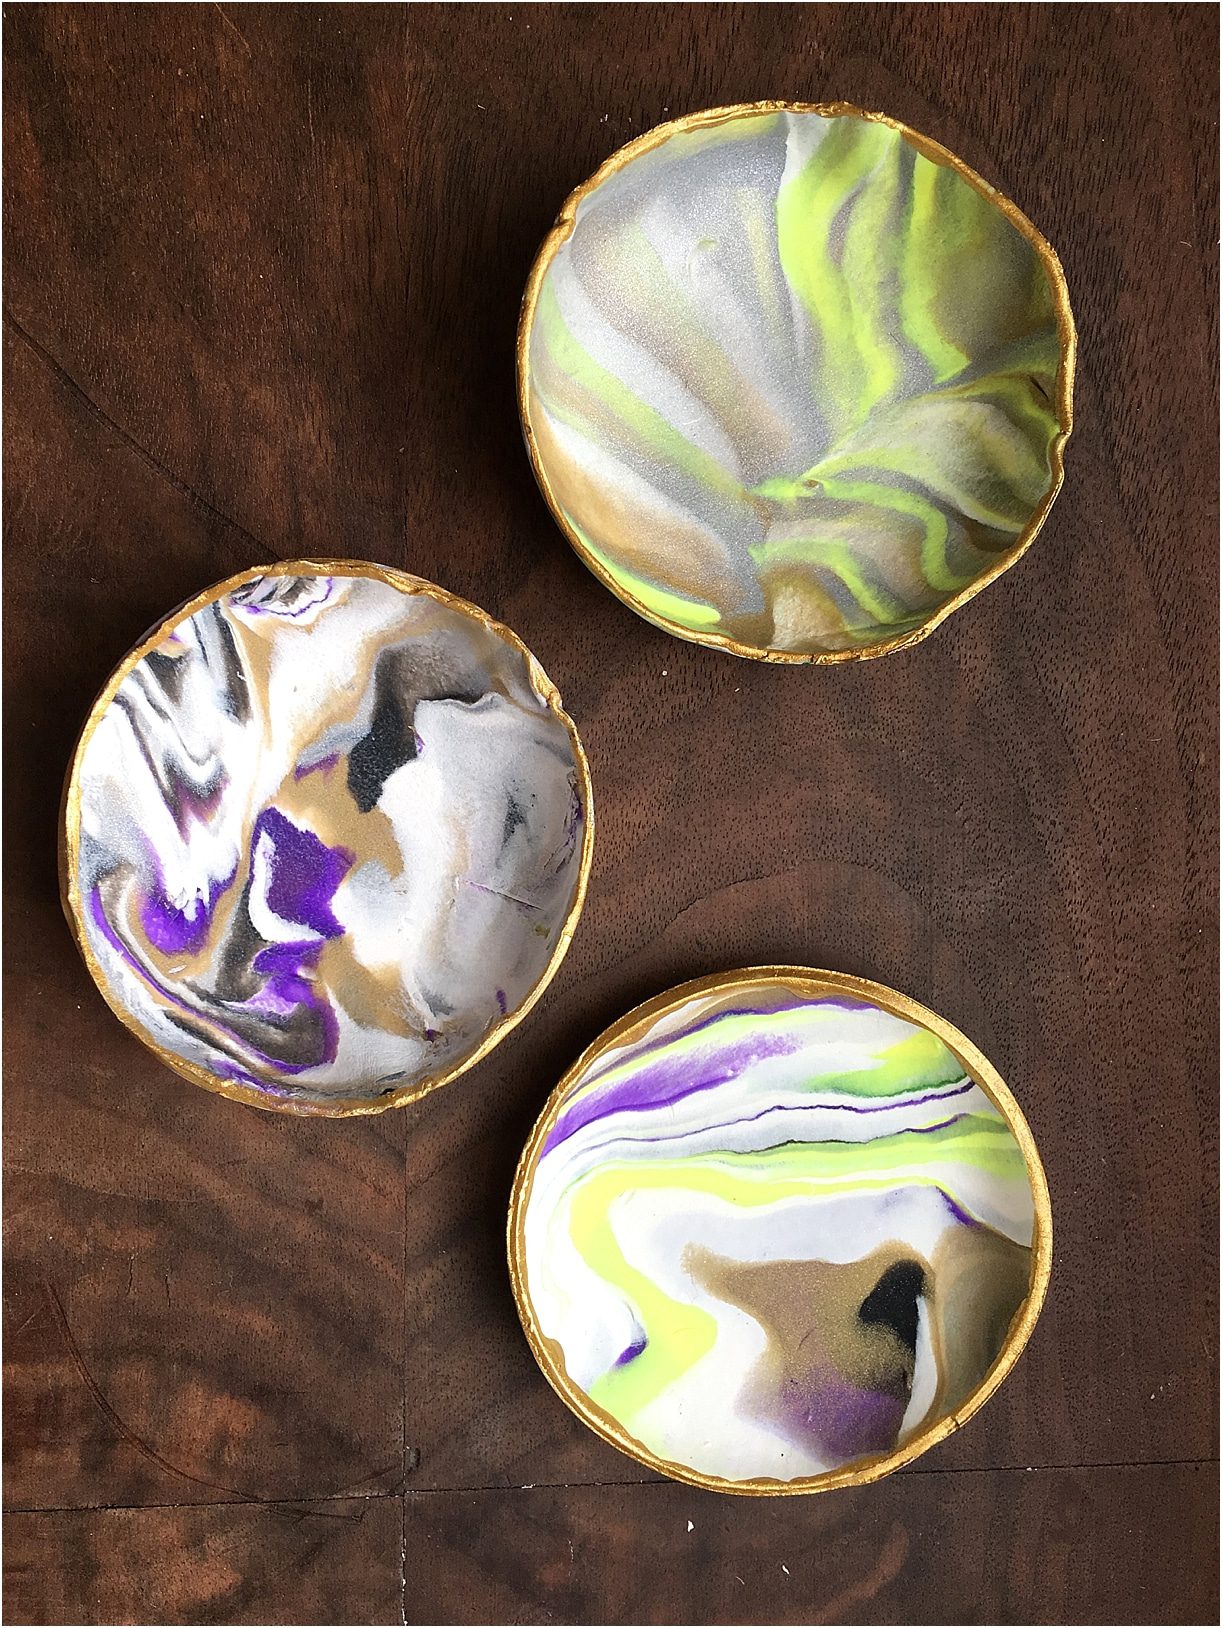
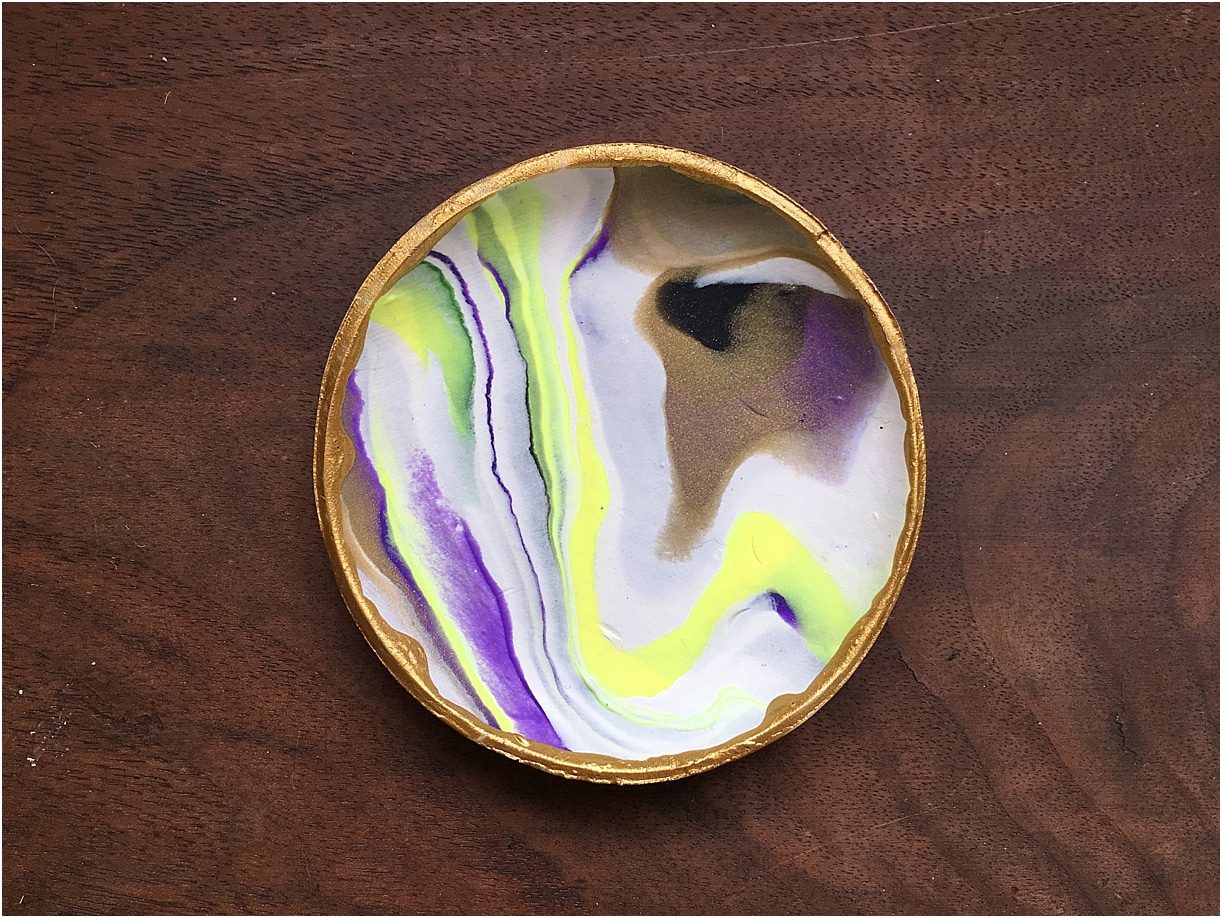
UPDATE: My daughter had a friend over, and I had leftover clay, so we made some extra bowls. I really love how these are turning out. Take a peek below!