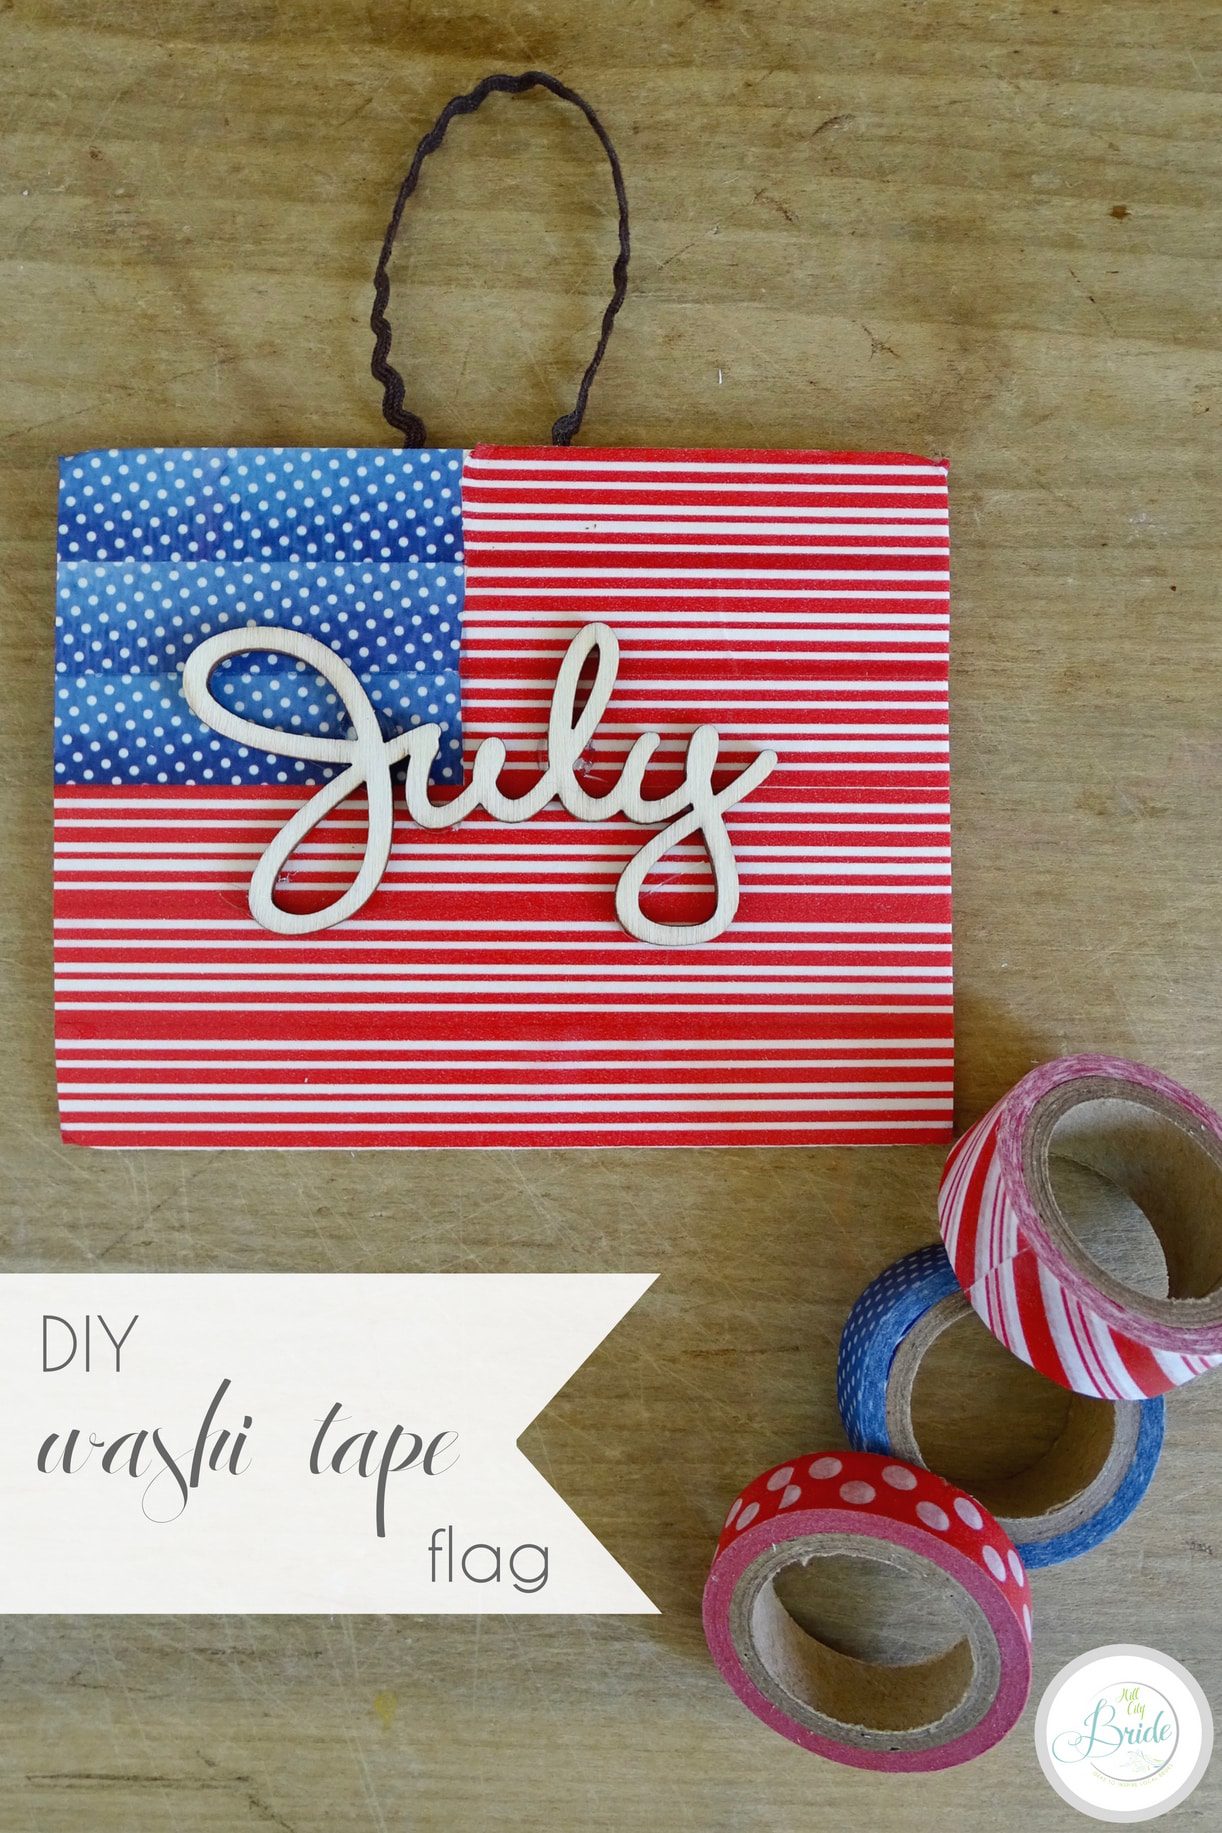
I love all things patriotic – no matter the season! But these little washi tape flags are easy to make and great for the 4th of July. You may even have some of the supplies at home already…so get crafting and happy Fourth!
This post contains affiliate links and purchases through those links help our blog to grow. Thank you!
How to Make Washi Tape Flags
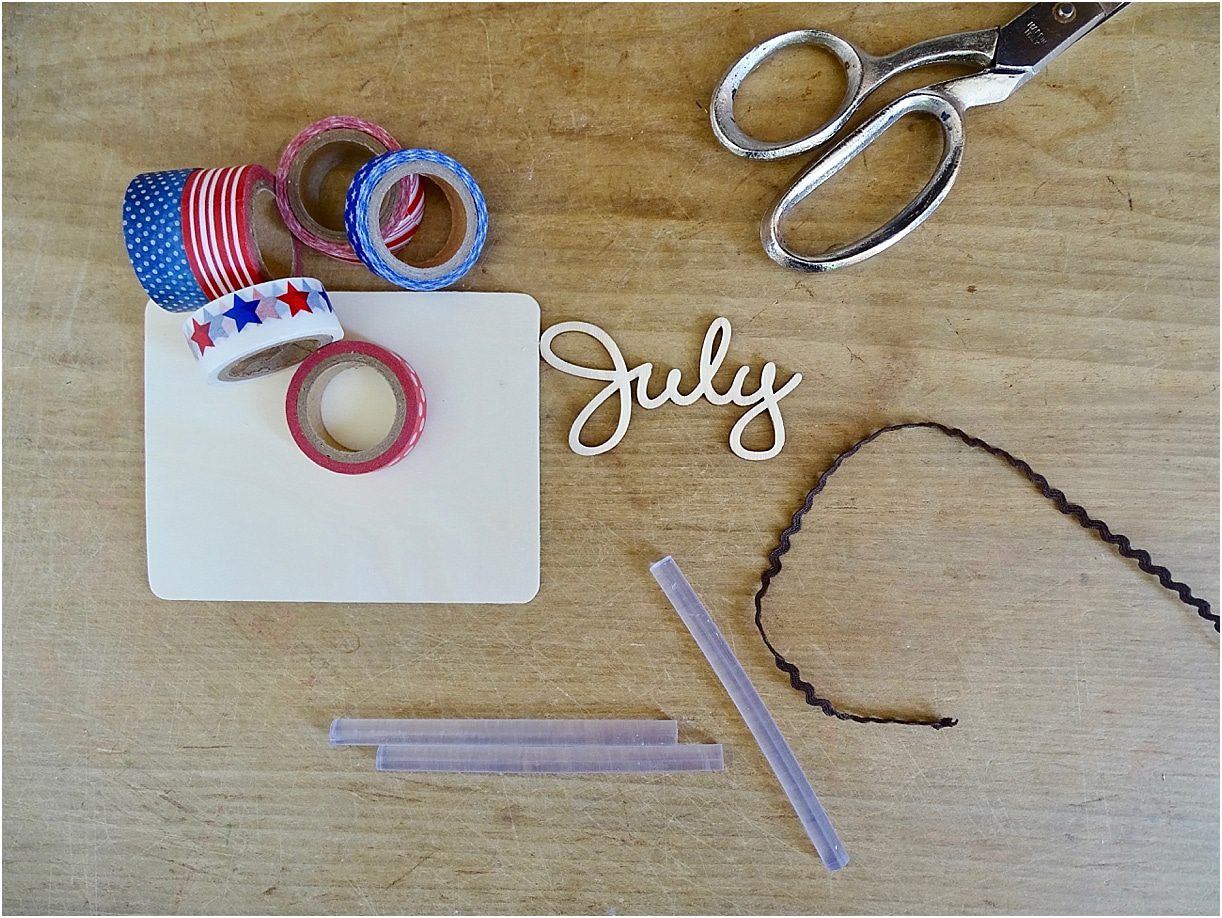
Supplies:
- Washi tape in patriotic colors (found here)
- Small, wooden boards in a rectangle (see here)
- July cut out (customize here)
- Ric rac or twine to use as a hanger (ric rac here)
- Scissors (see here)
- Glue gun and sticks (found here)
Instructions:
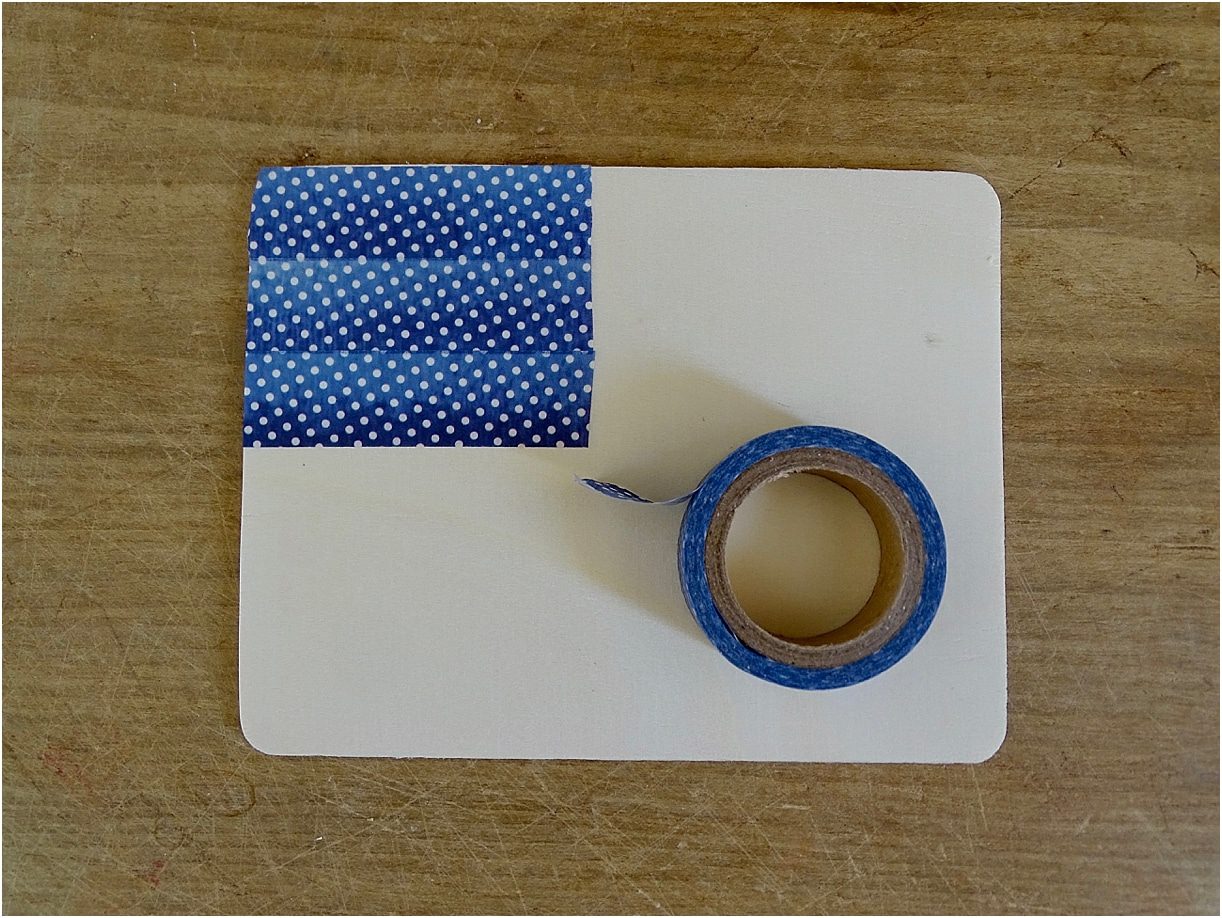
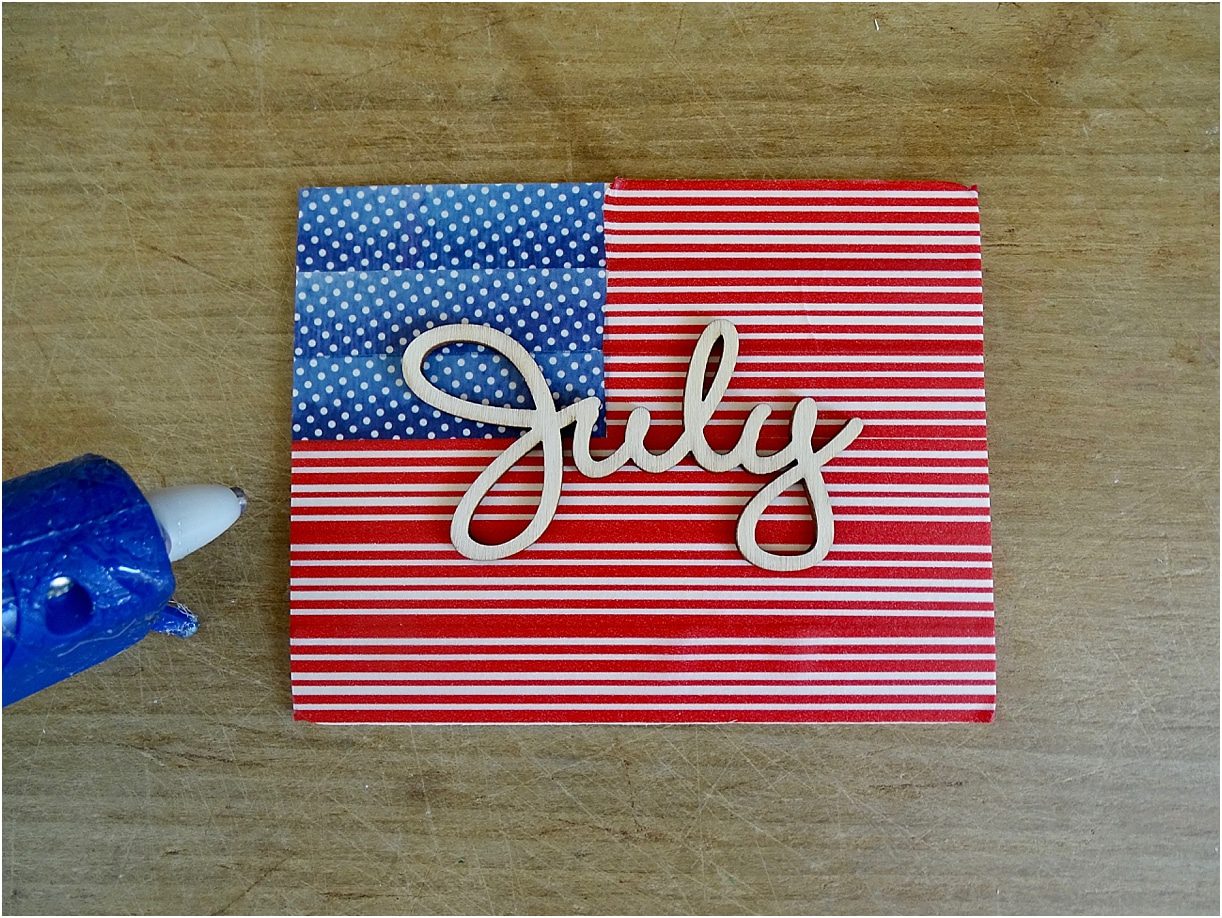
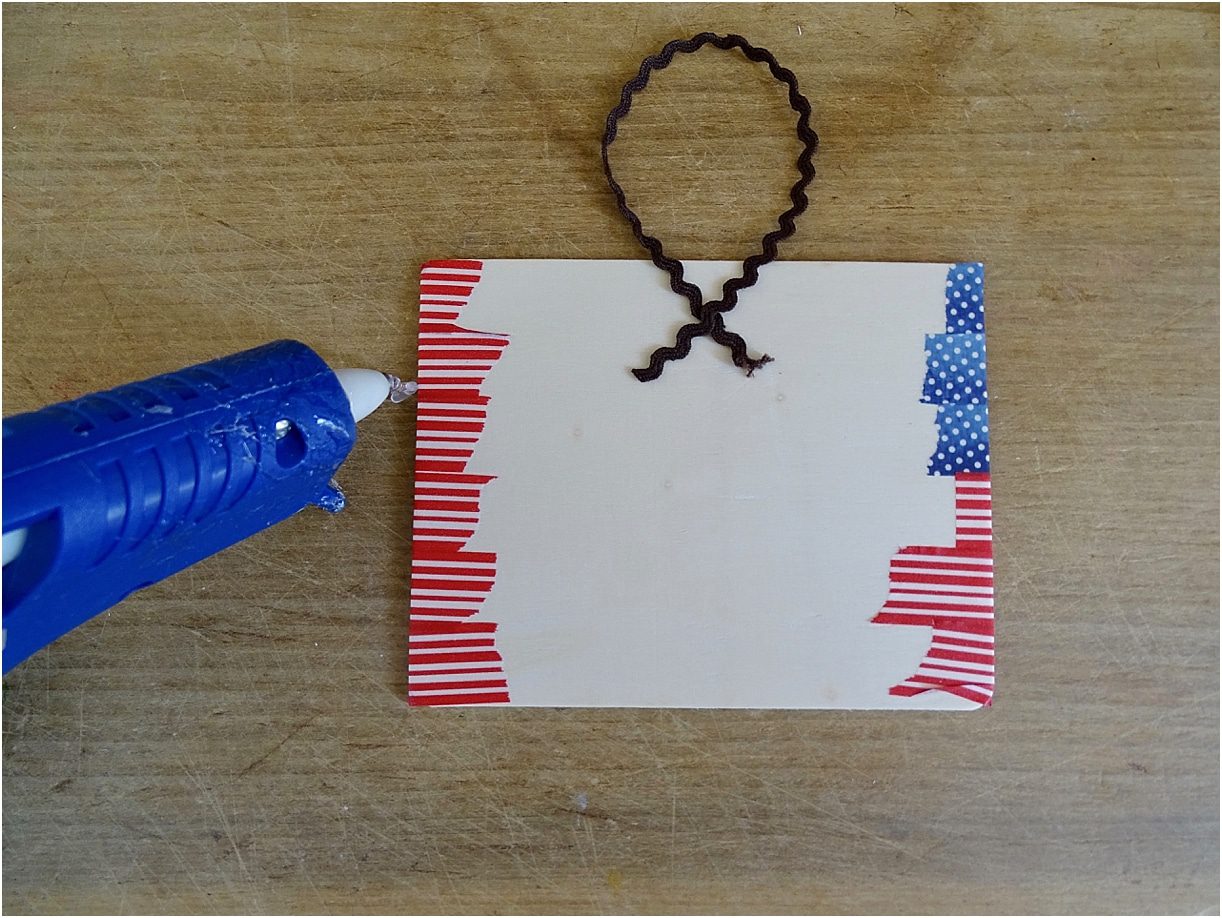
Use the blue washi tape to make a square-ish shape in the upper left to represent the blue section of the flag. It’s best to cut the edge of the tape to be smooth where it will show, but I just wrapped the other end of the tape around the back of the board and ripped it off.
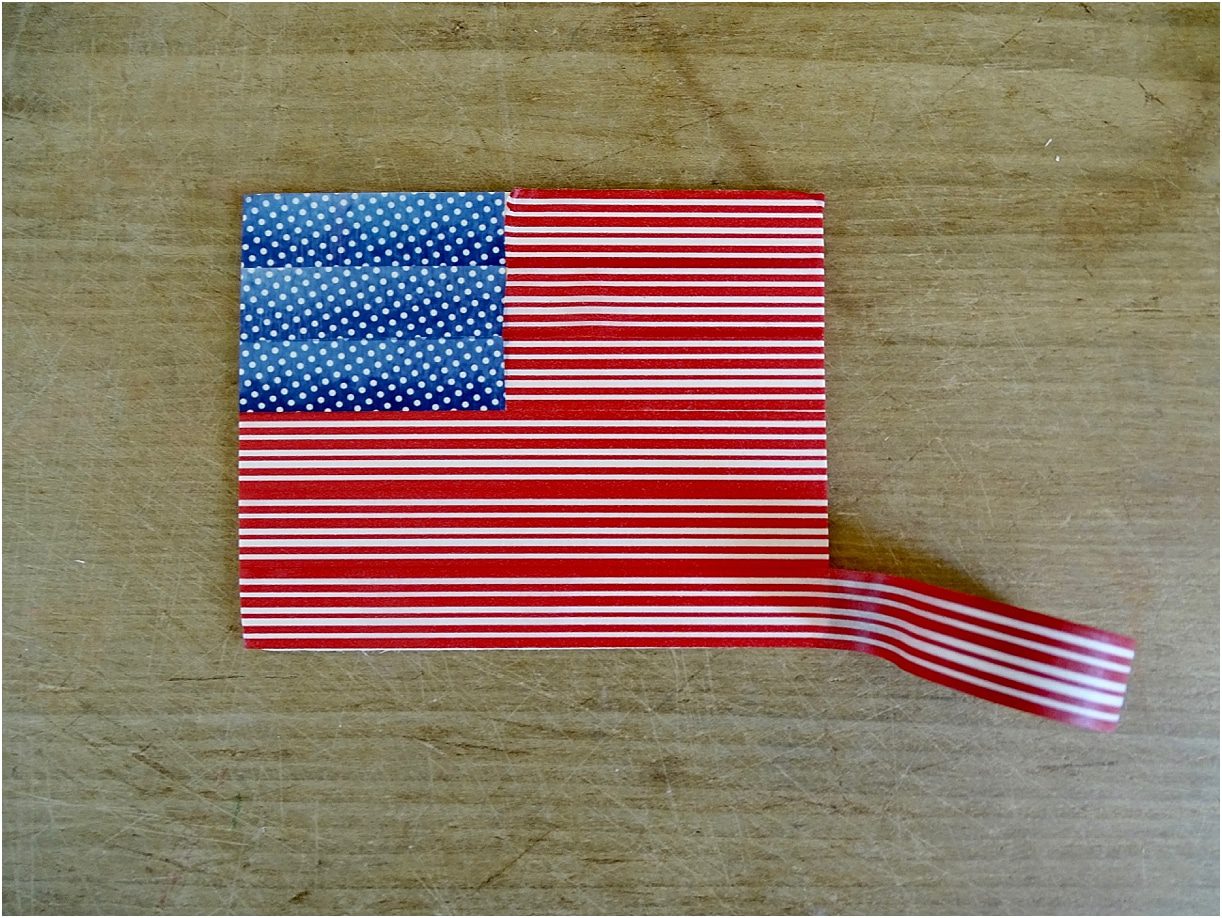
Once you are done with the blue, continue to finish the blag with the red washi tape. All of the edges can be ripped except for the edges that will be shown, which is where the red and blue edges meet. It’s best to cut these so that they are smooth.
Next, use hot glue to adhere the word “July” to the front of the board on top of the washi tape. Also, use the hot glue to adhere a section of the ric rac to be a hanger for the flag. And then you’re done! So cute!
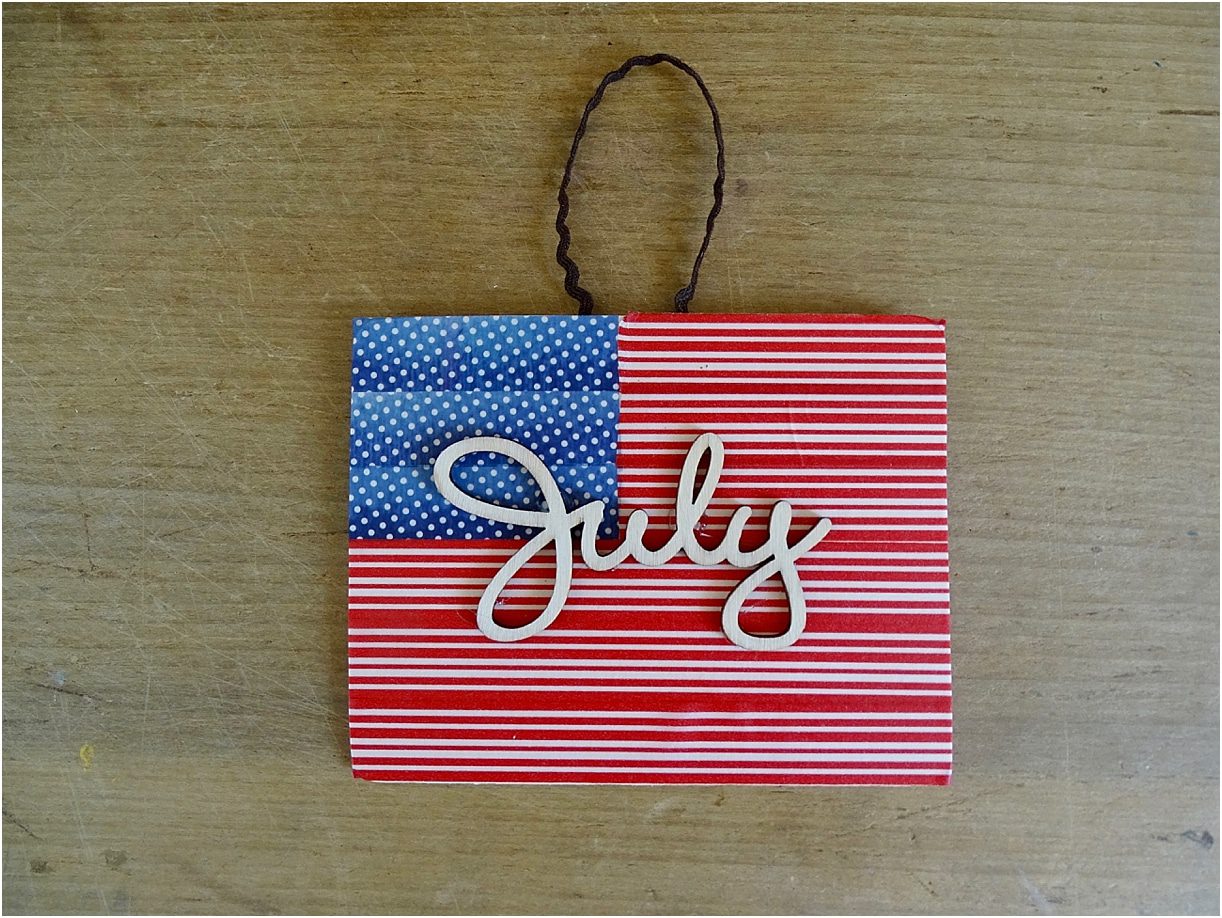
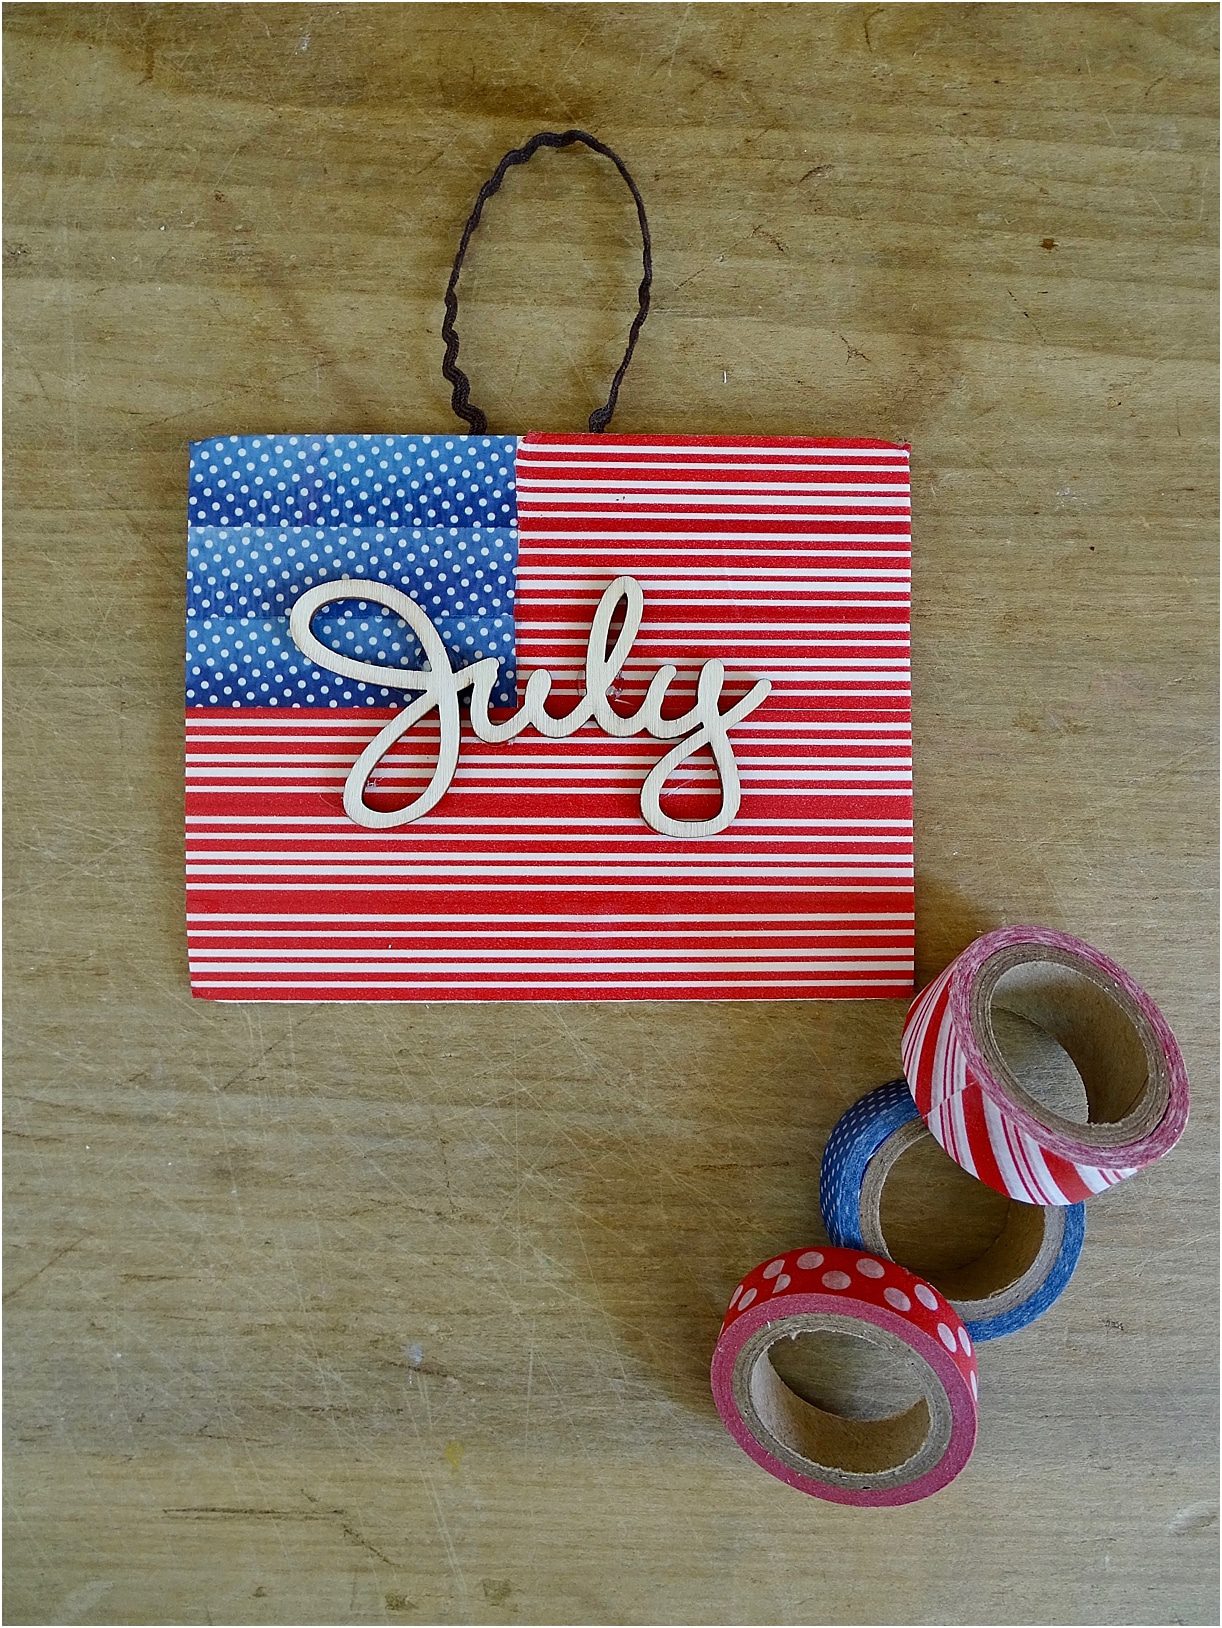
Isn’t that cute? It would be a fun activity to have on hand for people to make on the Fourth of July, and even small children can do it with some help (especially with the glue gun). For more patriotic ideas from our blog, check here.
