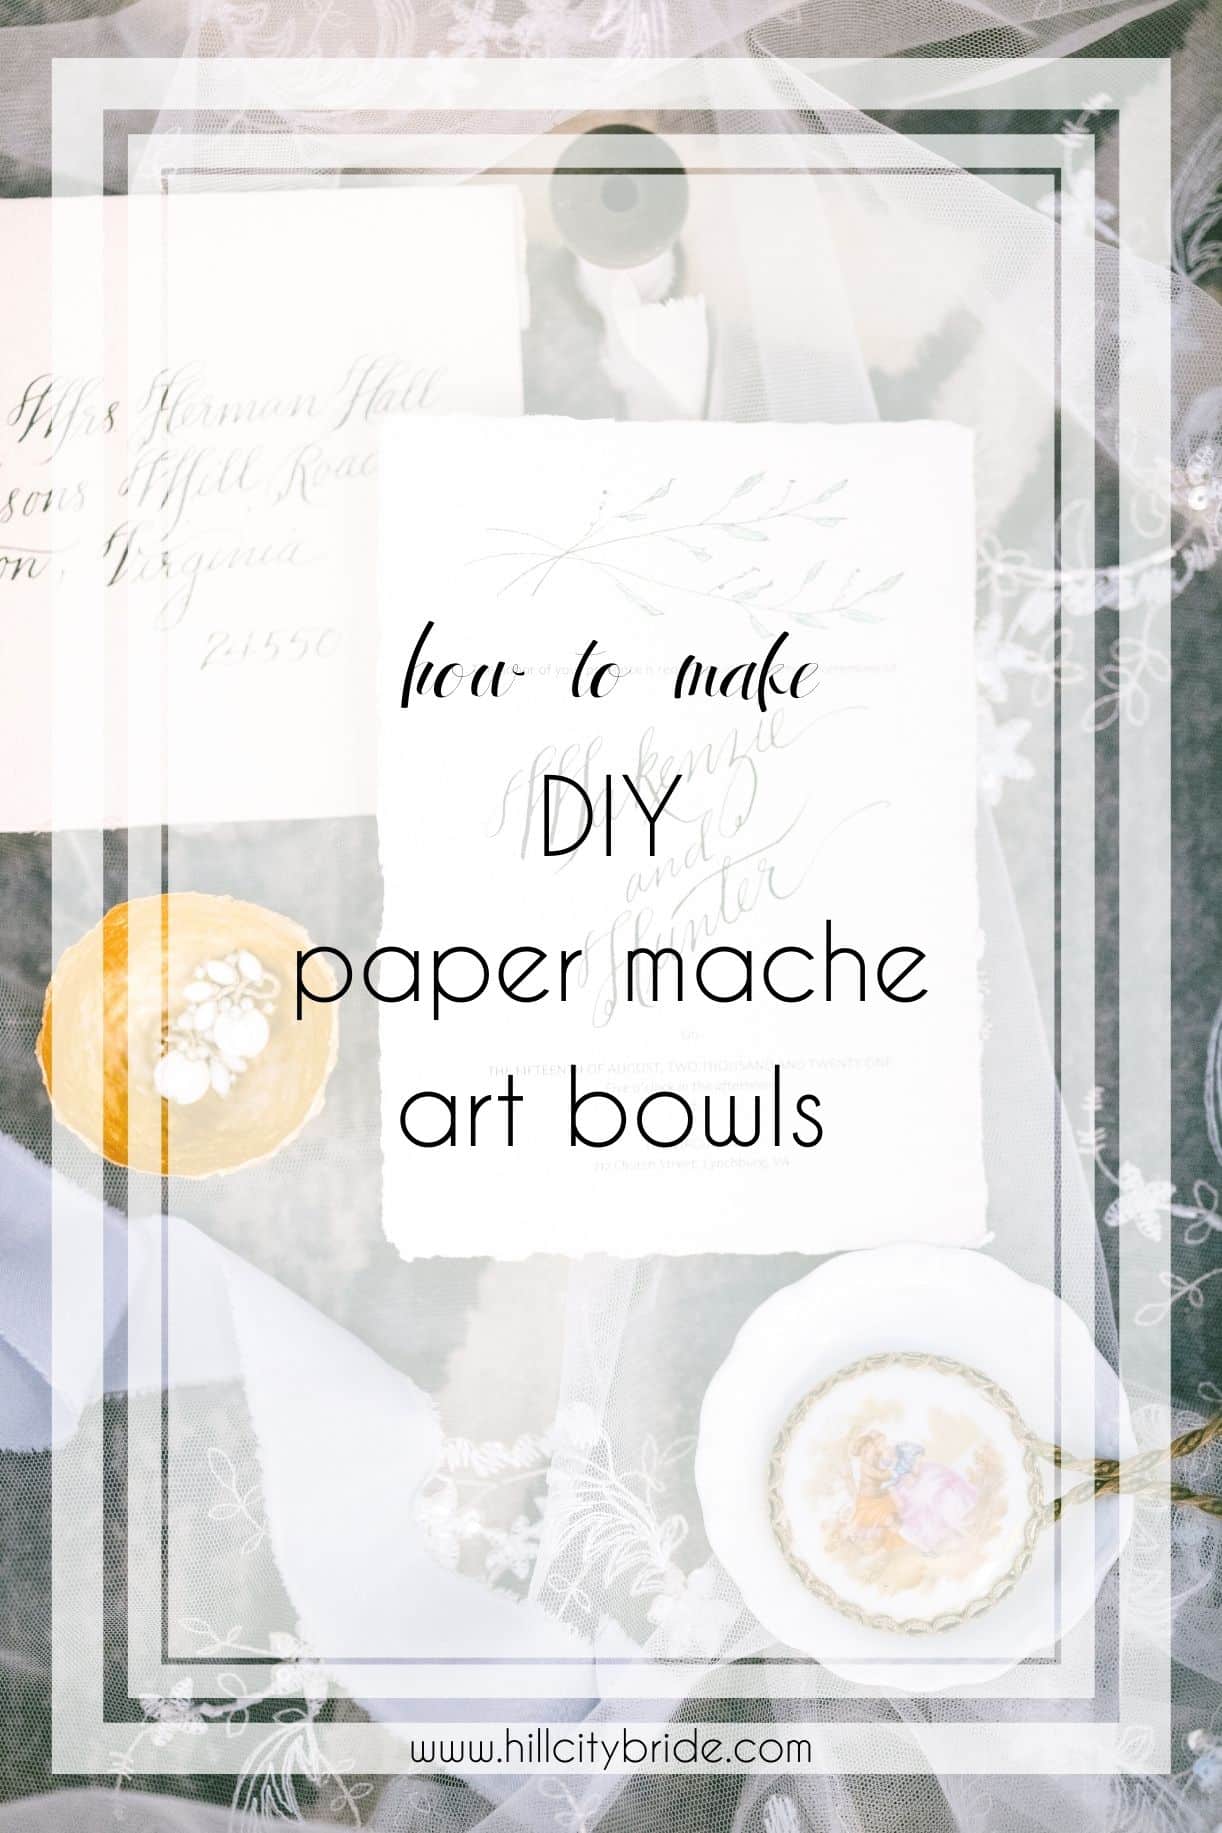
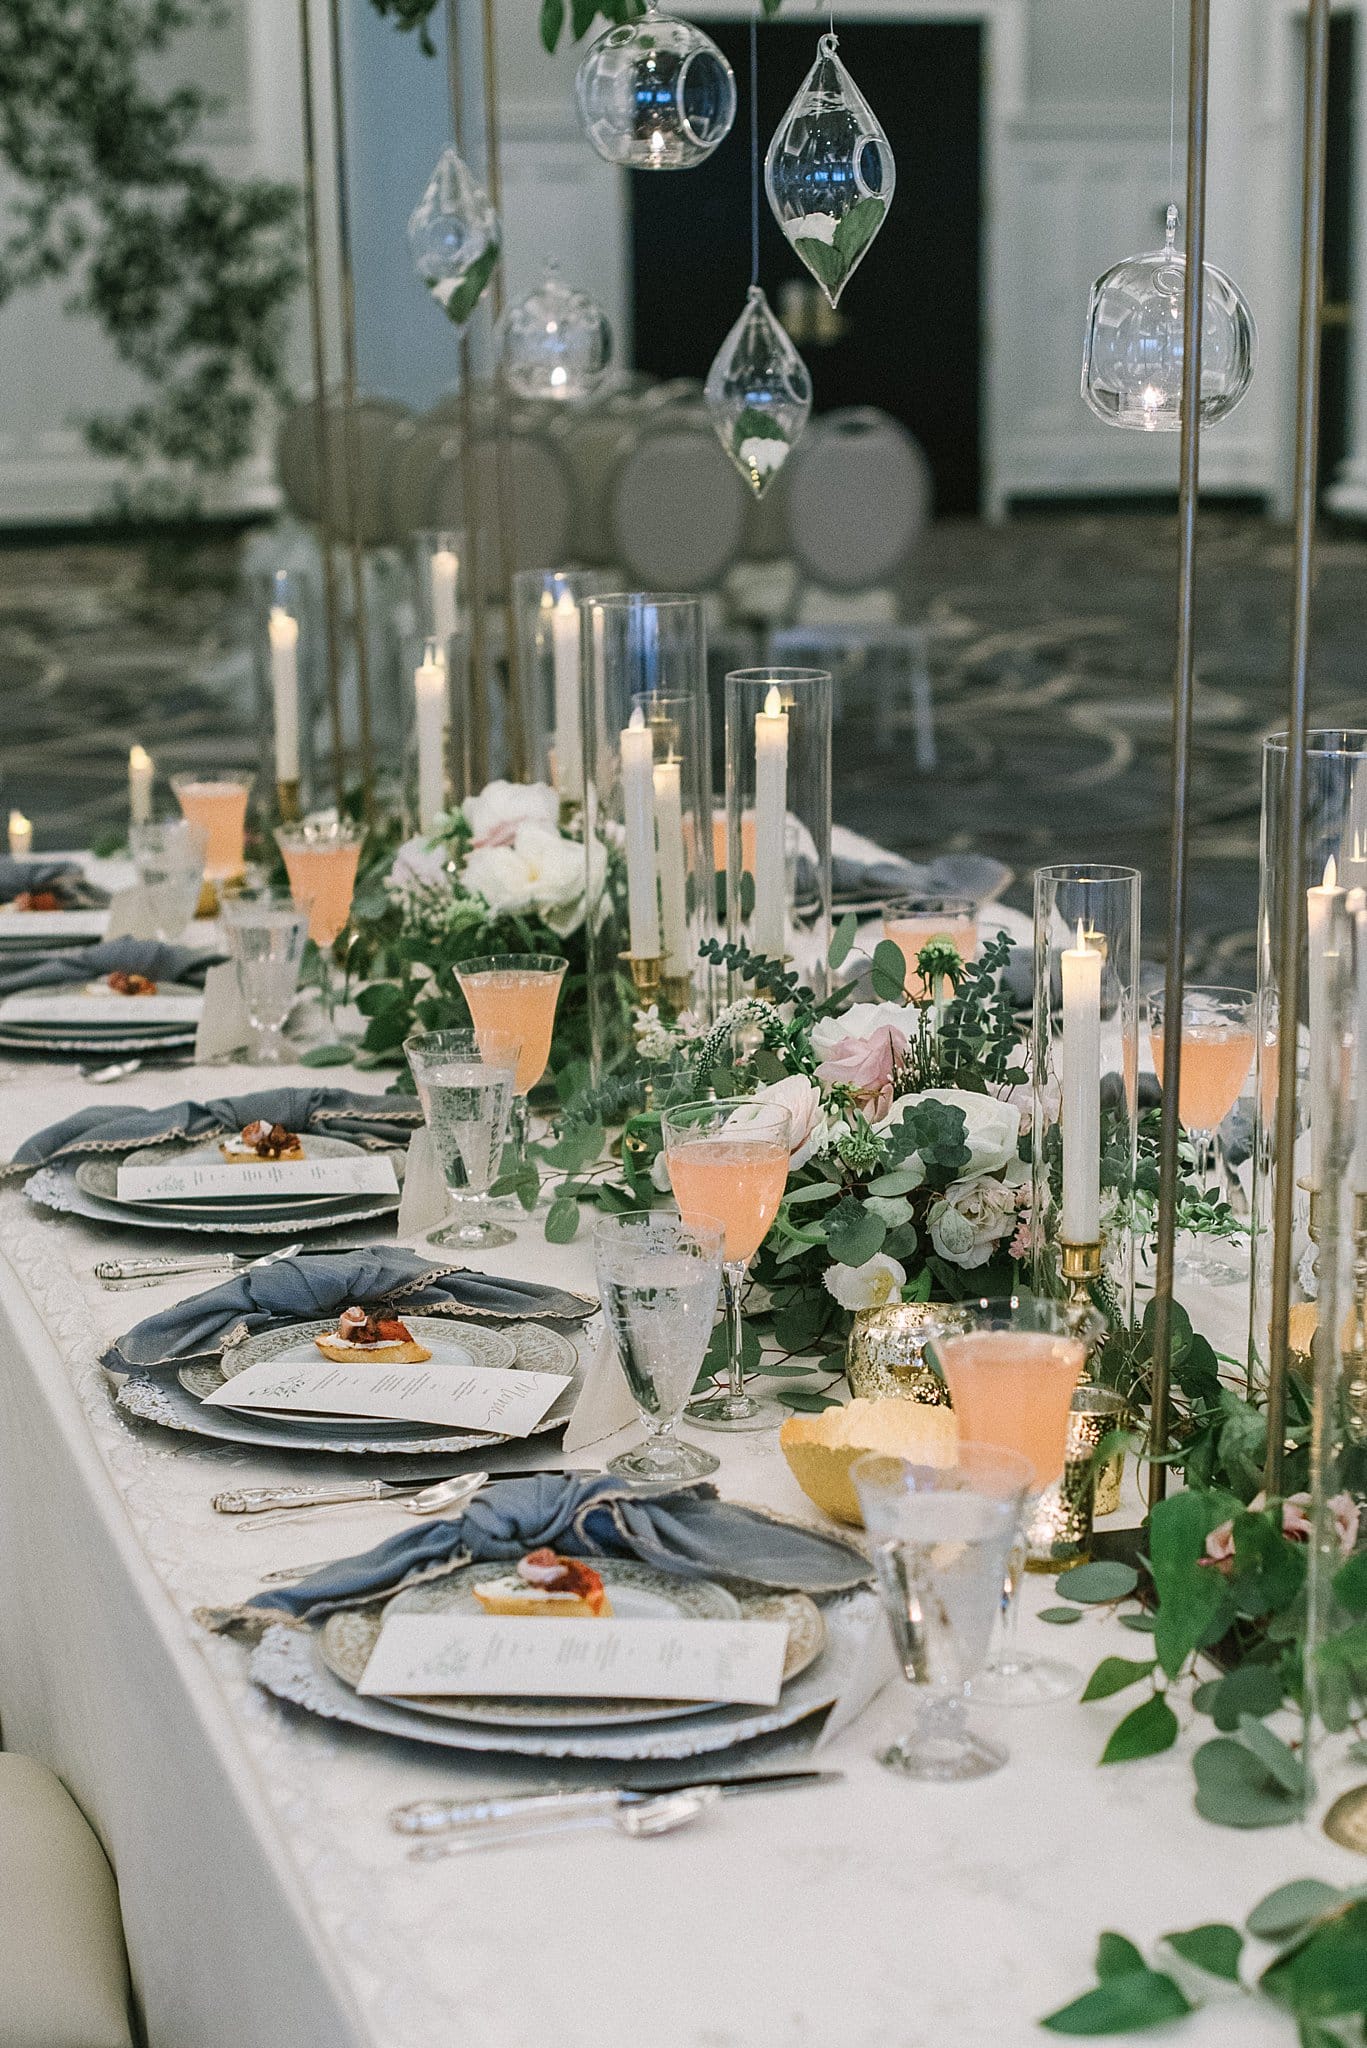
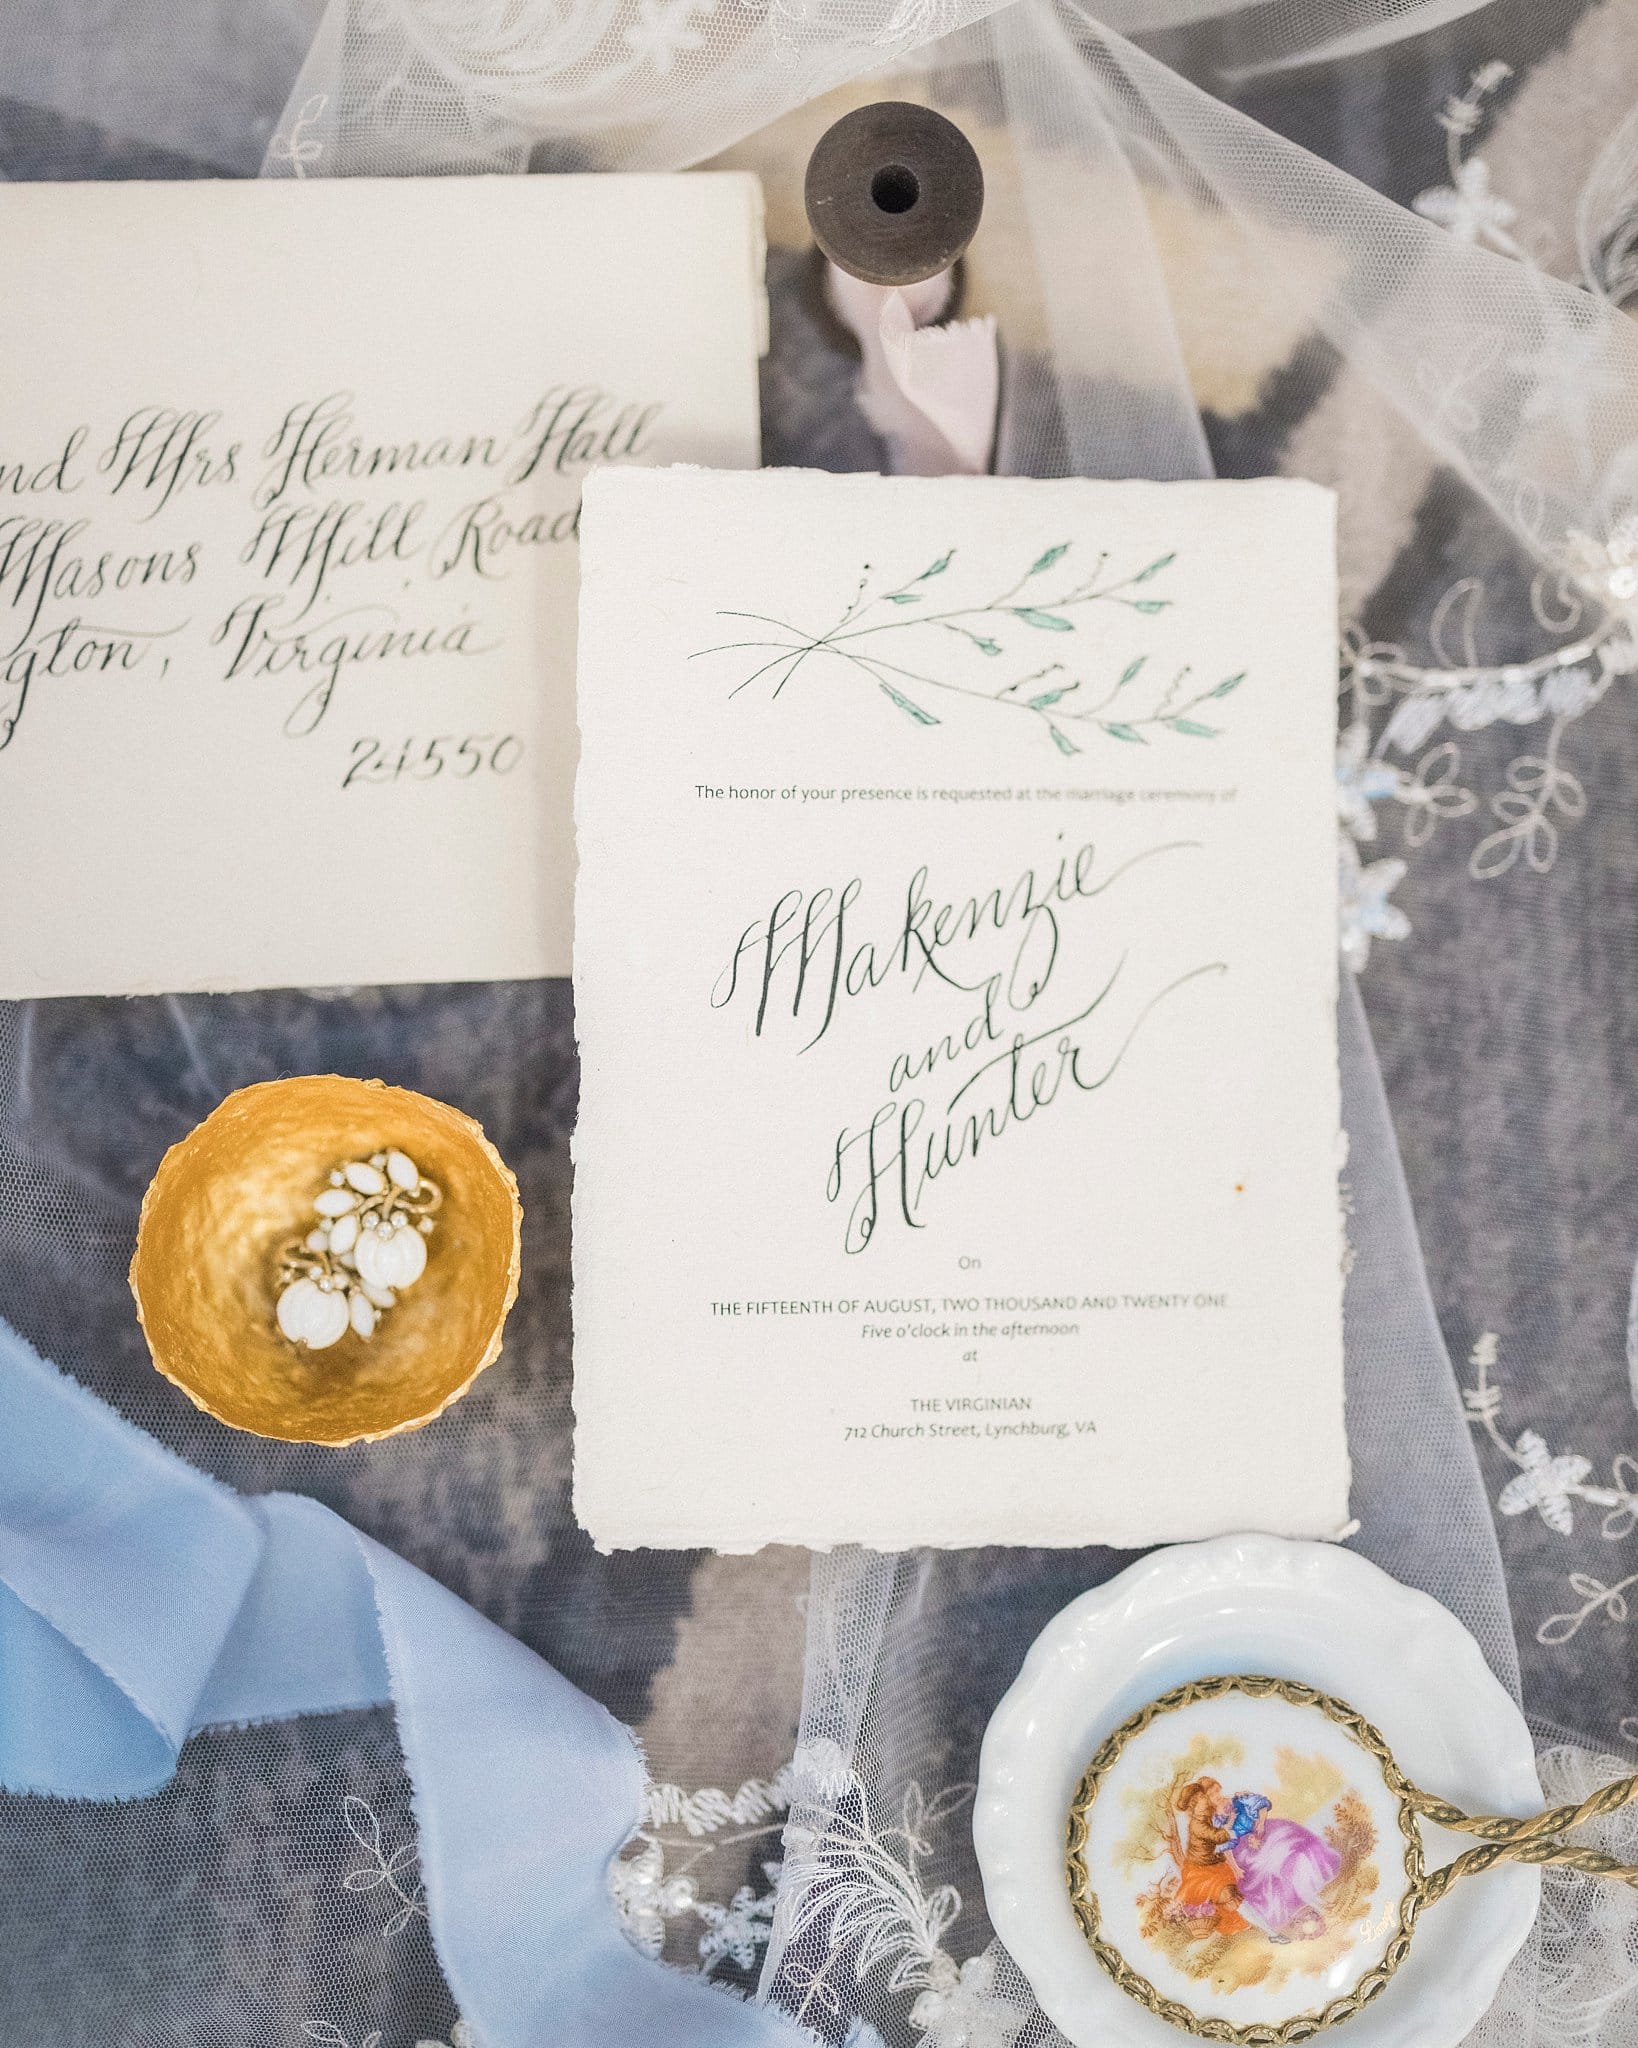
If you’re looking for something high impact for your tablescape, look no further. These DIY paper mache art bowls are so gorgeous! And they don’t look like they’re made out of newspapers. So simple and lovely, and we’ve got the scoop on how to make them.
FAQ About Using Paper for DIY Bowls
Can paper mache get wet?
Is paper mache waterproof? Well, not really. It’s not food safe, and it also shouldn’t come in contact with water. Of course, a drop may not hurt. However, if you fully submerge your bowl in water, it will disintegrate or get out of shape. The best way to clean it is to wipe it off.
Can paper mache go in the oven?
The answer is no. But to be honest, when I first made these, I did put them in the oven to dry. As a result, I only put them on warm and kept a close eye on them so they wouldn’t catch fire. So, can paper mache be dried in the oven? I wouldn’t recommend it, though if you do, it’s at your own risk.
Is paper mache strong?
Surprisingly, it is! It all depends on how thick you make the layer of your paper mache art. Although it also depends on your binder, which will either be glue or starch — or both.
Is paper mache glue and water?
Well, sort of. Your binder can be glue and water if you so choose. However, you can also use starch, like flour. This recipe uses both.
How to Make These Gorgeous Bowls
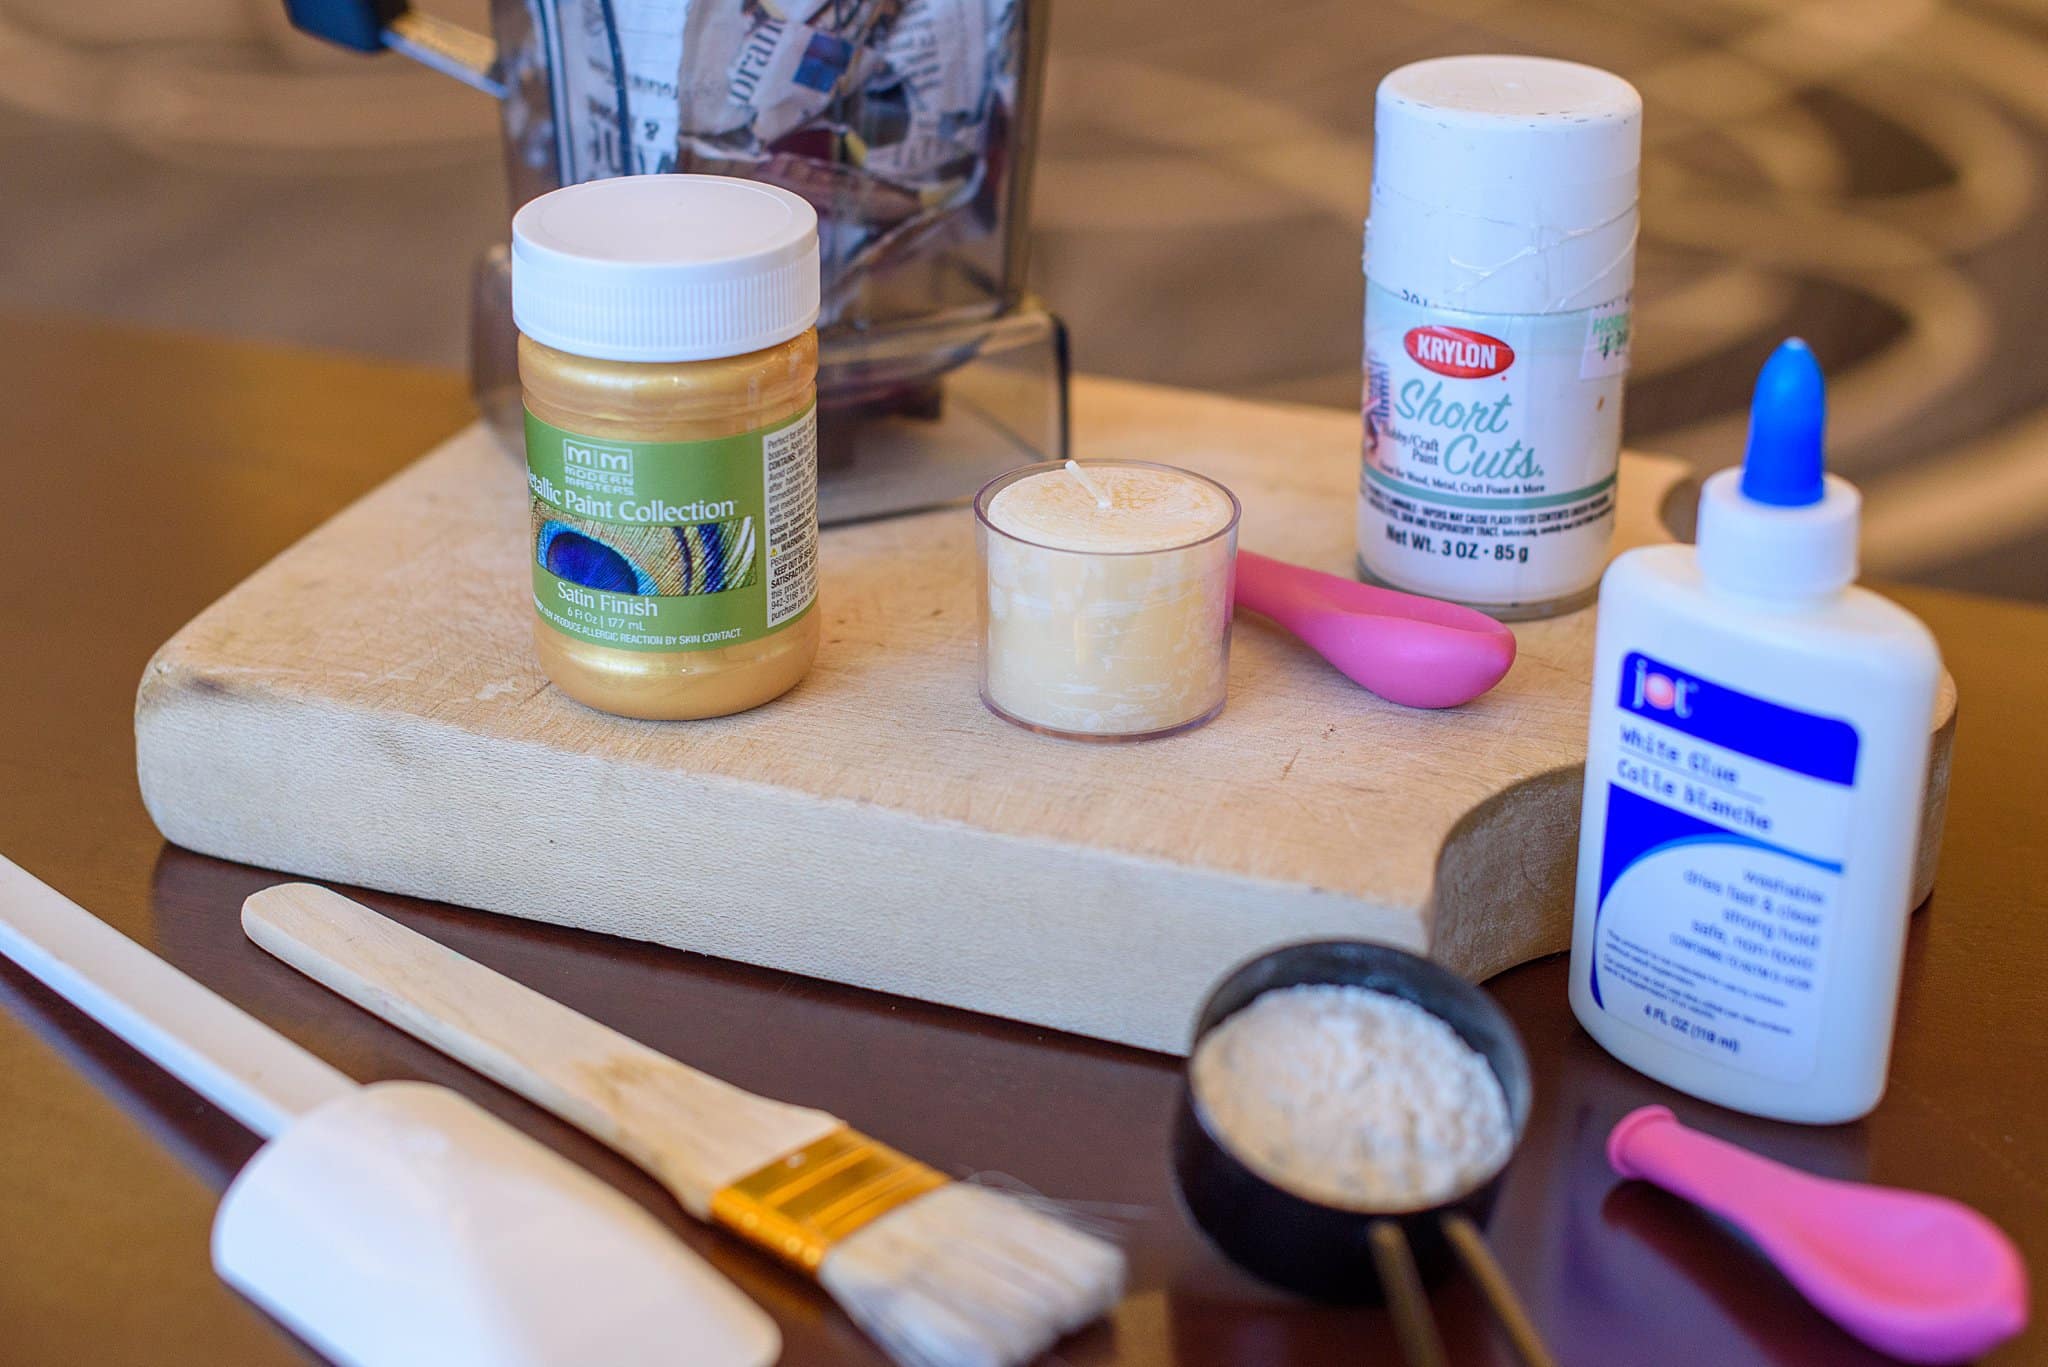
Supplies for Paper Mache Art Bowls
- Newspaper or other scrap paper (mail, flyers) — uncoated is best
- Flour
- Glue
- Water
- Blender
- Paintbrush
- Spatula
- Candle in a self-contained container (plastic or glass, do NOT use a candle that isn’t self-contained)
- Balloons
- White spray paint
- Gold paint – Modern Masters satin finish Metallic Paint (affiliate link) is amazing!
DIY Bowl Instructions
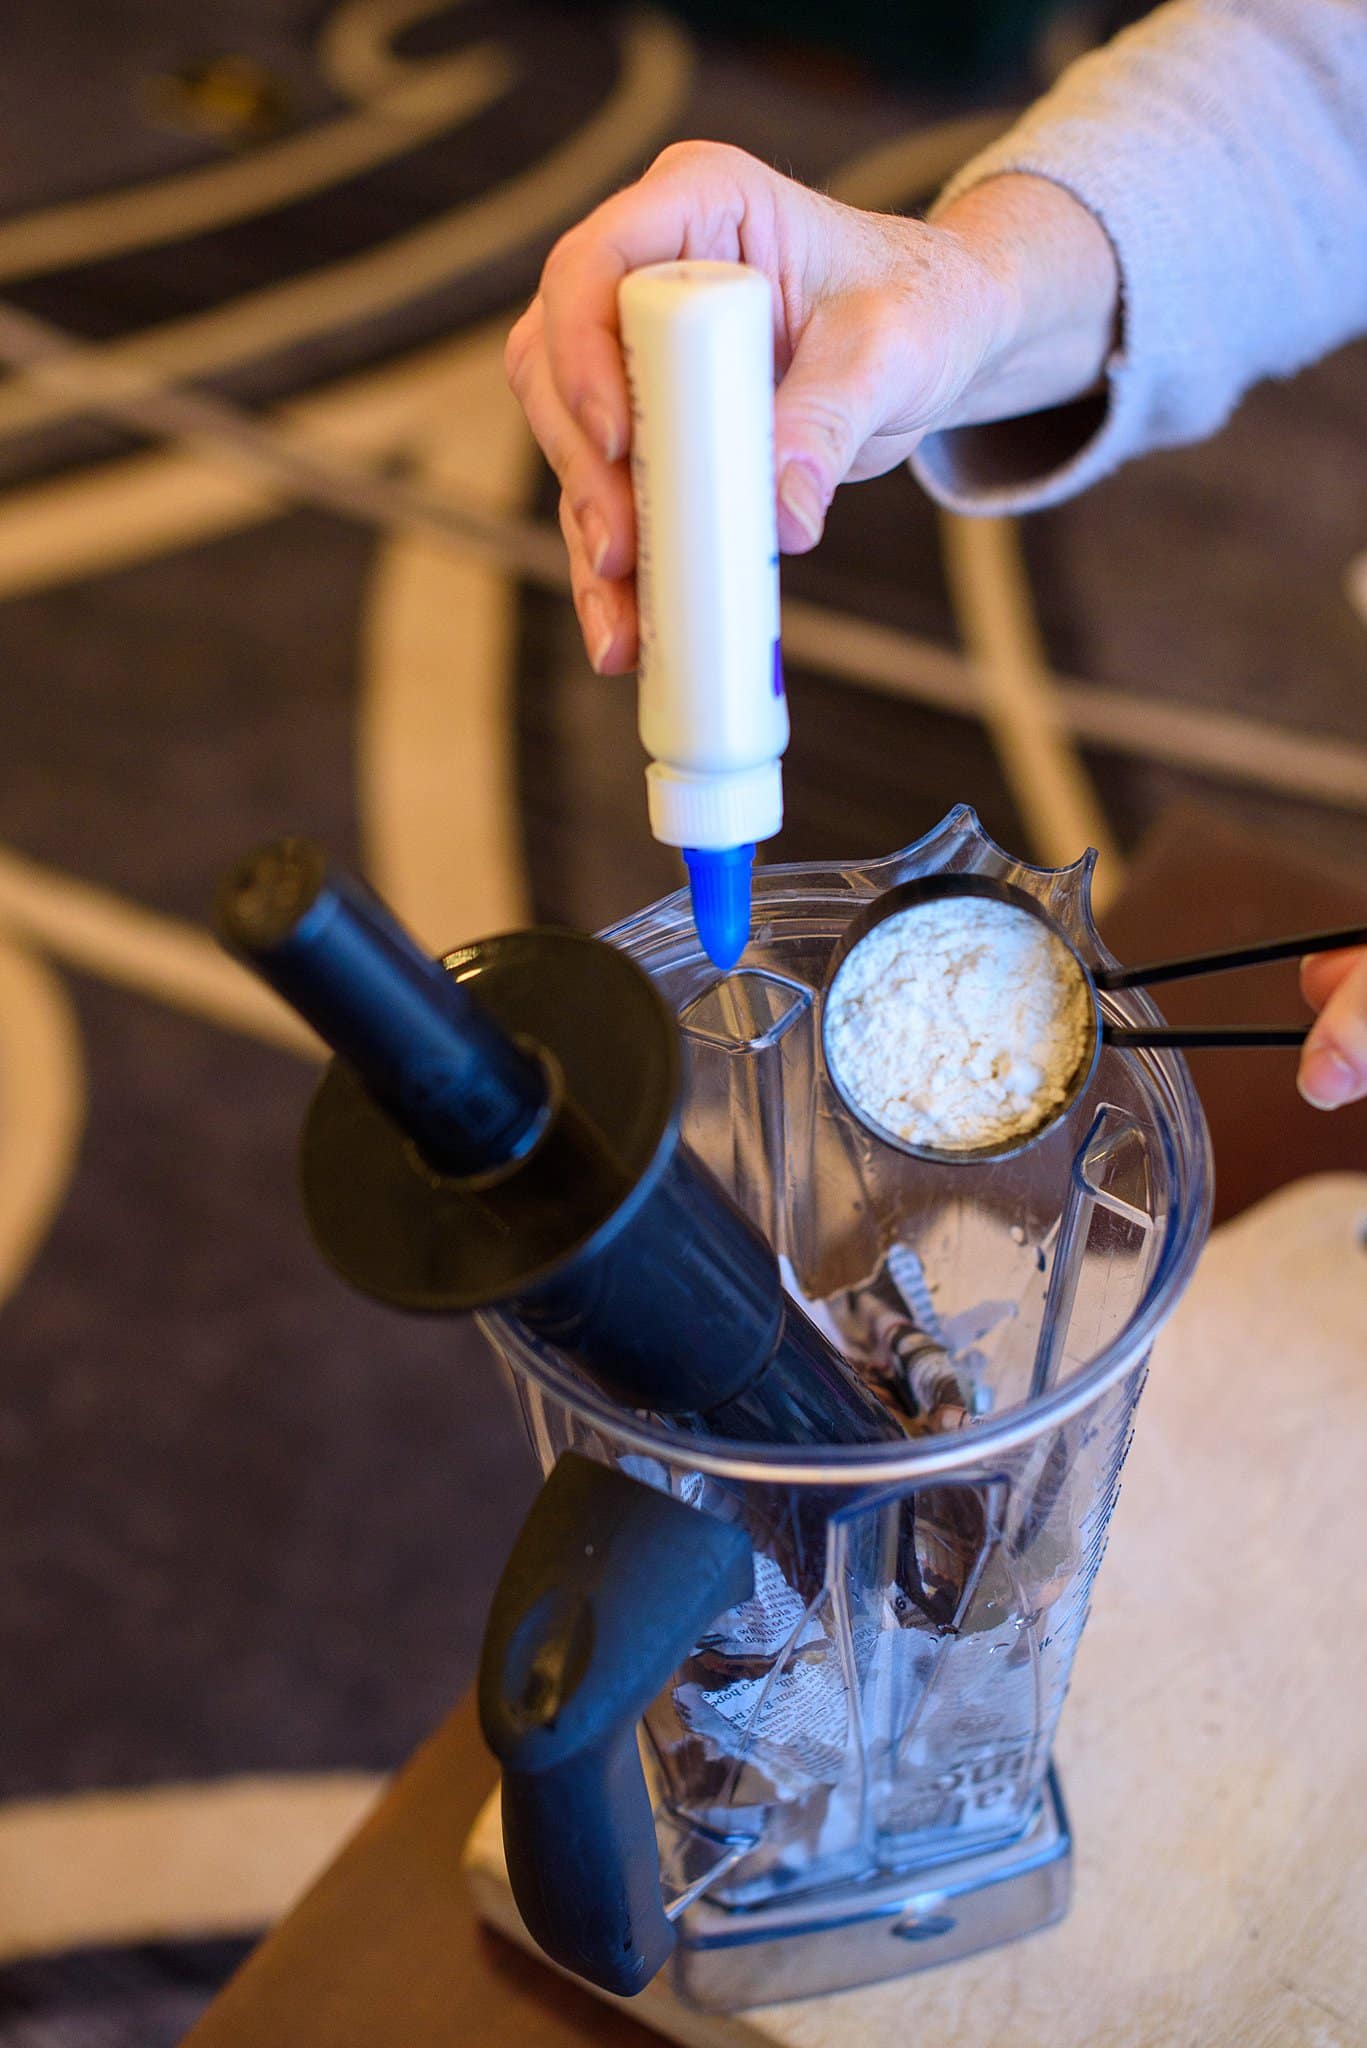
- Rip up newspaper into strips, and place into blender.
- Add 1/4 cup flour, 1/4 cup glue, and enough water to make a paste.
- Blend, and be sure it’s not too runny or too thick. Use your judgment.
- Blow up your balloon to the size that you like. The size of your balloon will dictate the size of your bowl. Therefore, determine what your bowl will be used for, which will indicate the size.
- Once blown, tie your balloon to maintain the shape.
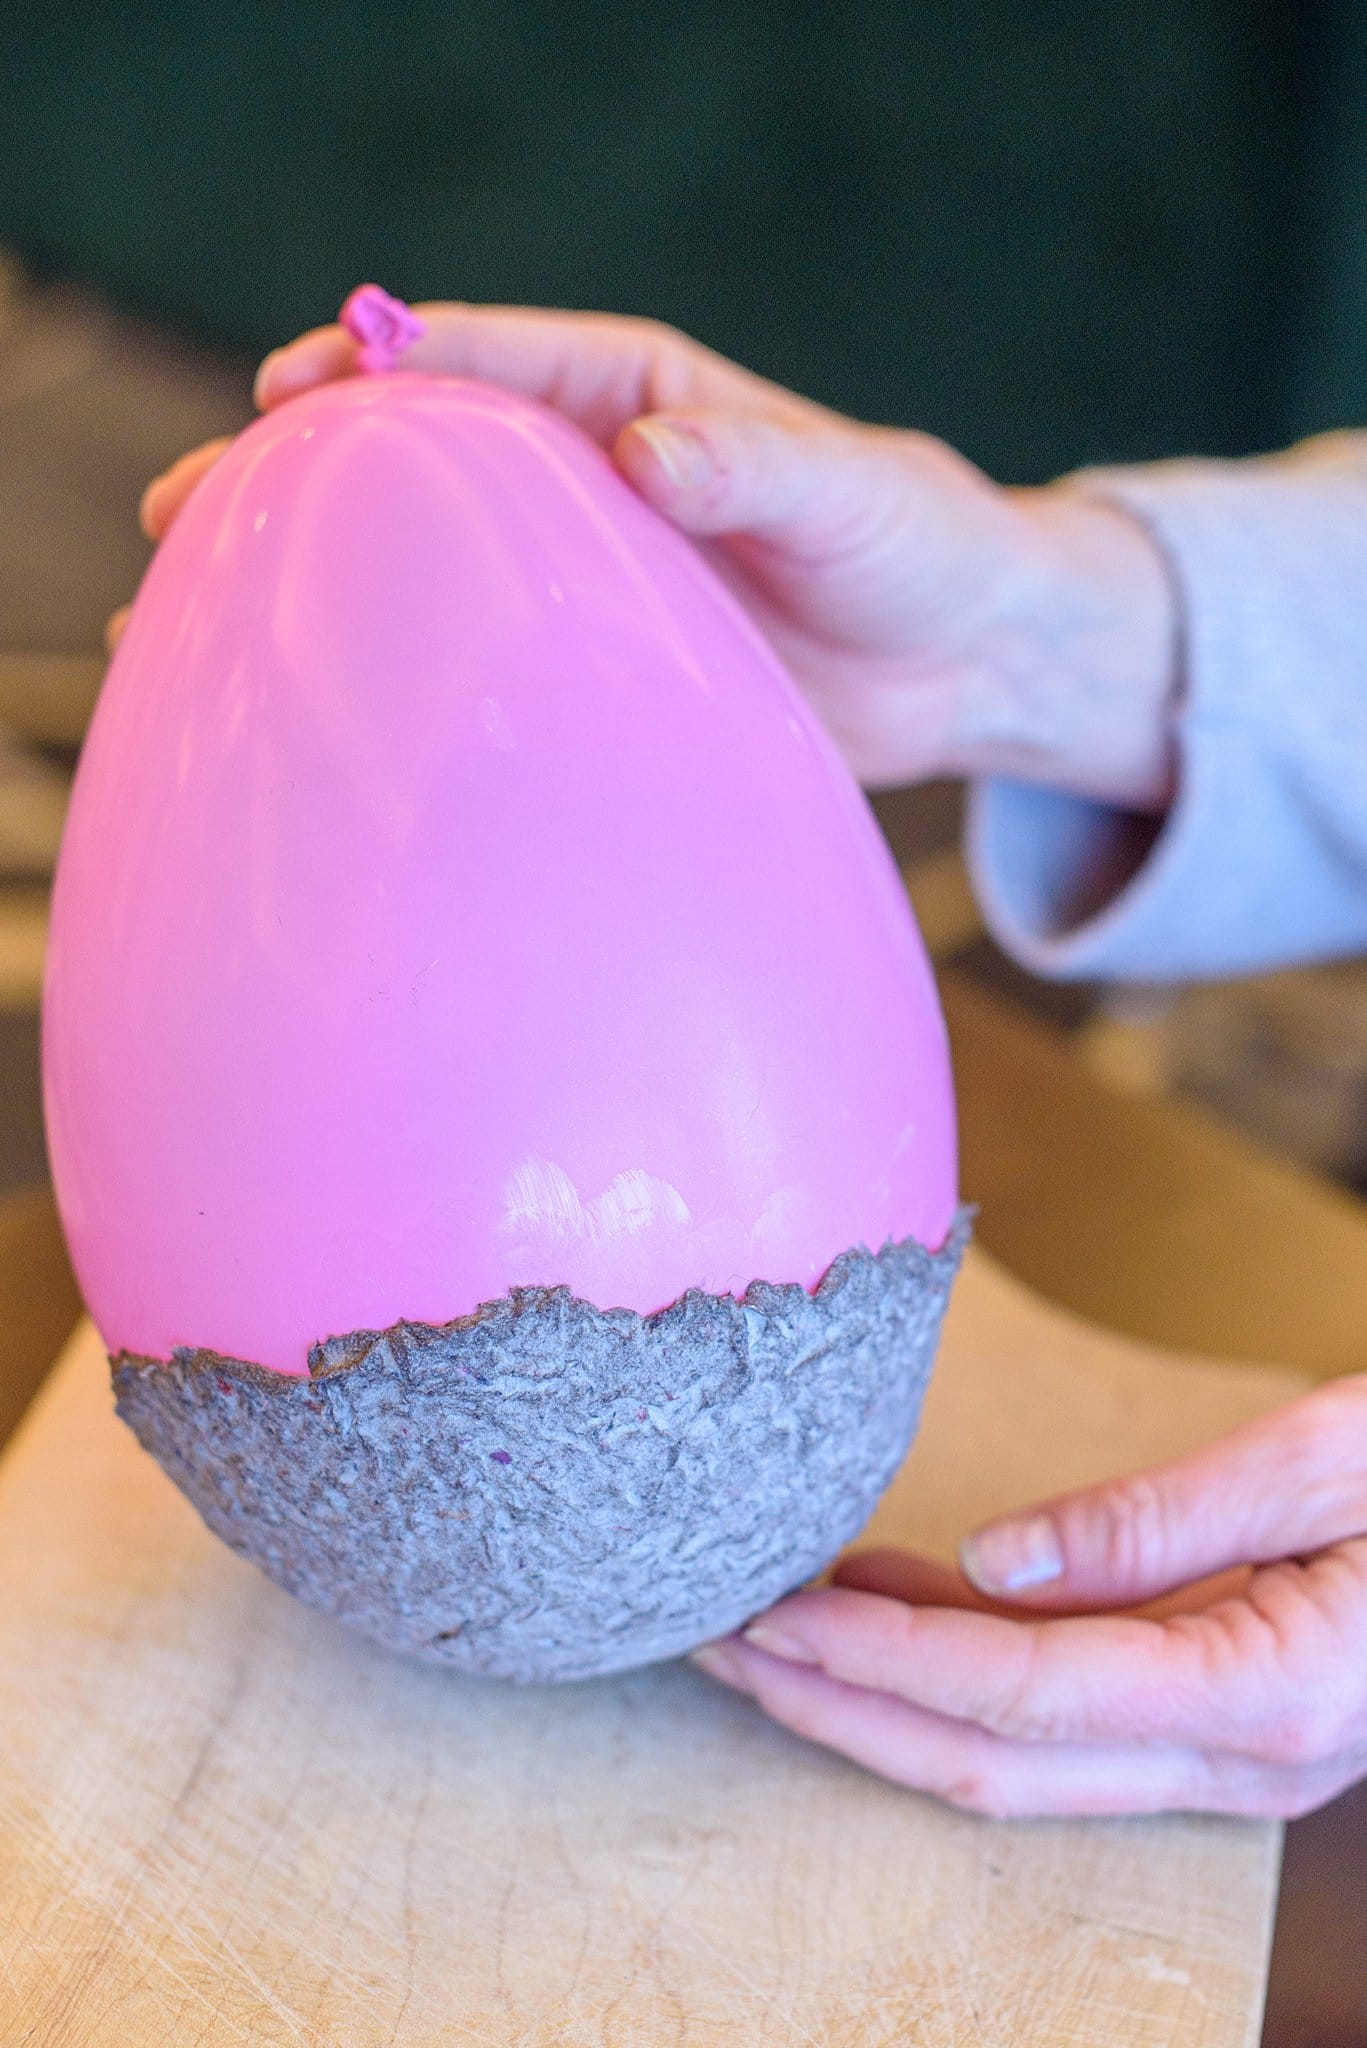
- Use a spatula to spread the paper mache onto your balloon. Start with the end that is opposite of where you tied the balloon.
- Place enough paper mache so that you can’t see the balloon through it.
- Use the spatula (or hands) to evenly spread the mixture. The higher up on the balloon you spread the paper mache, the deeper your bowl will be.
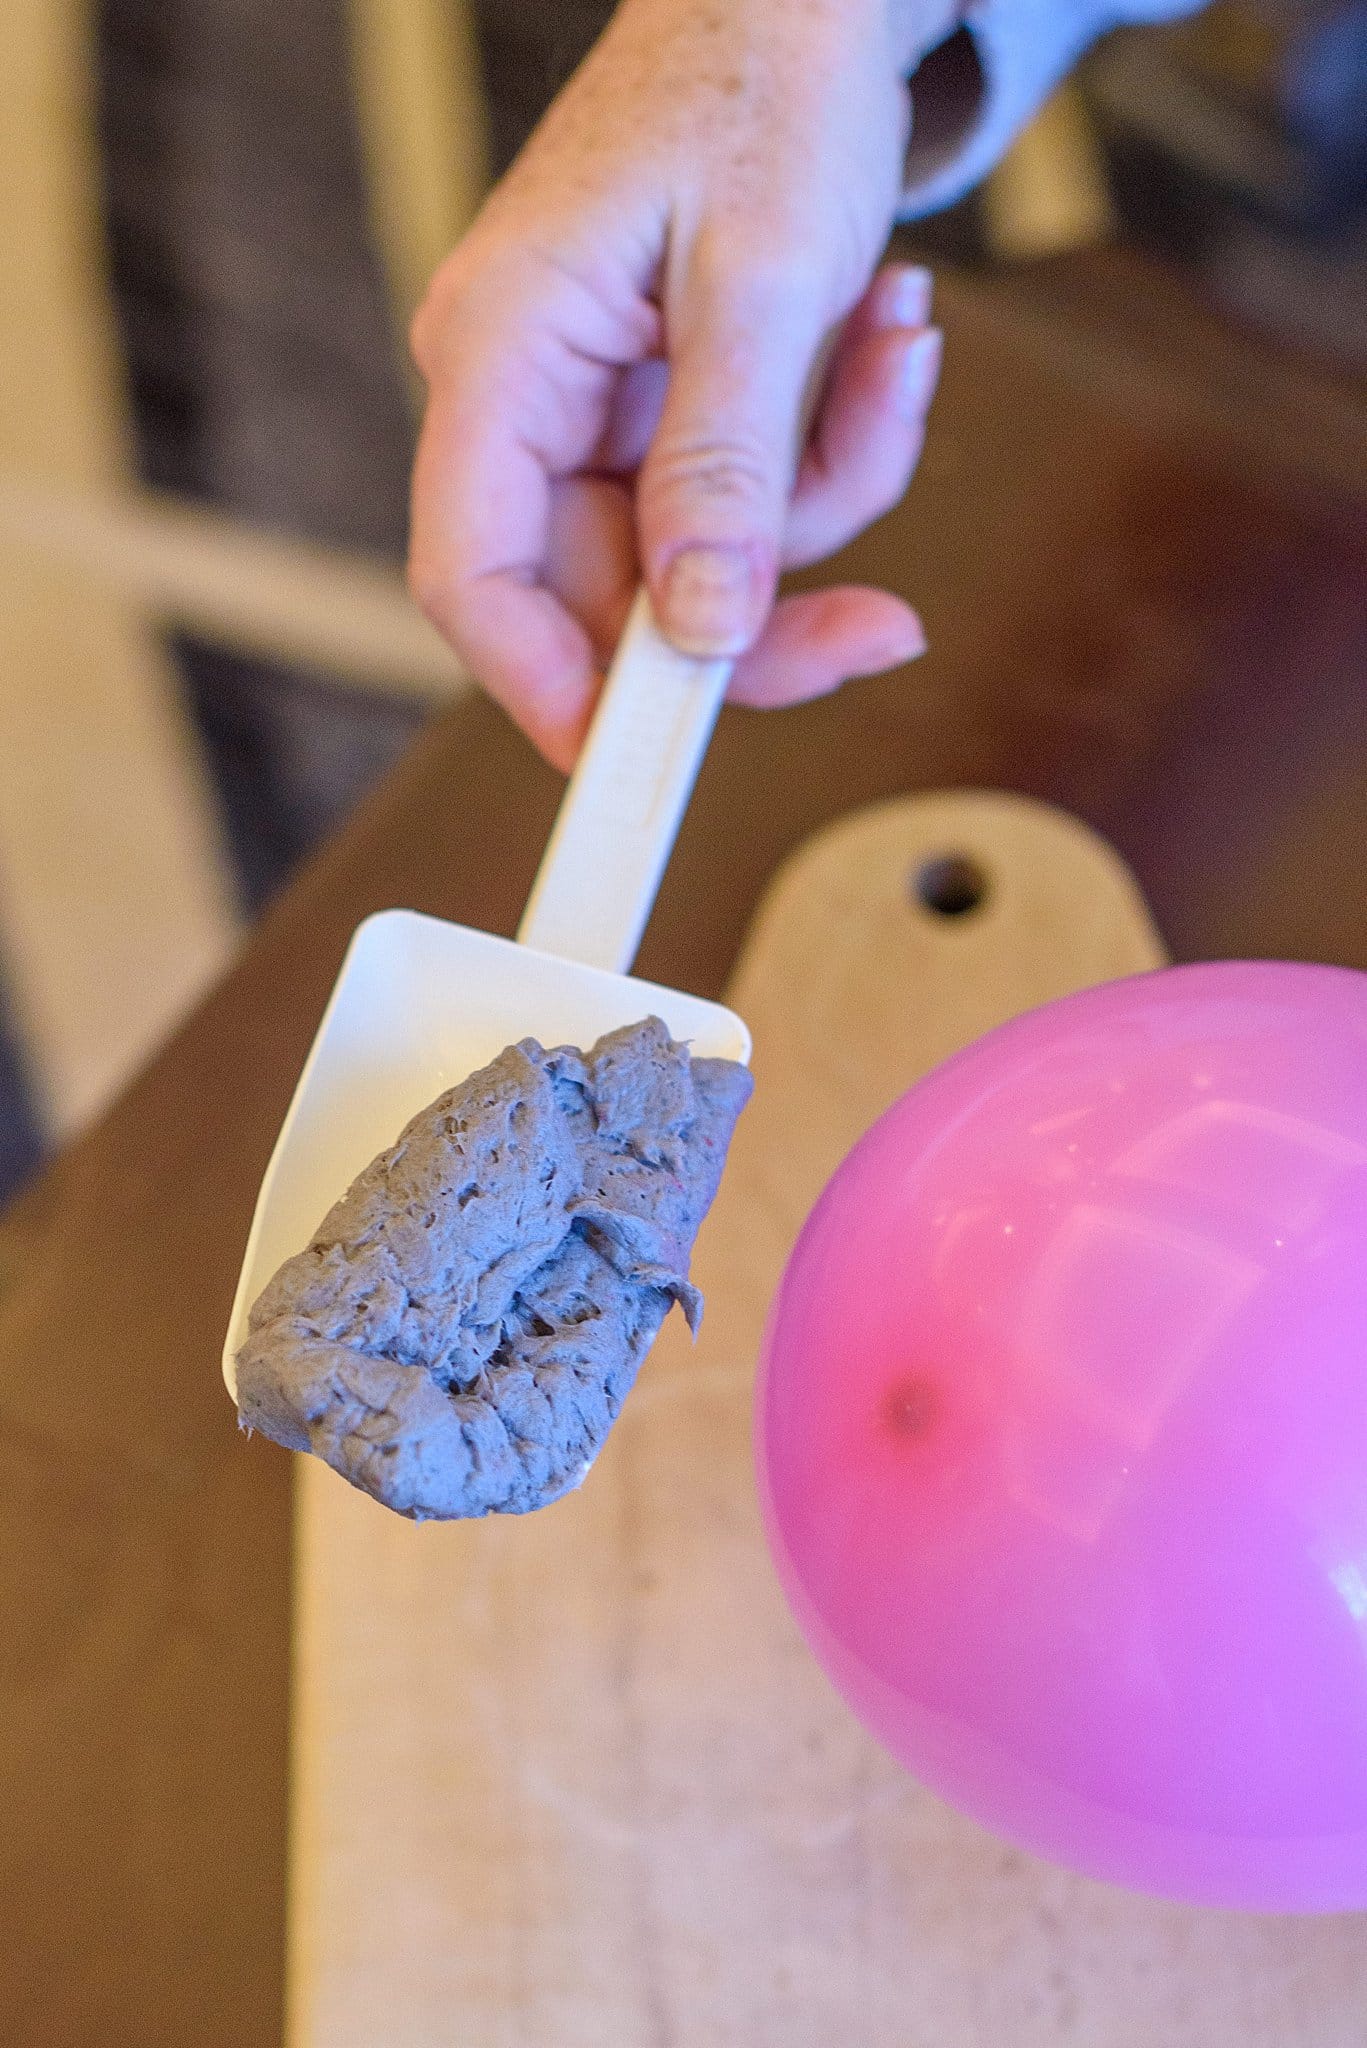
- Push the paper mache down on the sides slightly so that the top of your bowl has a nice finished edge.
- Let your paper mache art dry. You can do this by using a pants hanger to clip the tie and hang in a location where the balloon won’t touch anything.
- Be aware of drips, so place newspaper under (but not touching) the balloon. These were hung in the shower so that the drips didn’t matter.
- Once dry, either pop the balloon or slowly push the balloon in so that the bowl releases.
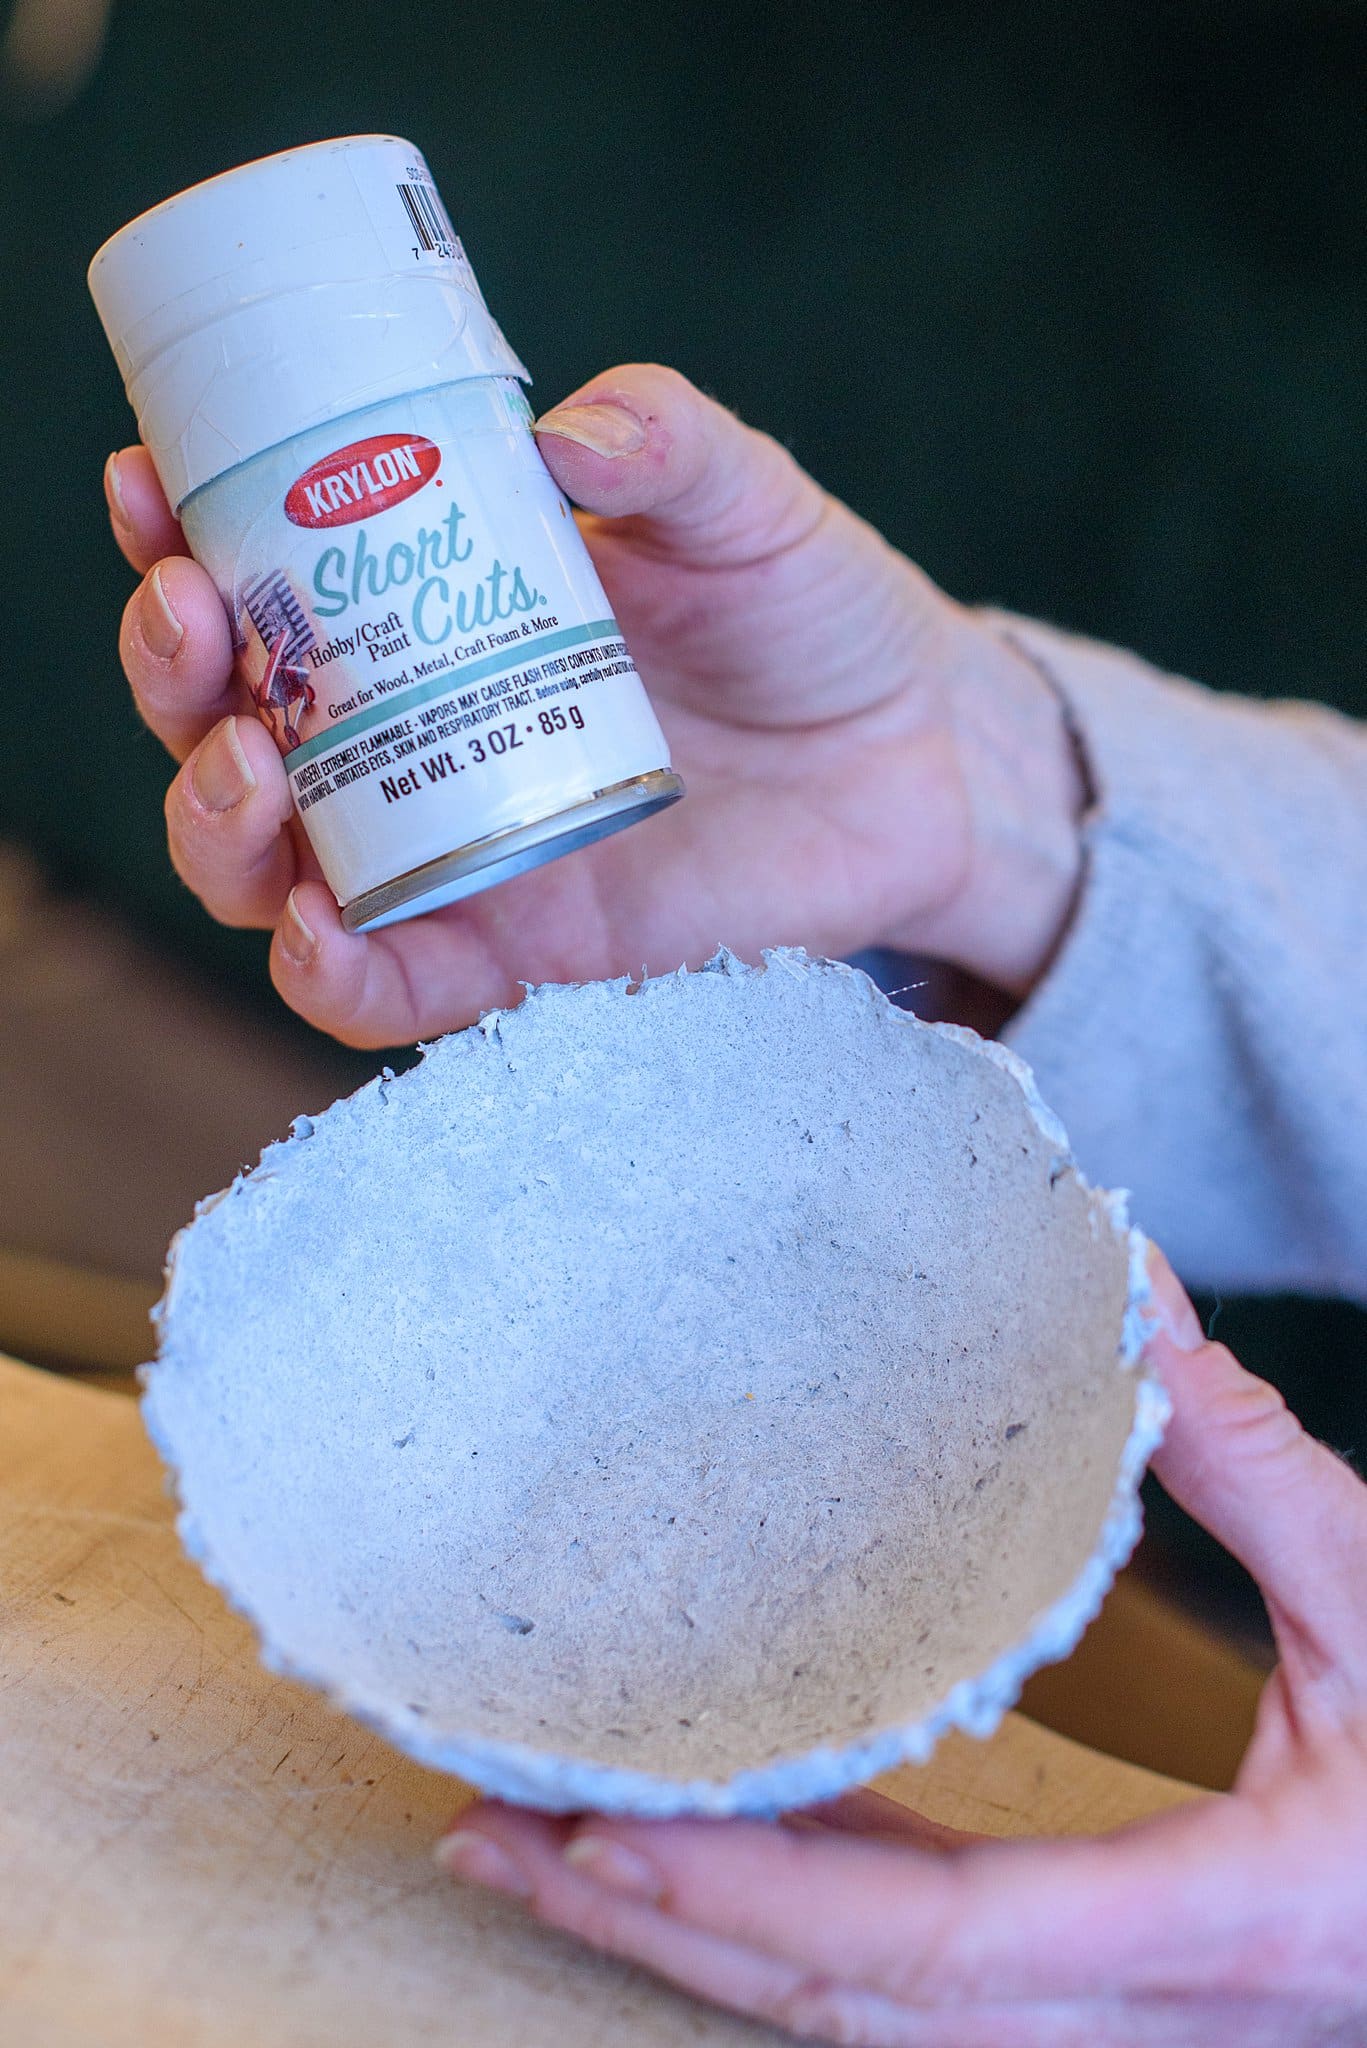
- After separating the bowl, spray paint both the inside and outside white. This step can be skipped if need be.
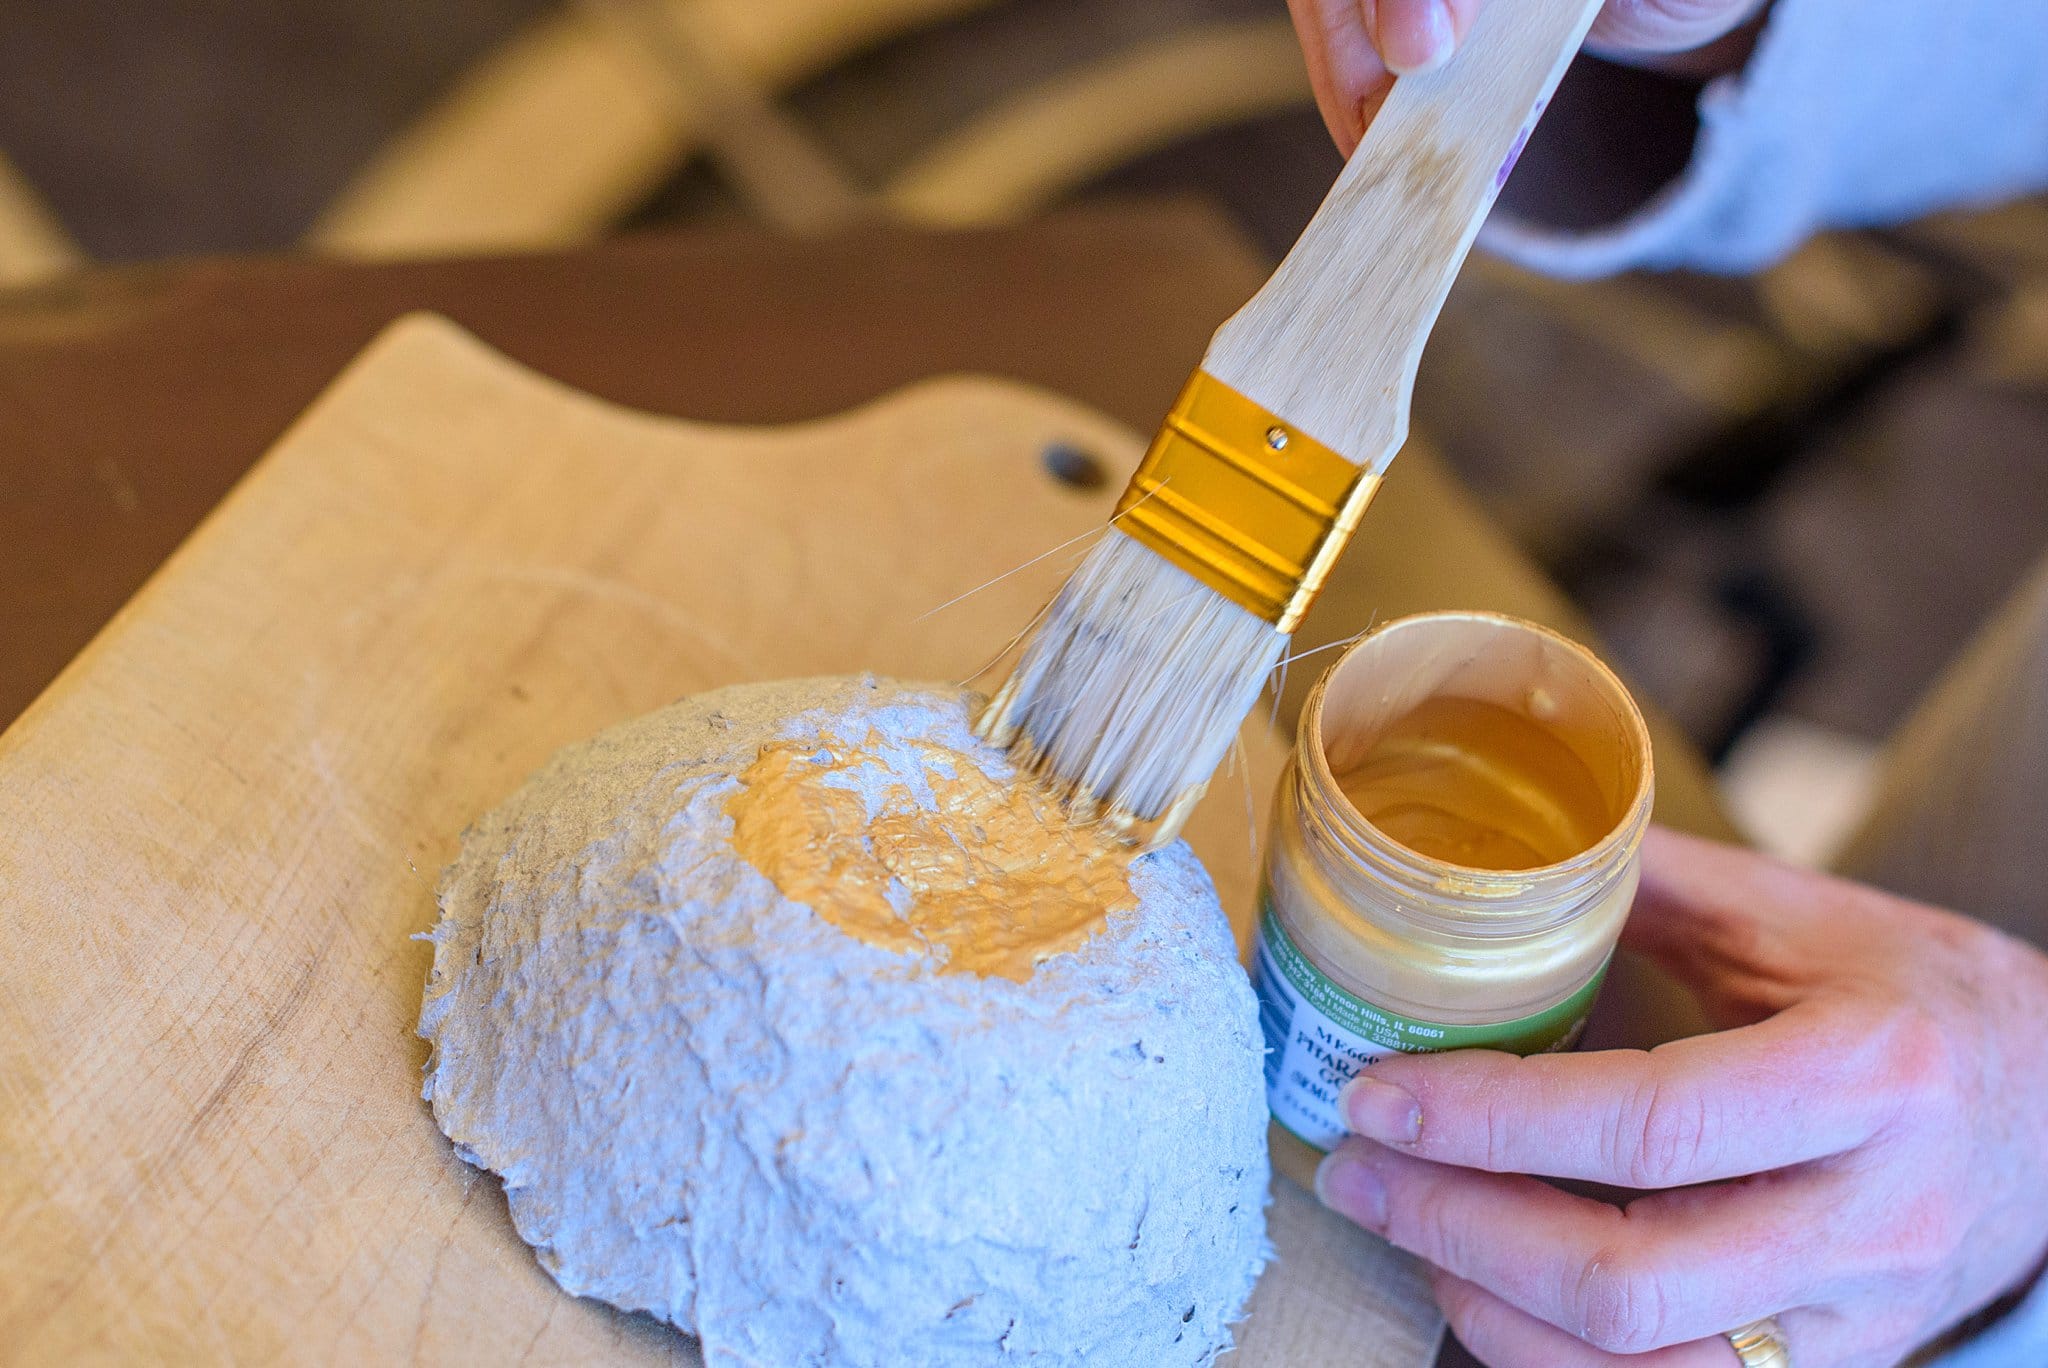
- Once the spray paint is dry, brush the gold paint on both the inside the bowl.
- Let dry and repeat for the outside of the bowl. Repeat this step until you are happy with the coverage.
- Allow to dry.
- Once the paper mache art bowl is dry, it’s ready to use! Add your candle and use it on your table as decor.
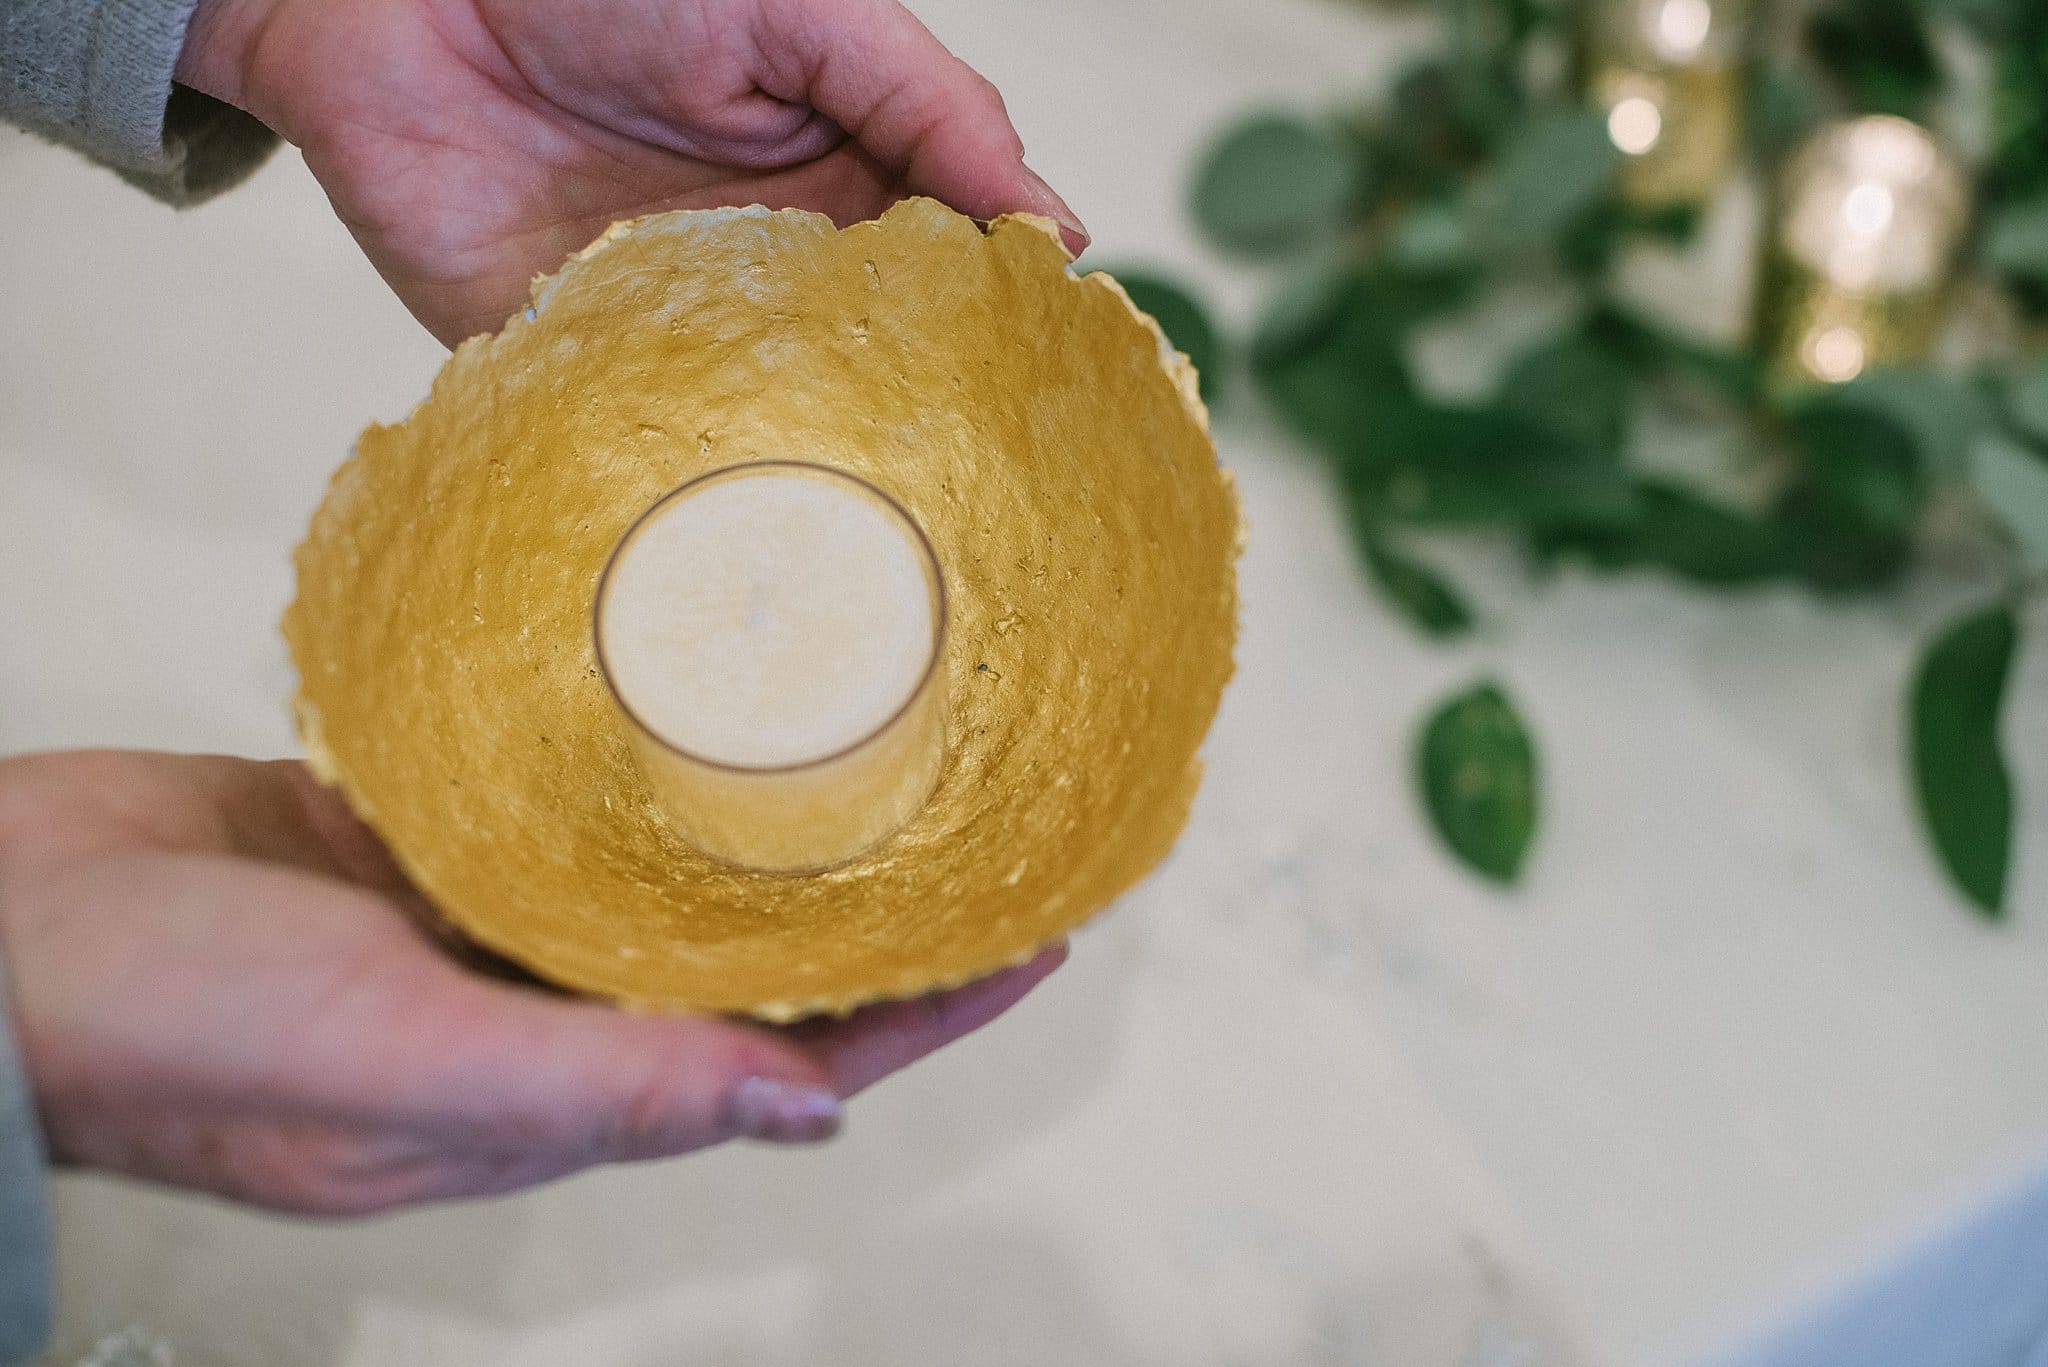
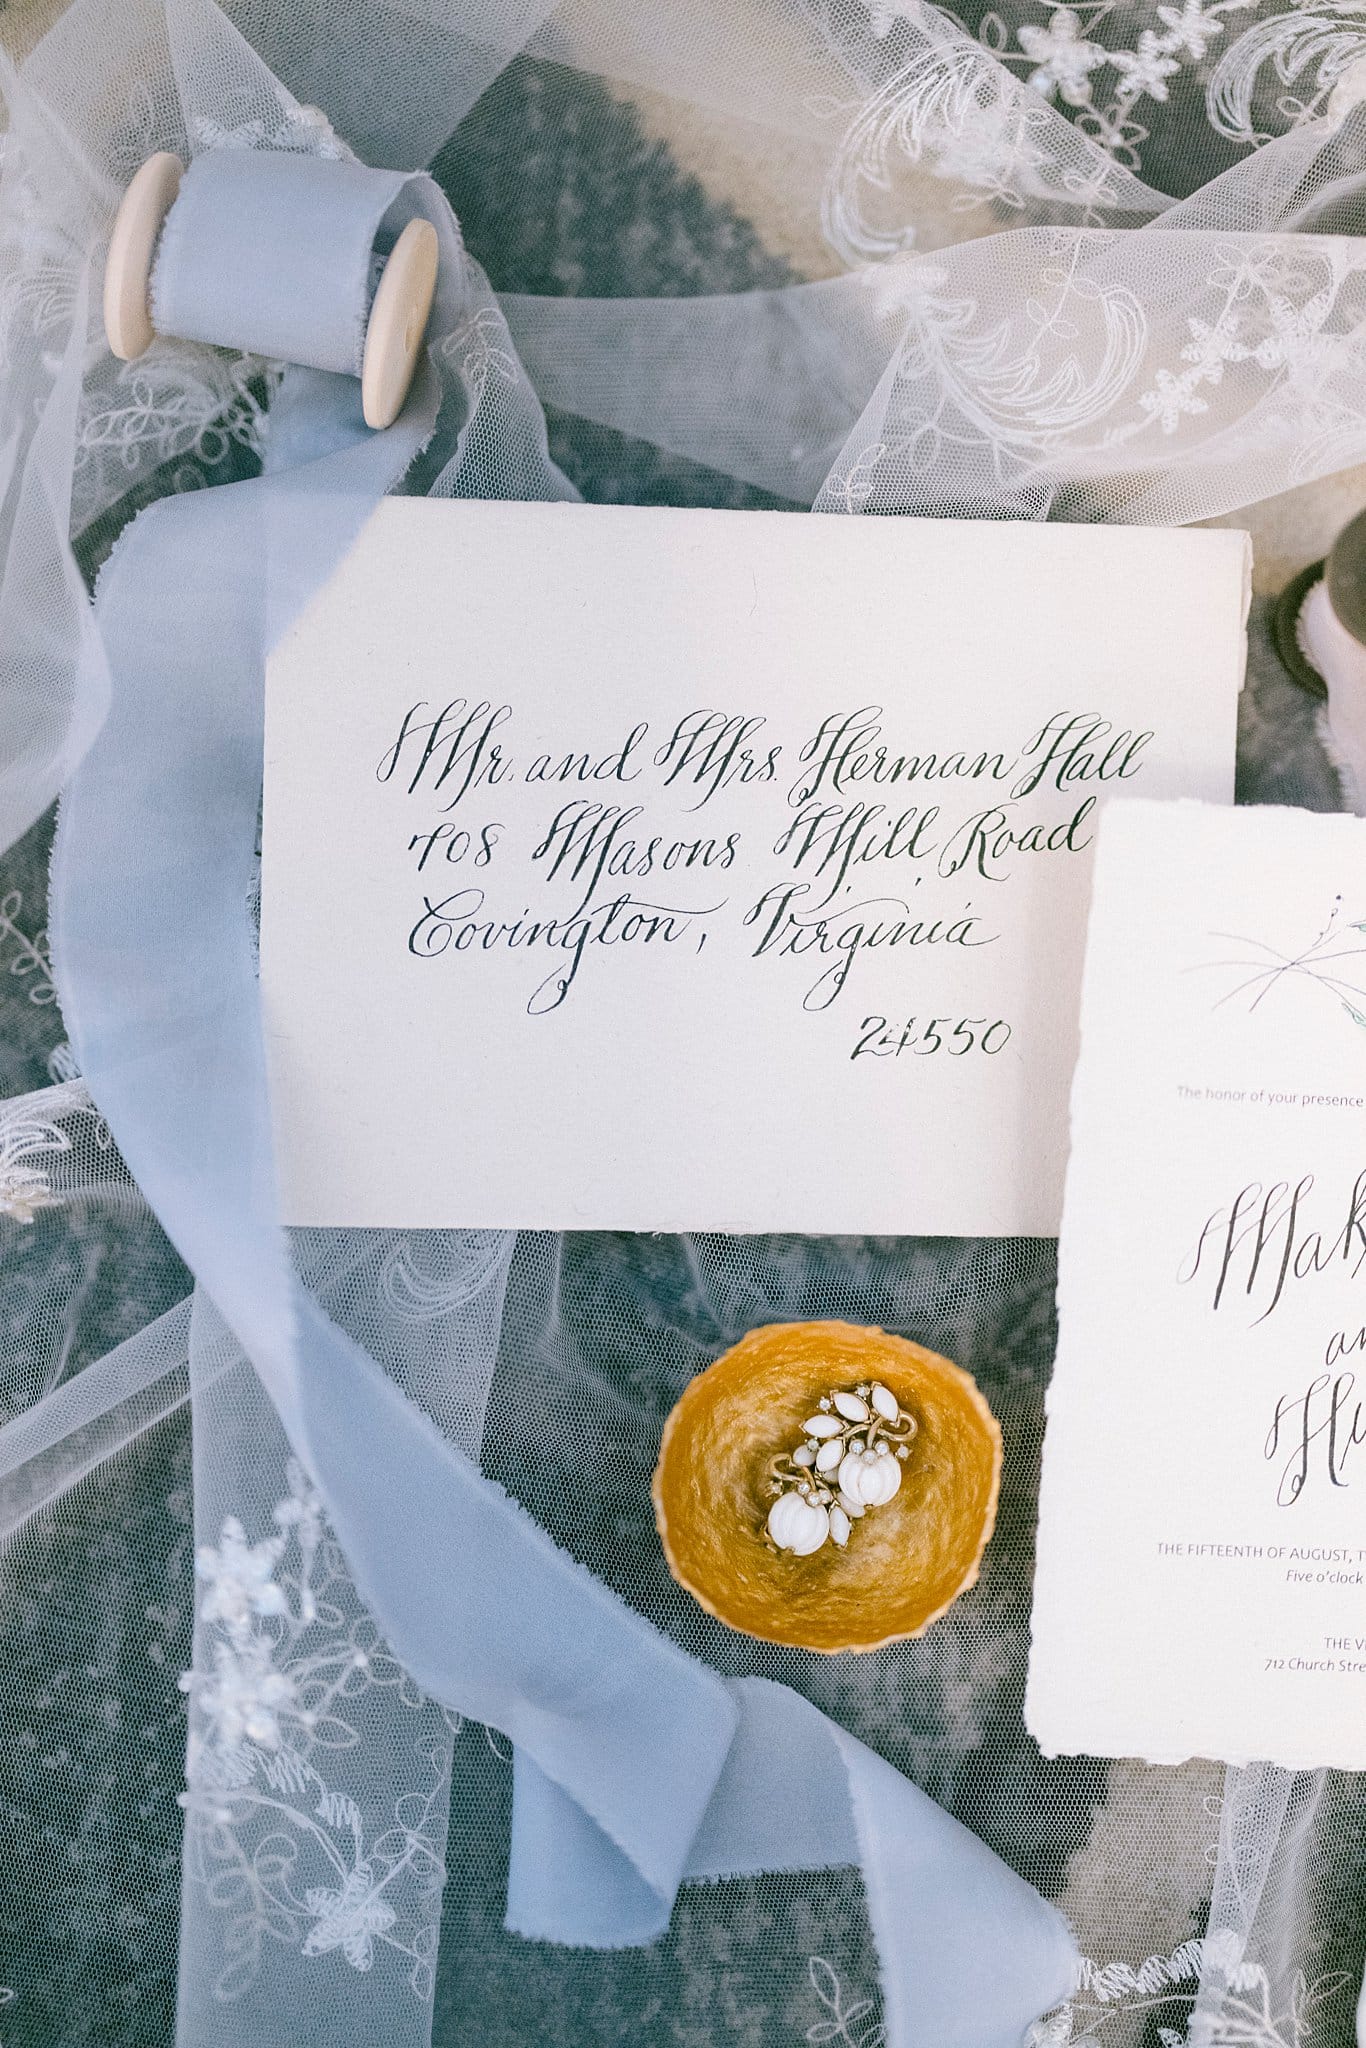
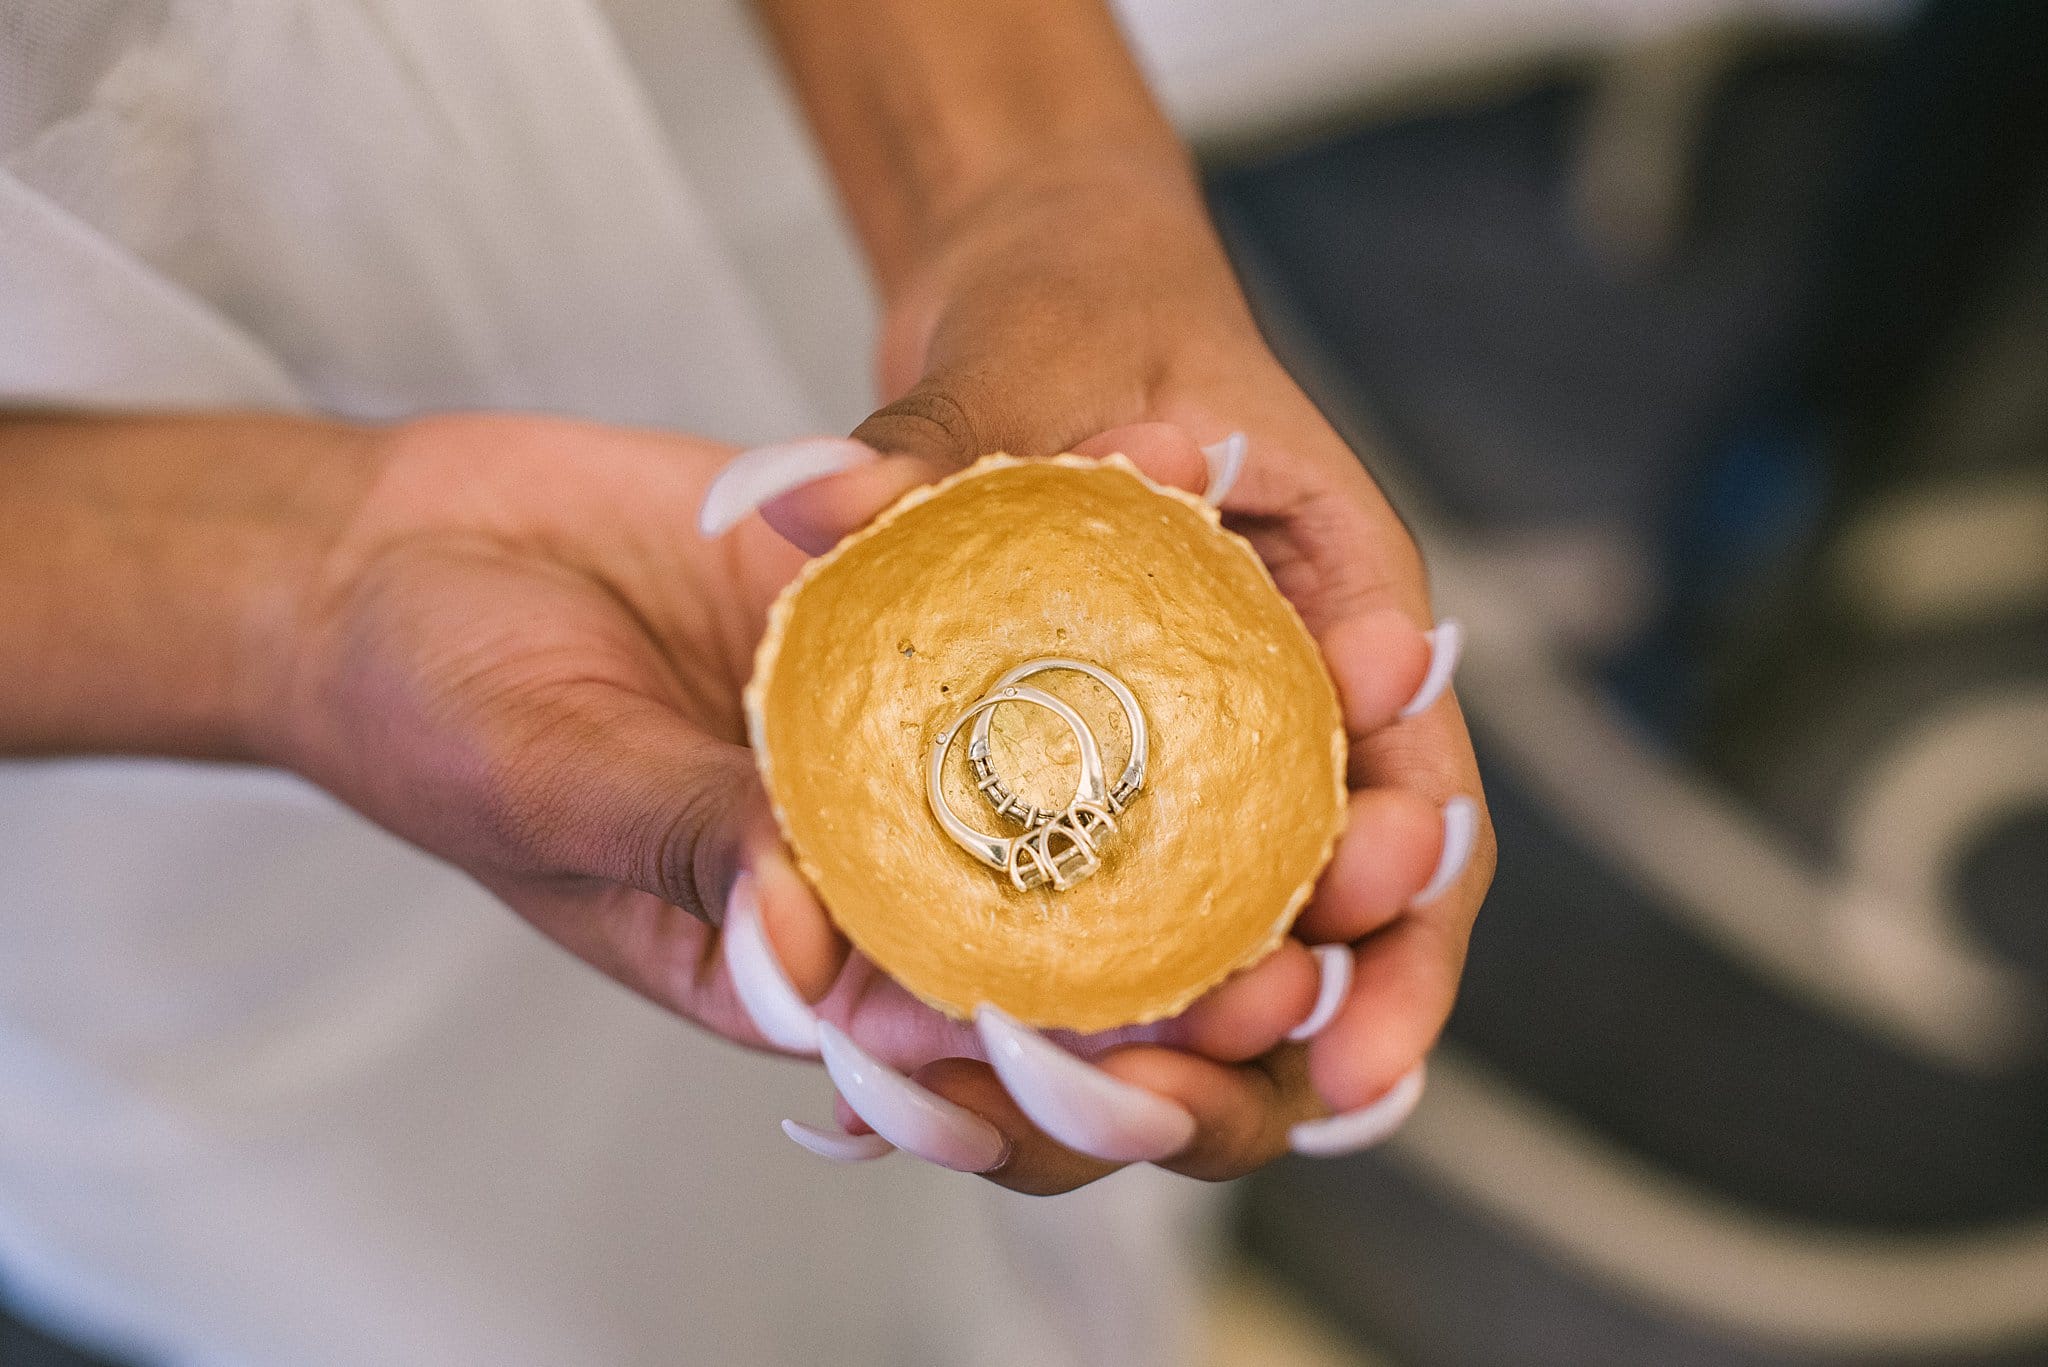
Final Paper Mache Art Results
Love this wedding DIY project? Save it!
Photos by Amative Creative
