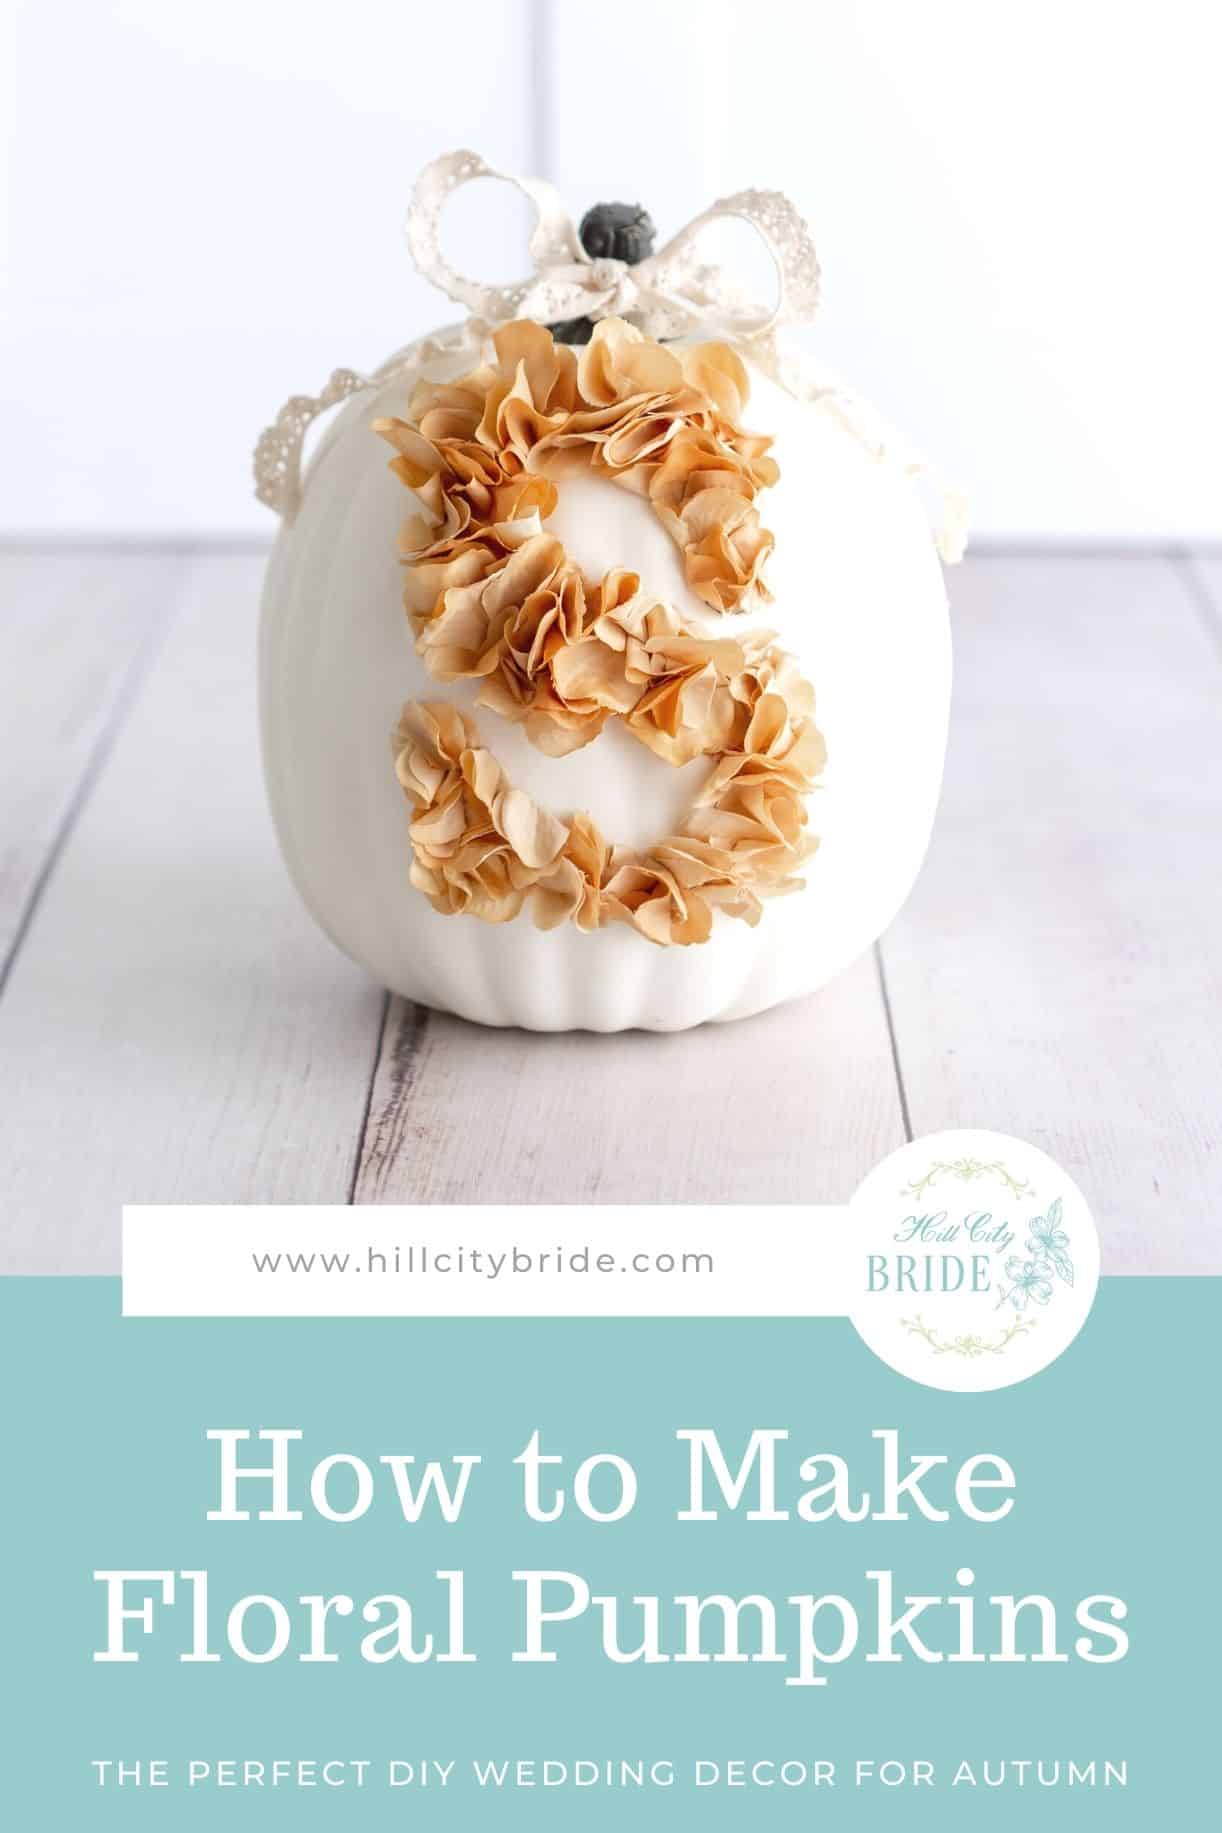
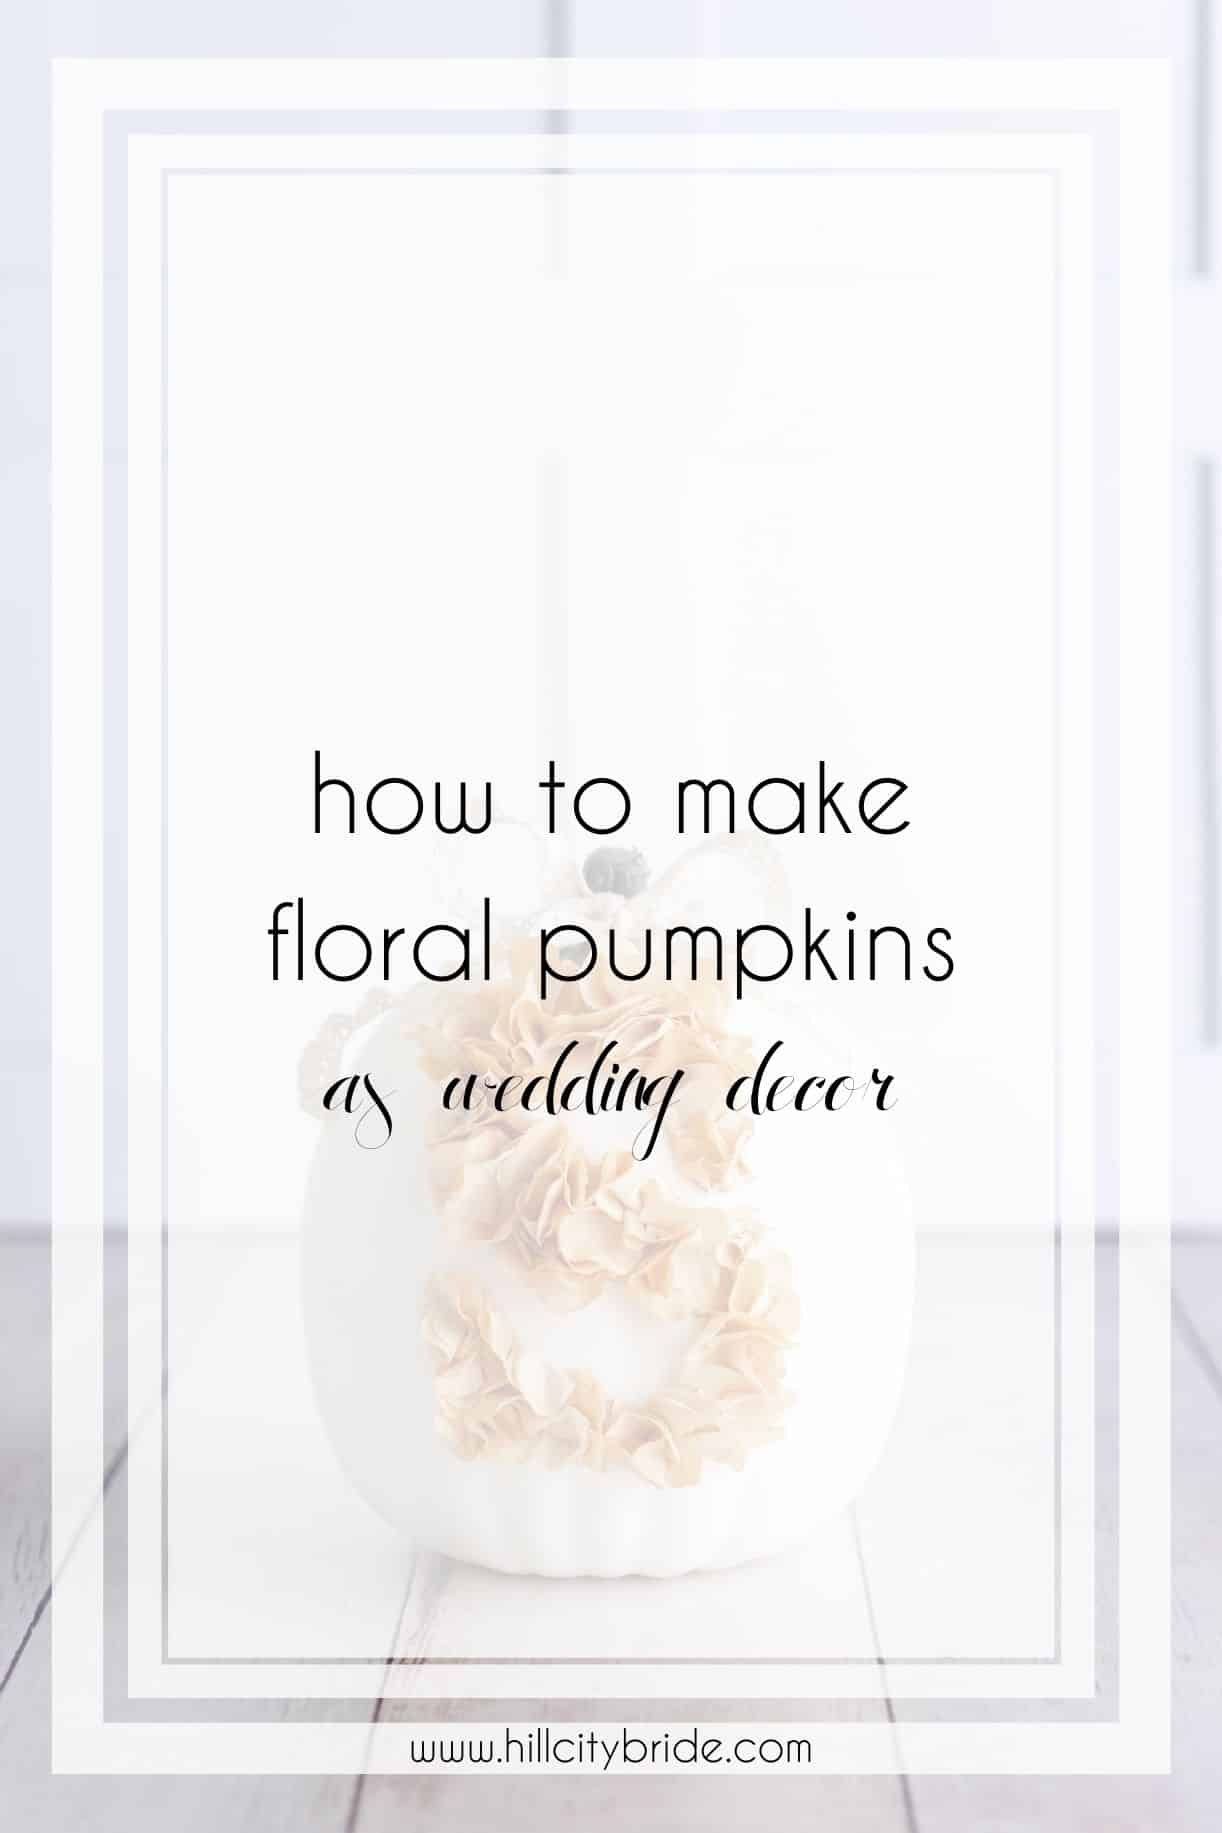
We love it when a DIY project can double as home decor, and this faux floral pumpkin is perfect! Not only can they serve as cute centerpieces and decorations, but you can use them for years to come. Our simple steps will show you how to make floral pumpkins for your wedding day.
This post contains affiliate links, and we may make a commission from purchases.
Uses for a Monogrammed Pumpkin
This floral art pumpkin is simple enough to make that you can create several for your big day. If you’re wondering how to use them during (and after) your wedding day, here are a few ideas.
- Make several numbered or lettered pumpkins. Use them as floral pumpkin centerpieces that double as table numbers.
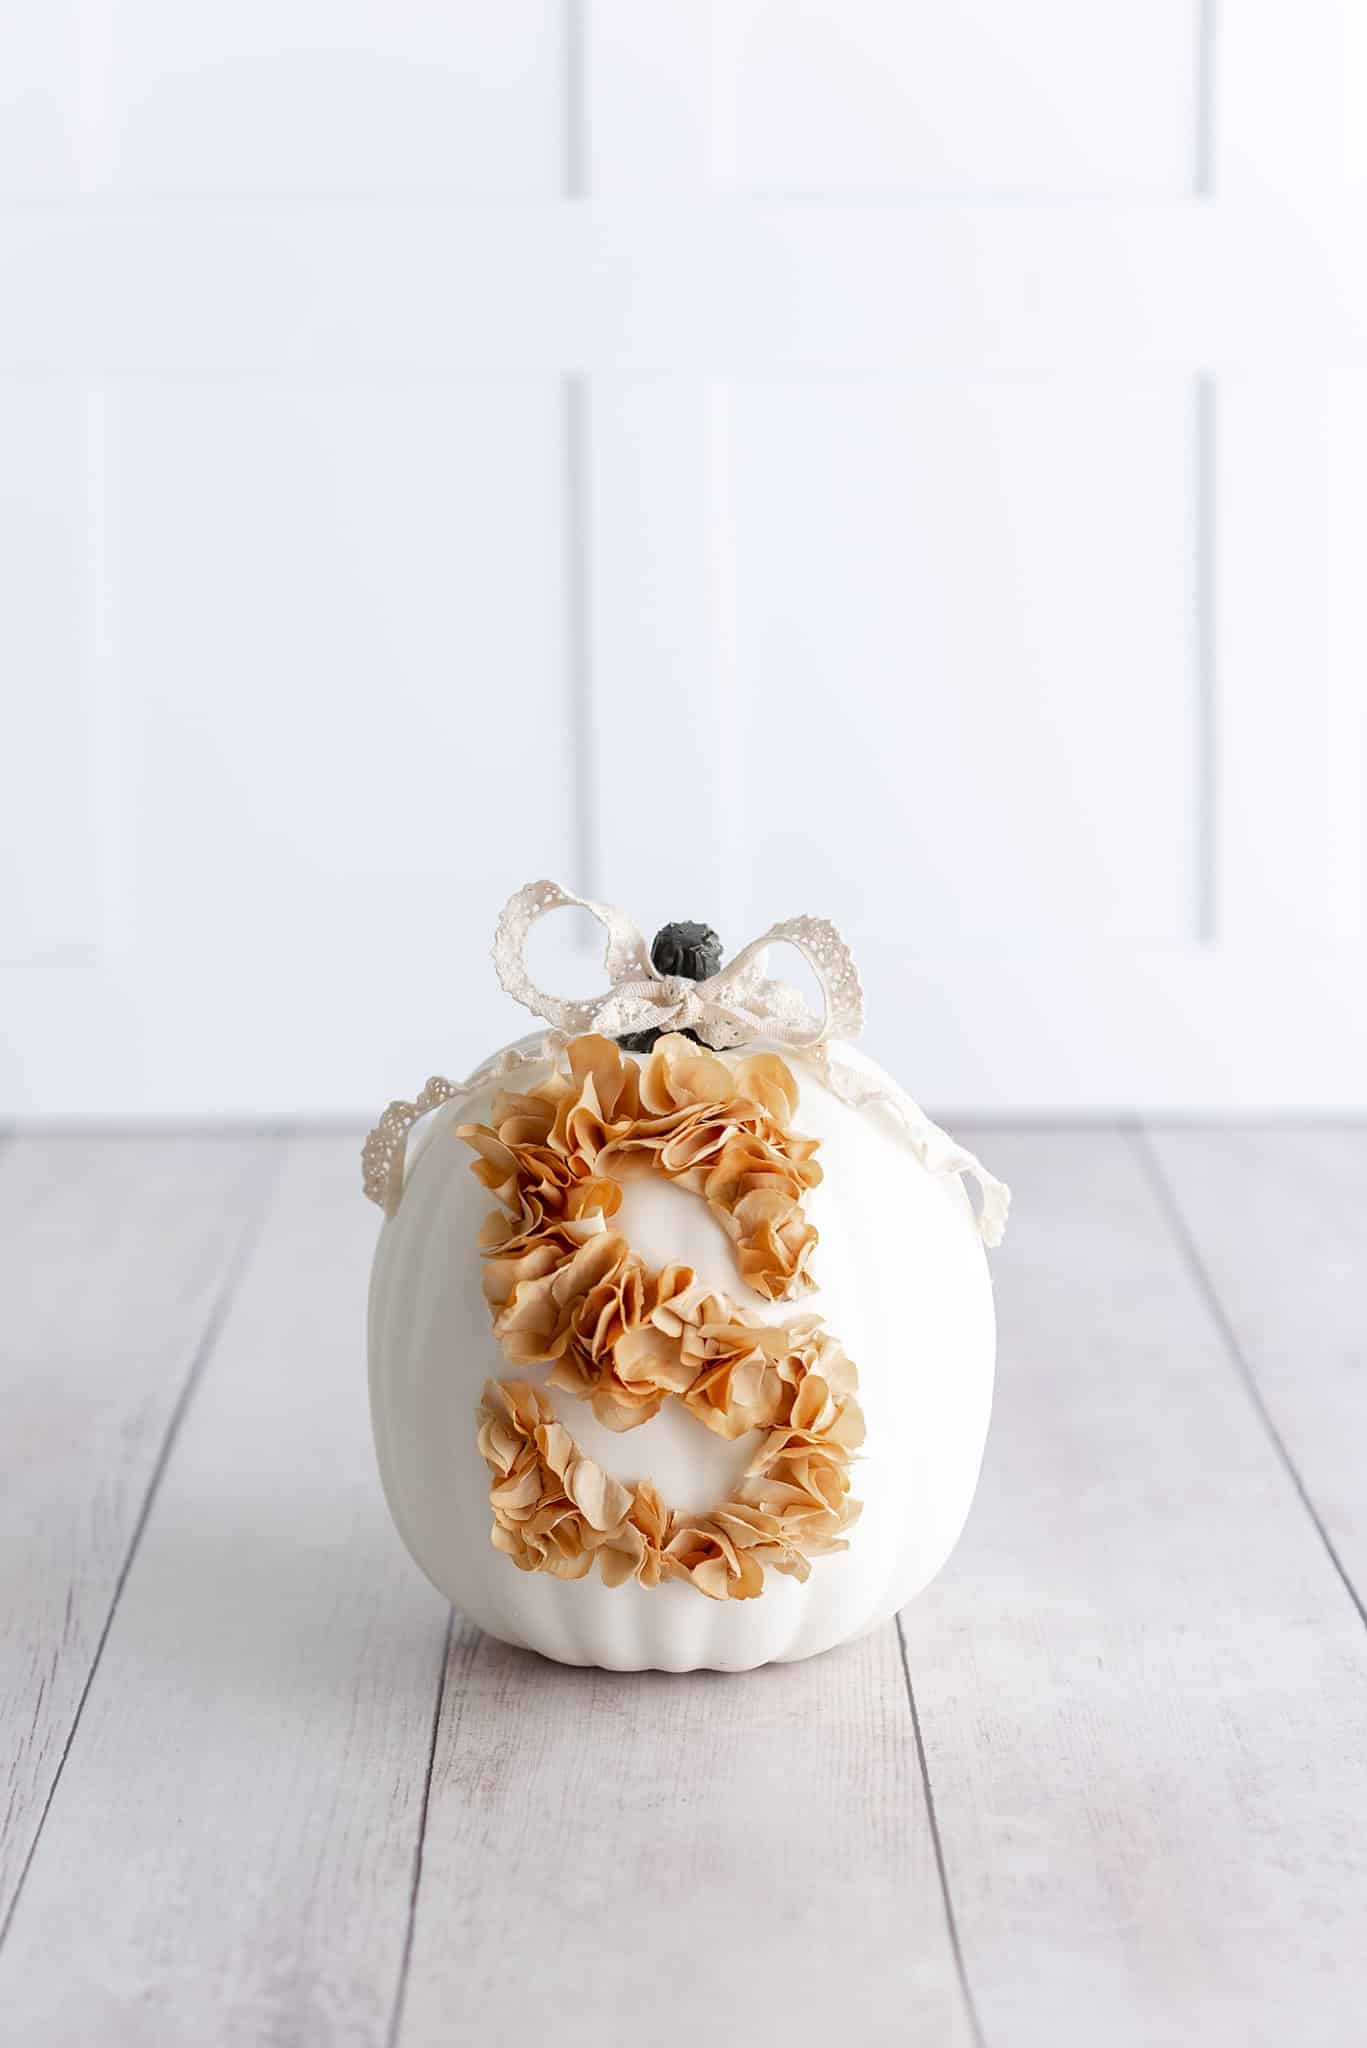
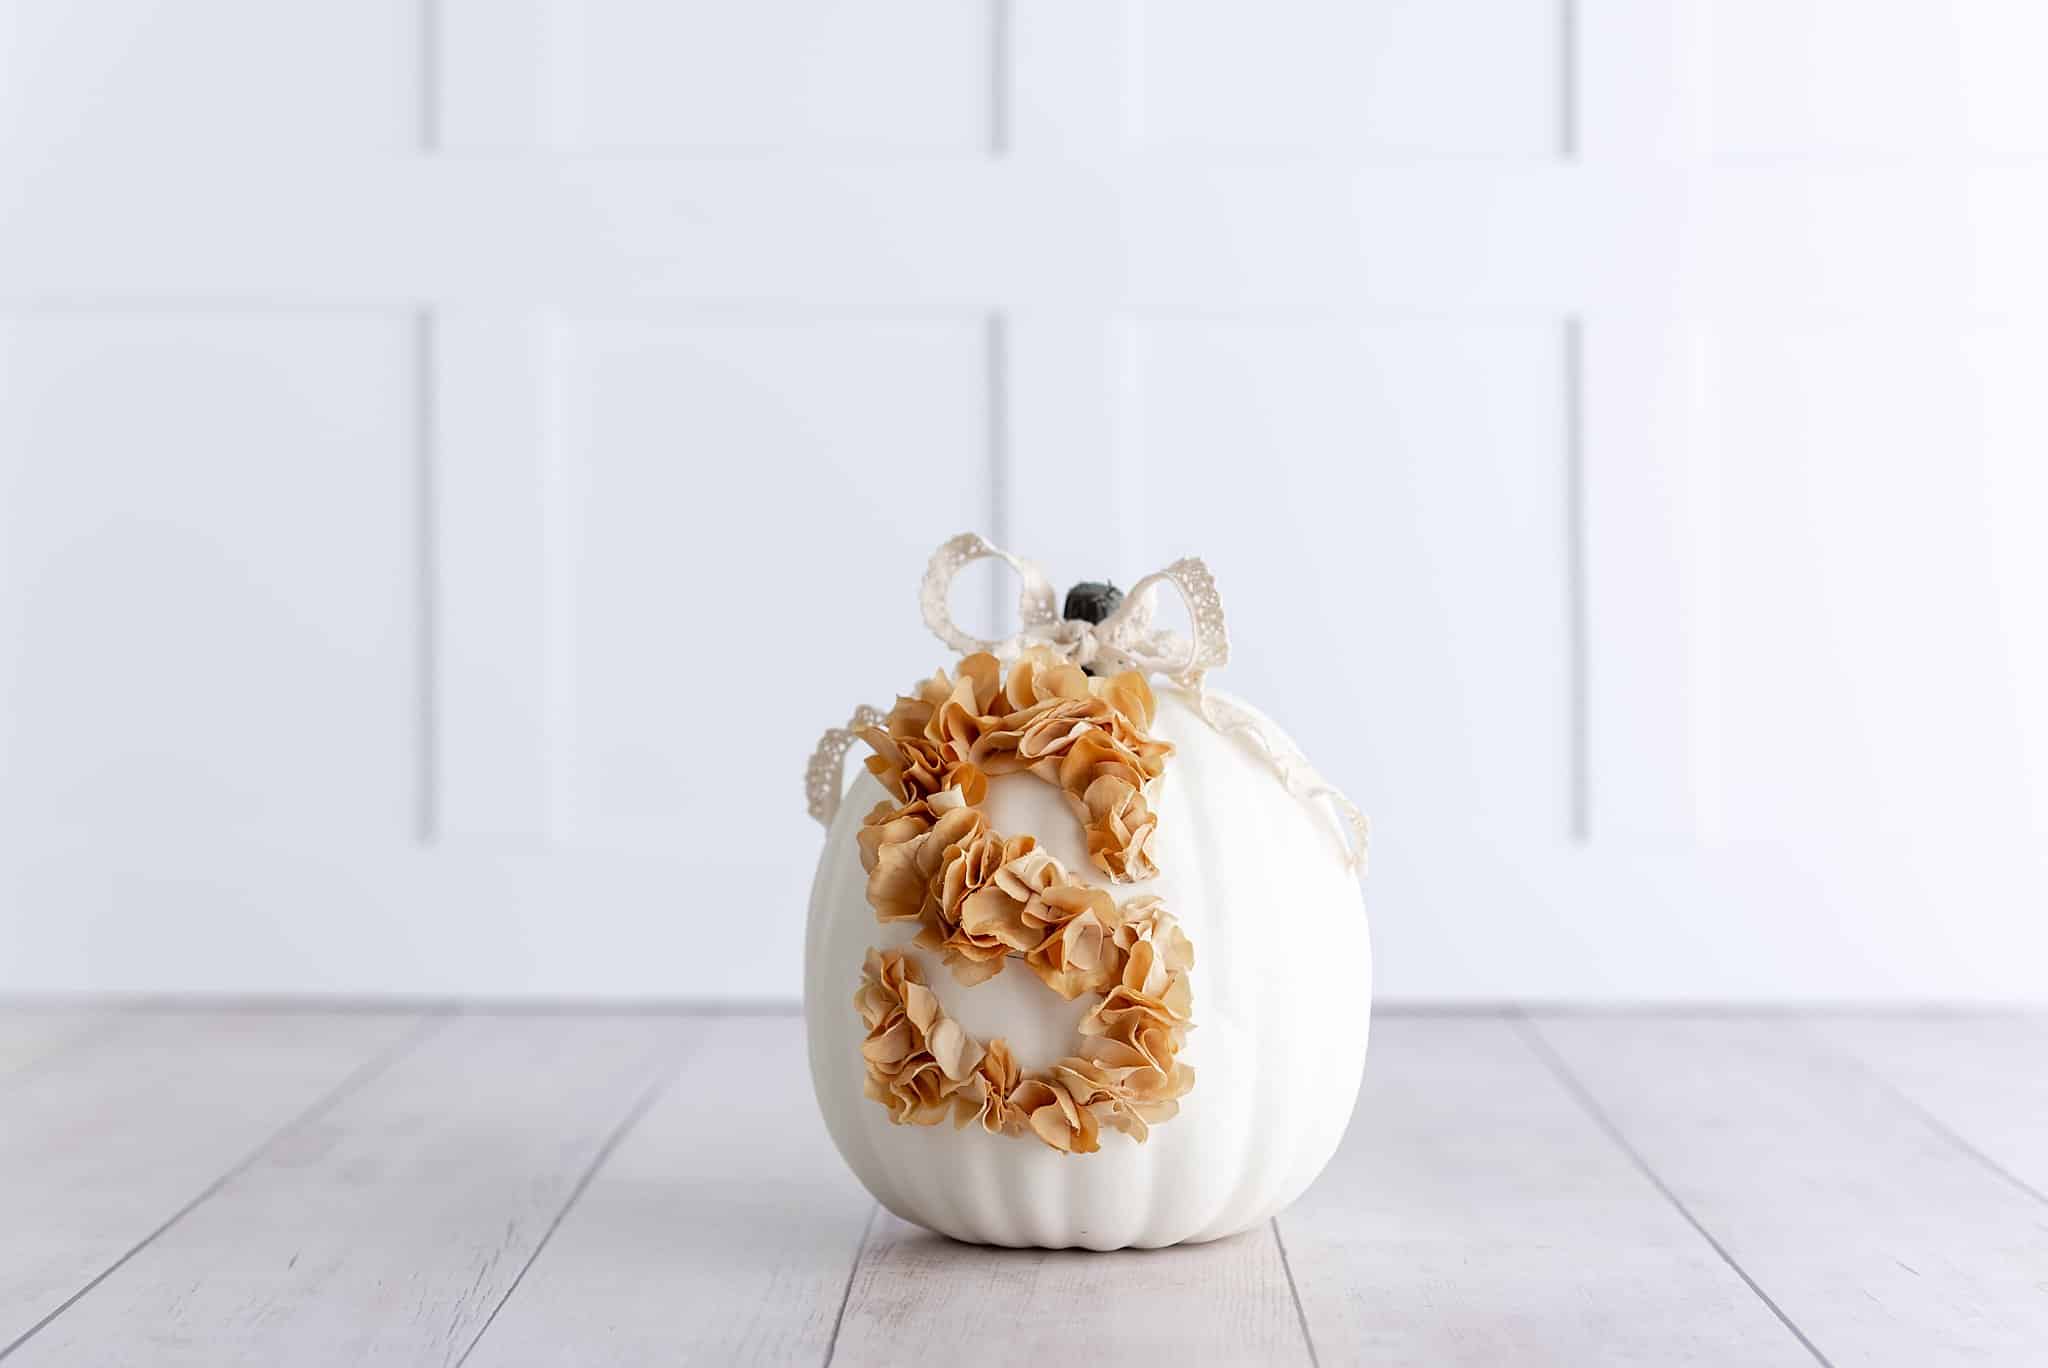
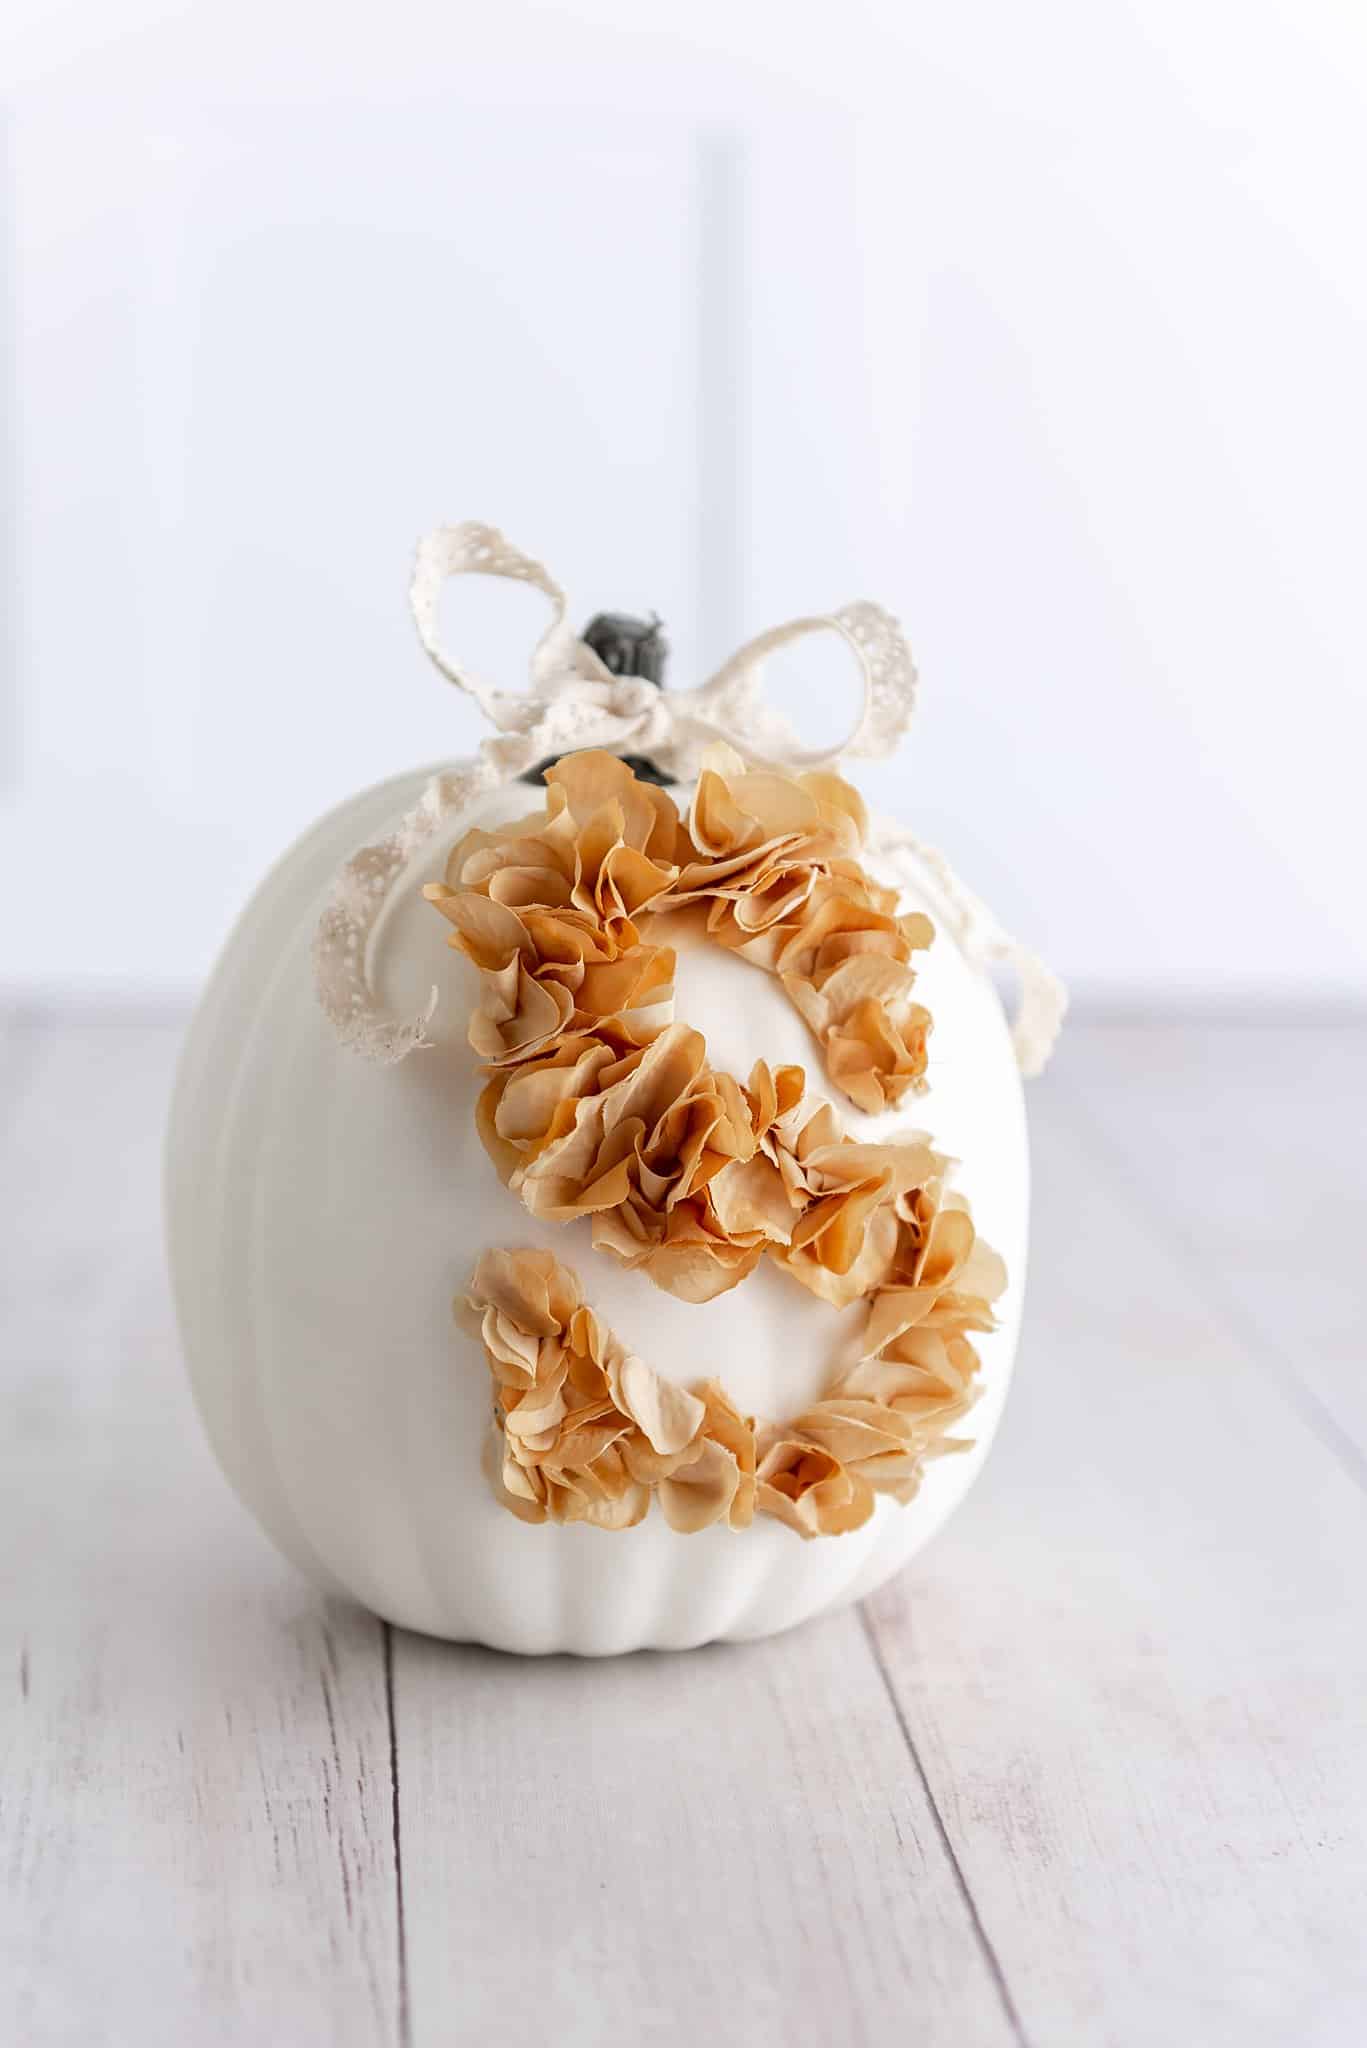
- Craft a single monogrammed pumpkin to use at your wedding or reception. What a fun way to celebrate your new last name together!
- Play around with floral pumpkin designs in different ways. Make arrows to indicate which way to go for the reception and where the restrooms are located.
- After your wedding day, incorporate the pumpkins into your home decor. Place one on the porch or on the steps of your home.
- Give your non-carved pumpkins to loved ones as a memento of your big day.
Ok, now on to learning how to make floral pumpkins like the one shown below. So cute!

How to Make a Floral Pumpkin Centerpiece
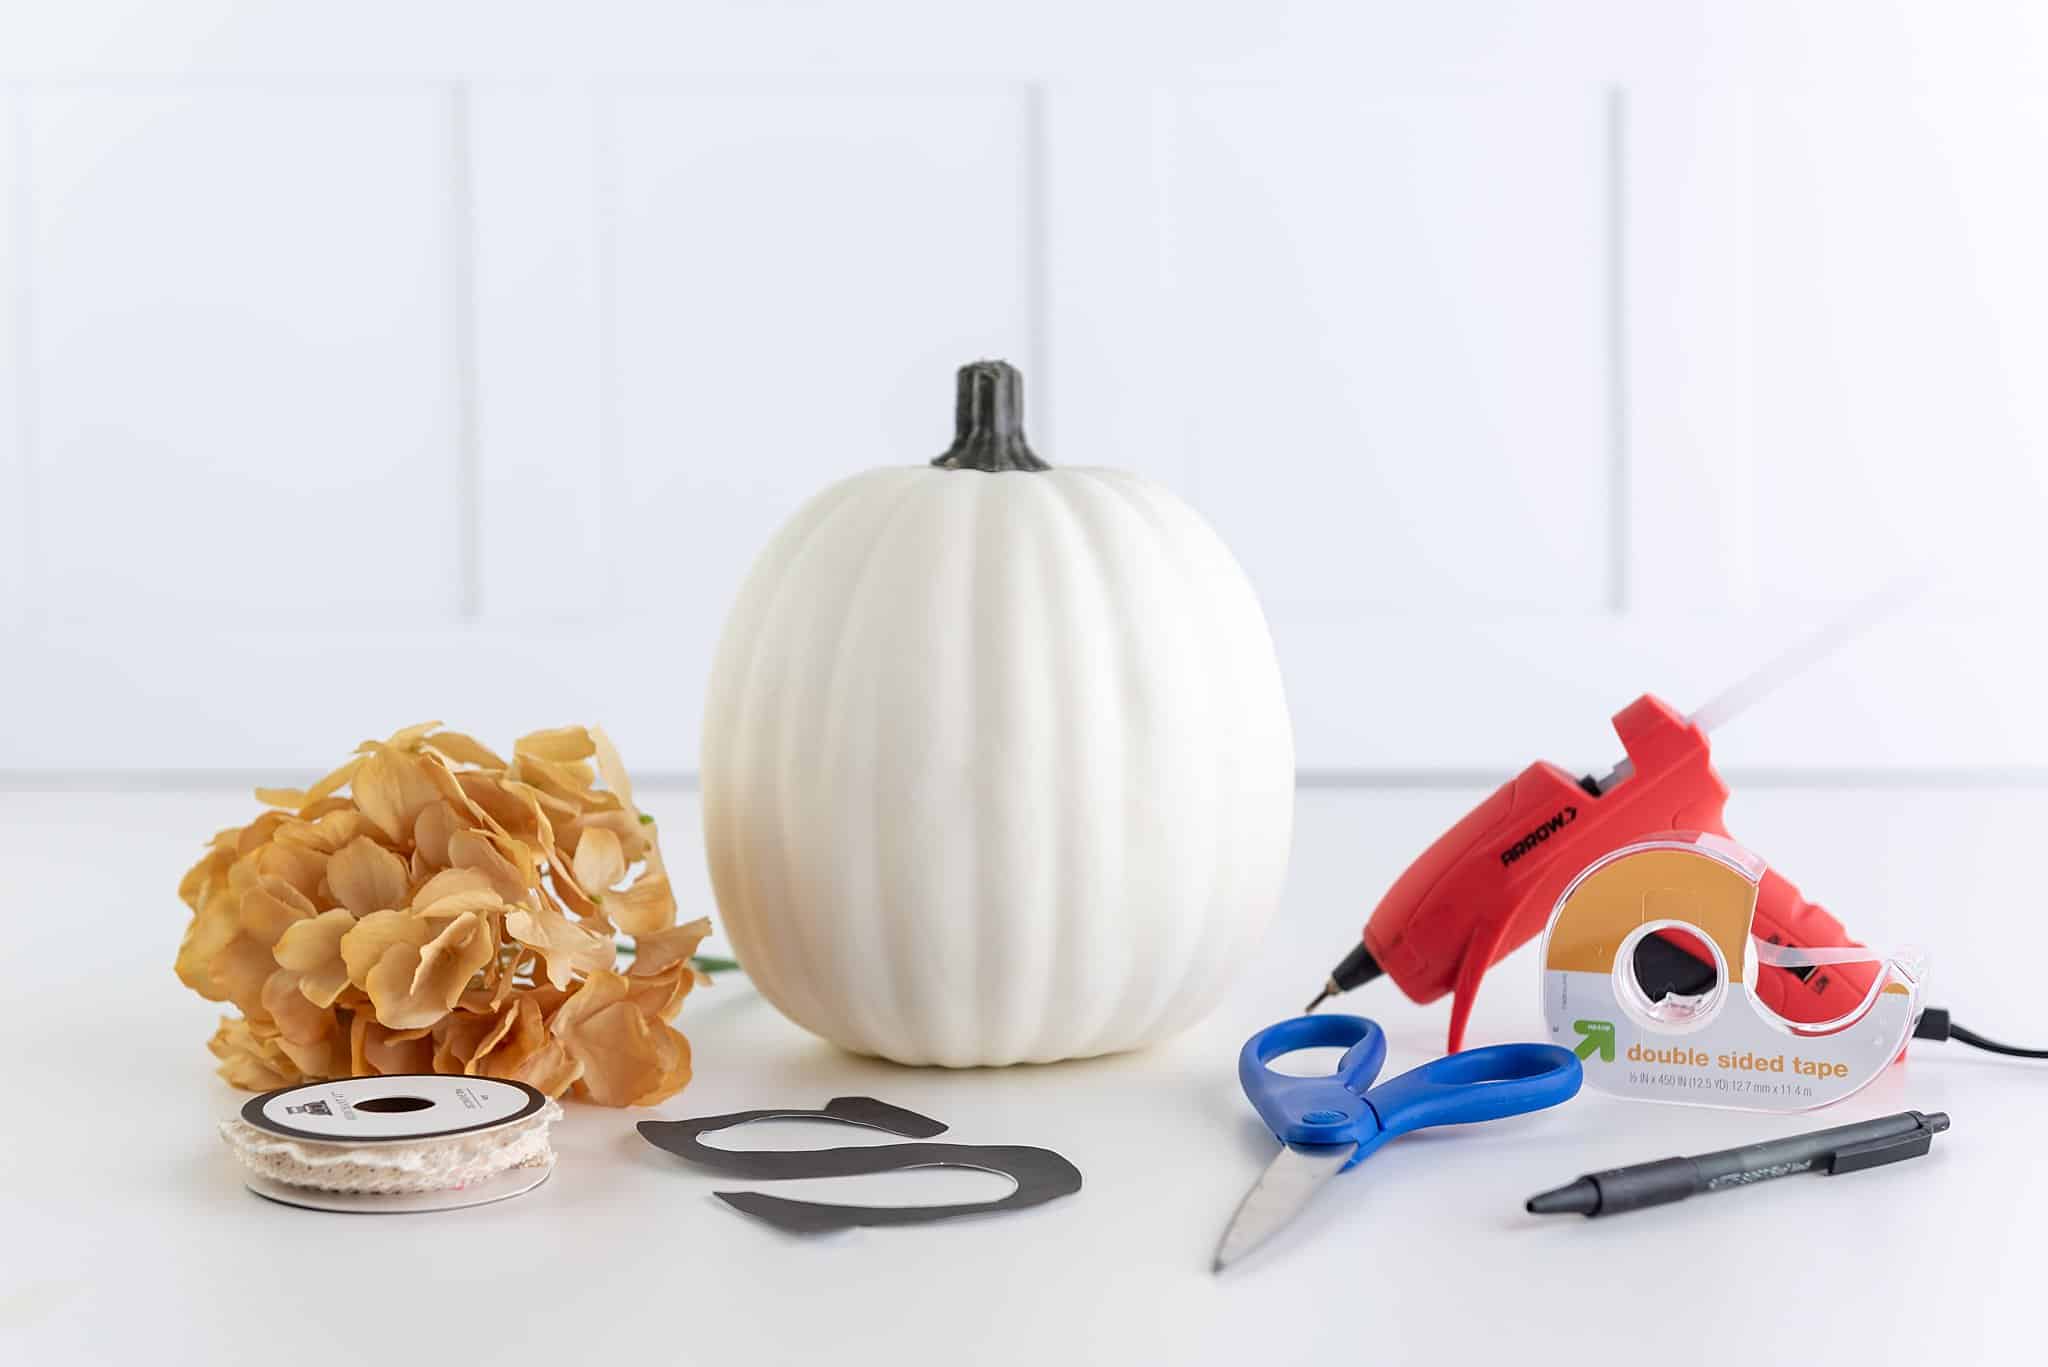
Supplies for Fake Floral Pumpkin
- Fake pumpkin (white or another color)
- Faux flower stems (smaller petaled flowers work best)
- Hot glue gun and sticks (industrial strength if you are using the faux floral pumpkin outside)
- Pen or pencil
- Scissors
- Double-sided tape (or regular will work)
- Printer and copy paper
- Ribbon or lace of choice

Steps for Your No Carve Pumpkin
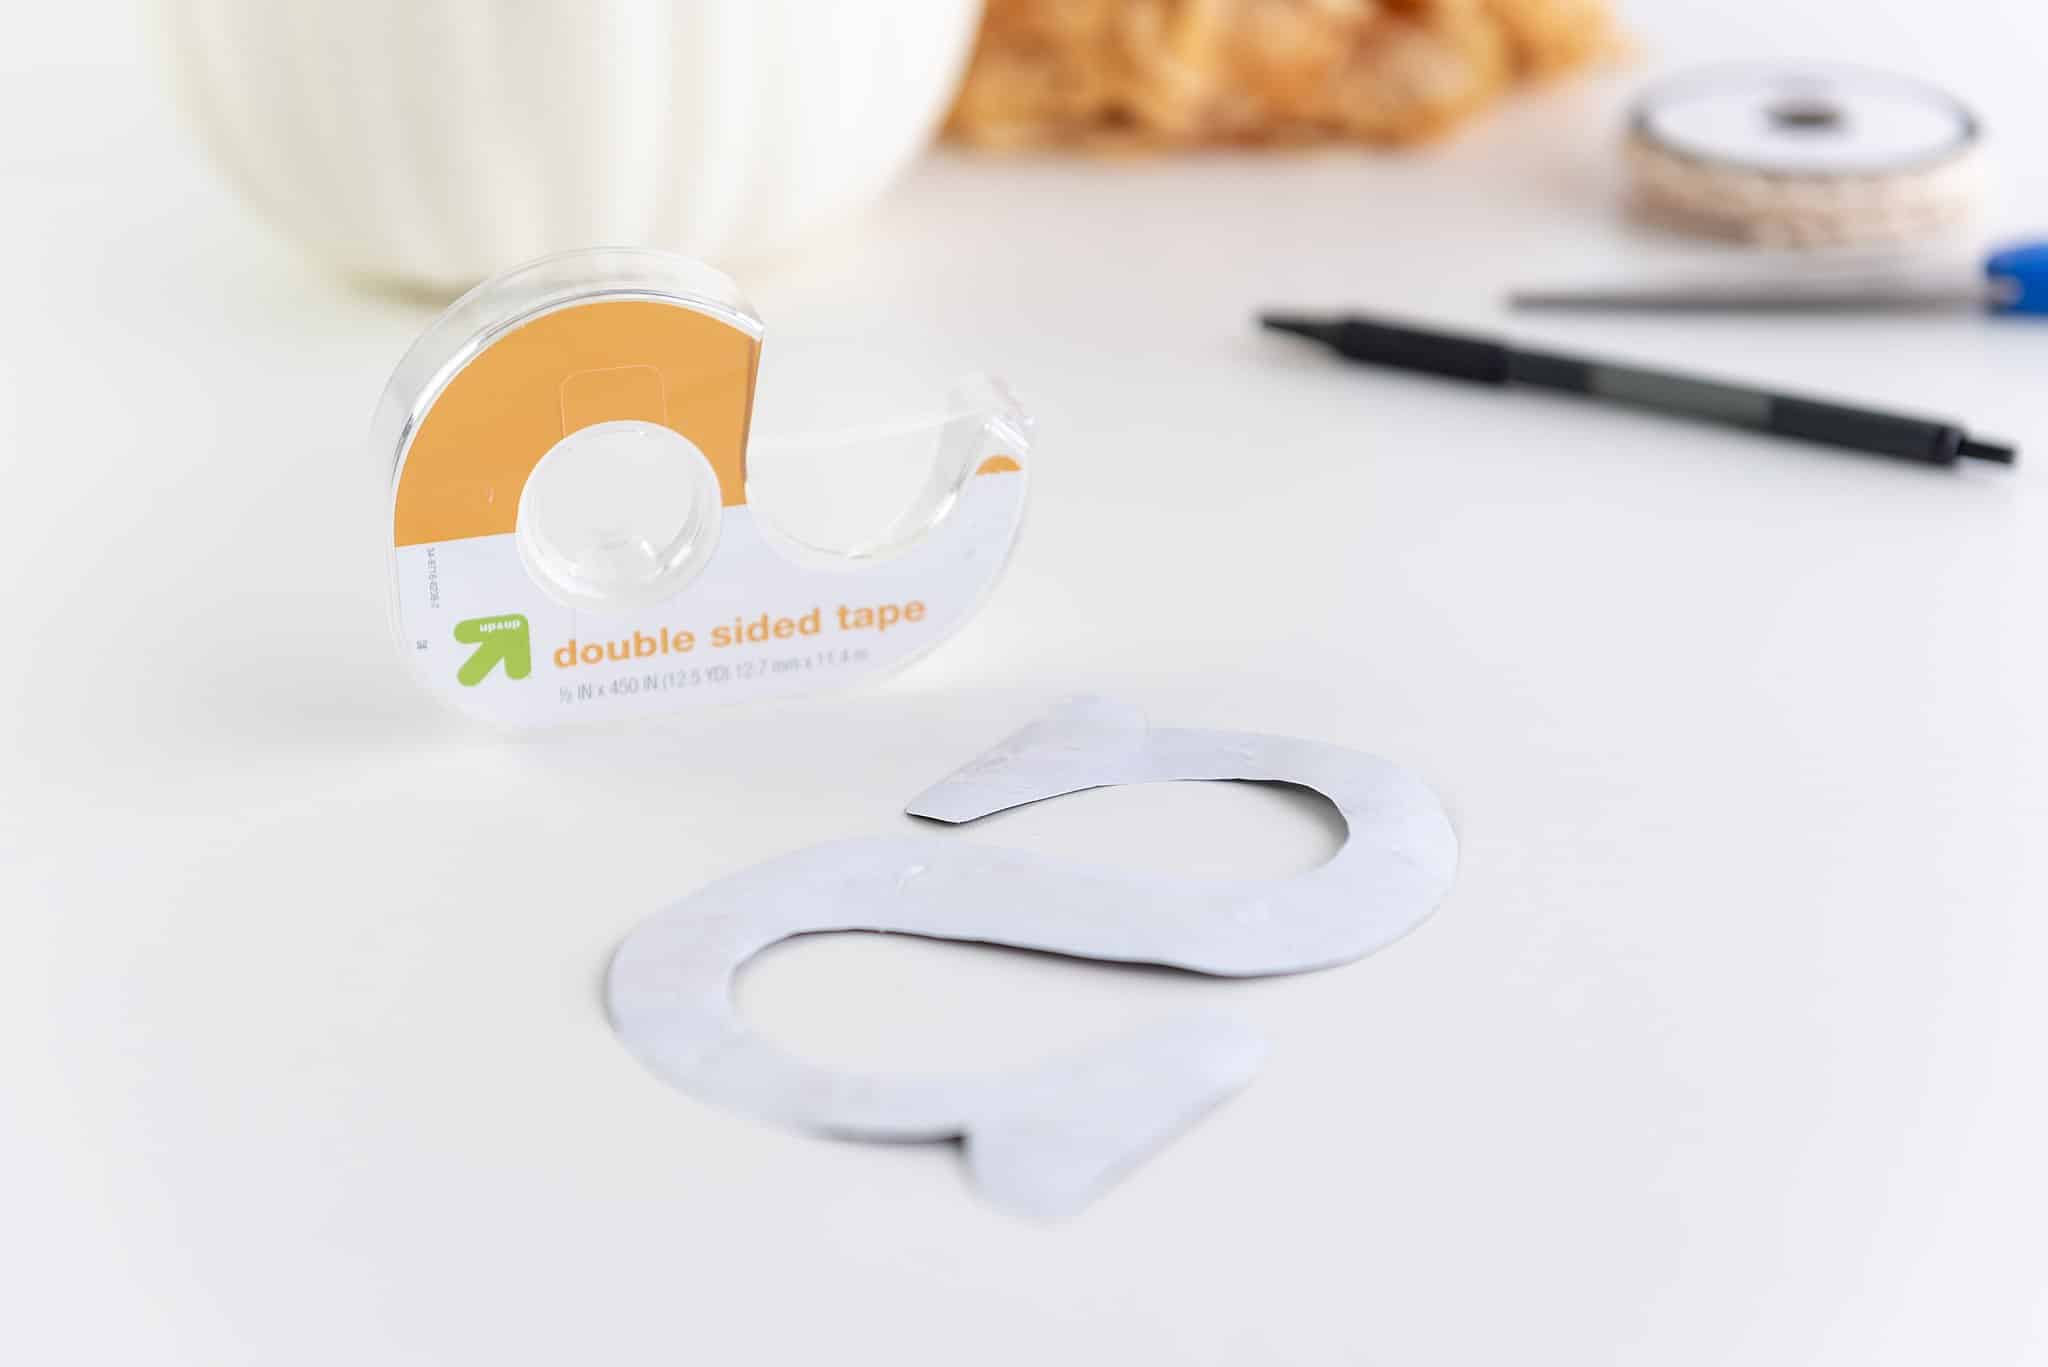
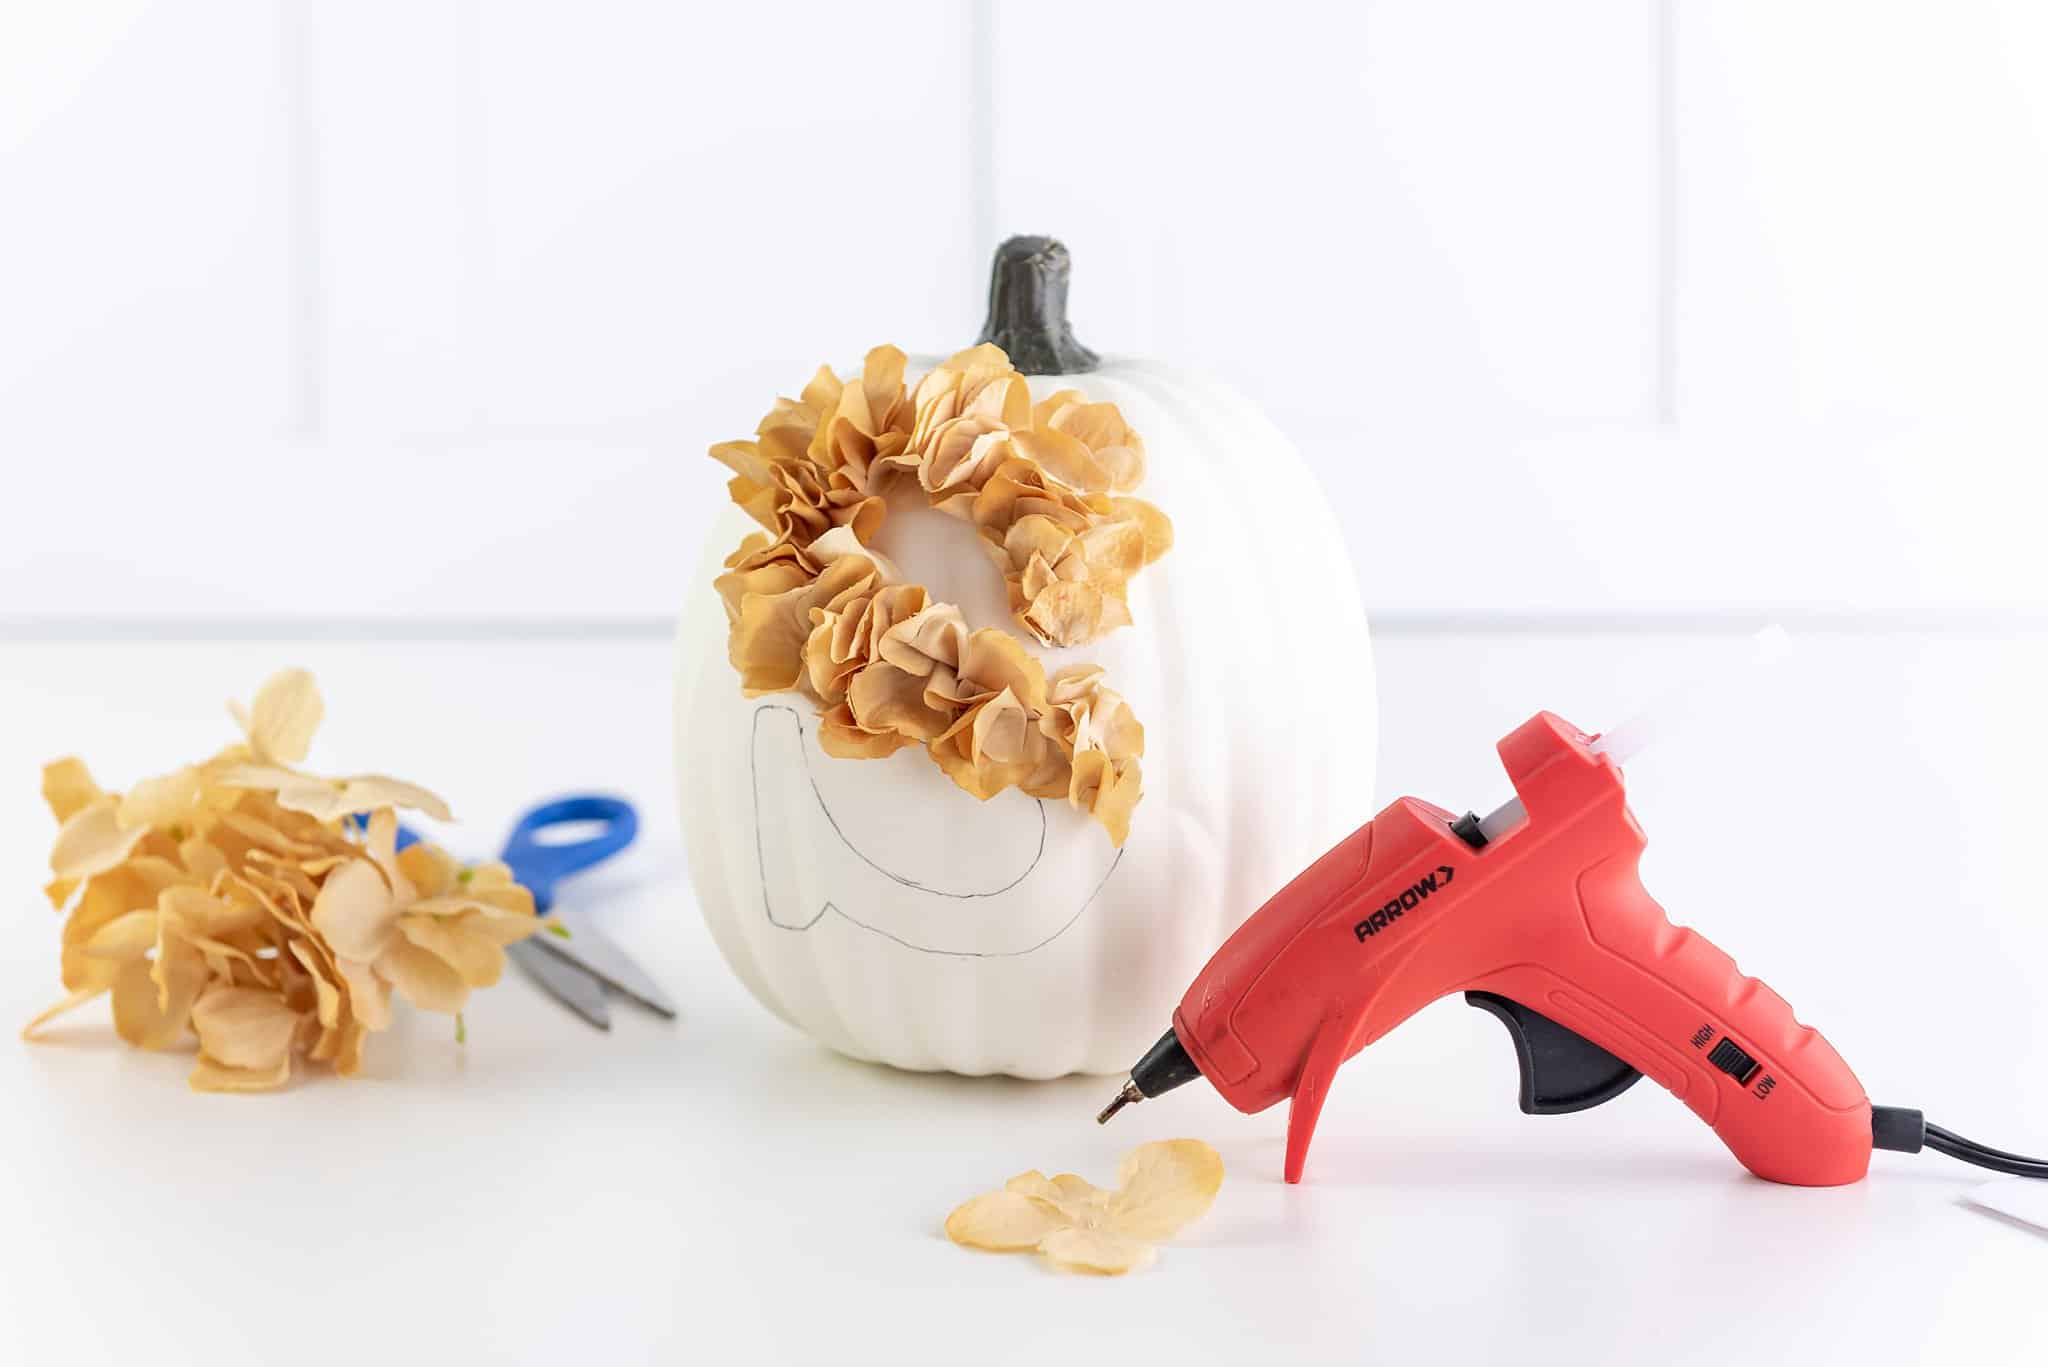
- Find a letter in a simple font online.
- Use your printer to print out the letter. The size will depend on the pumpkin you choose.
- After printing, cut the letter to use as a stencil.
- Place tape on the back of the letter.
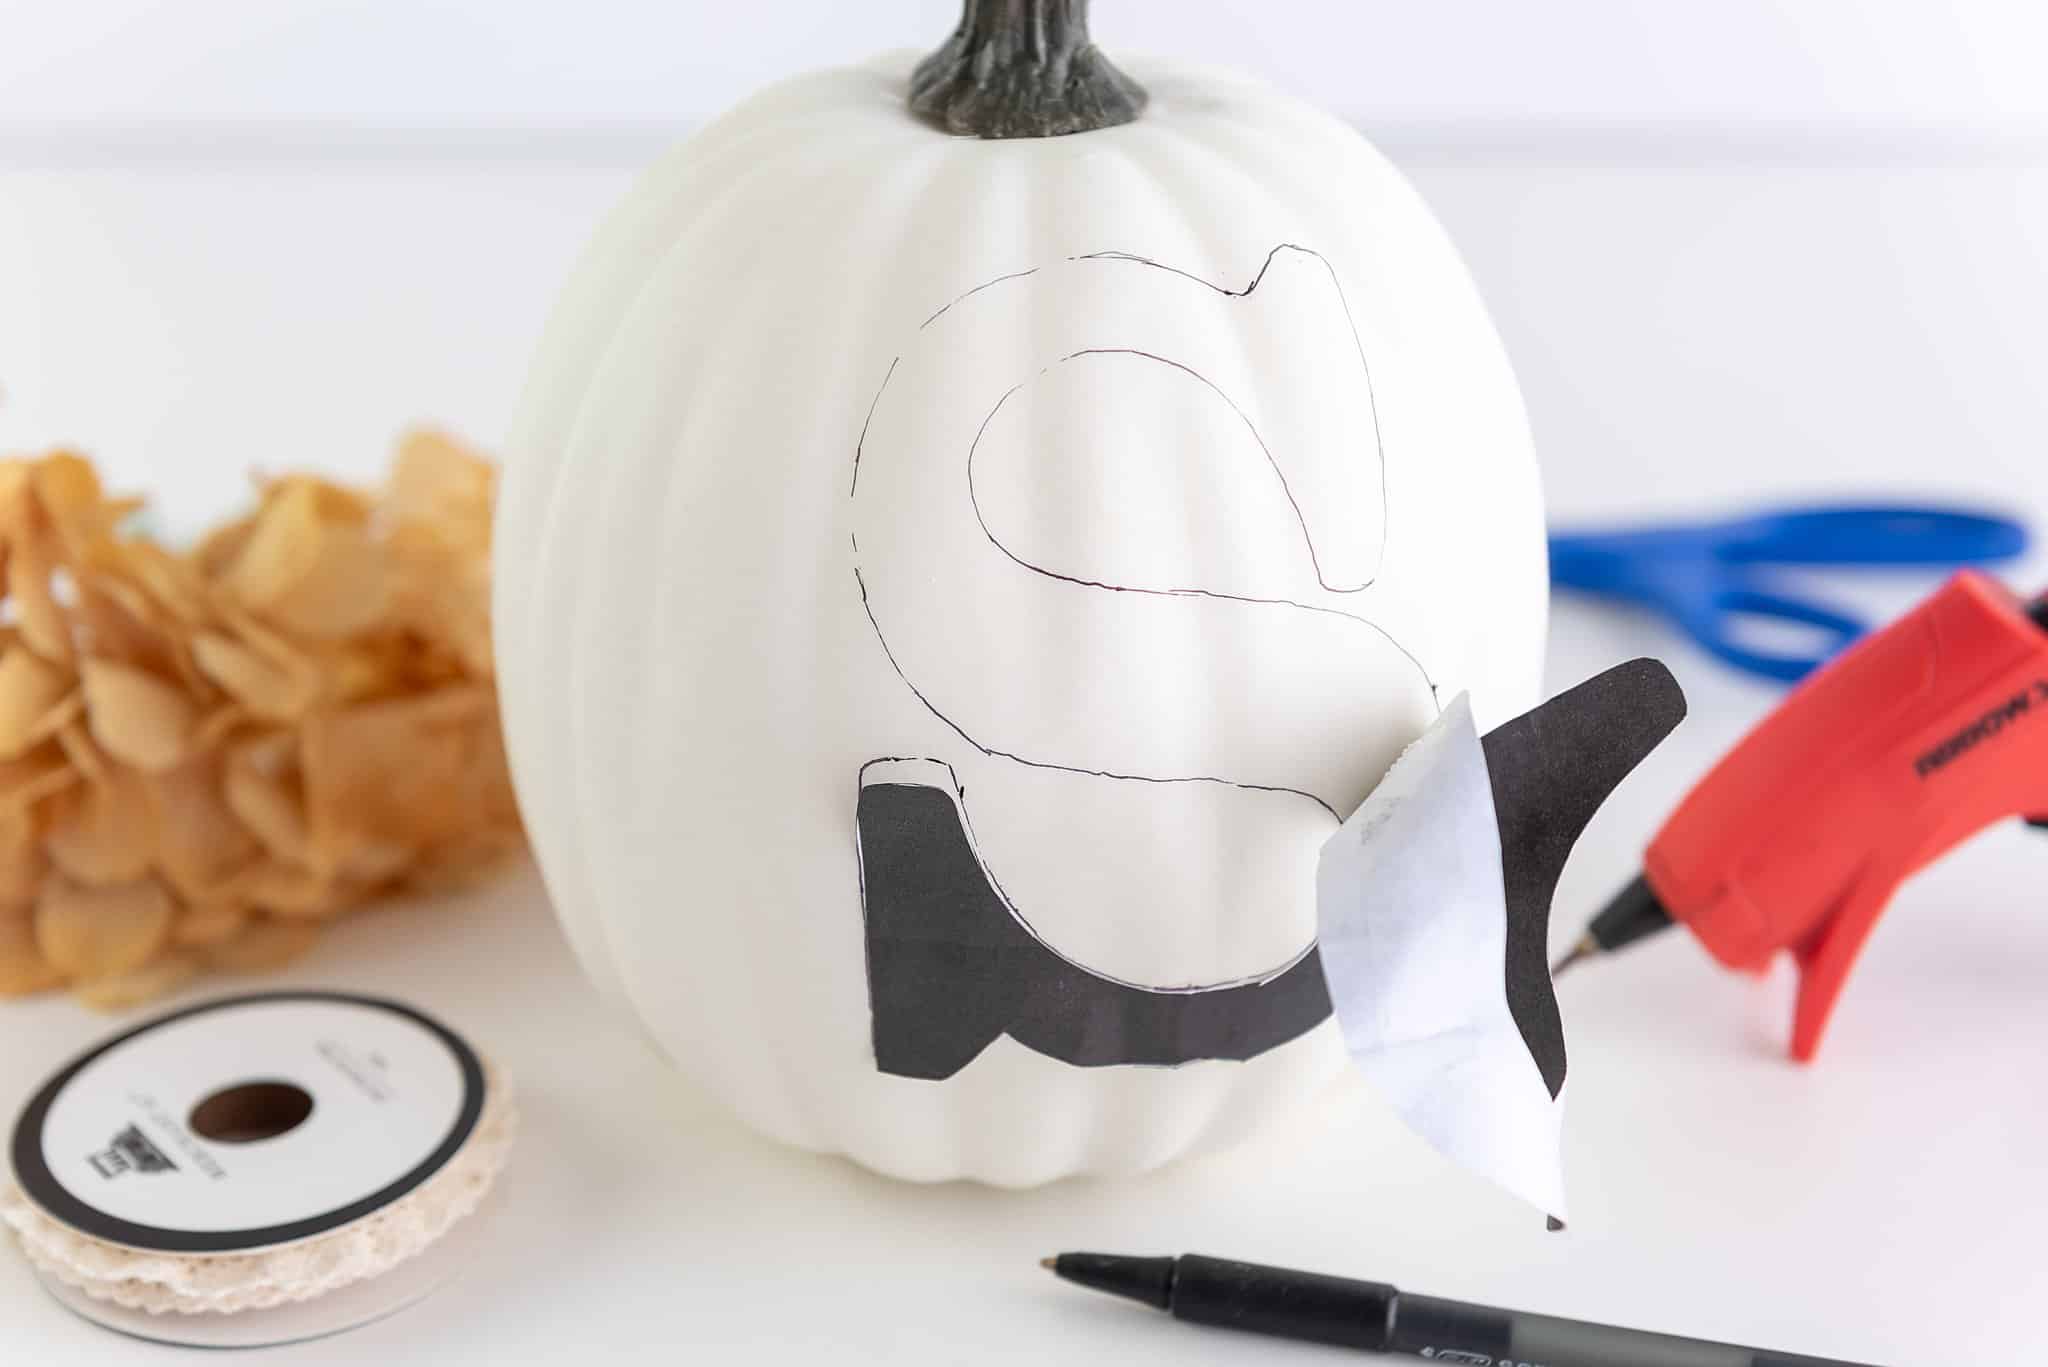
- Affix letter to the surface of the pumpkin where you want your monogram to be.
- Use your pen or pencil to trace the letter onto your pumpkin. Don’t worry about getting a perfect edge as it will be covered by flowers.
- After tracing, peel the letter off to reveal the letter’s outline.
- Pull the floral heads off of the stems.
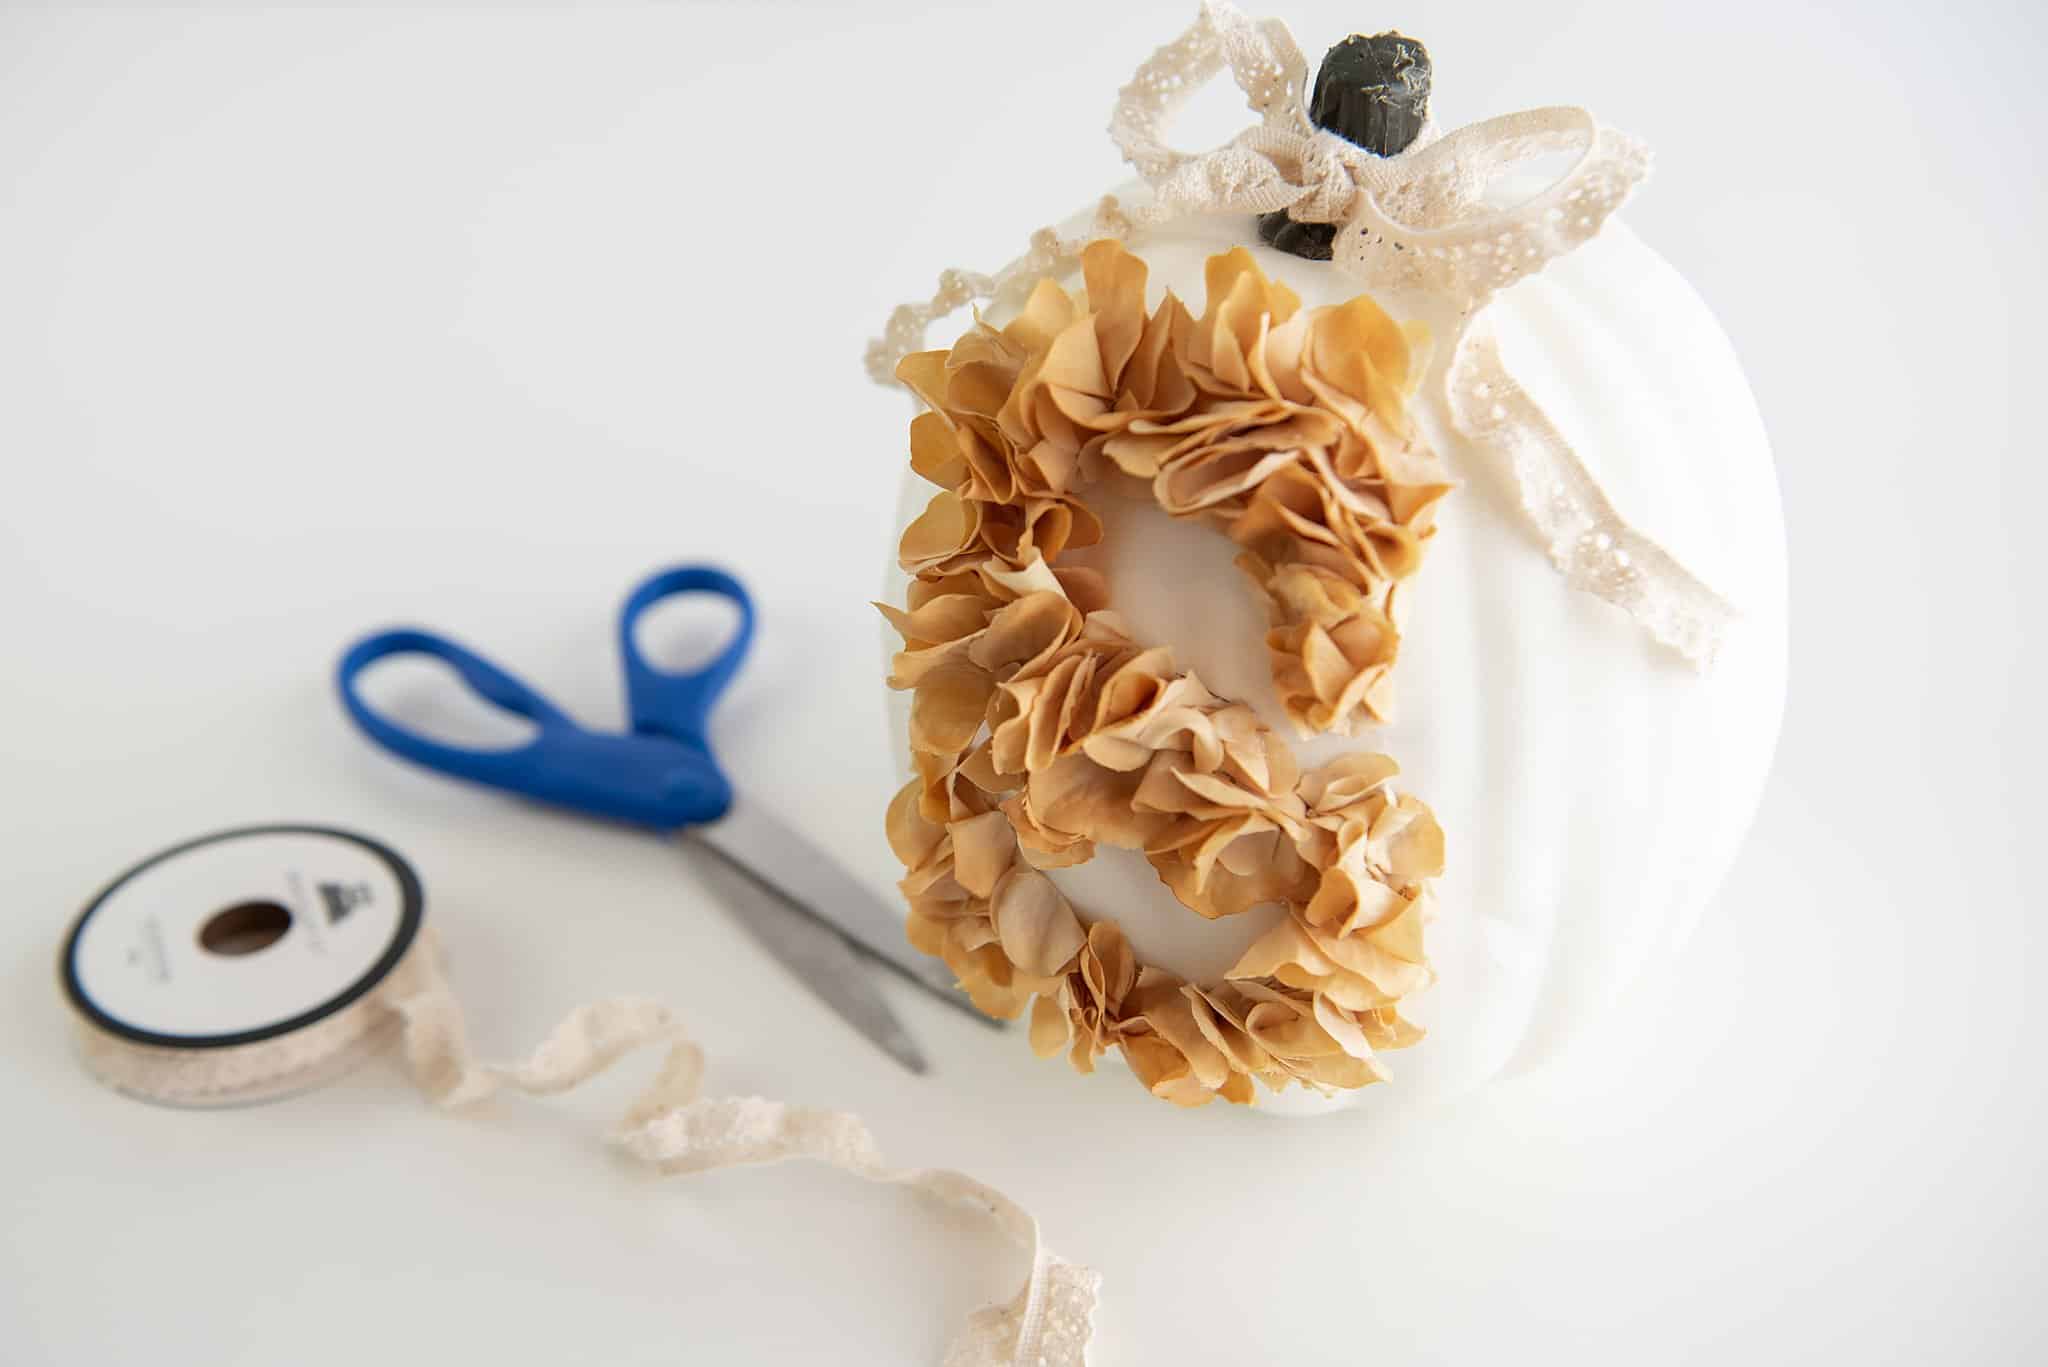
- Using the stenciled letter as a guide, begin to hot glue flowers onto the pumpkin. You may have to move the petals or glue some underneath to get a defined edge.
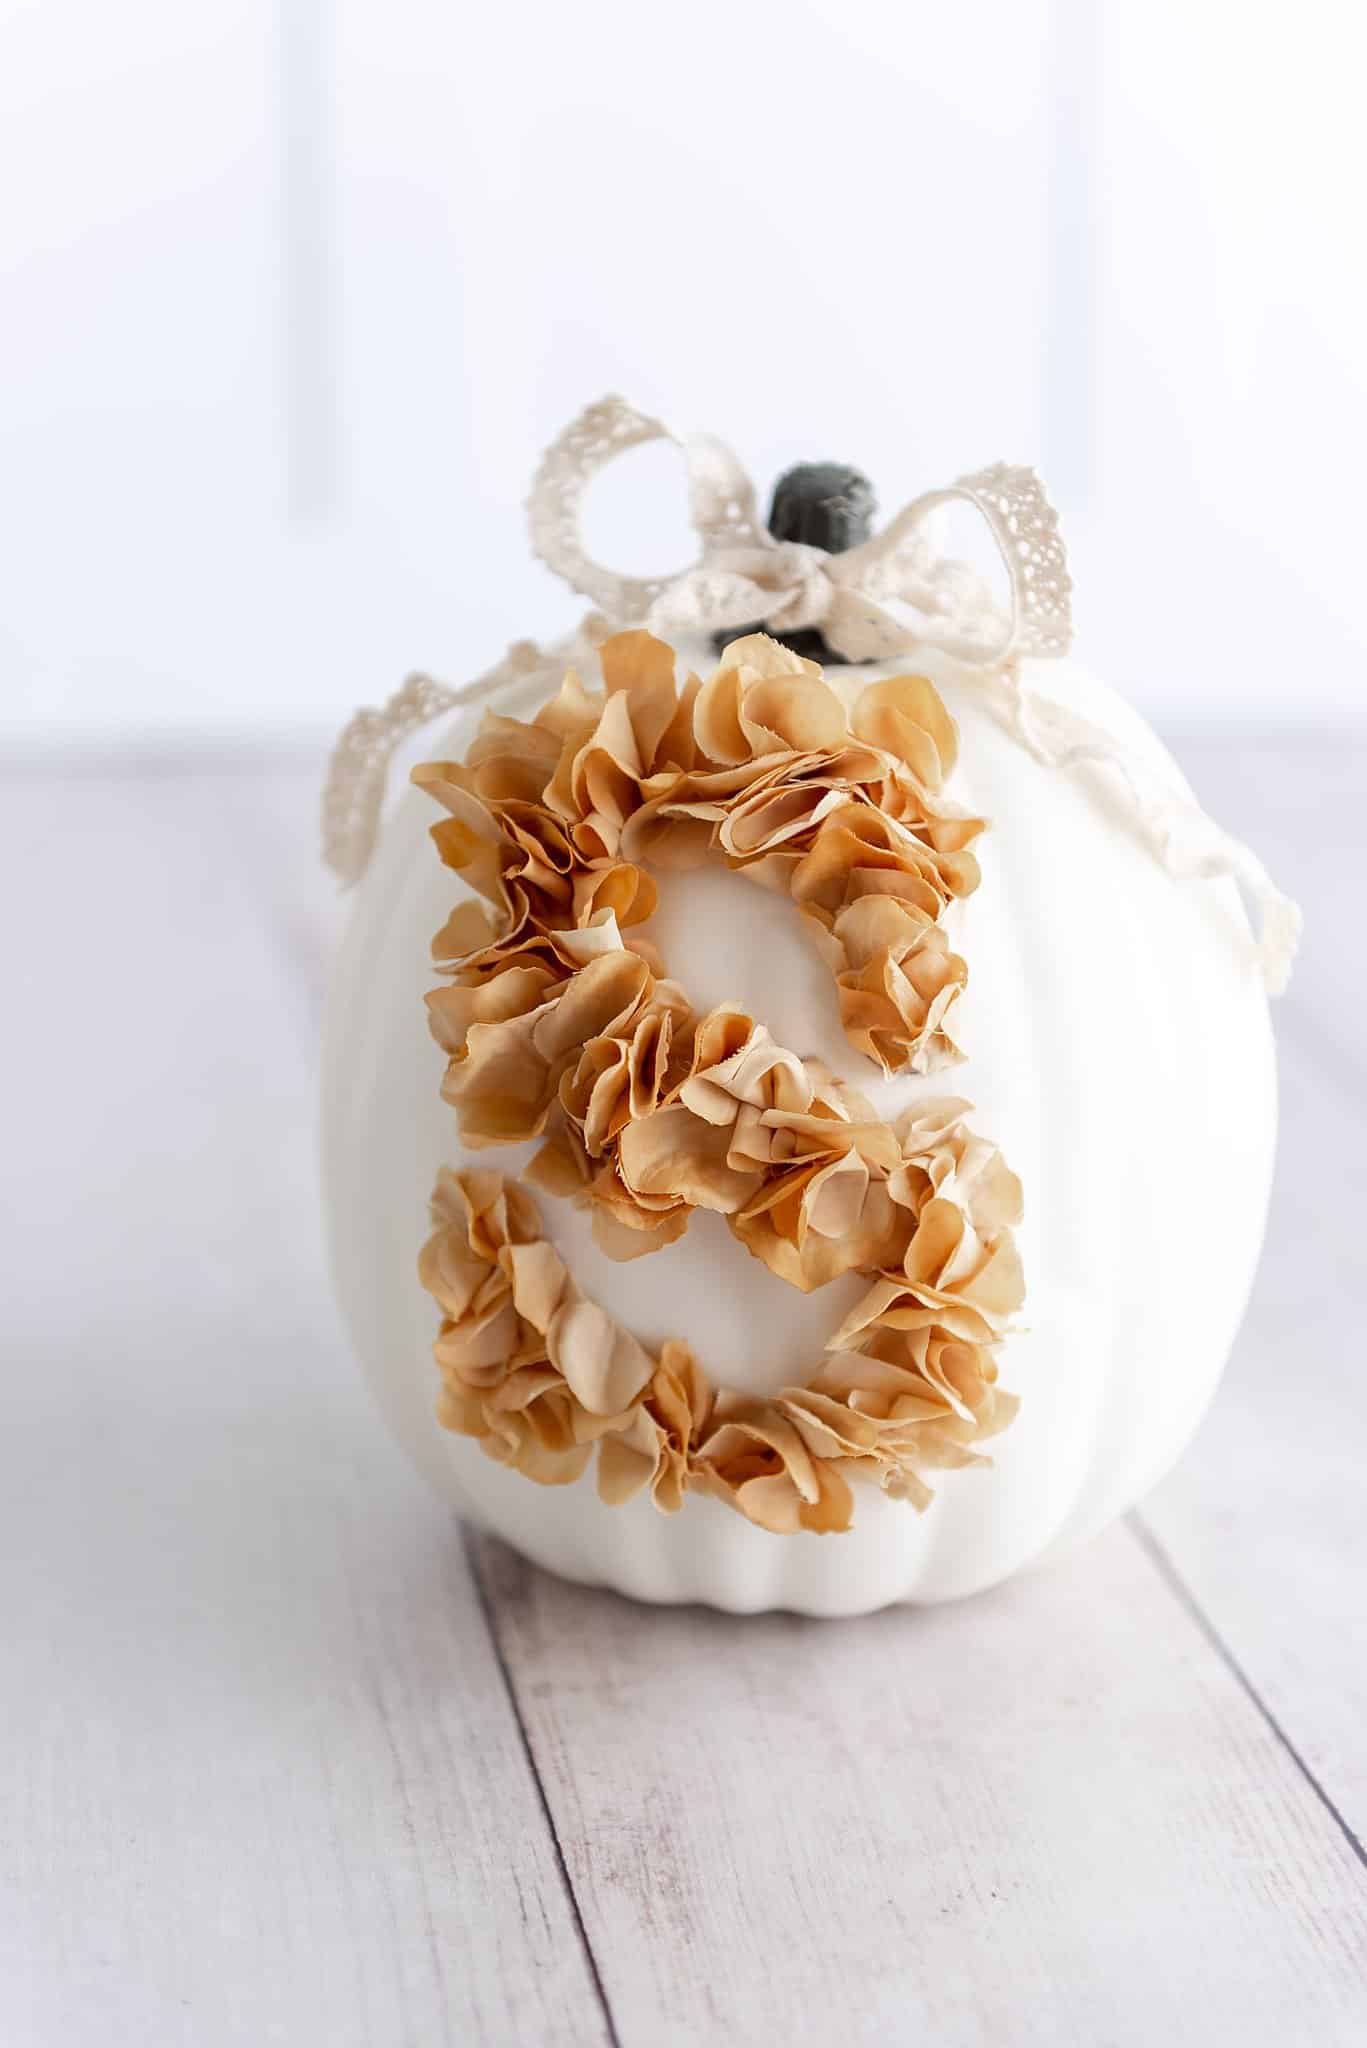
- Add a ribbon around your stem to enhance the floral pumpkin. You can even make this coordinate with your decor.
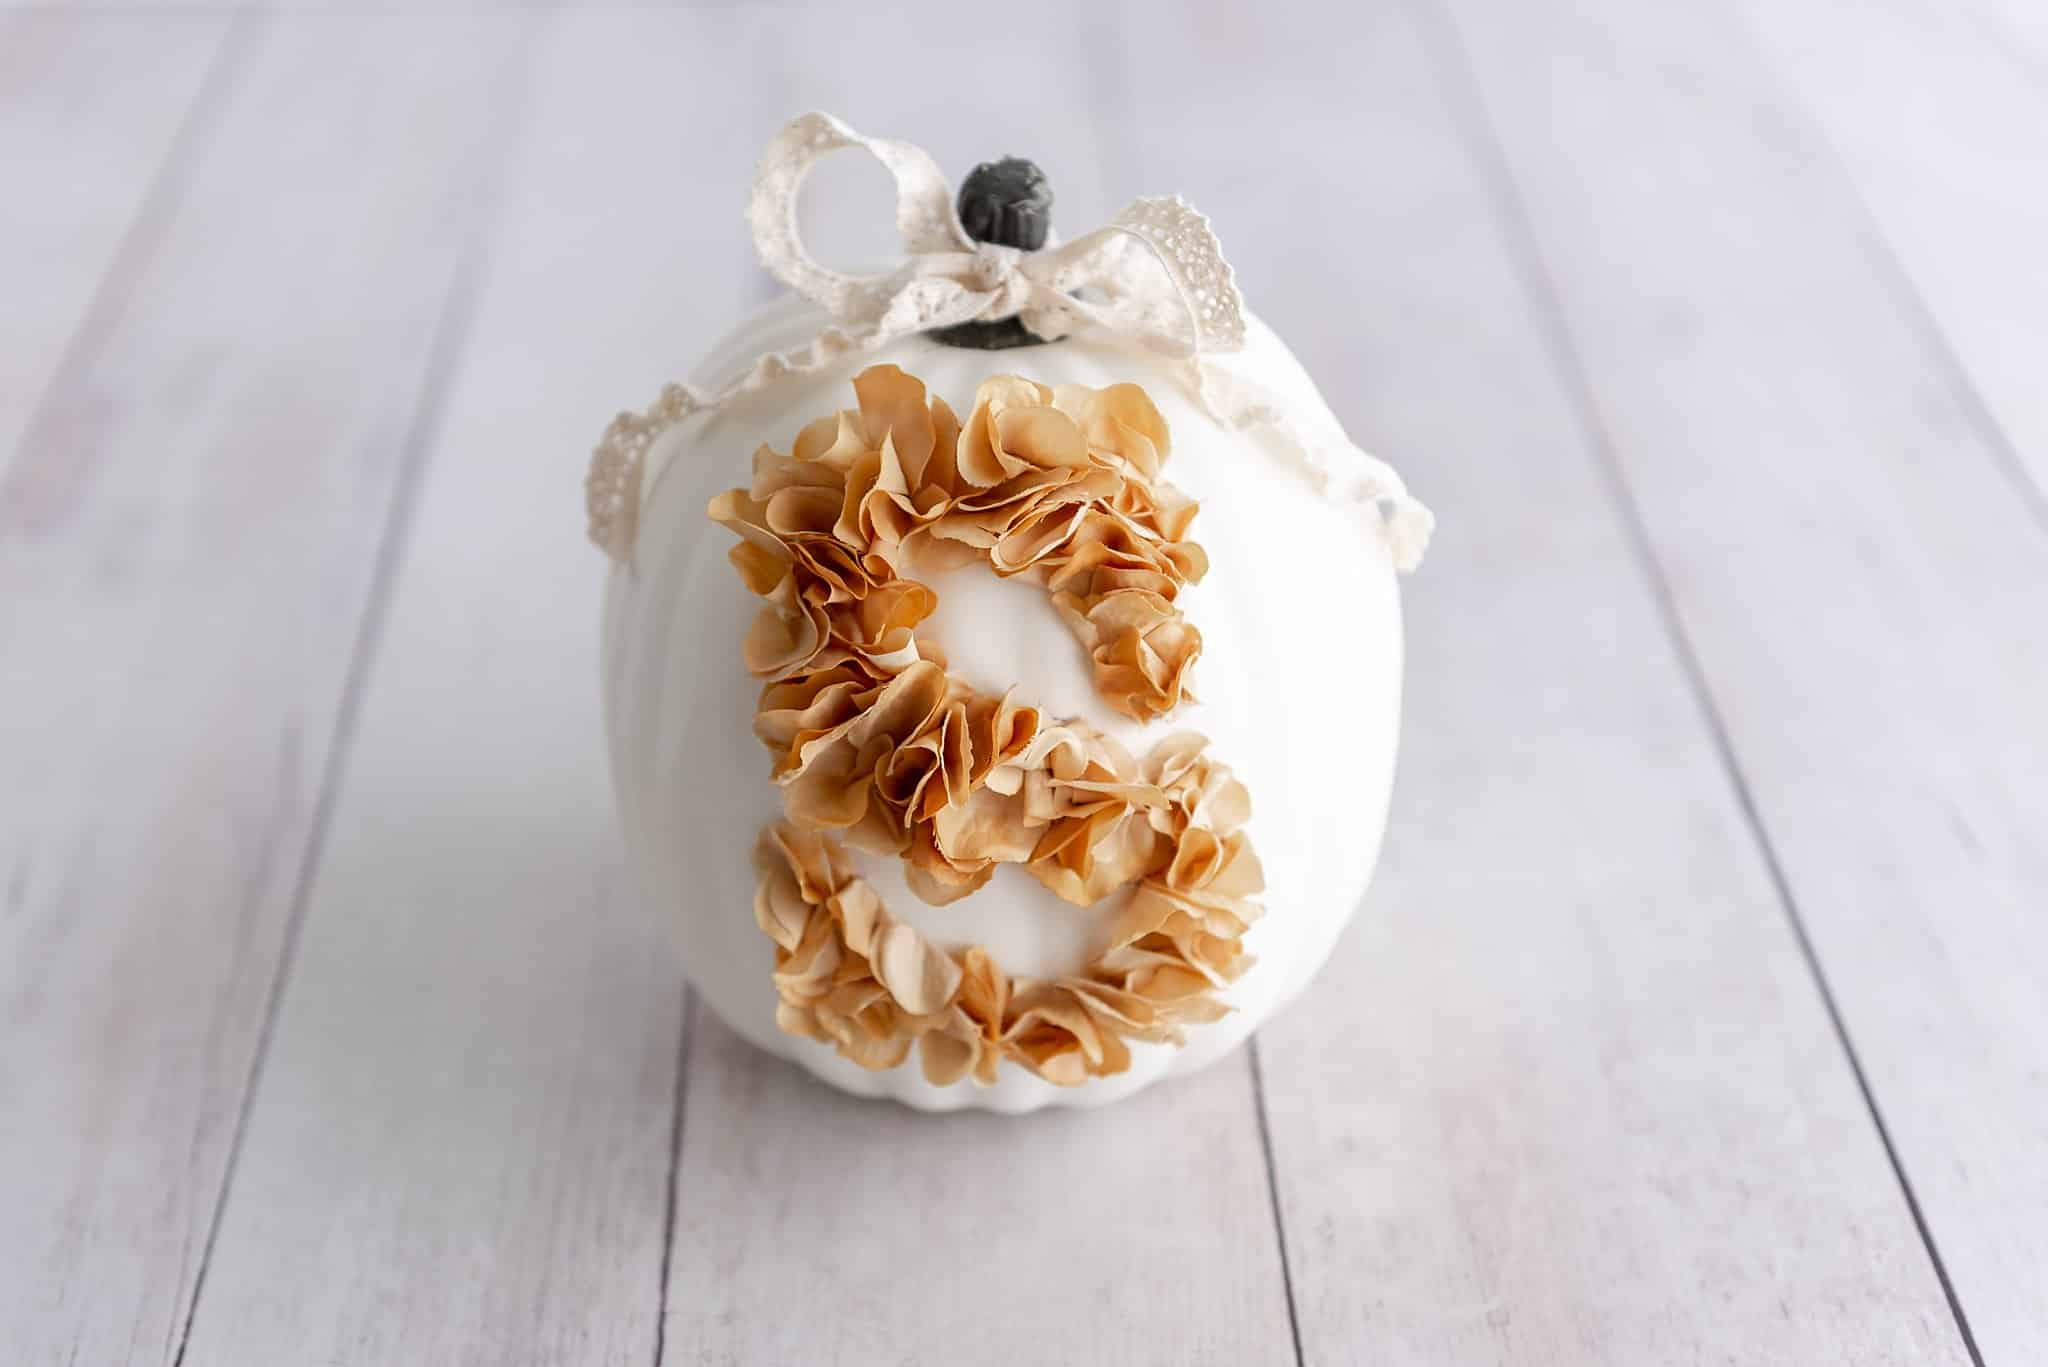
Results of our DIY Floral Pumpkins

Save how to make floral pumpkins!