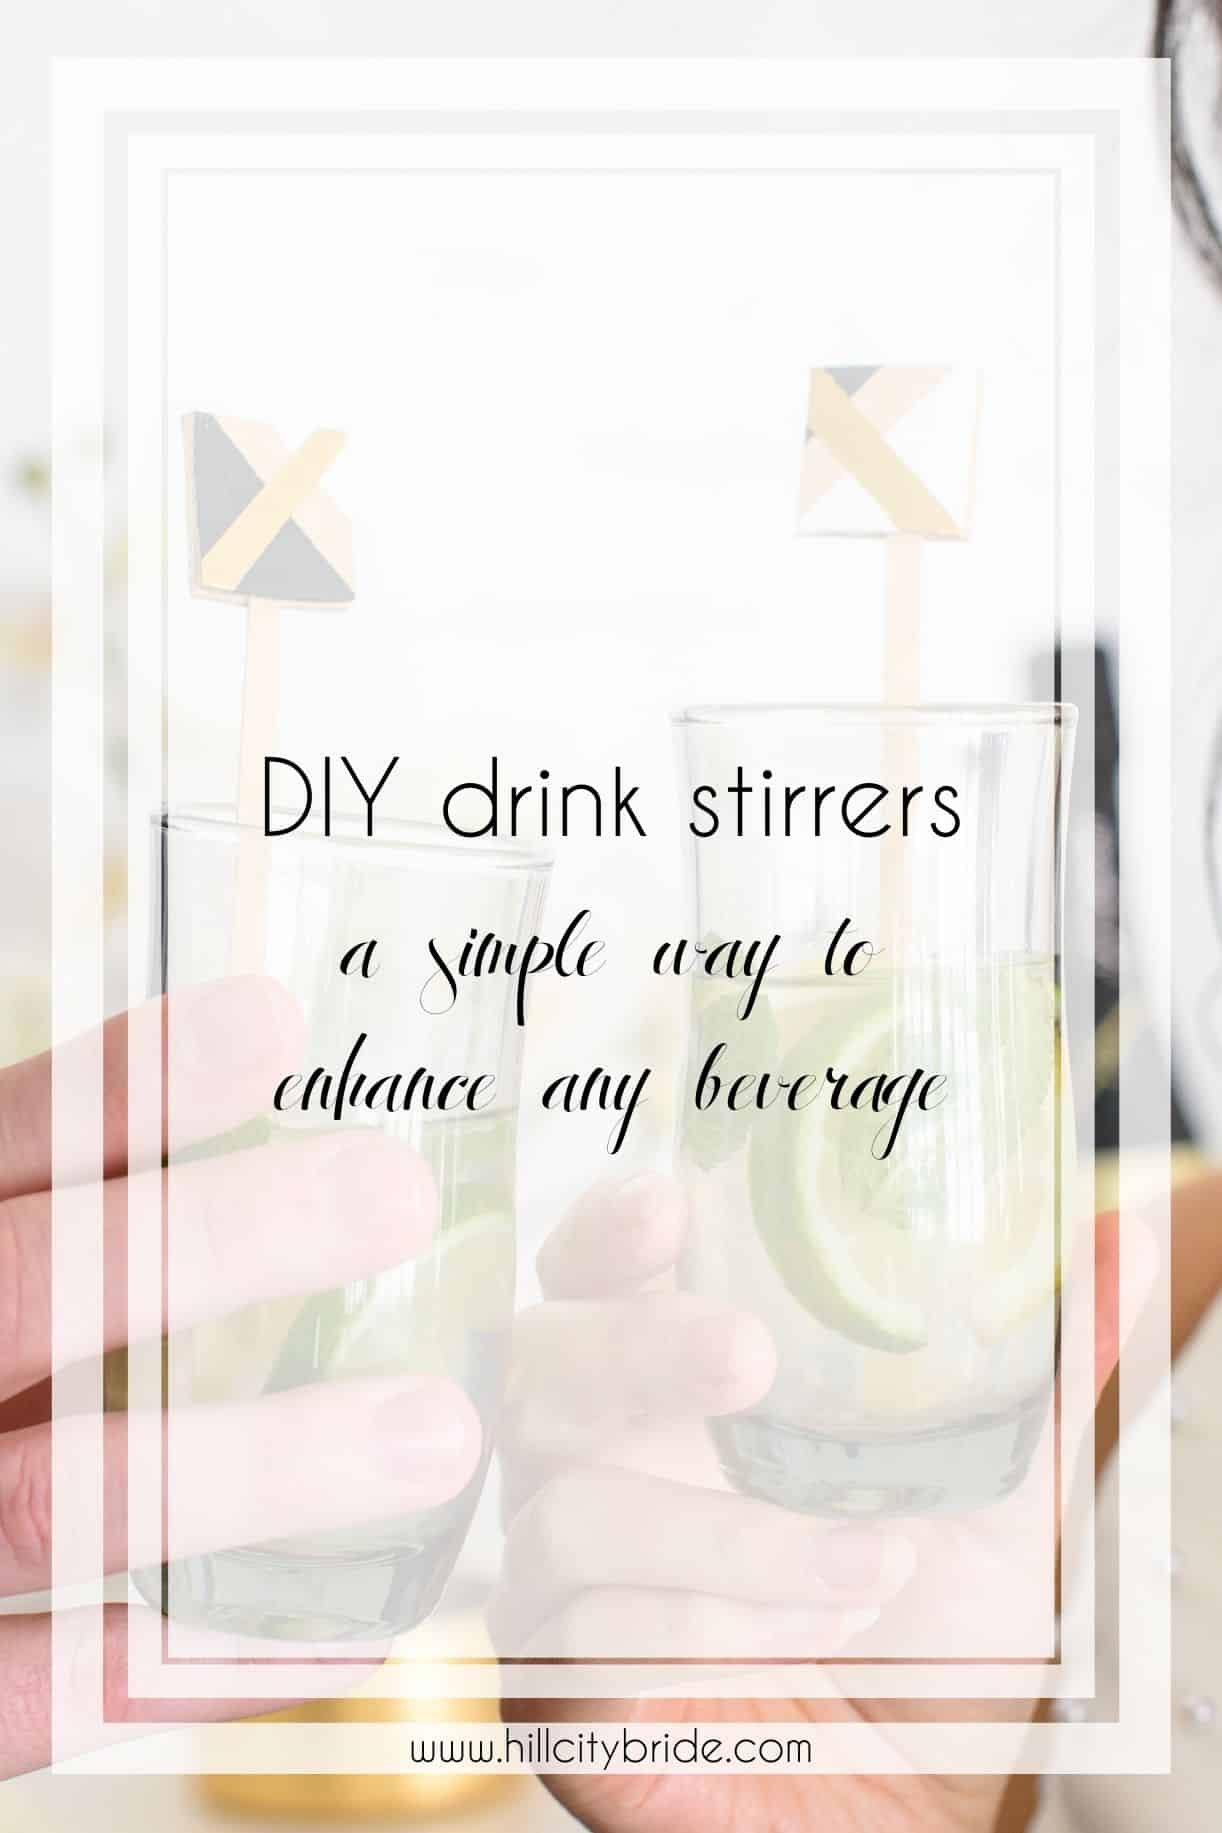
Whether you’re getting married (yay!) or having a bachelorette party or wedding shower, you deserve to celebrate! And one way to get festive is to have creative cocktails. Step up your beverage game and make our DIY drink stirrers to coordinate with your theme. So cute!
This post contains affiliate links, and purchases help us grow. Thanks!
FAQ About DIY Drink Stirrers
Are these DIY stirrers only for cocktails?
Absolutely not! The beauty of these is that they can elevate the everyday. Plus, you can personalize them for any occasion.
Use pink, purple, and aqua tones for a pastel-themed event, or paint them to match any theme. These DIY cocktail picks also can pep up non-alcoholic drinks or even a milkshake if you’d like — even coffee!
How do I personalize these cocktail stir sticks?
Coordinate the paint colors to go along with any theme. You can even make different styles for each type of drink, which works well if you have two signature drinks. Instead of a square, choose a different shape — such as a circle — for a varied look.
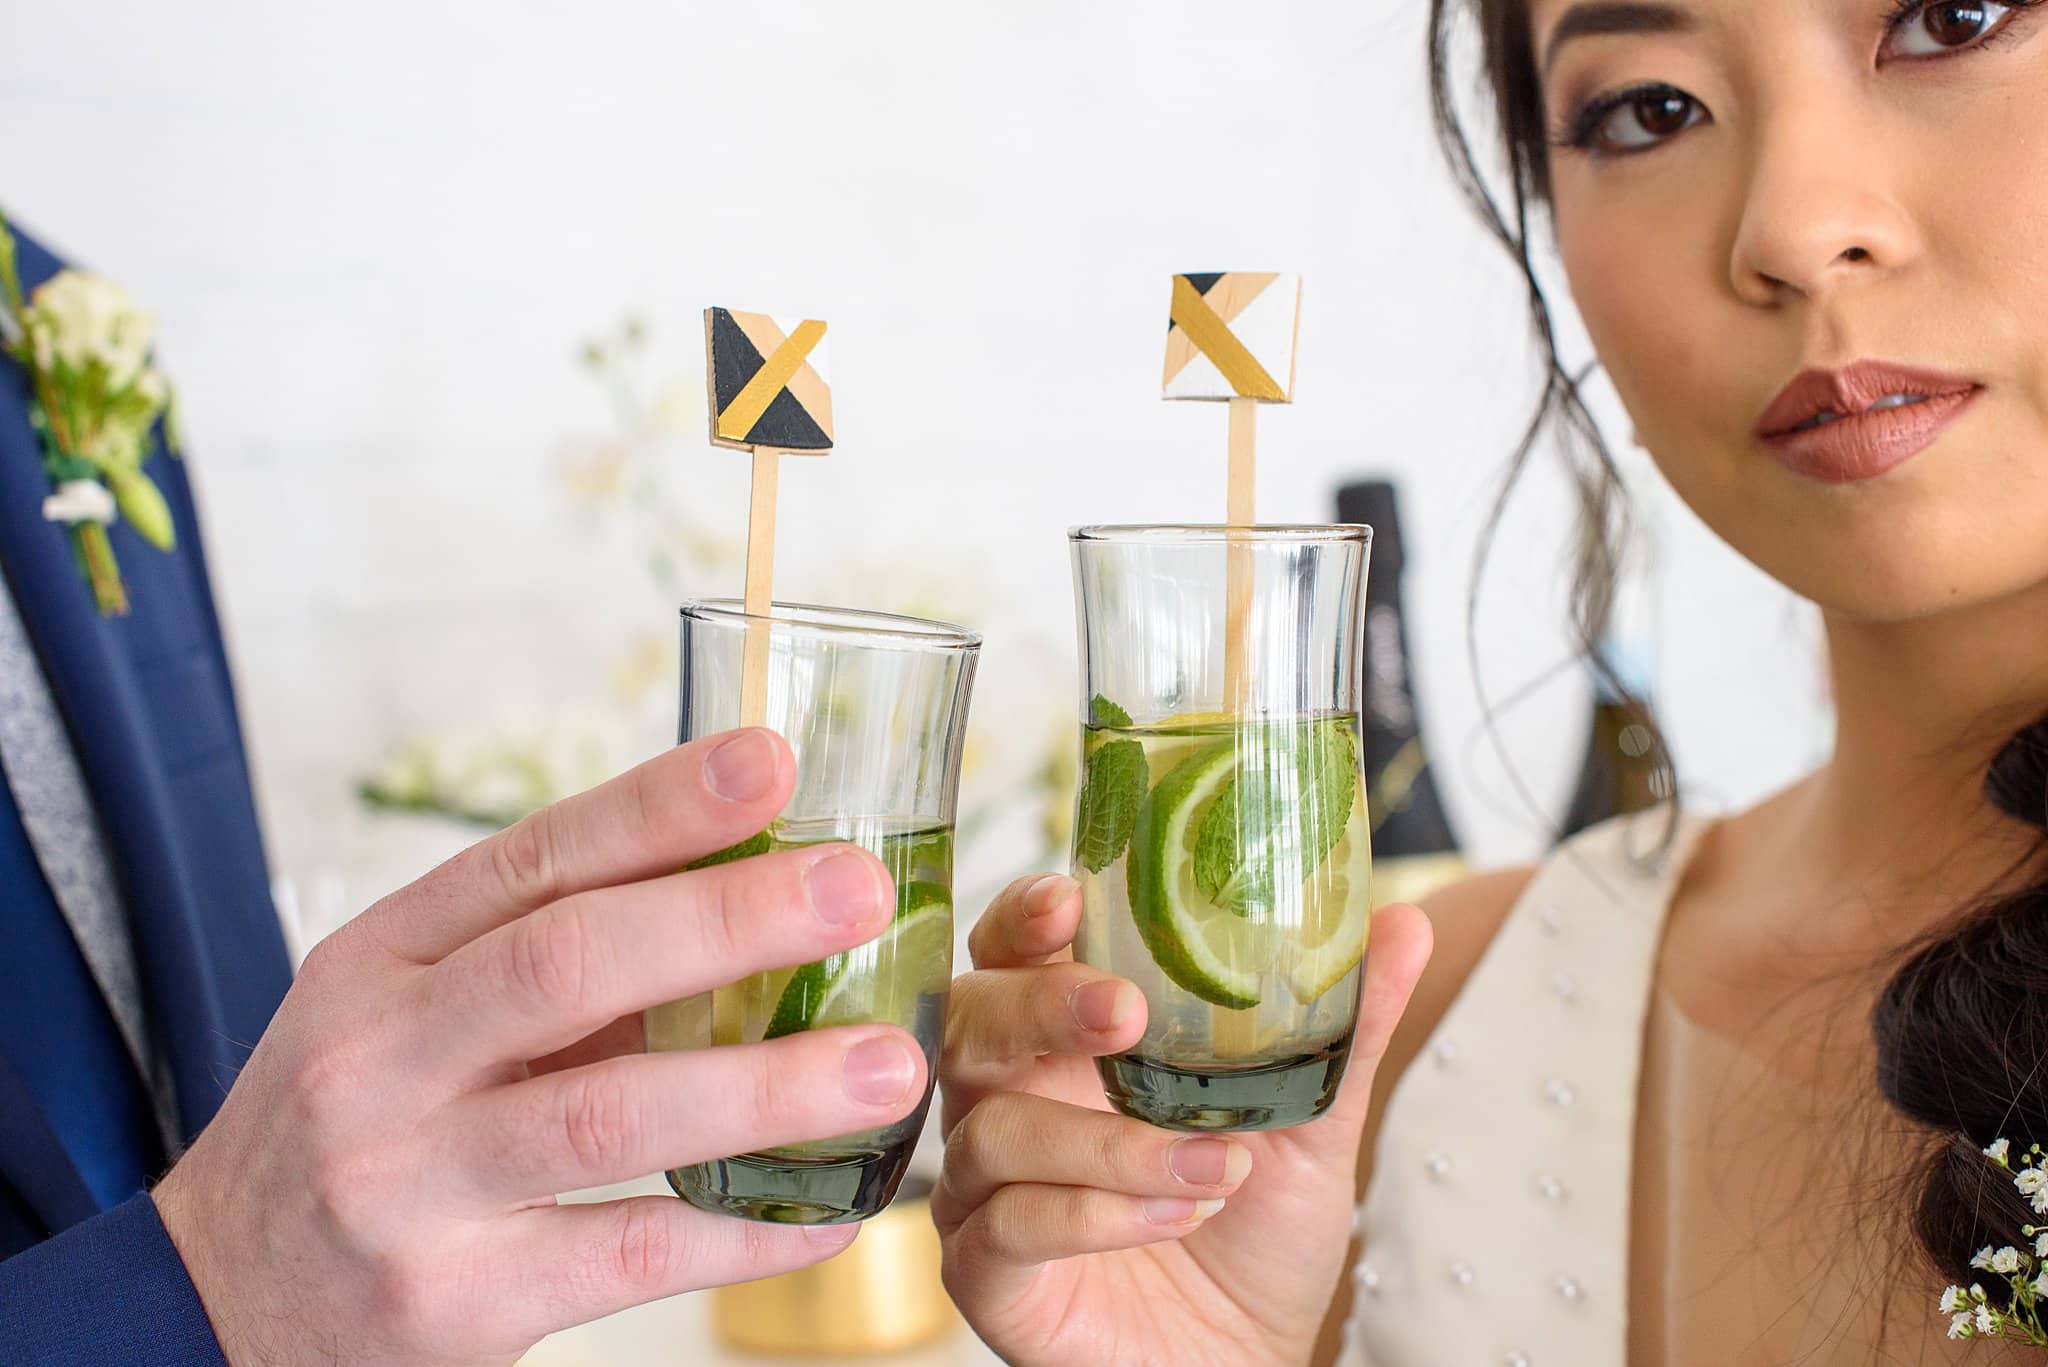
Are these drink stirrers safe?
Because ours are made of unpainted wood, the stir part works well and is food-safe. Although, don’t plunge the painted end into your drink. It won’t really hurt you, but acrylic paint isn’t good to consume.
How do I use these DIY cocktail picks?
This cute craft project serves two purposes. The first, of course, is to jazz up your beverages a bit. However, the other reason to use these is to stir your drink. If a cocktail contains fruit pieces or ice, it may be necessary to give it a swirl every so often.
How to Make Cocktail Drink Stirrers
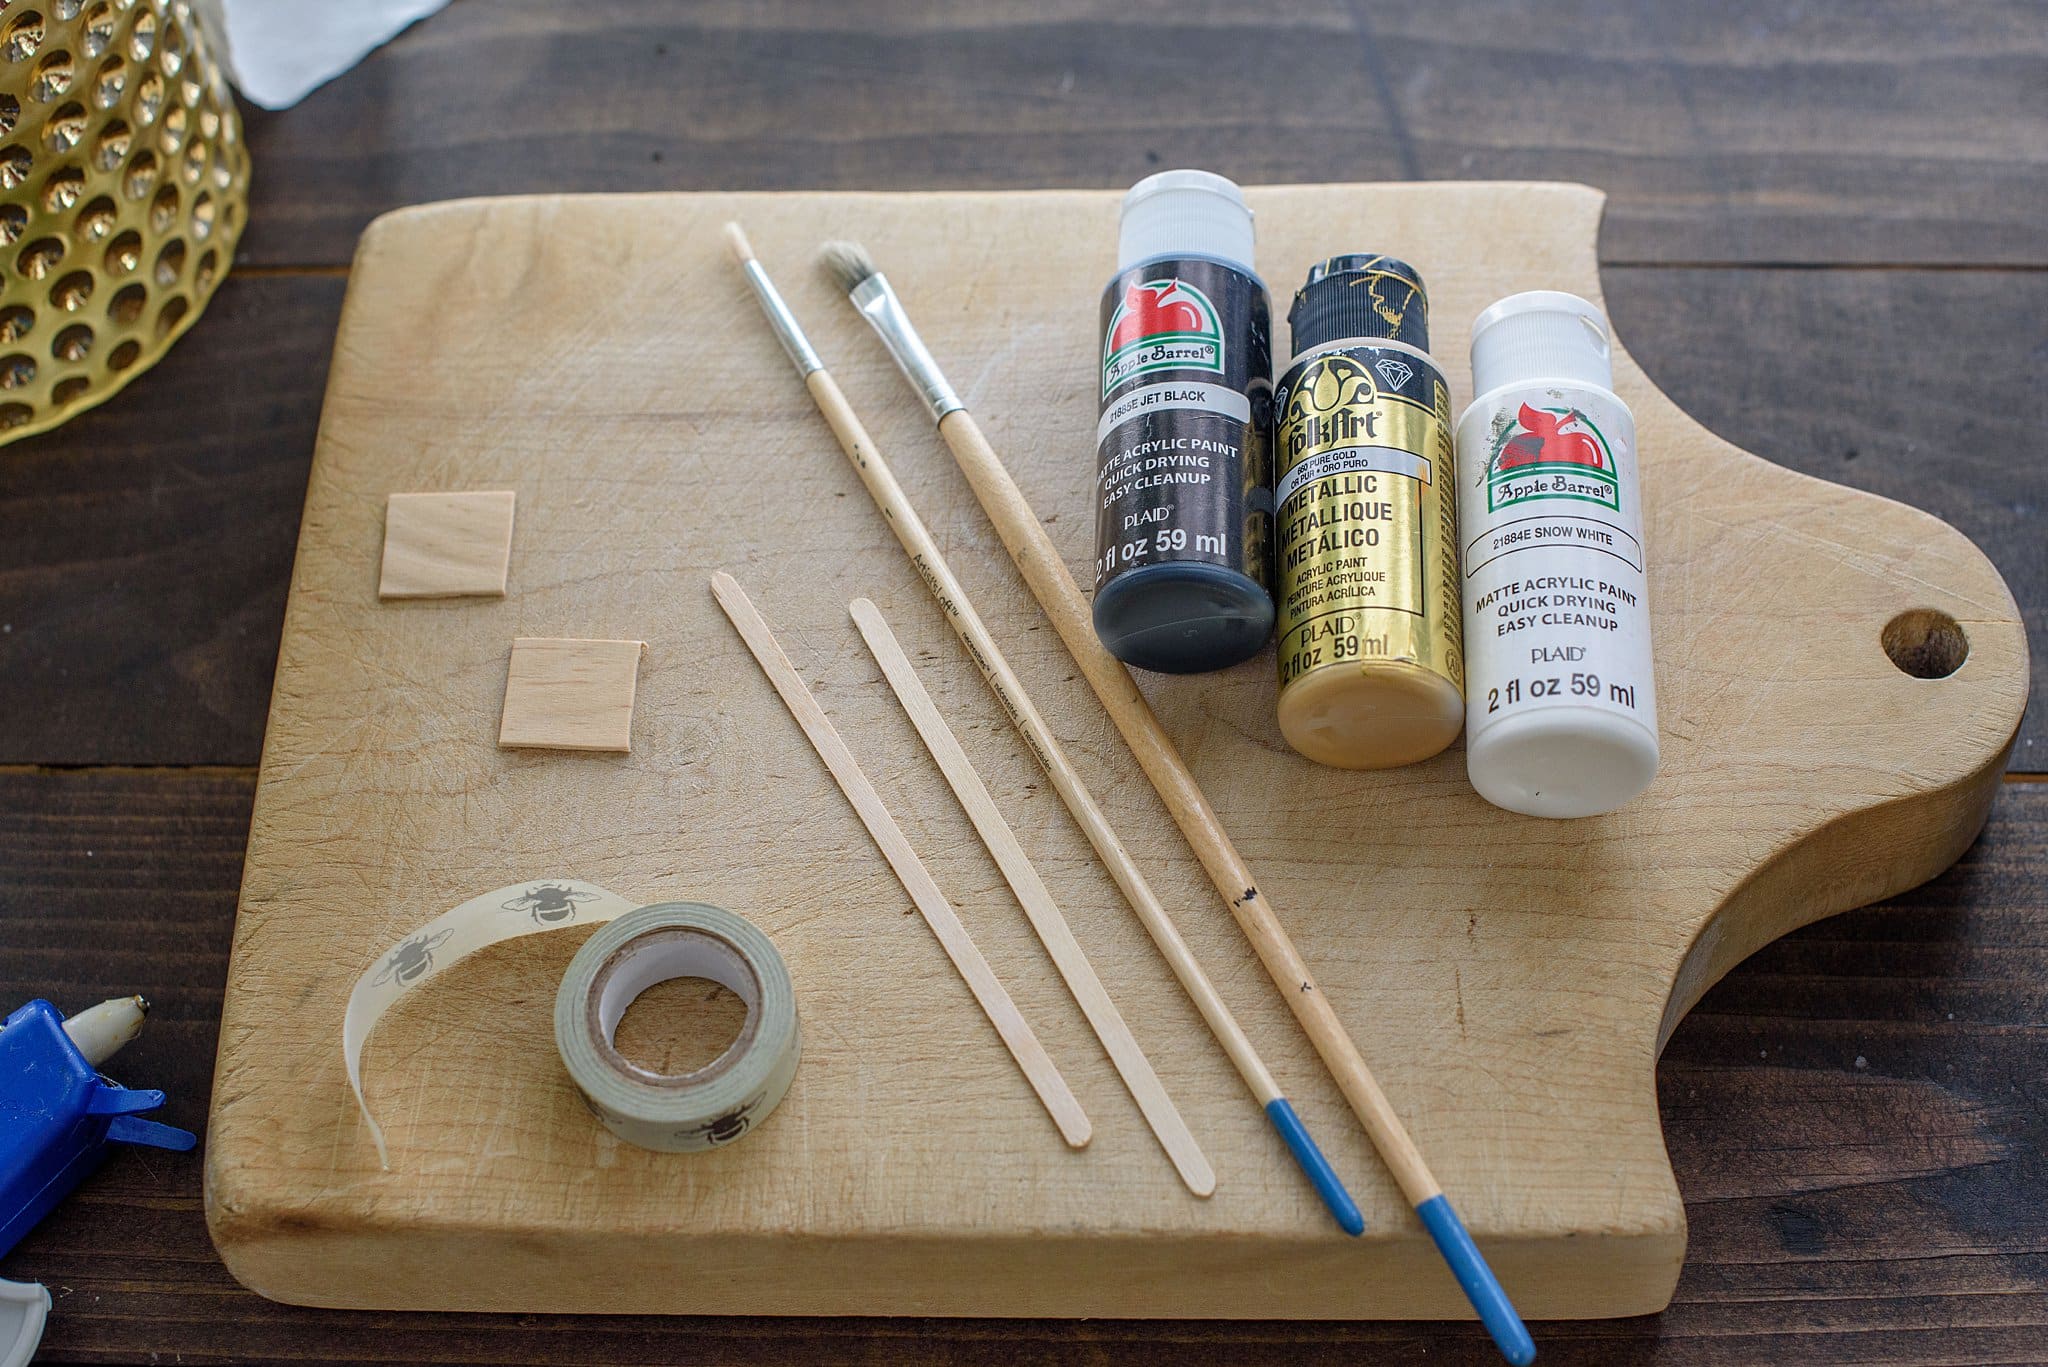
Supplies for DIY Cocktail Picks
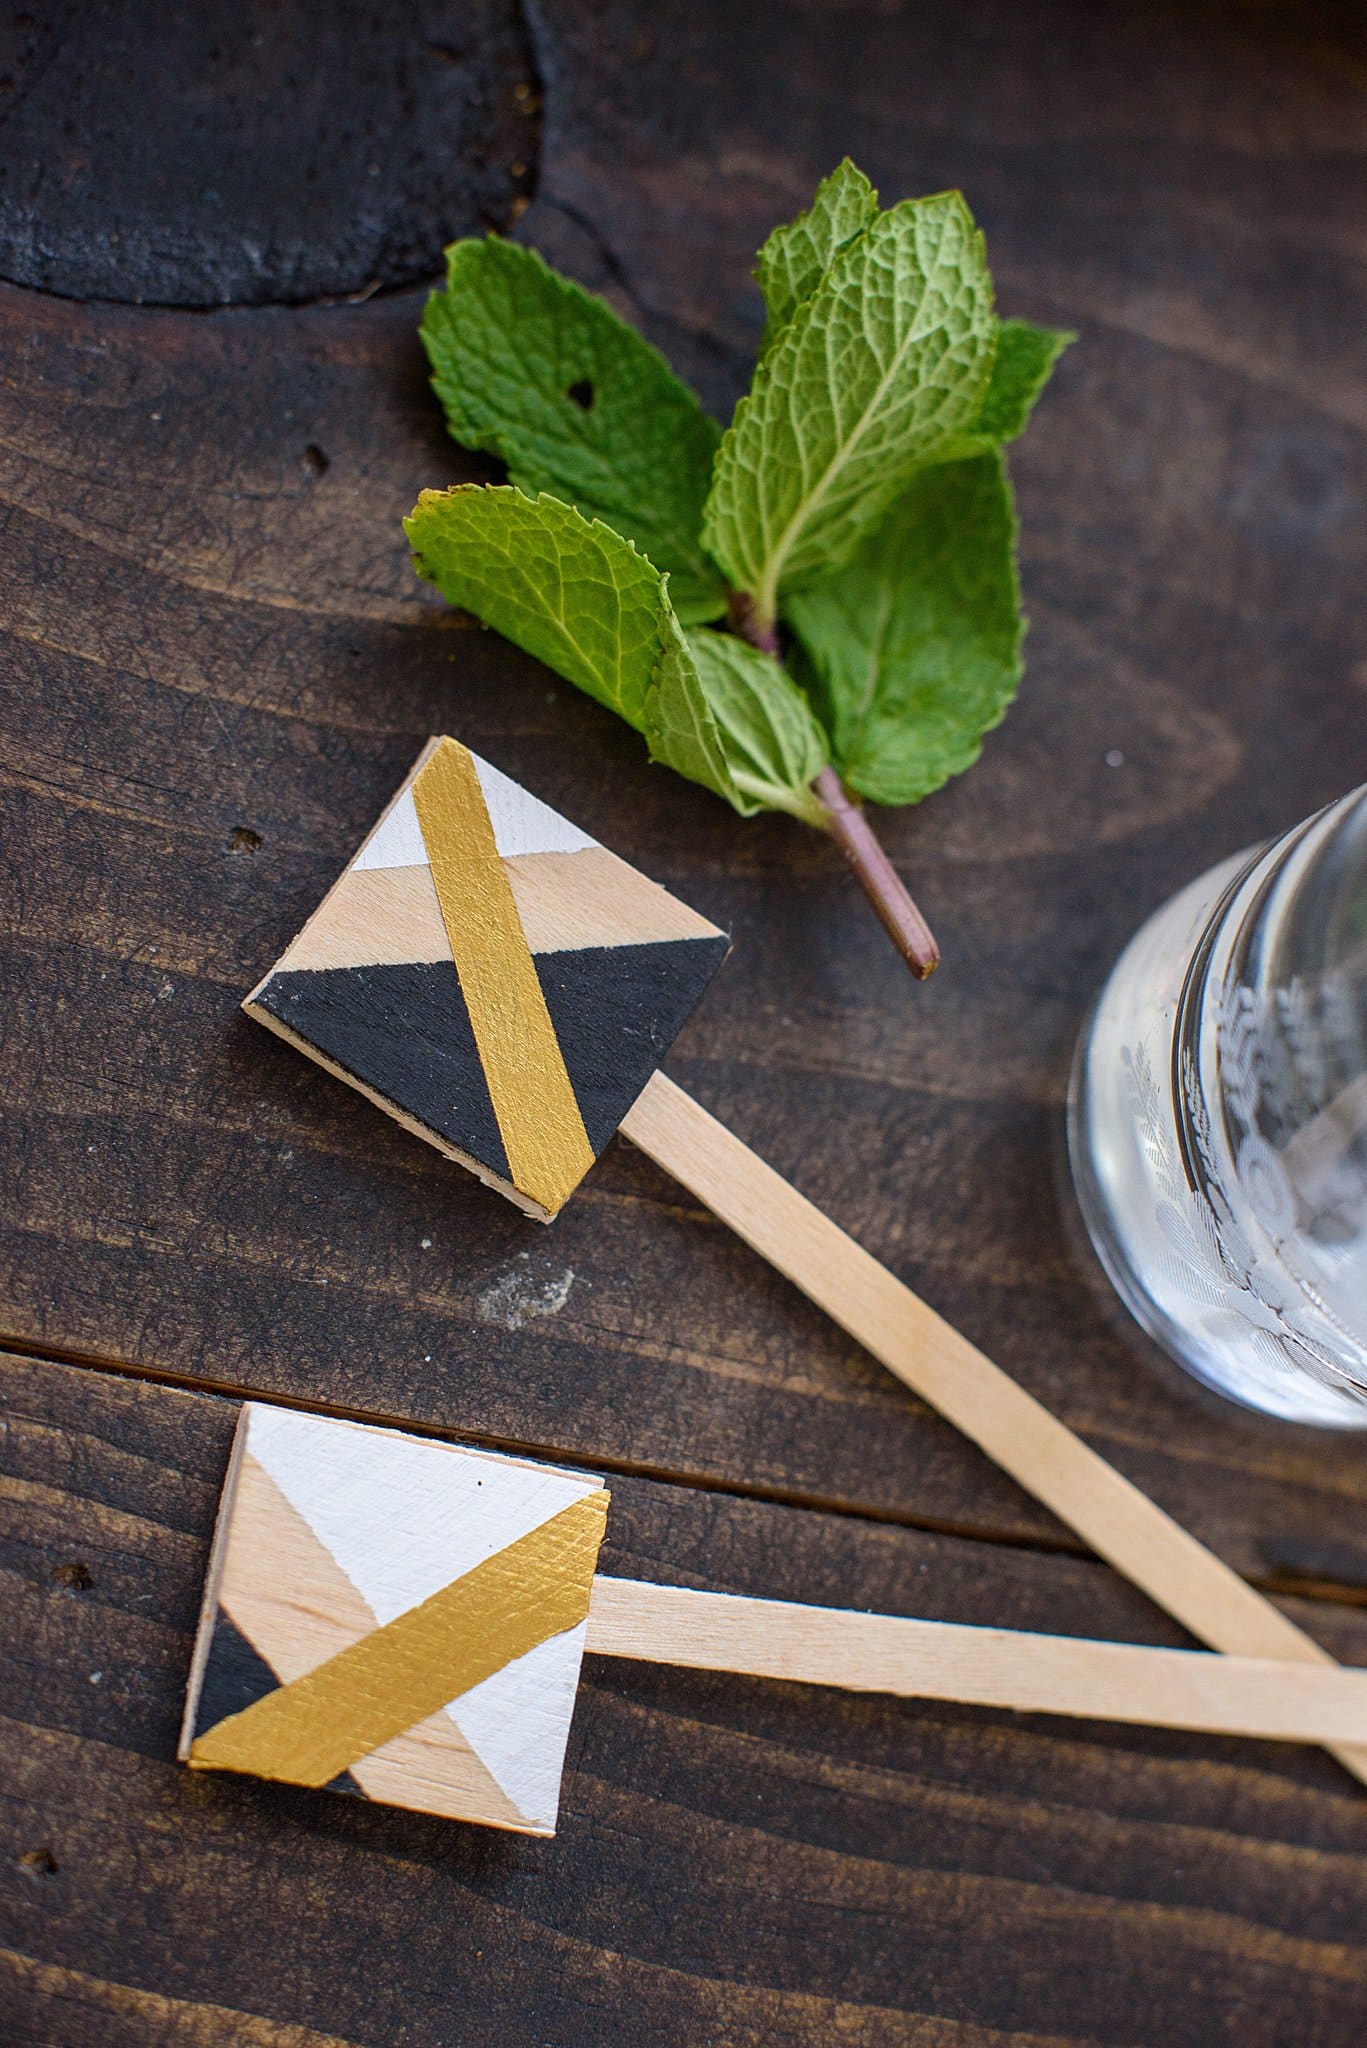
- Wood chip pieces (we used square)
- Acrylic paint in your choice of colors (we used black, white, and gold)
- Washi tape (pattern doesn’t matter)
- Hot glue gun and sticks
- Wooden stir sticks
- Paintbrushes
Instructions for Cocktail Stir Sticks
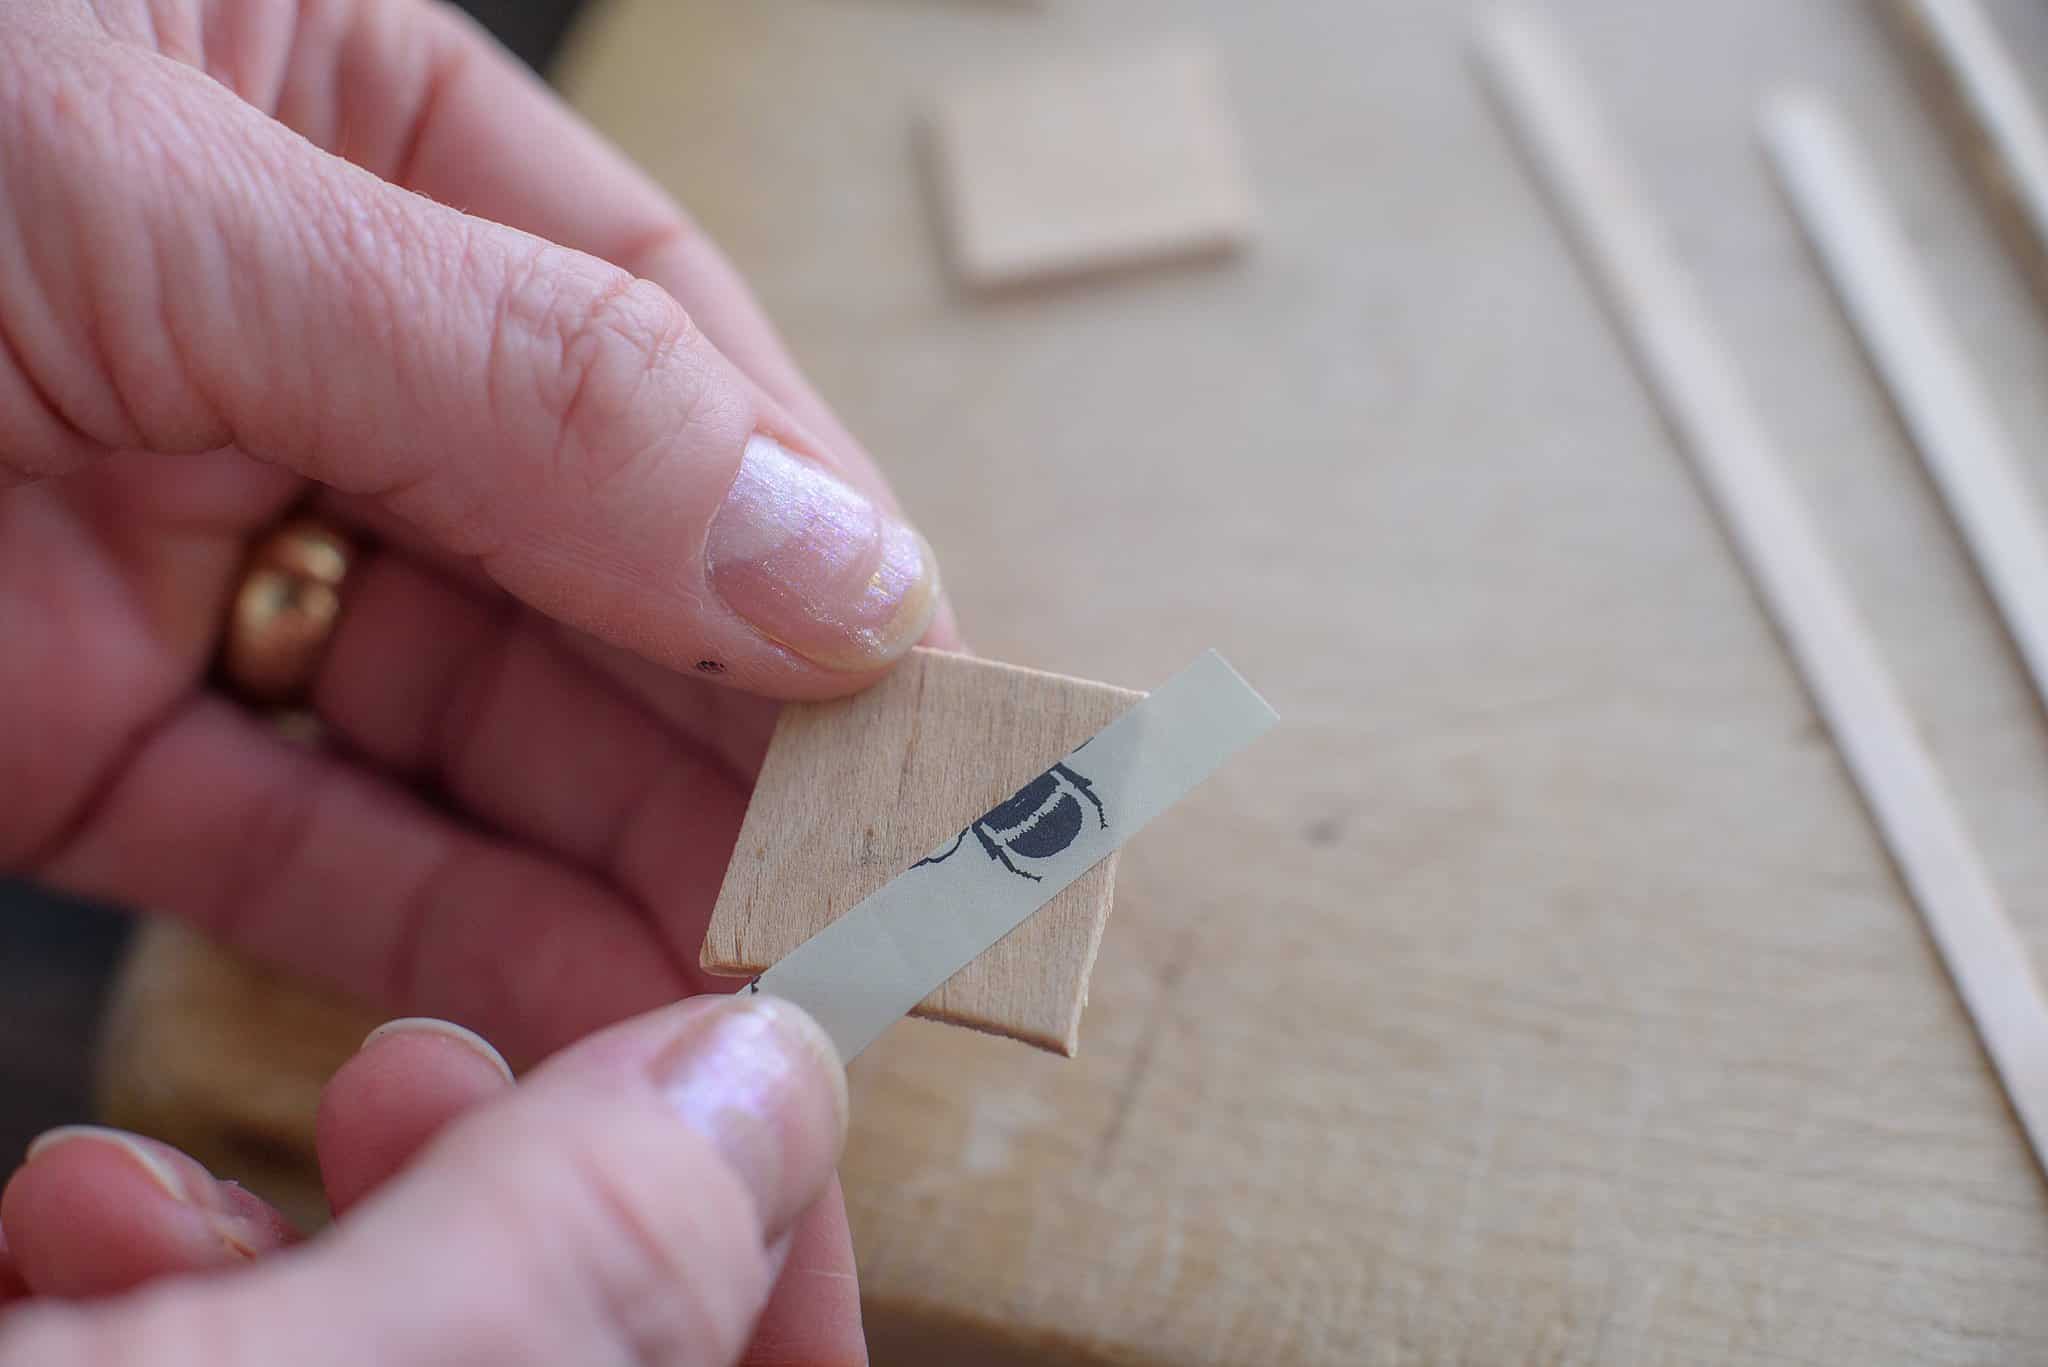
- Place a piece of washi tape at an angle on your wooden rectangle. You may have to cut the tape in half to decrease the width.
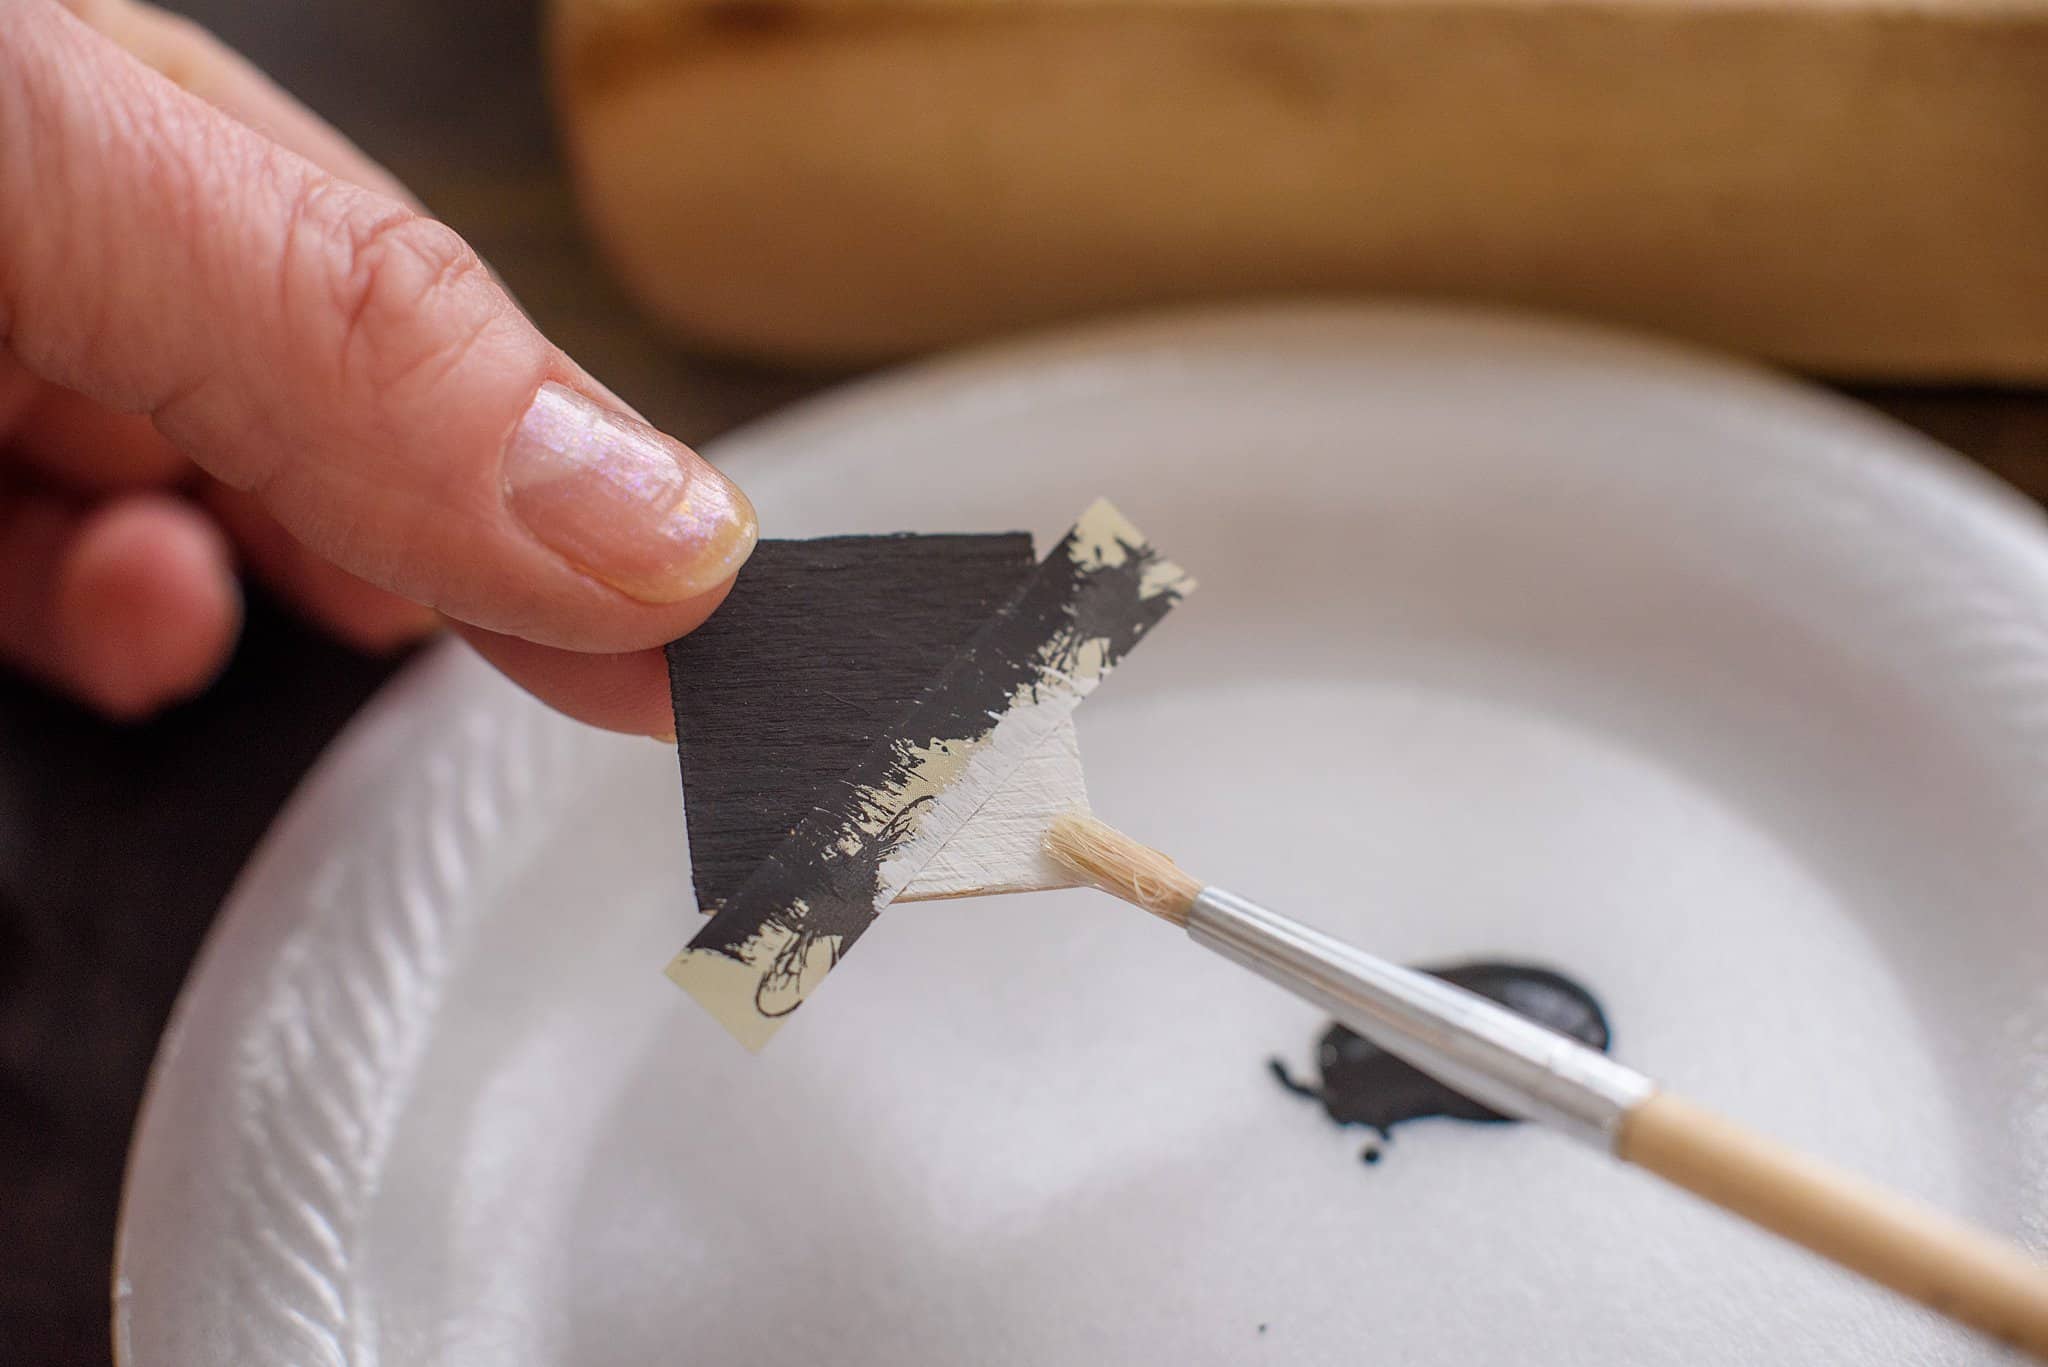
- Once it’s in place, paint either side with paint colors of your choice (we used black and white). Allow to dry.
- After drying, remove the washi tape.
- Next, place two pieces of tape to create a line.
- Fill the line in with paint (we used gold).
- Let dry, and remove the tape once dry.
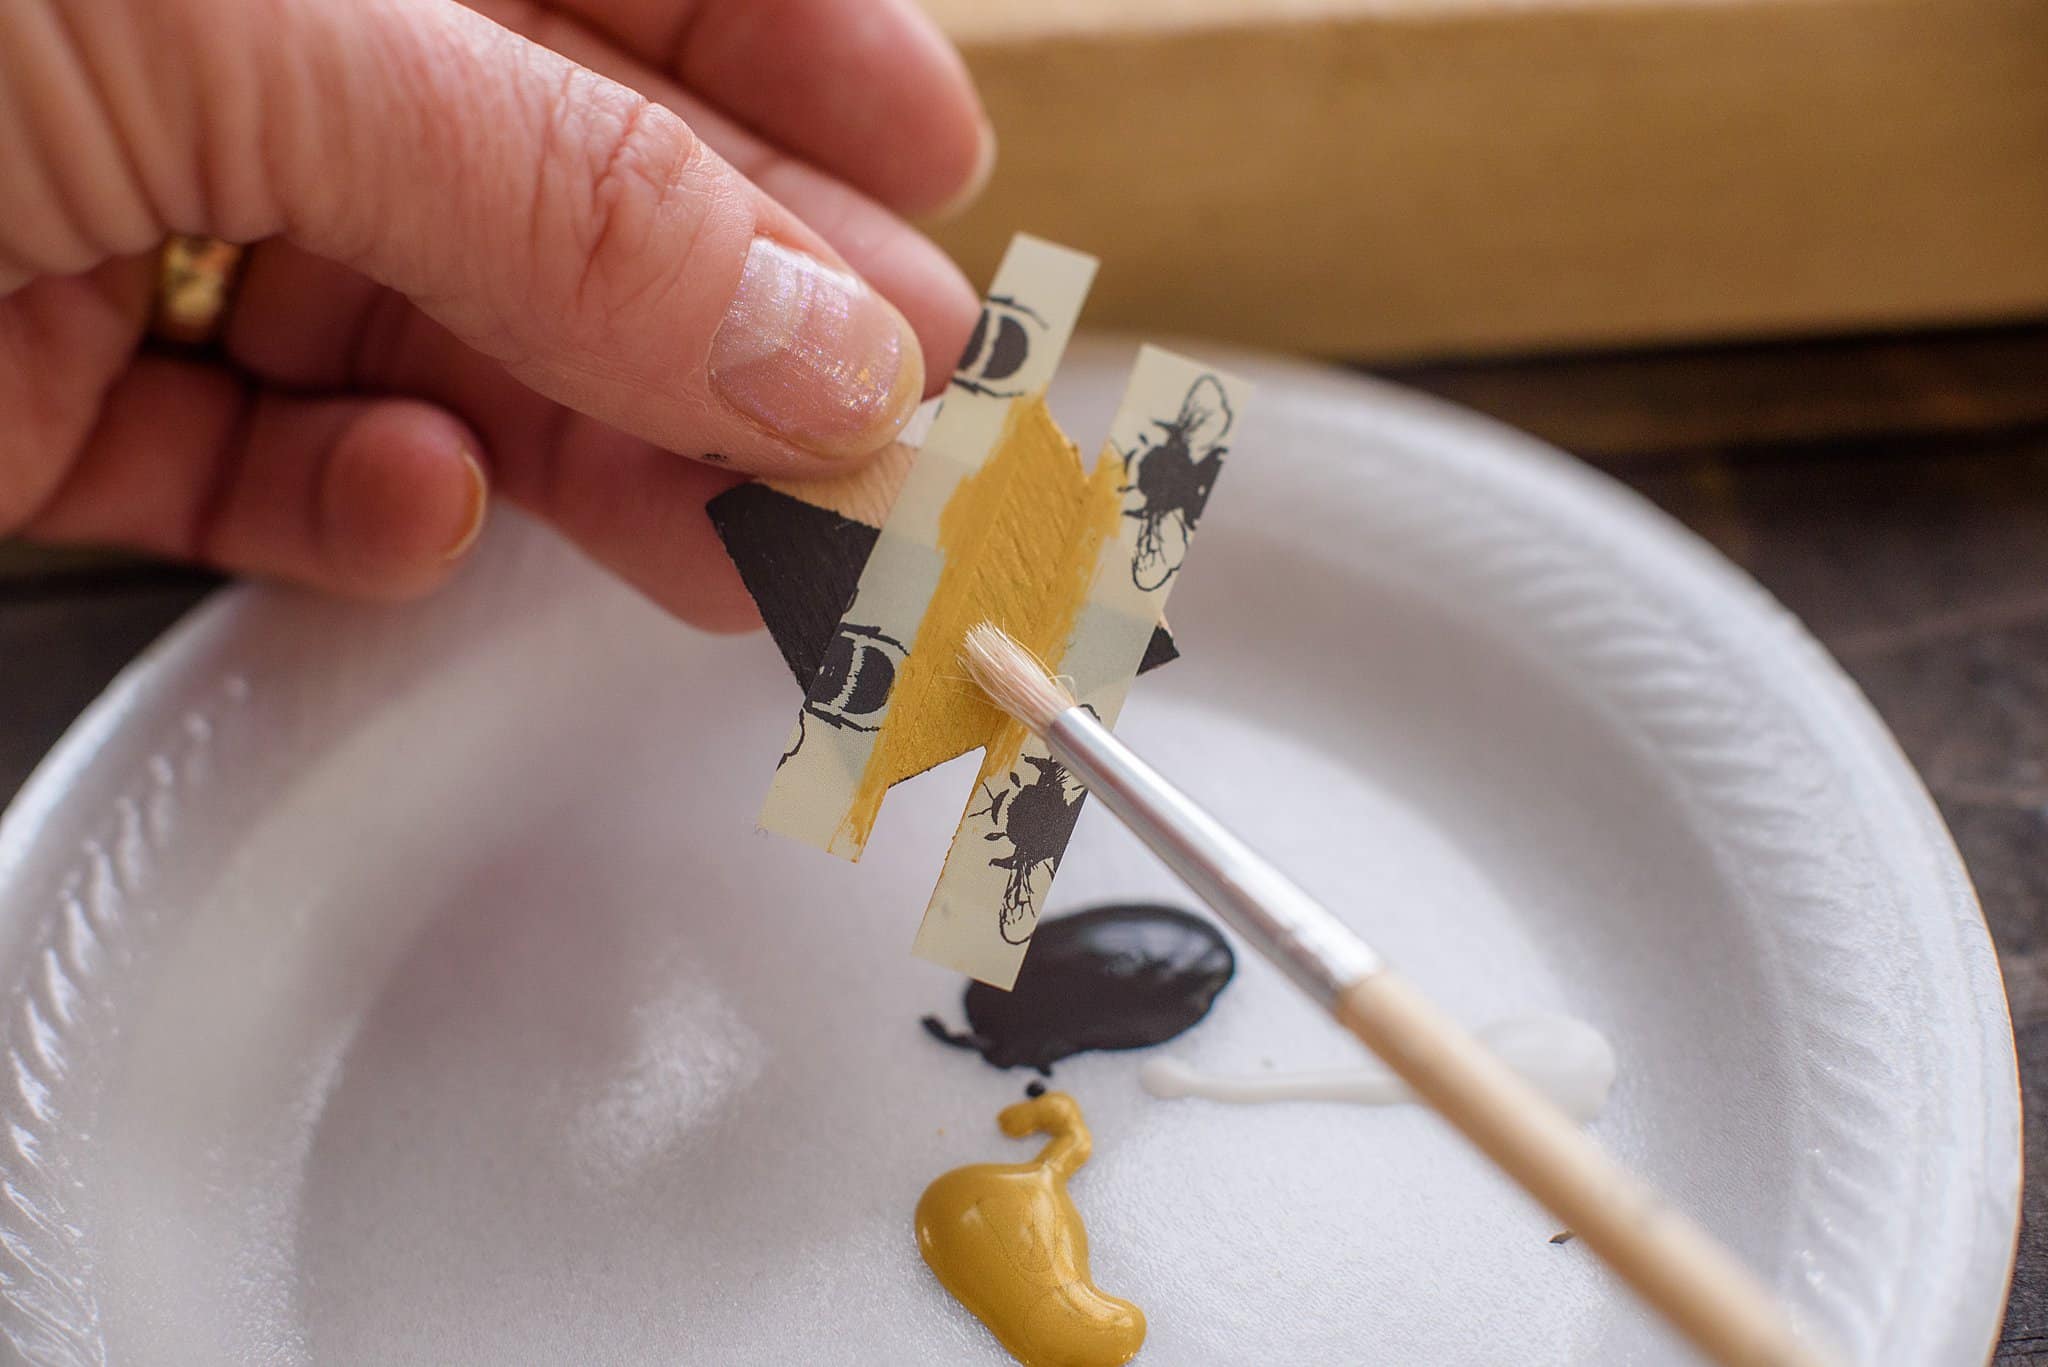
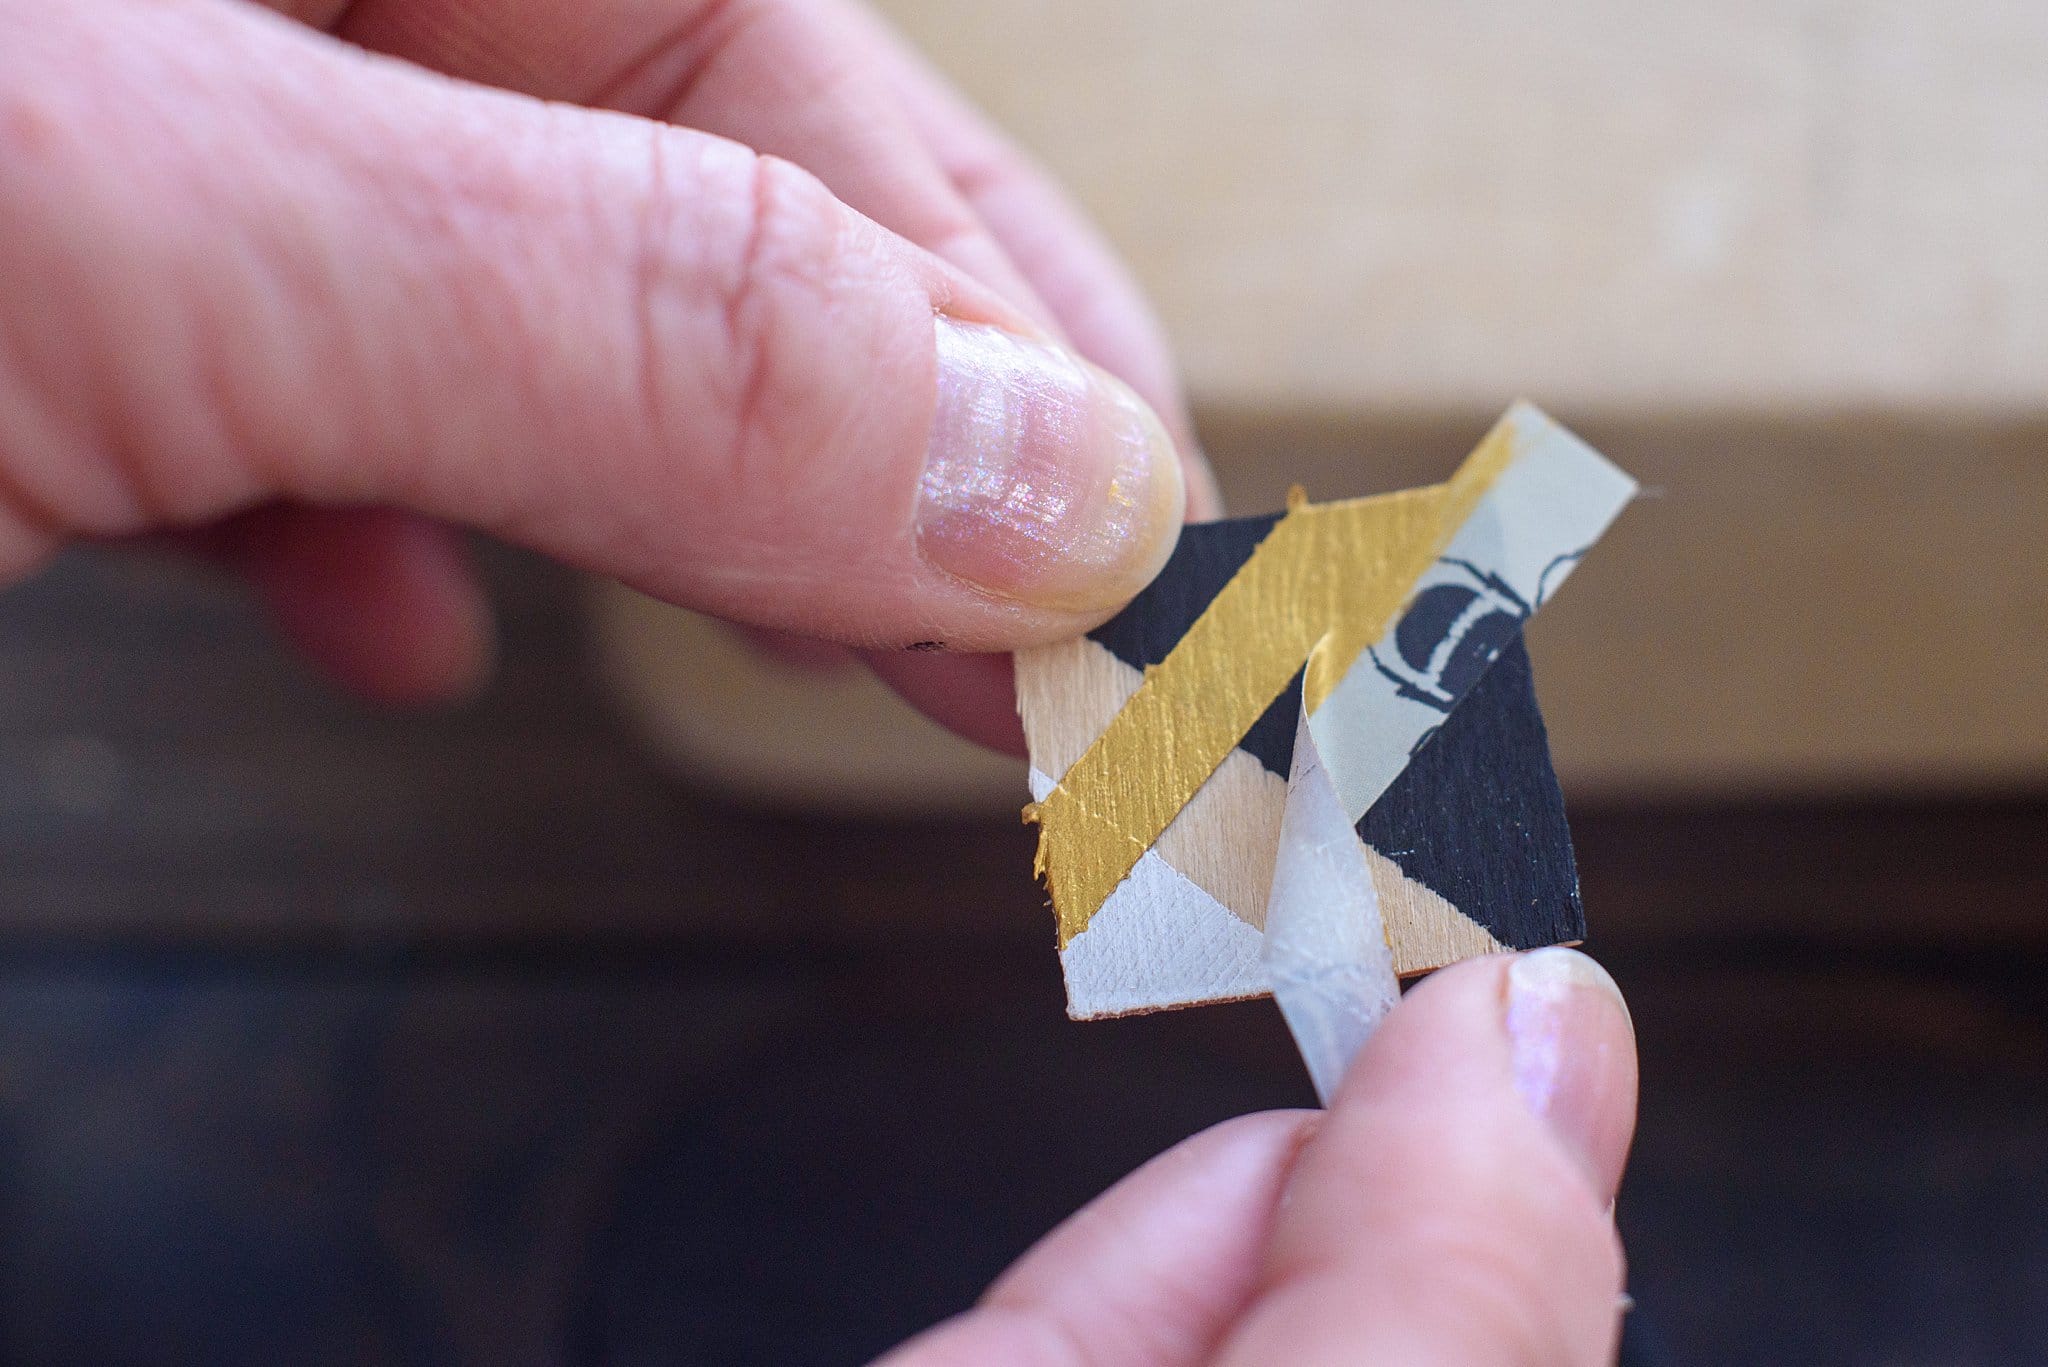
- Only paint one side of the square, and paint two squares per cocktail stir stick.
- Lay one square face down, and place a dot of glue in the middle on the back.
- Put the coffee stirrer on the glue dot.
- Glue the second square (facing out) on the stirrer so that the two squares align.
- Let dry and save to enjoy with a drink!
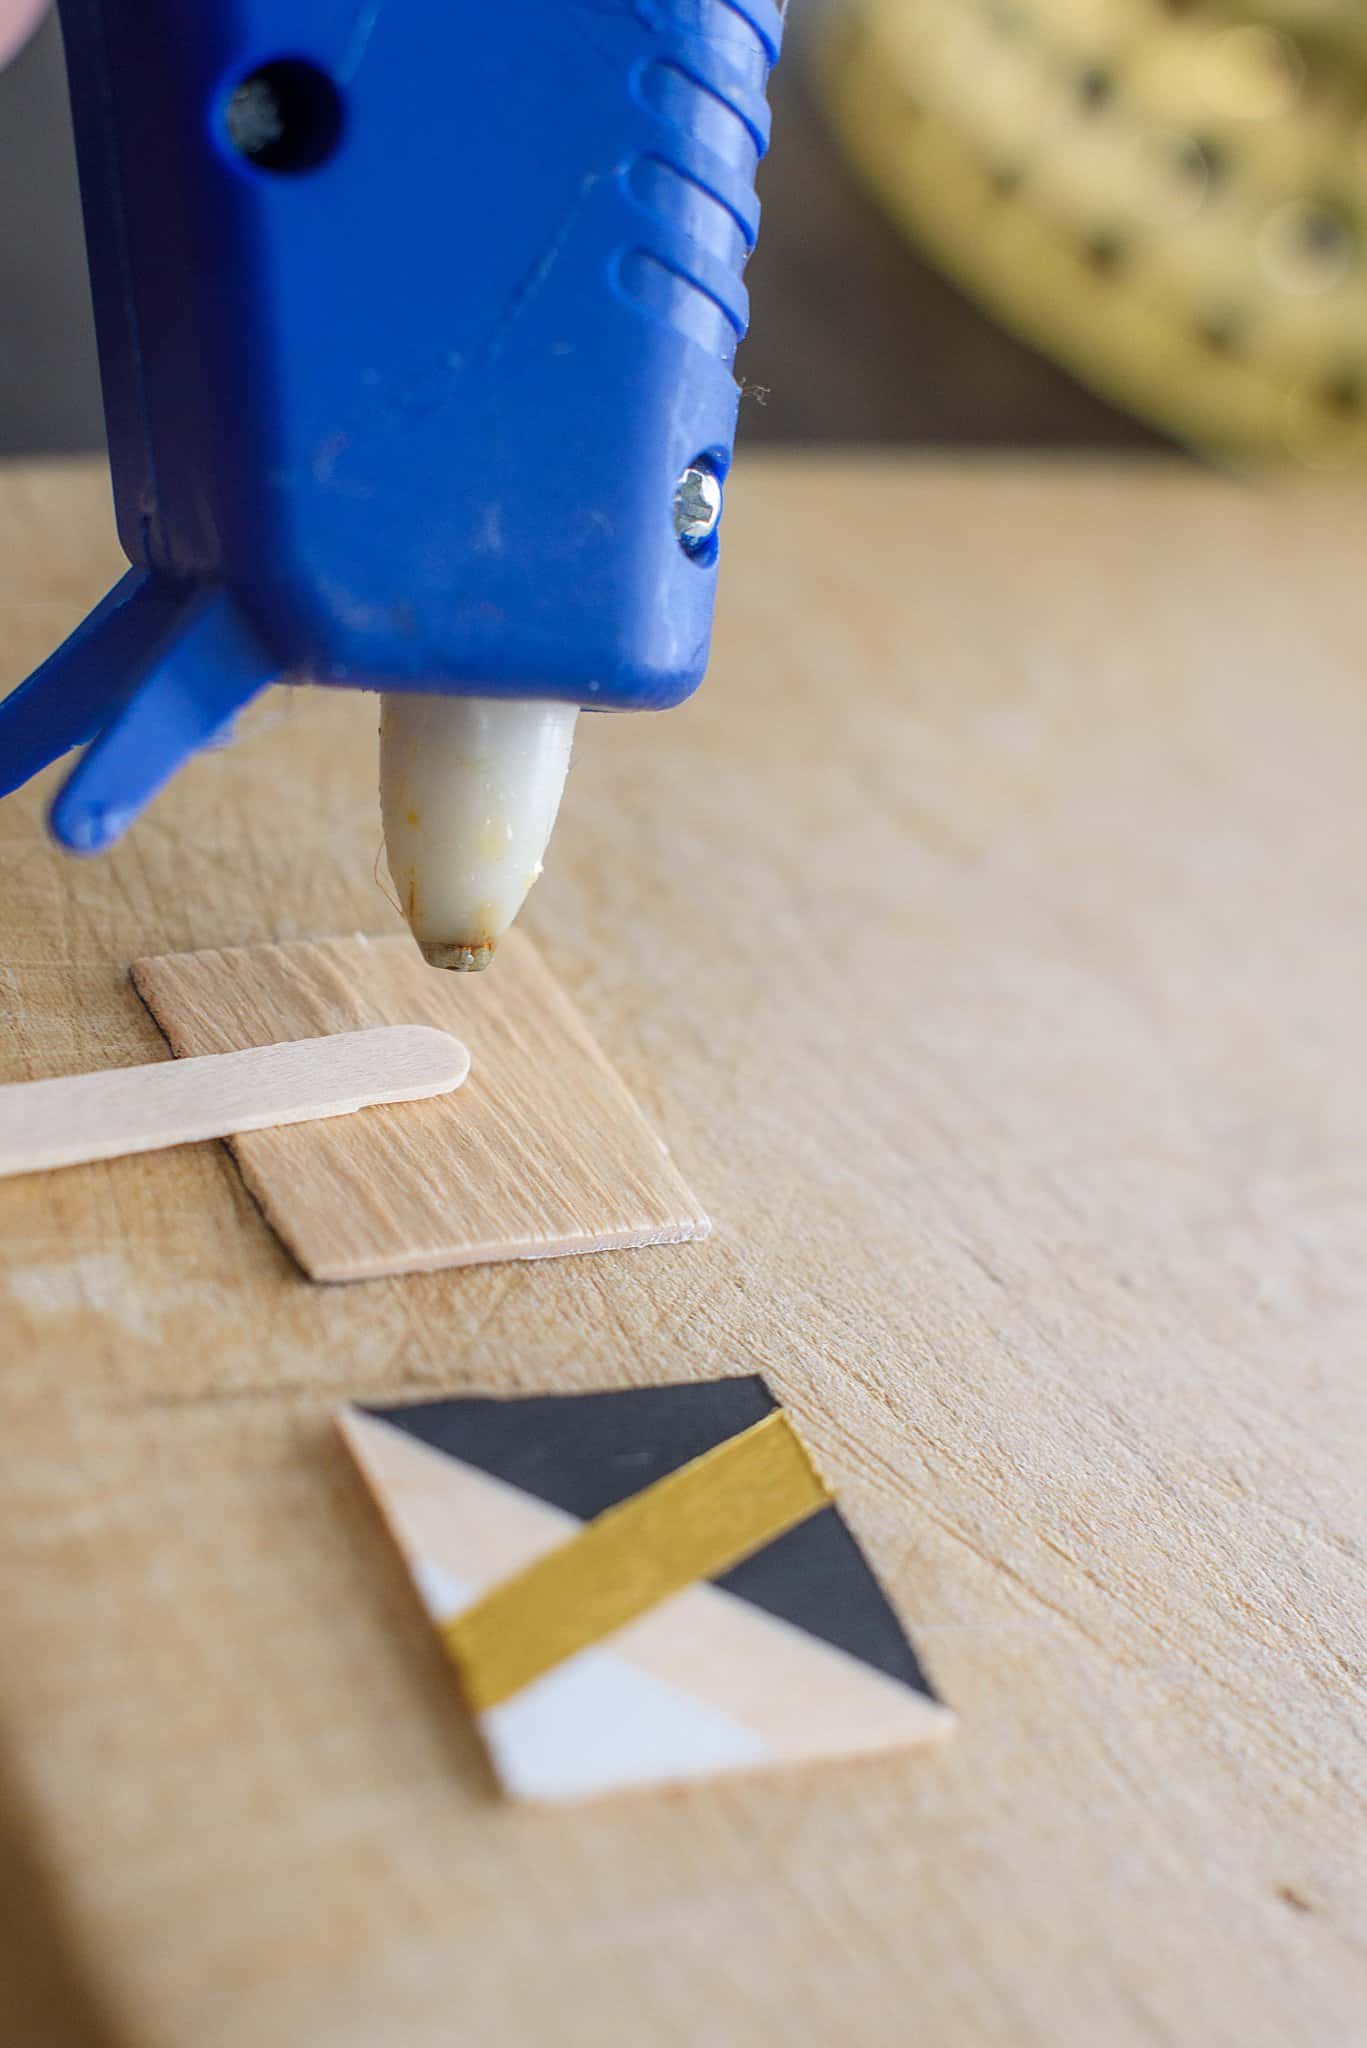
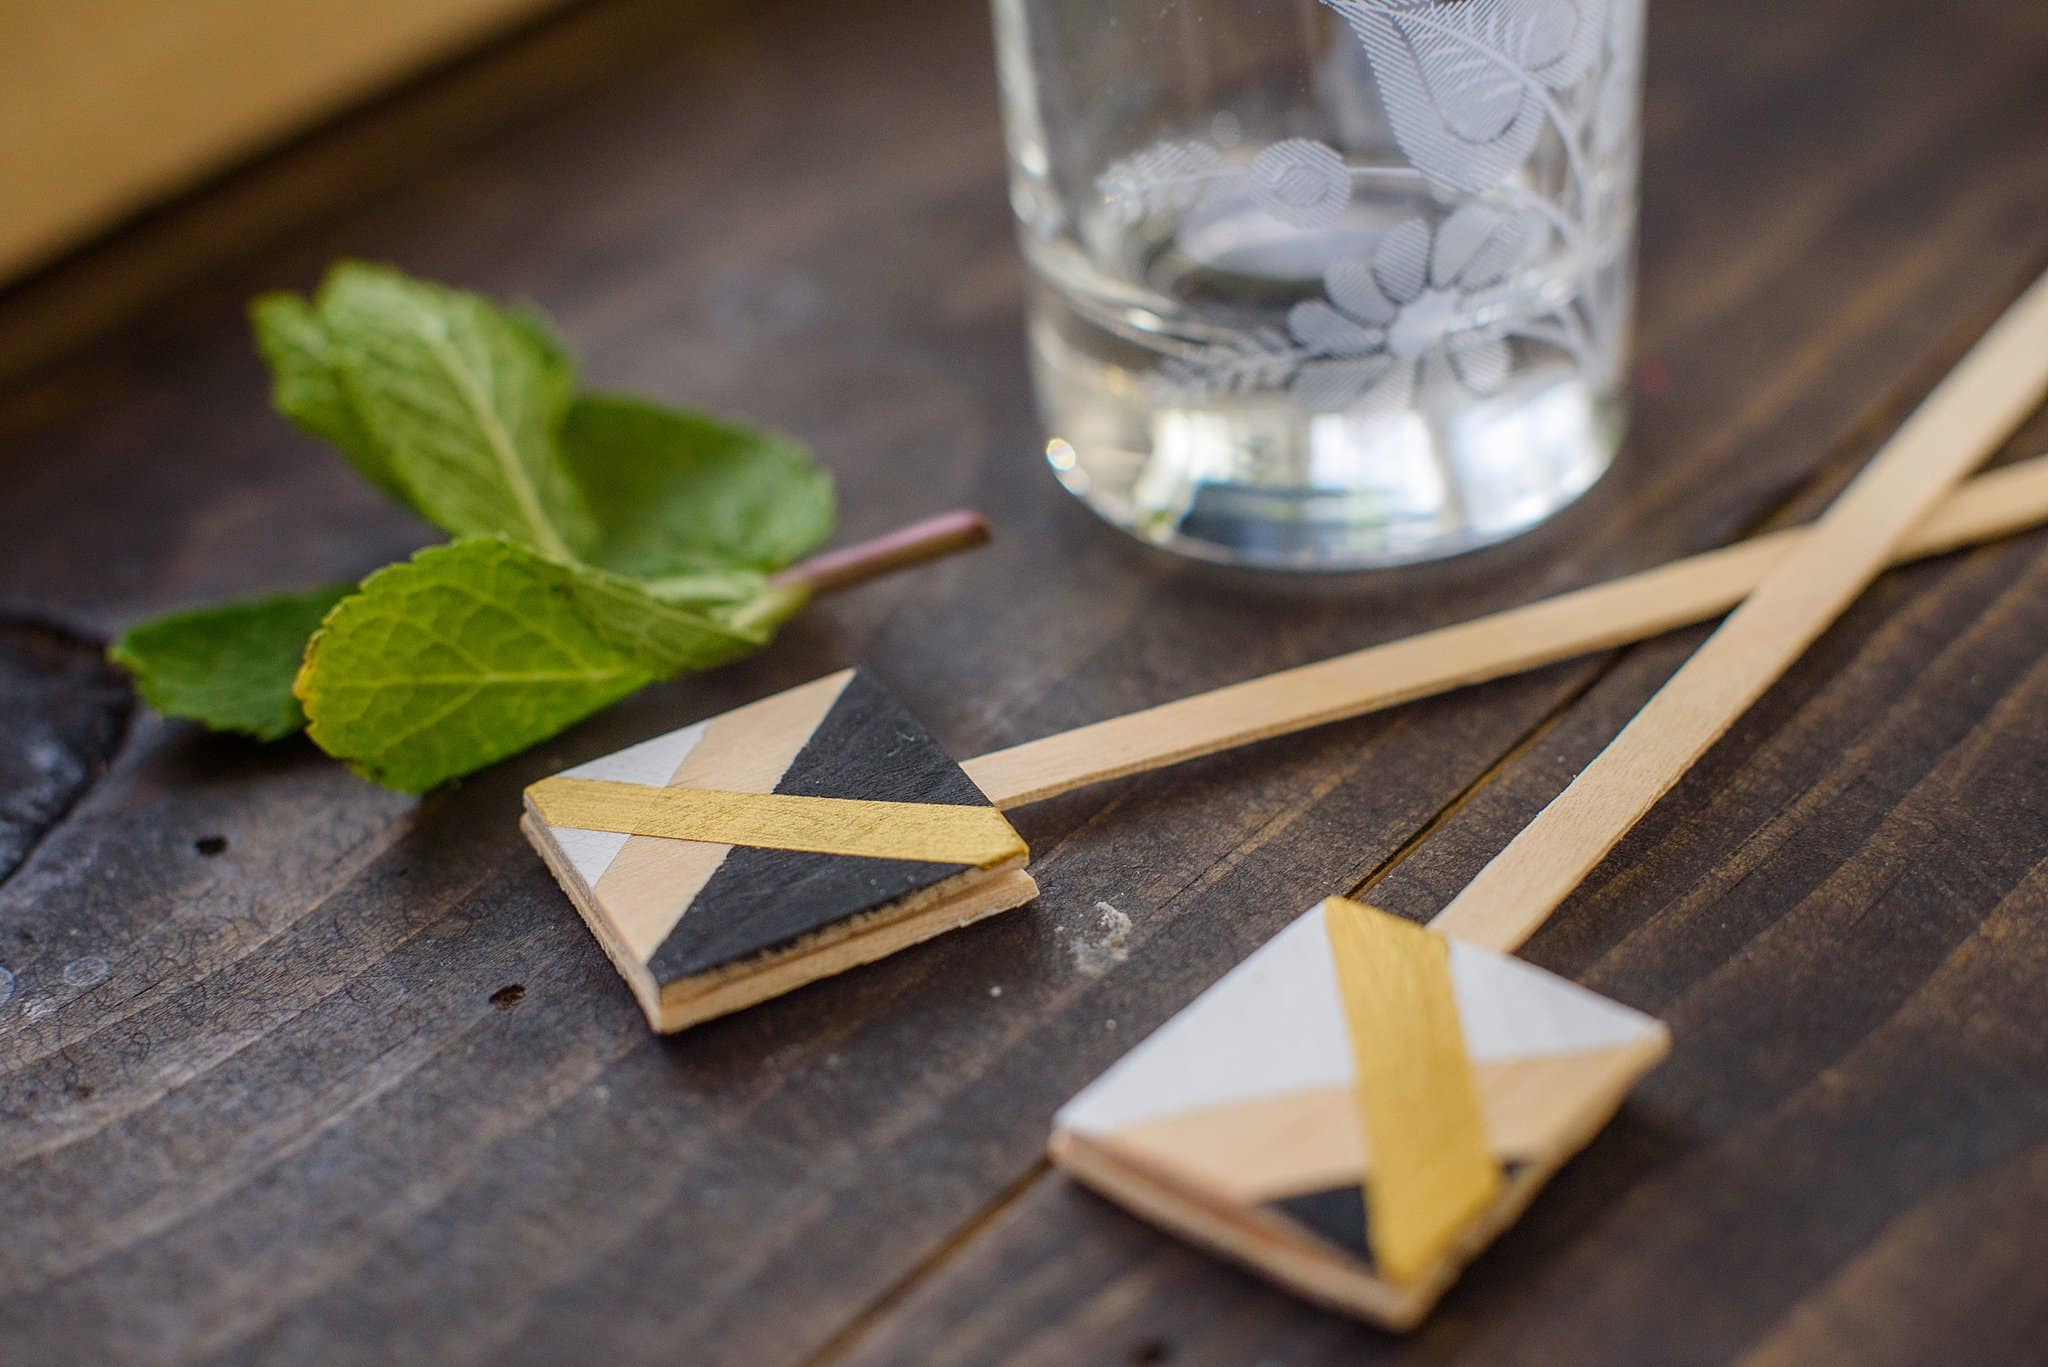
Want to make cocktail stirrers? Save it!
Watch the DIY video from my time on Daytime Blue Ridge!
photos by Amative Creative
