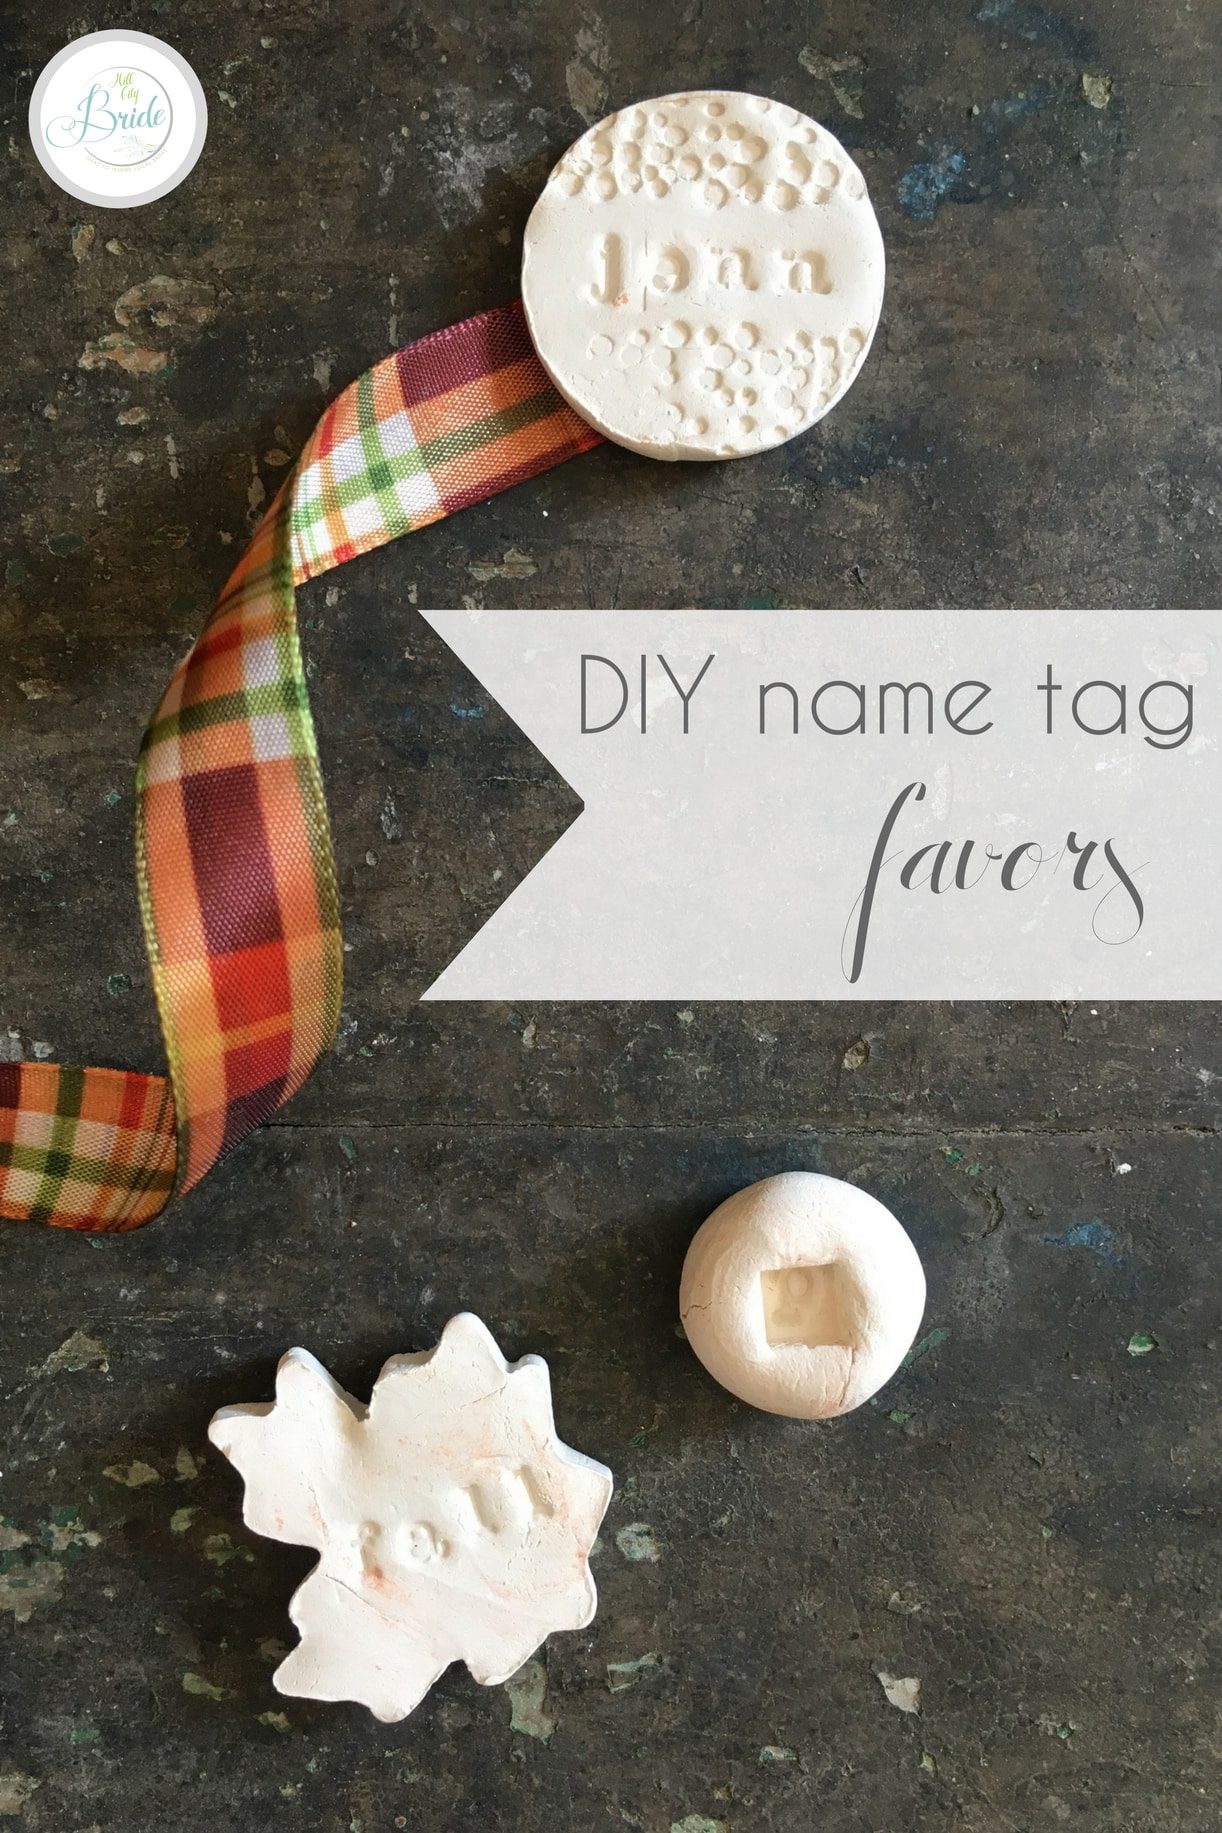
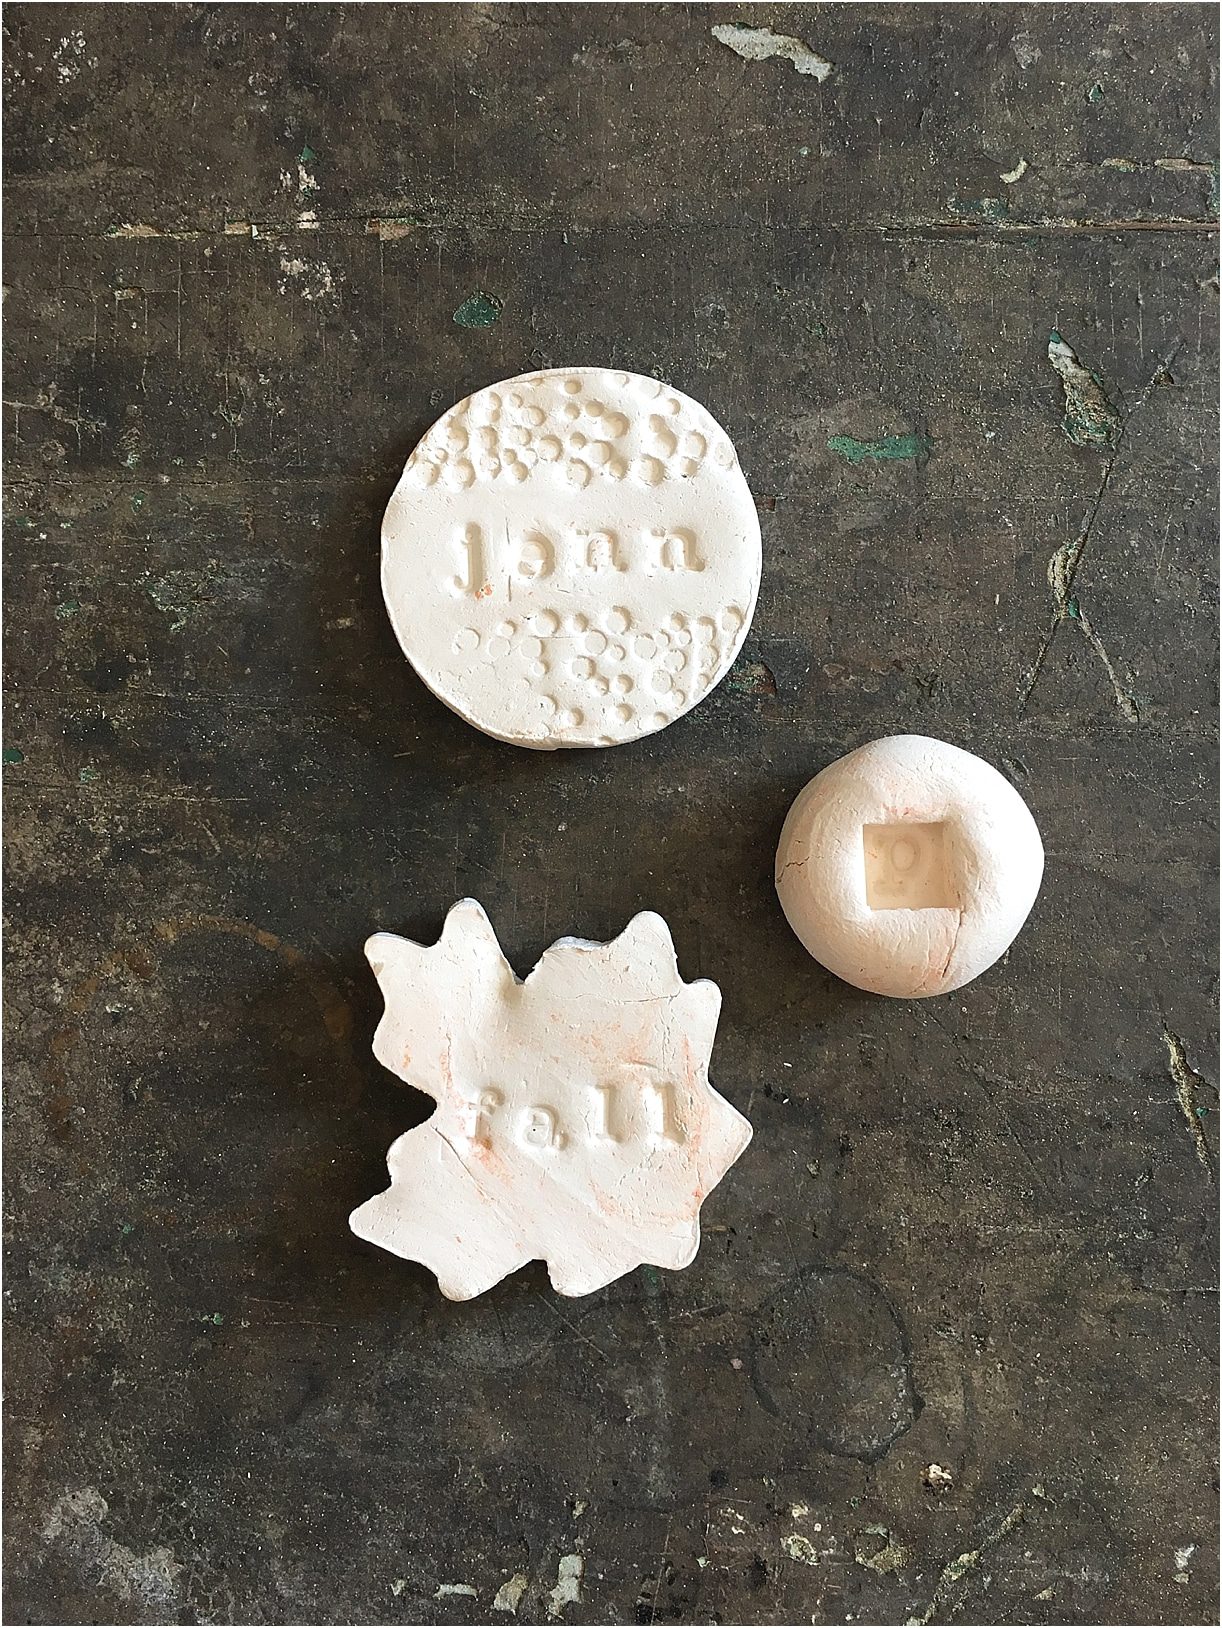
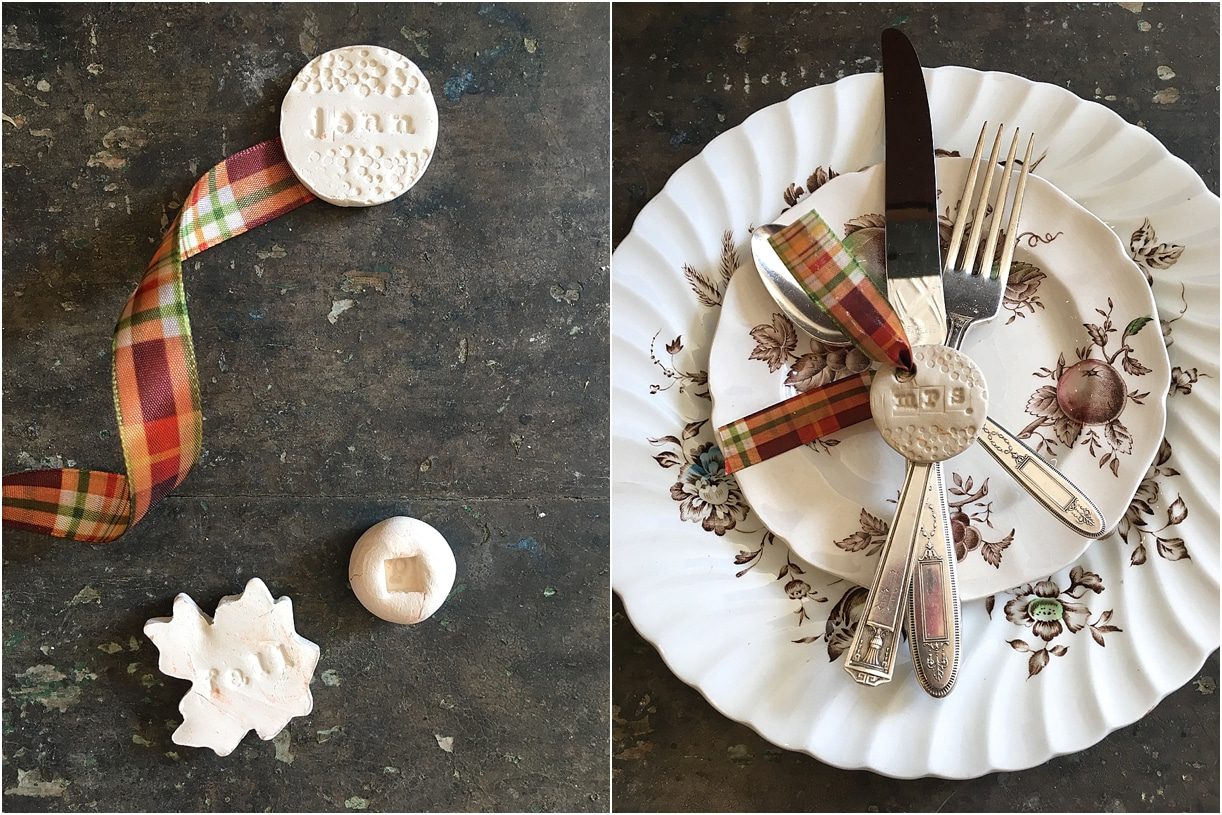
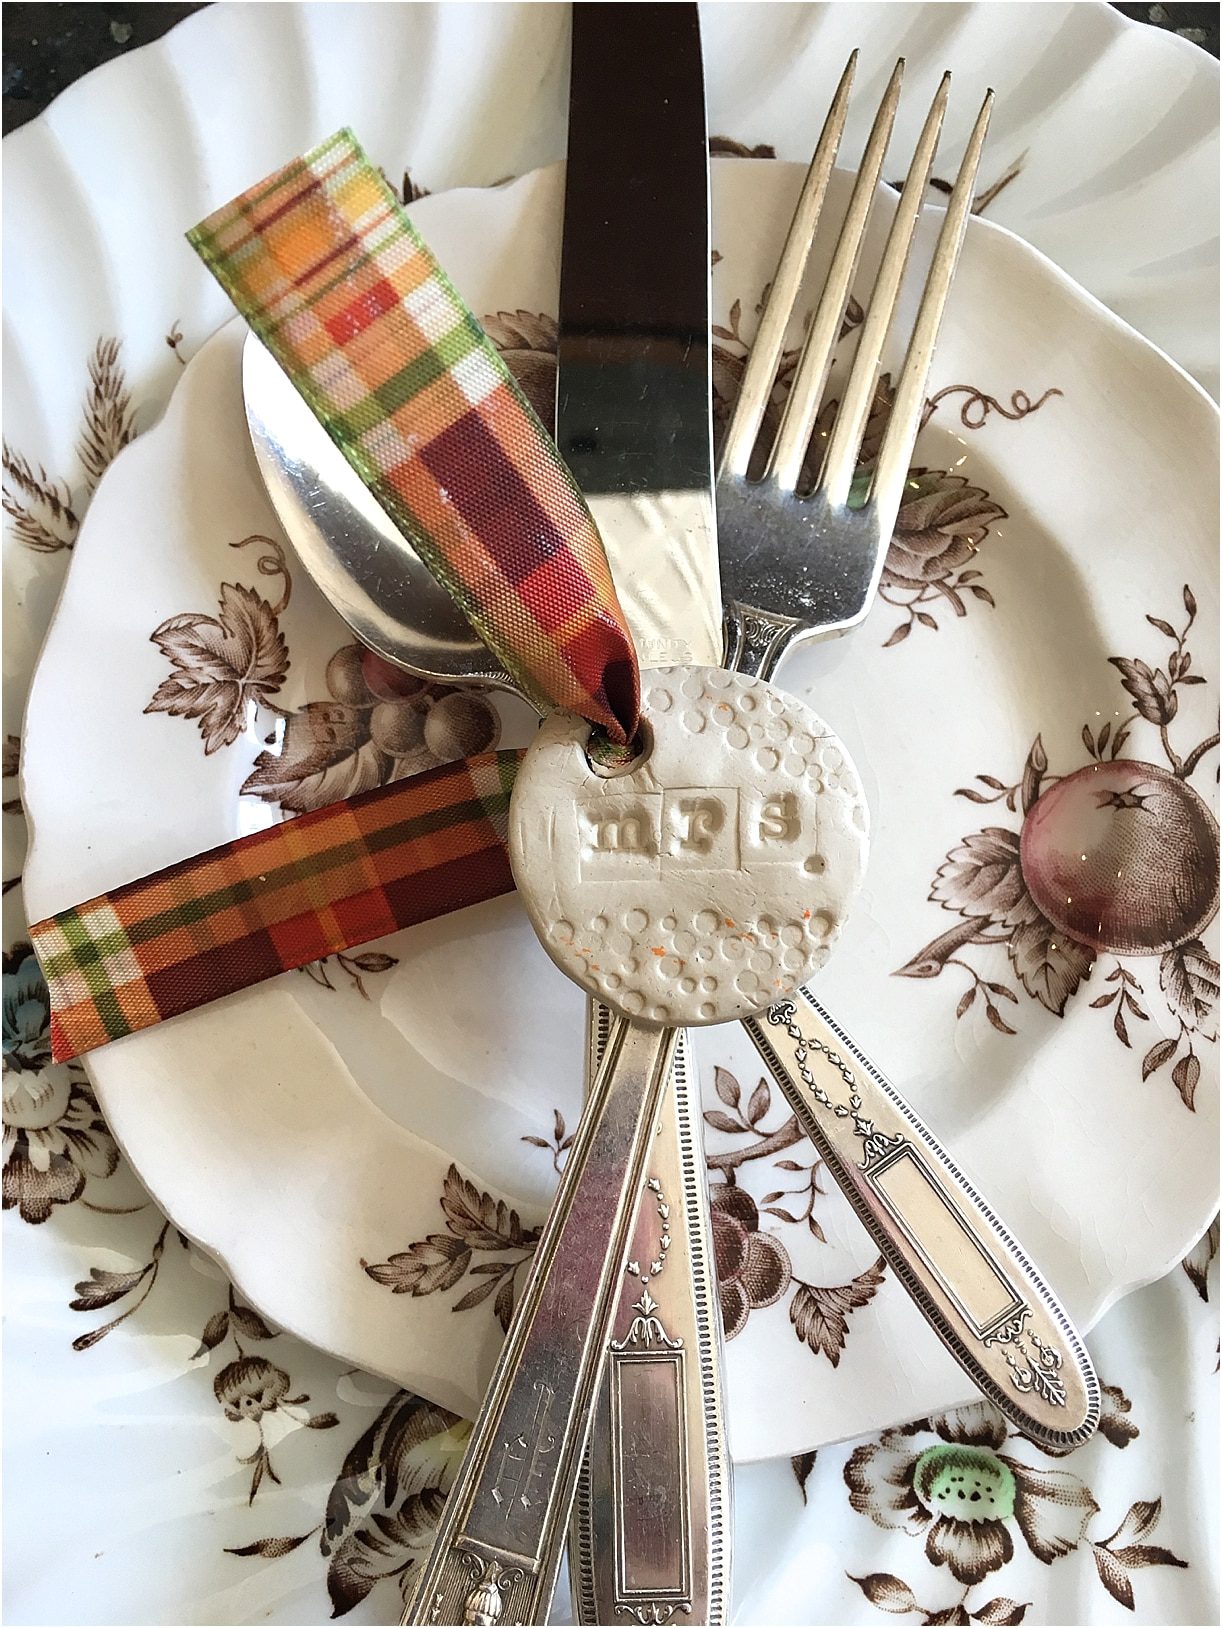
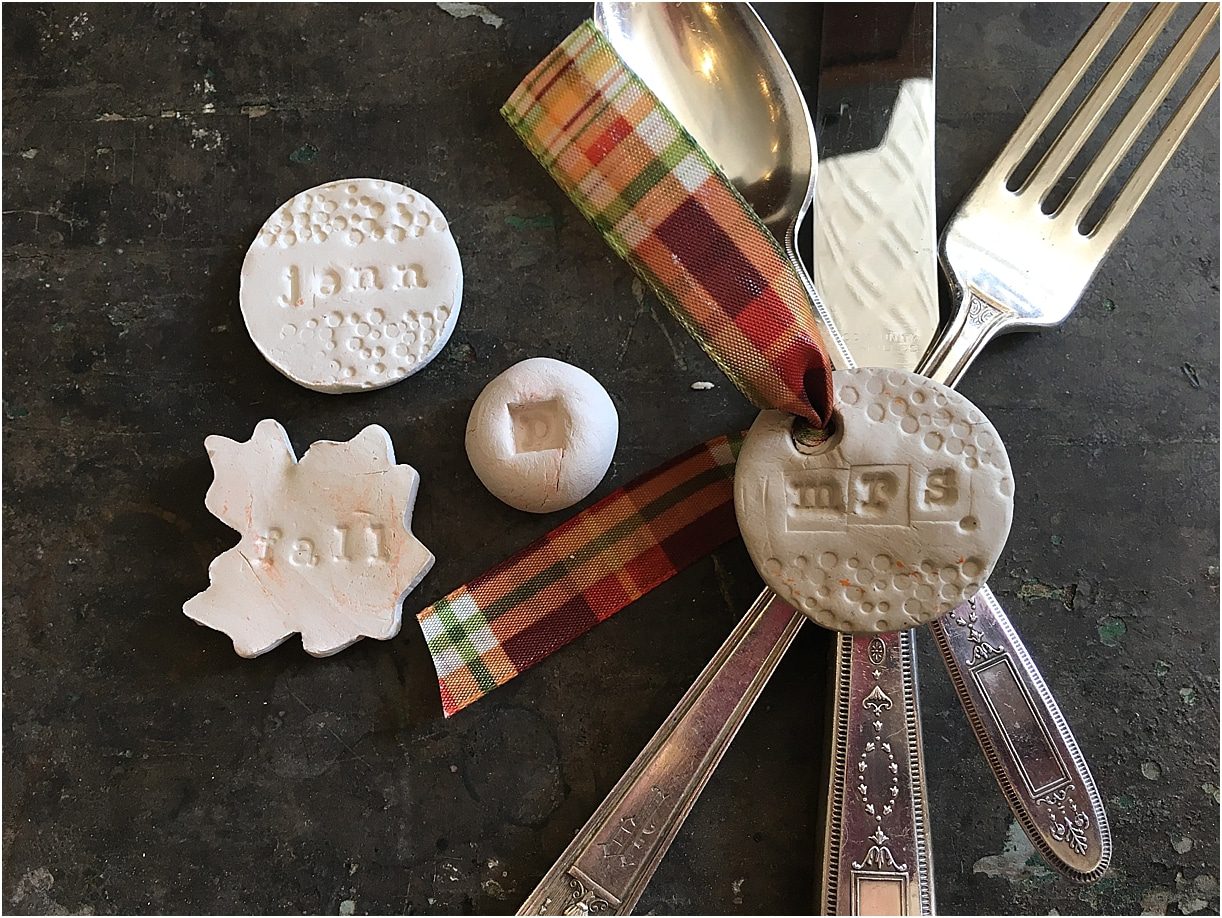
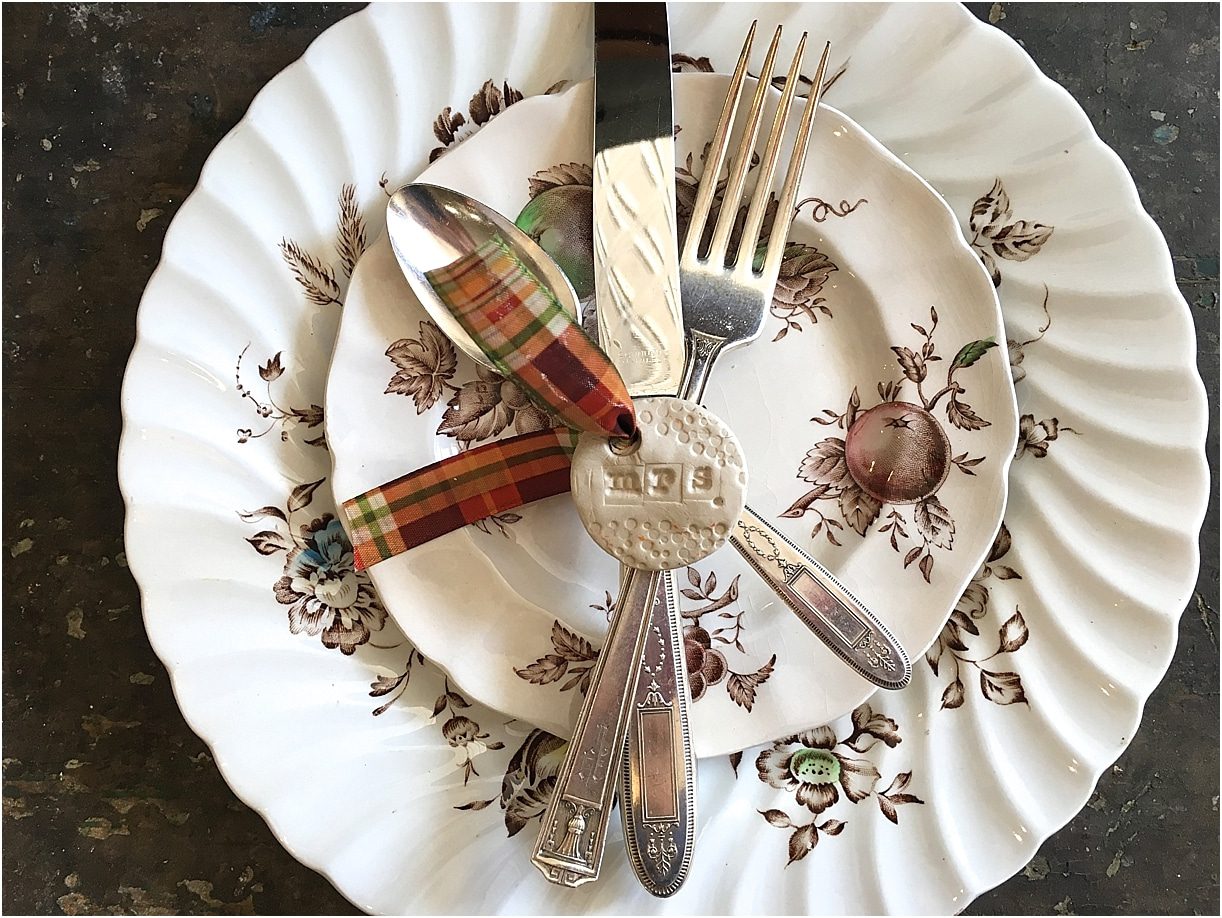
If you are looking for something high impact, yet inexpensive, look no further than these cute name tag favors that double as place cards and decor. Too cute! Whether you use them for your wedding or an event, they are just the right amount of personalization for each of your guests. I will also say that this is a very budget friendly project, which we all can appreciate!
Our post contains Etsy links, which help our blog grow through purchases. Thank you!
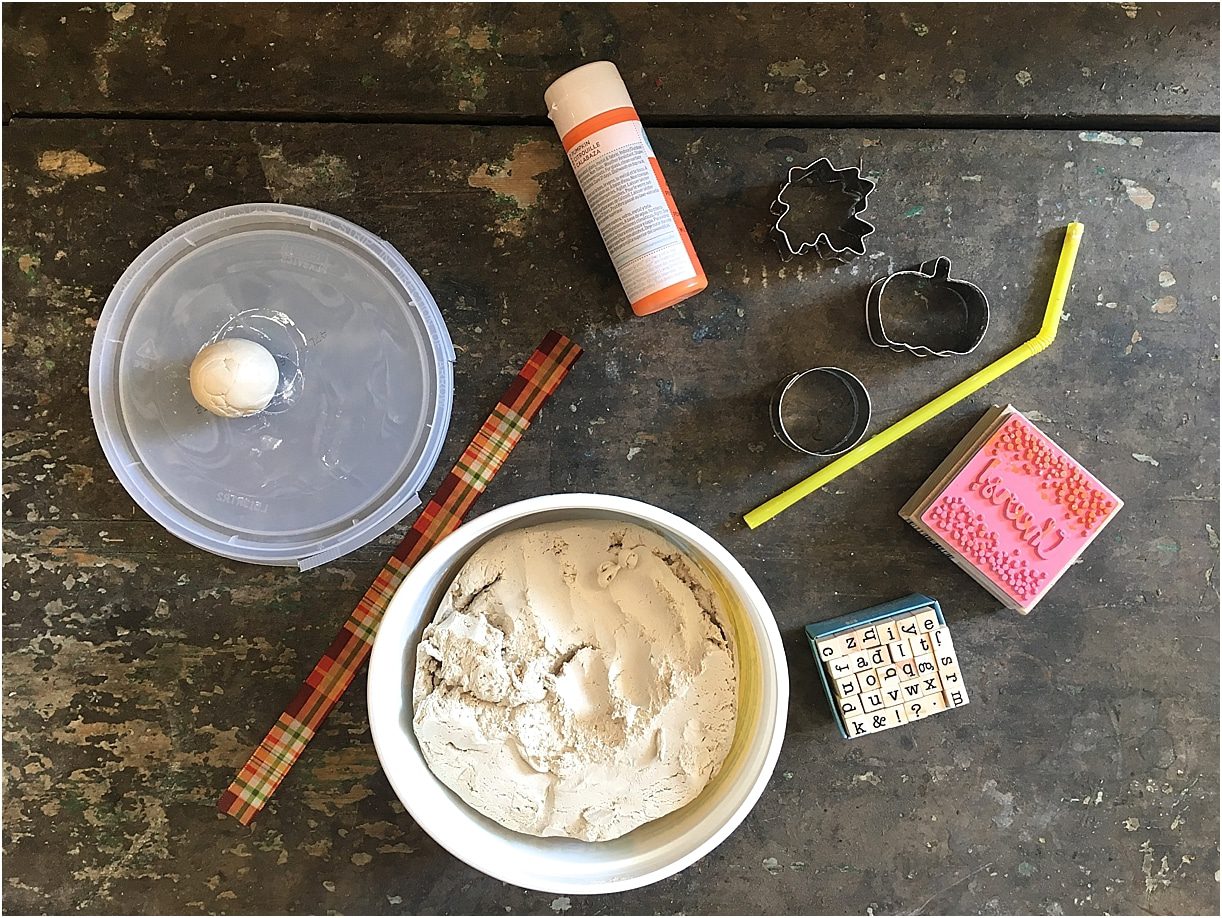
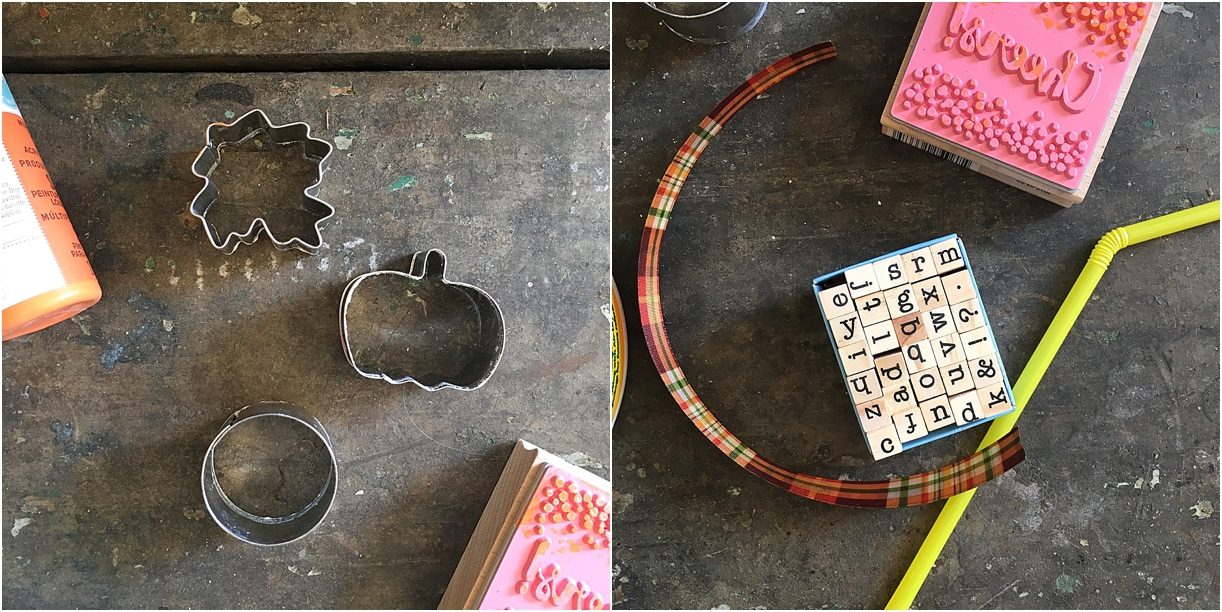
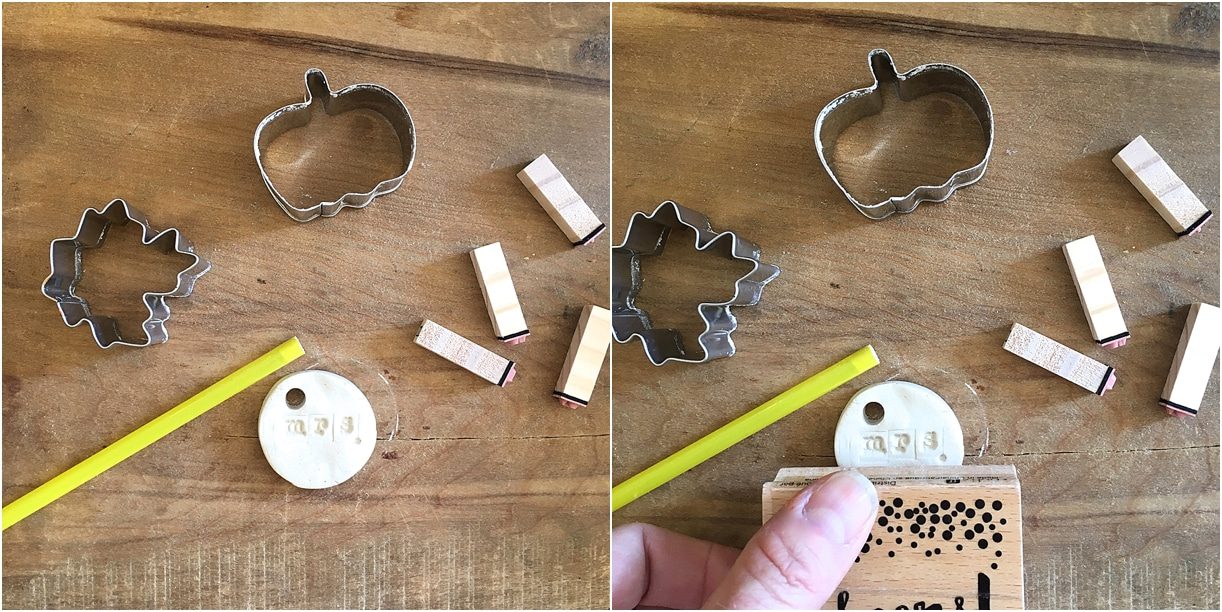
Supplies for DIY Name Tag Favors:
- Air dry clay (found here)
- Small cookie or biscuit cutters (found via Etsy here)
- Straw
- Rubber stamps (letters found here and decorative found here)
- Ribbon (autumn selections found here)
- Surface to roll clay
- Paint (optional available here)
- Magnets (optional available here)
Instructions for DIY Name Tag Favors:
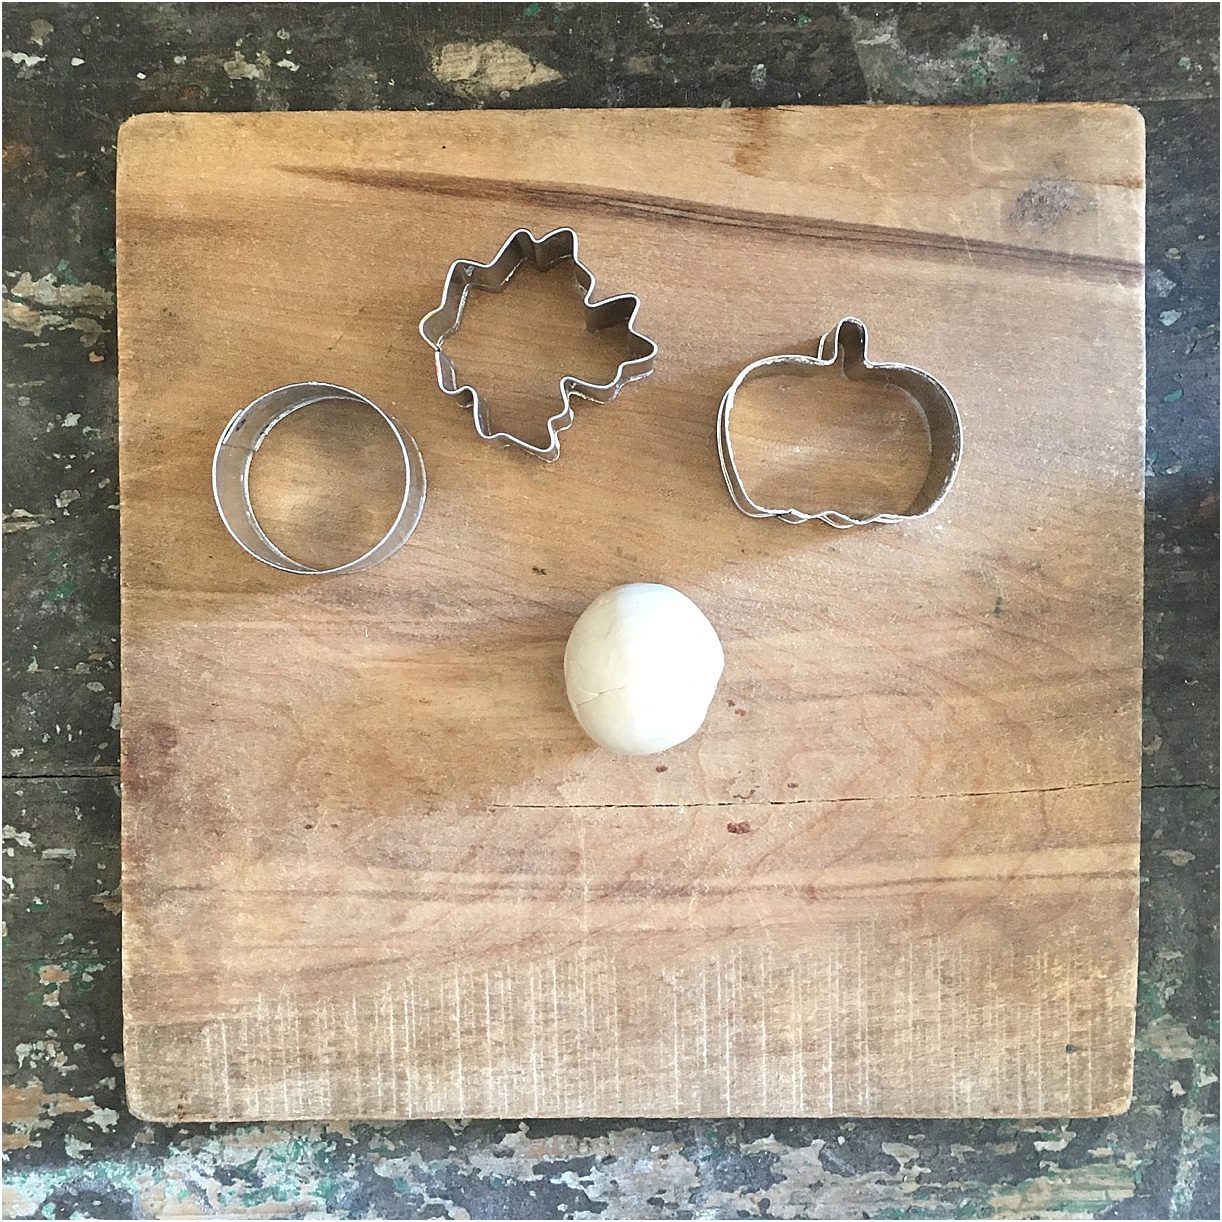
- Roll clay out into a ball.
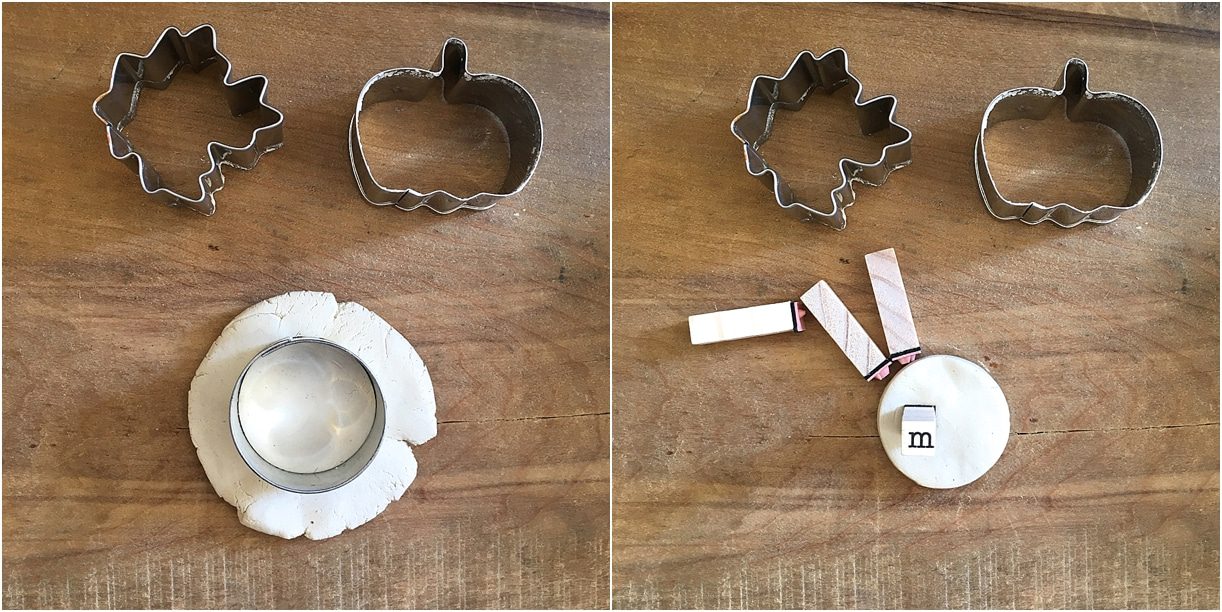
- Flatten the ball. The thinner you flatten it, the quicker it will dry.
- Use whatever shape you desire to cut the ball into a shape.
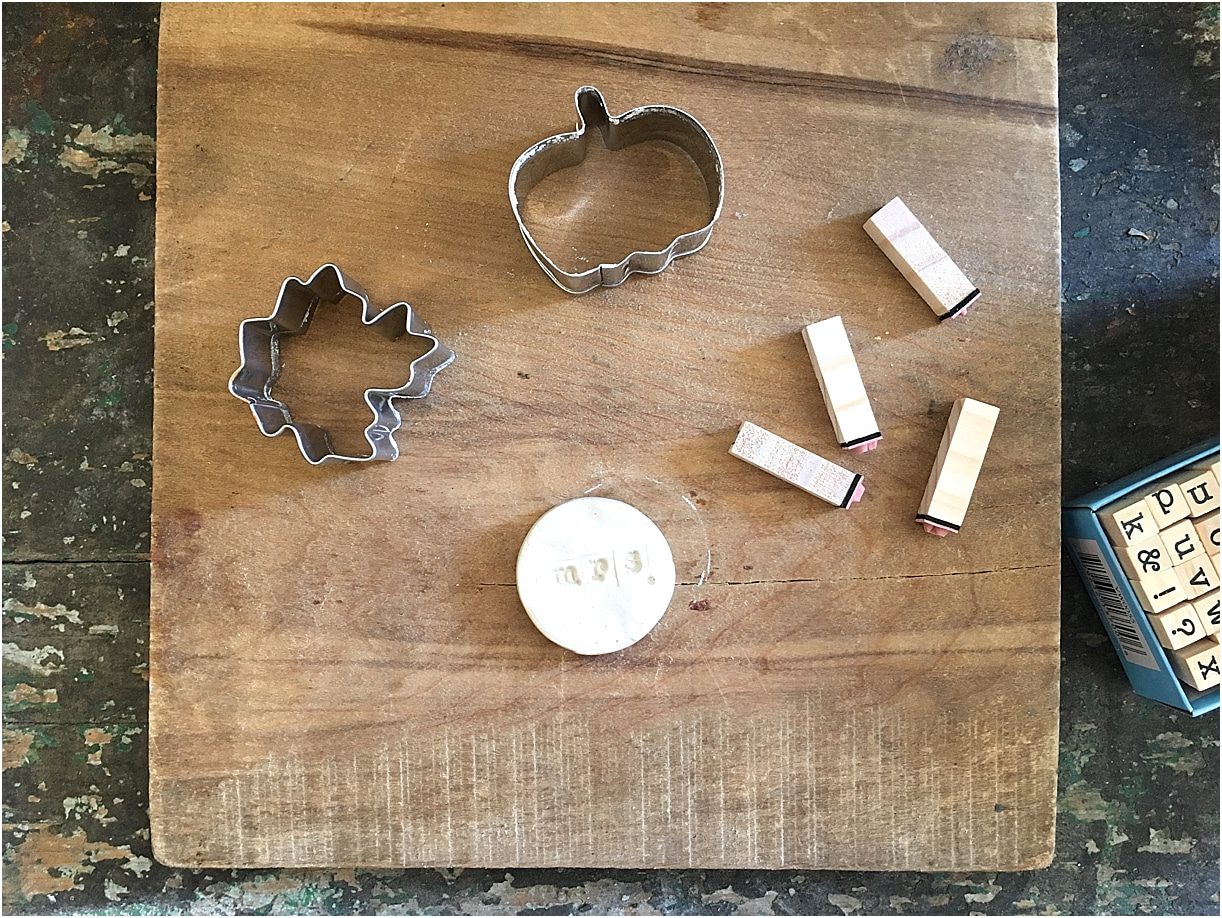
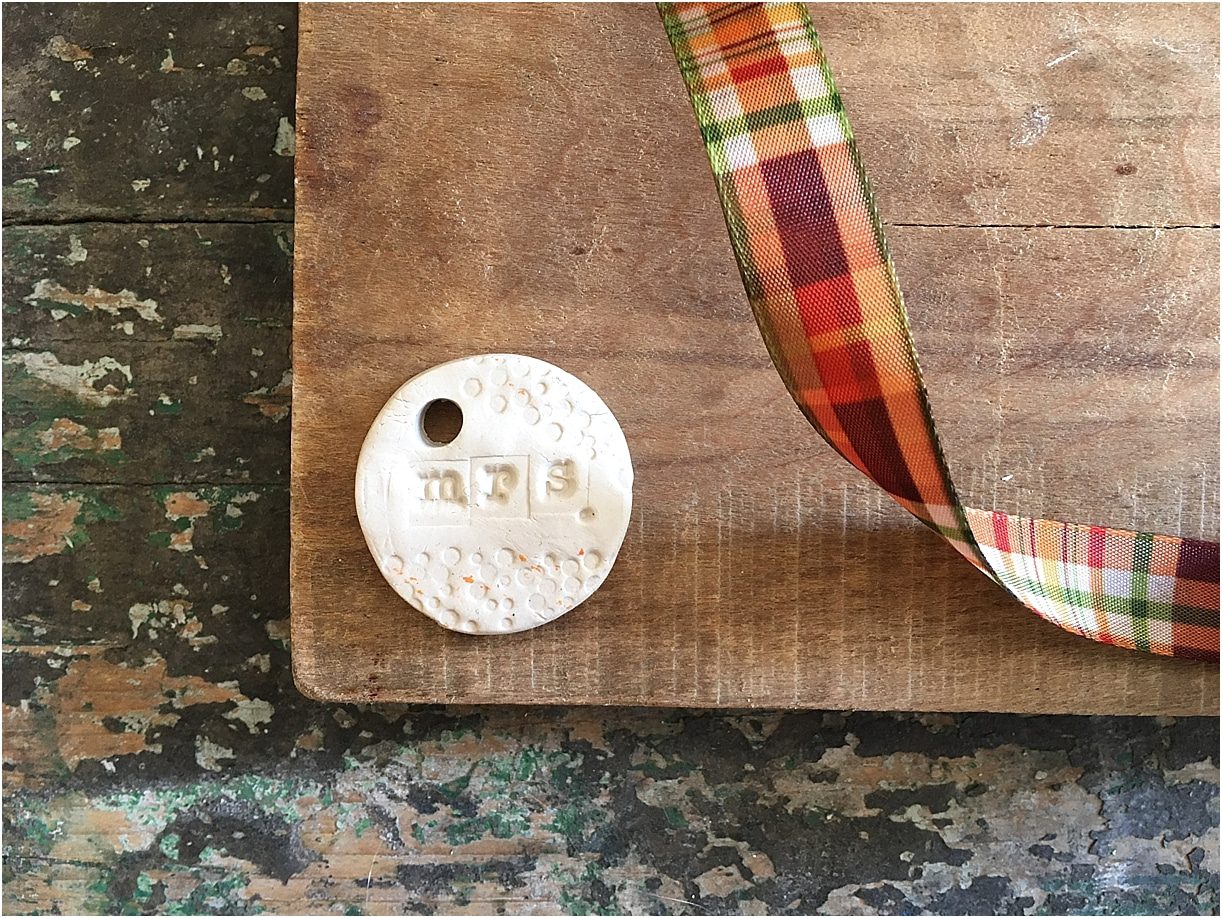
- Take your letter stamps and stamp whatever you’d like into it! Sentiments. Names. Get creative and have fun with your name tag favors! Use a decorative stamp to add a bit of extra flair, and a bit of paint will also add a bit to the detailing if you’d like.
- Use a straw to poke a hole into the clay.
- LET AIR DRY for 3-4 days (if you need a quick fix, place the pieces into the oven on 170 or less for a few hours).
- After the clay pieces are dry, string a ribbon through, and you have your name tag favor!
Other DIY name tag favor ideas:
- Stamp your guests names.
- Place the name of the season on your clay.
- Make a ball of clay, and press your letter deep into it to give a wax seal feel.
To any of the above suggestions, hot glue a magnet to the back, and they have a practical keepsake for their home!
Be sure to check out our DIY segment on Daytime Blue Ridge that shows you how to make these!
Looking for another fall DIY project? Just click here to see another!

