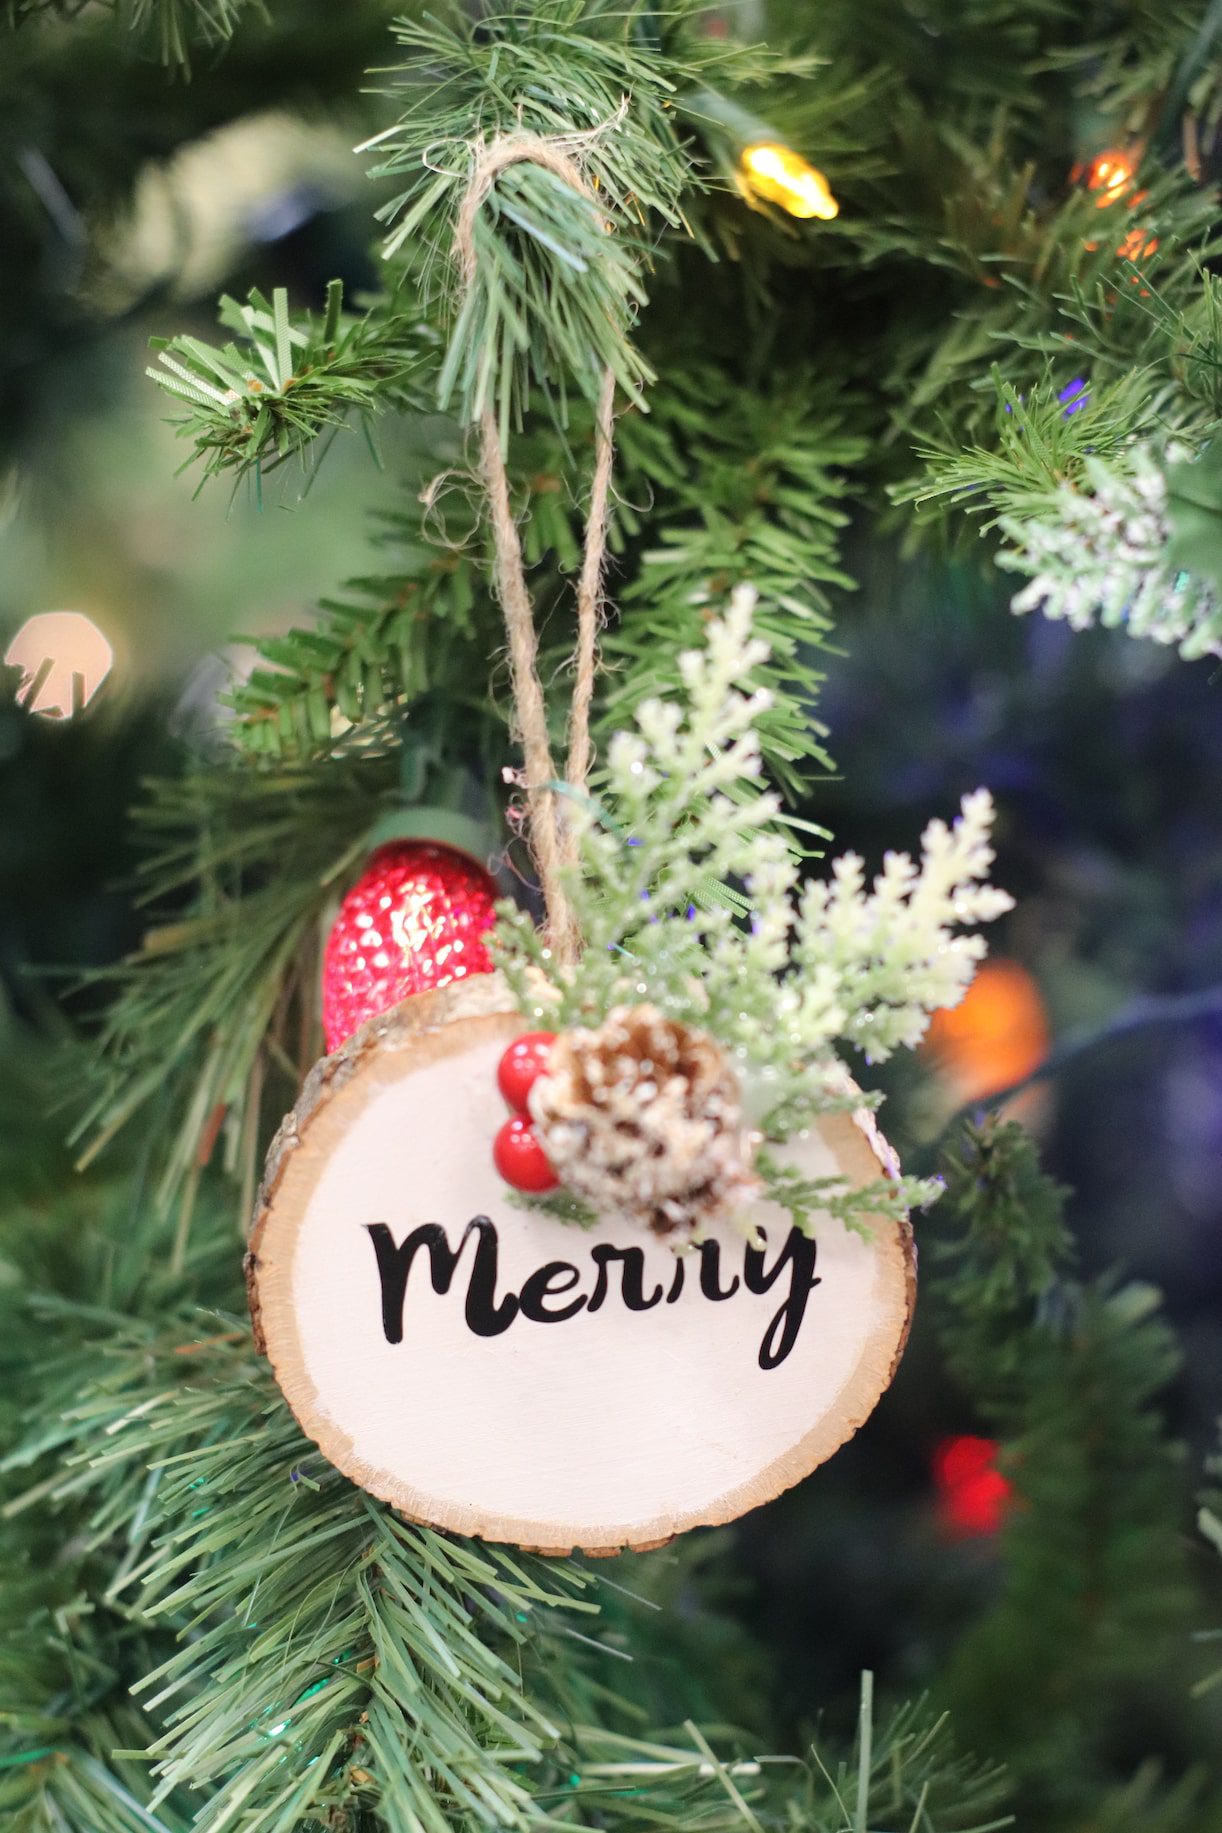
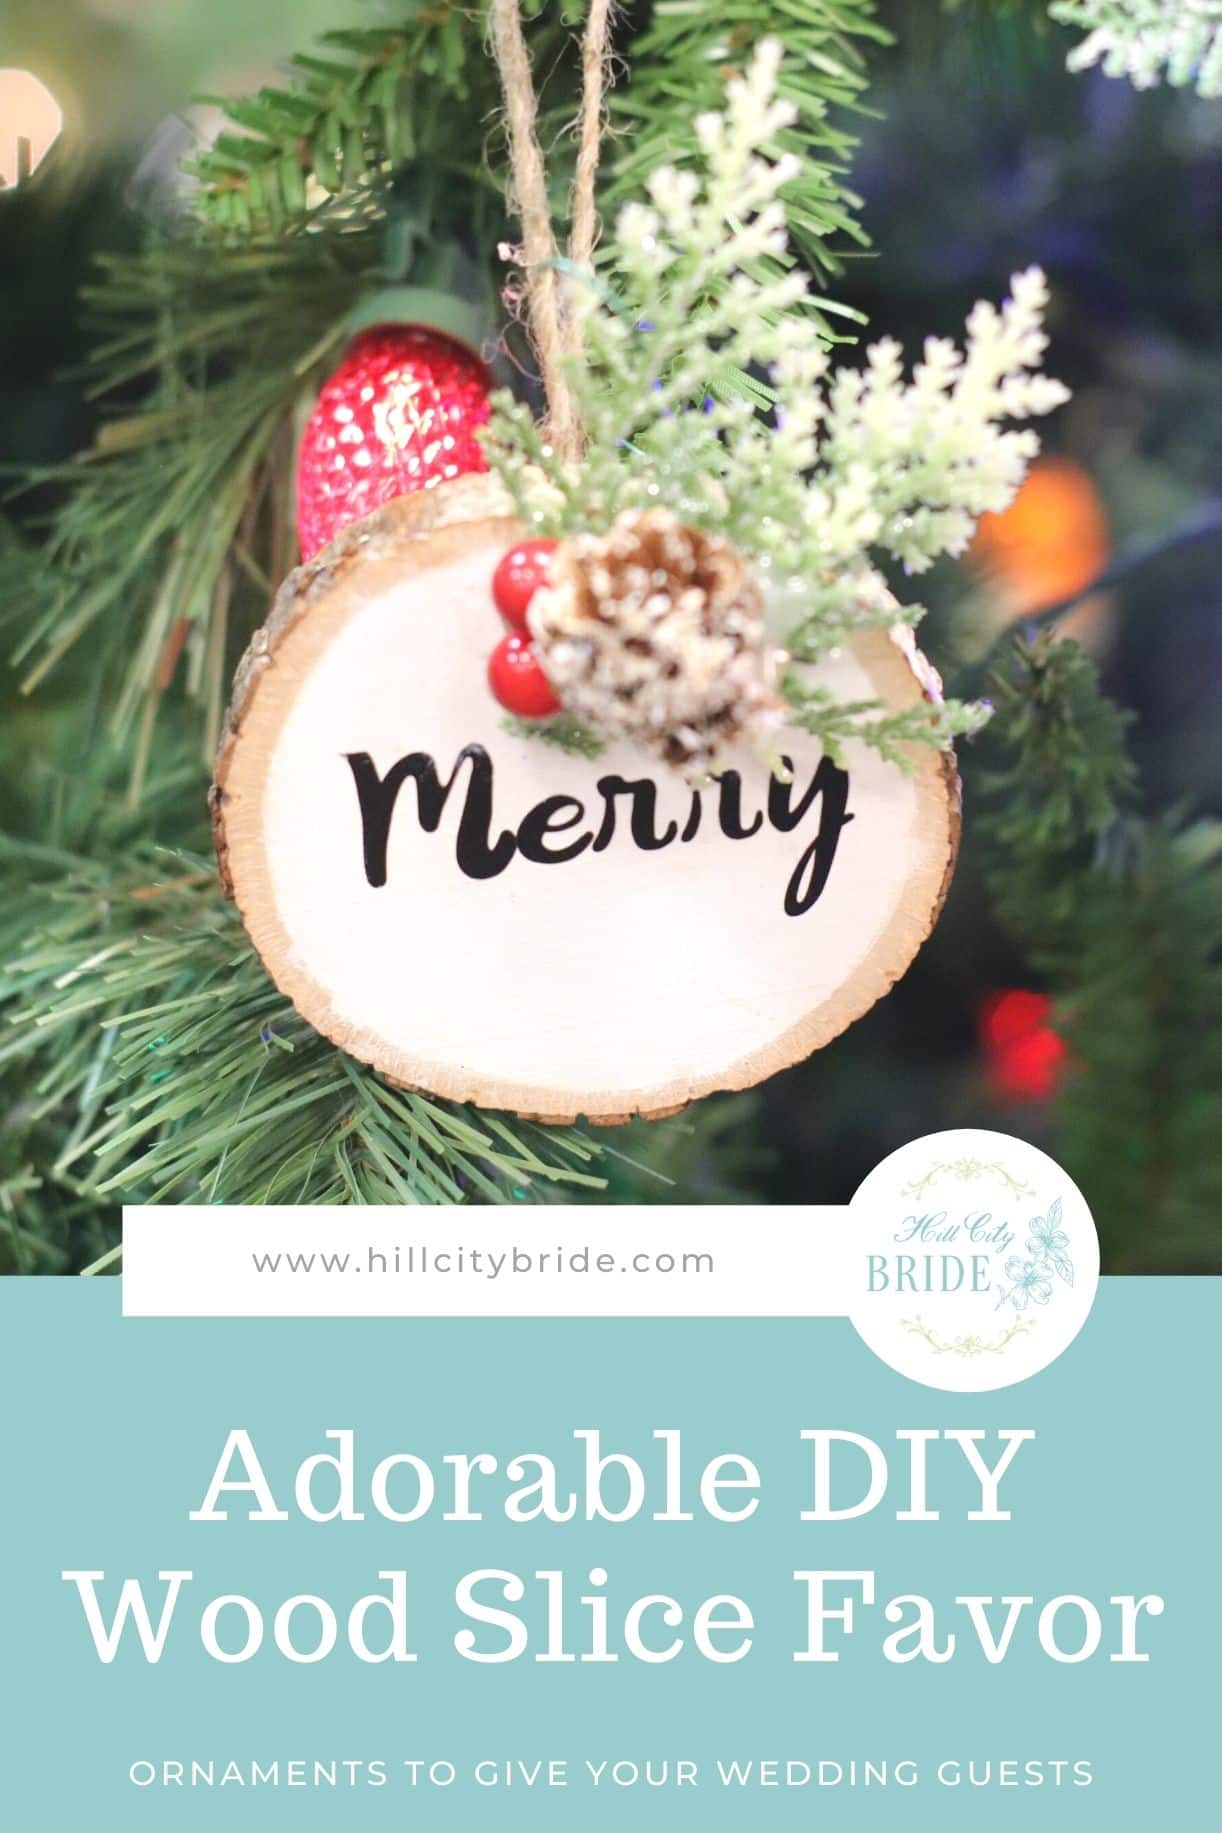
Love farmhouse style? It’s such an adorable look, especially around the holidays! If you’re looking for wooden Christmas ornaments to make as wedding favors, these DIY wood disc ornaments are perfect. Transform wood slices into thank you gifts for your guests with our simple instructions.
Our post contains affiliate links, and we may make a small commission from purchases.
Why wooden disc Christmas ornaments?
Wooden disc Christmas decorations are so en vogue, especially for those who adore the farmhouse look. Even if you’re not into the interior design style, wood slice ornament ideas are really popular.
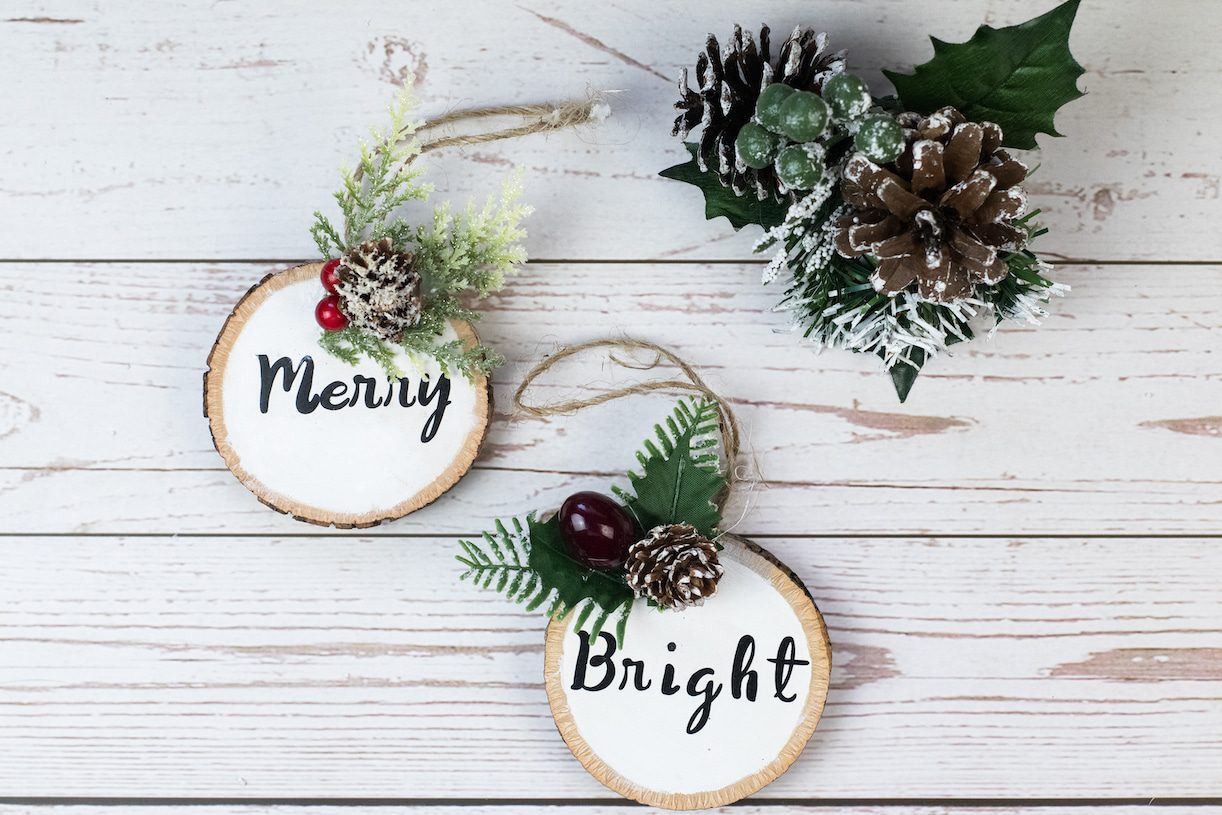
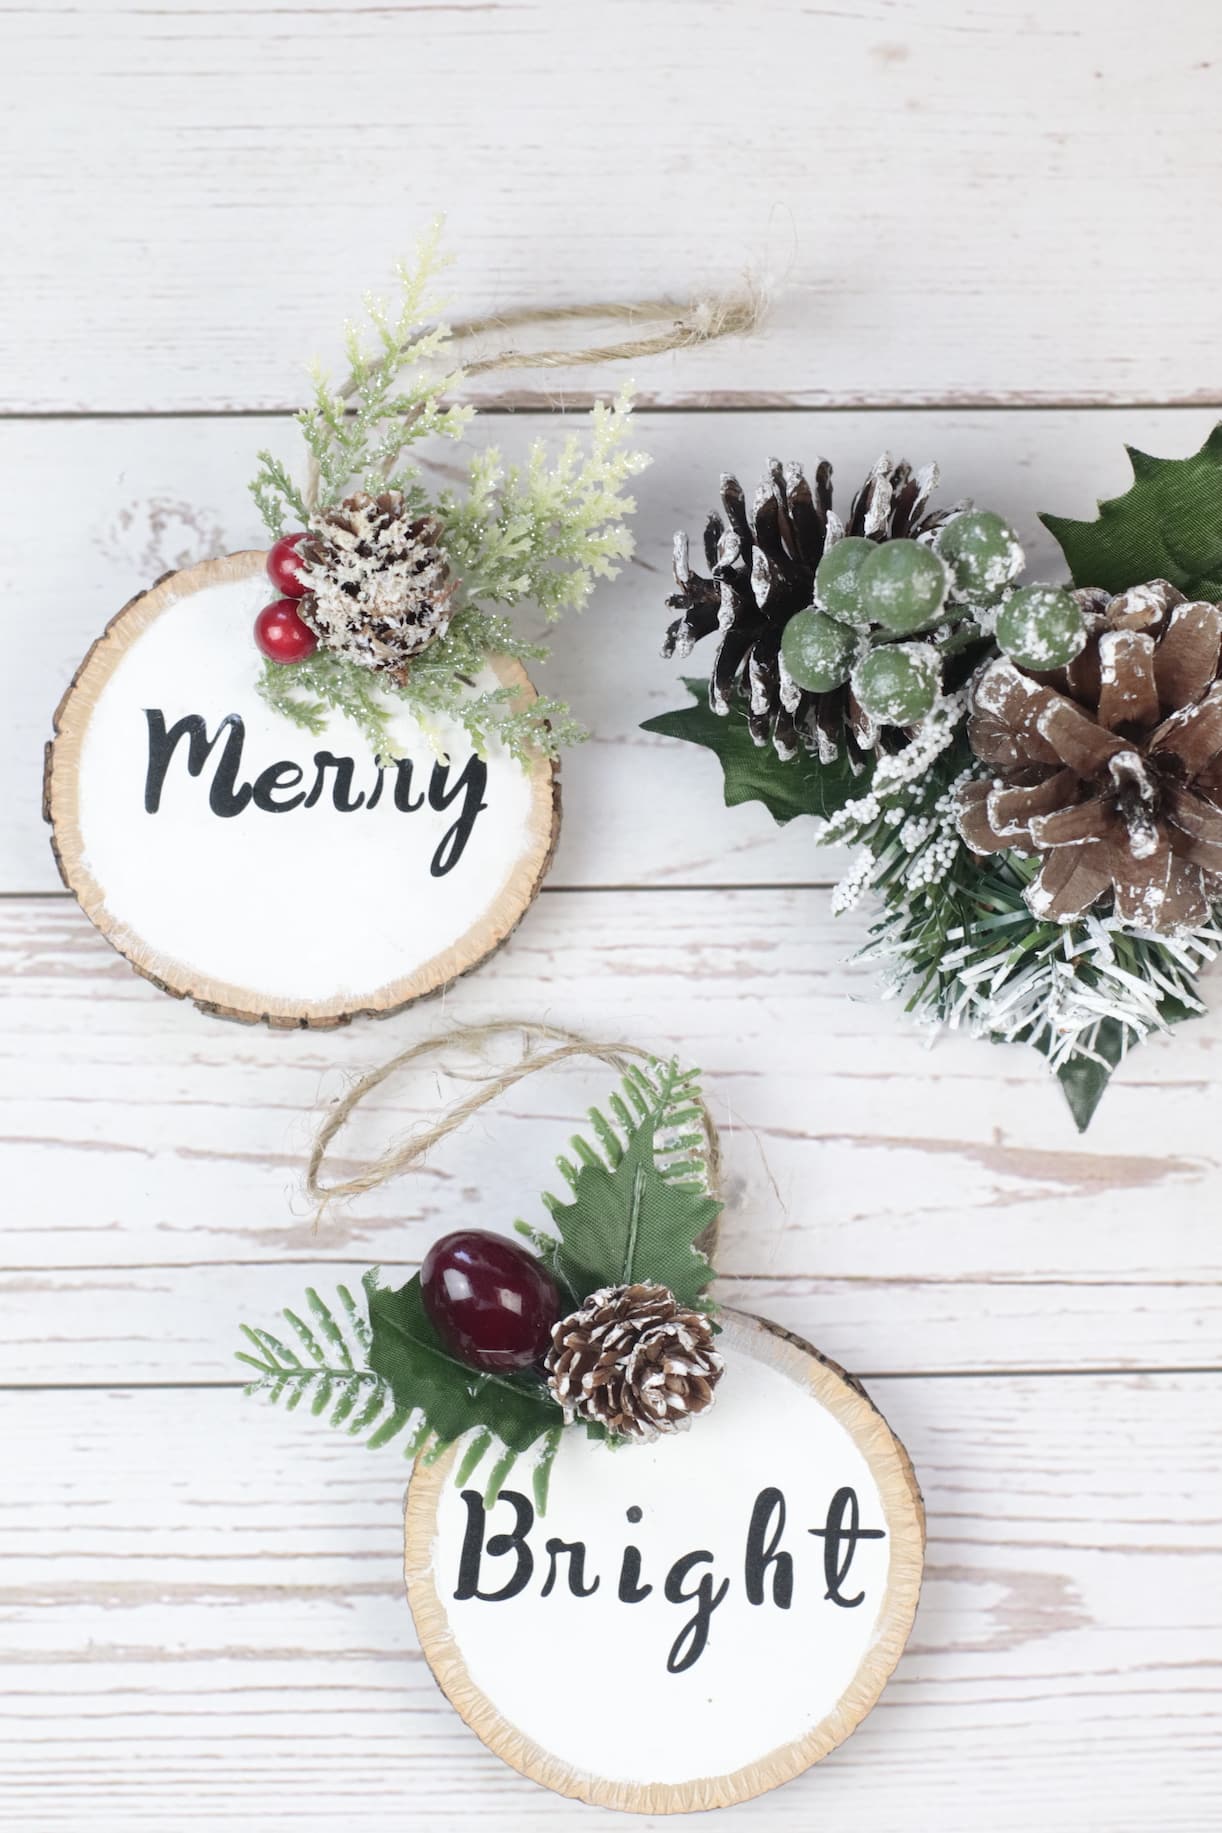
Giving wooden ornaments as wedding favors for your guests is a thoughtful gesture, no matter their decorating style. Our DIY wood slice ornaments say “merry” and “bright.” However, you can choose any word or short phrase to personalize your wood slice ornaments.

How to Make DIY Wood Disc Ornaments as Favors
These wooden Christmas ornaments are simple to make with our instructions. All you need are wood slice ornament blanks and you are well on your way to making these adorable wooden ornaments.
You can even make them as Christmas gifts in a pinch. So cute!
Supplies for Wood Disc Craft Ideas
Just click on a supply in the list. It will take you straight to what they look like and where to purchase them to make DIY wood disc ornaments.
- Wood slice ornament blanks
- White acrylic craft paint
- Foam paintbrushes
- Floral wire cutters
- Scissors
- Holiday greenery or picks
- Glue gun and sticks
- Twine
- White glue
- Cricut machine
- Vinyl from Cricut
- Cricut transfer tape
- Weeding tools from Cricut
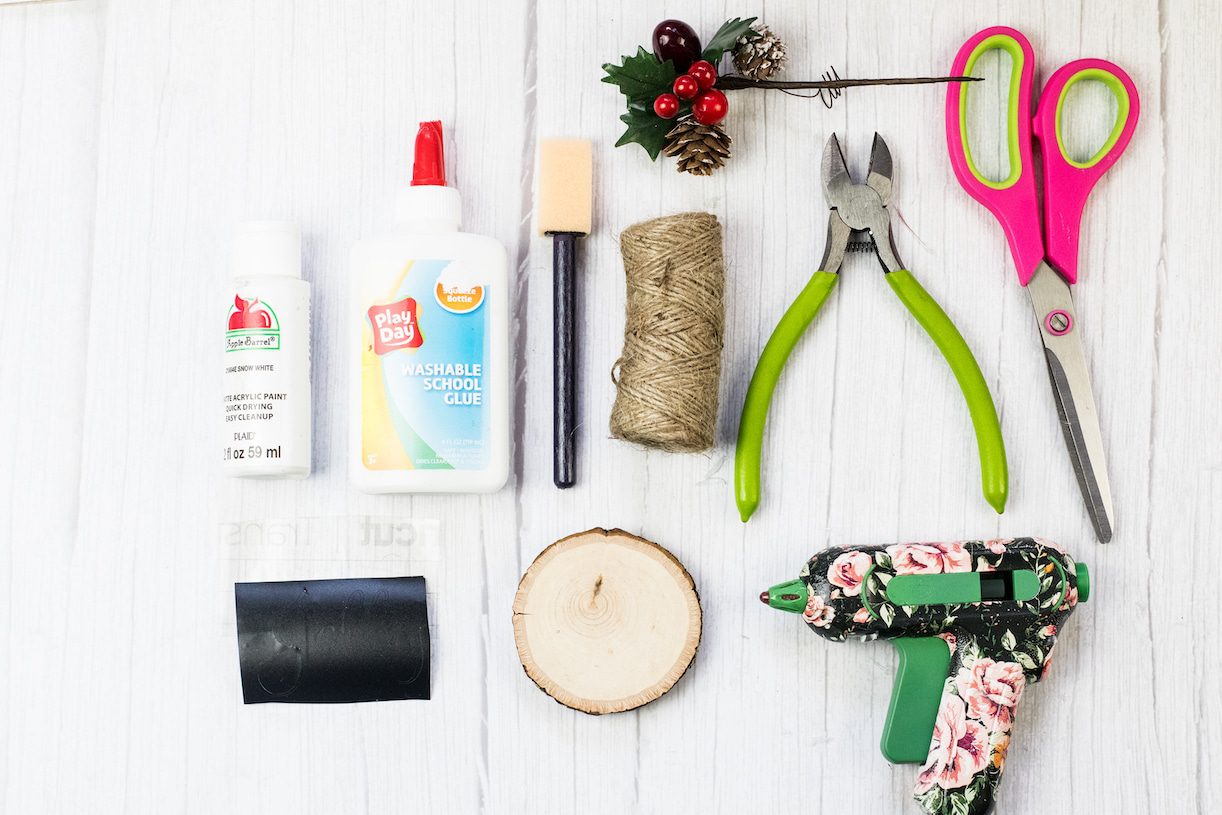
Instructions for Handmade Wooden Christmas Ornaments
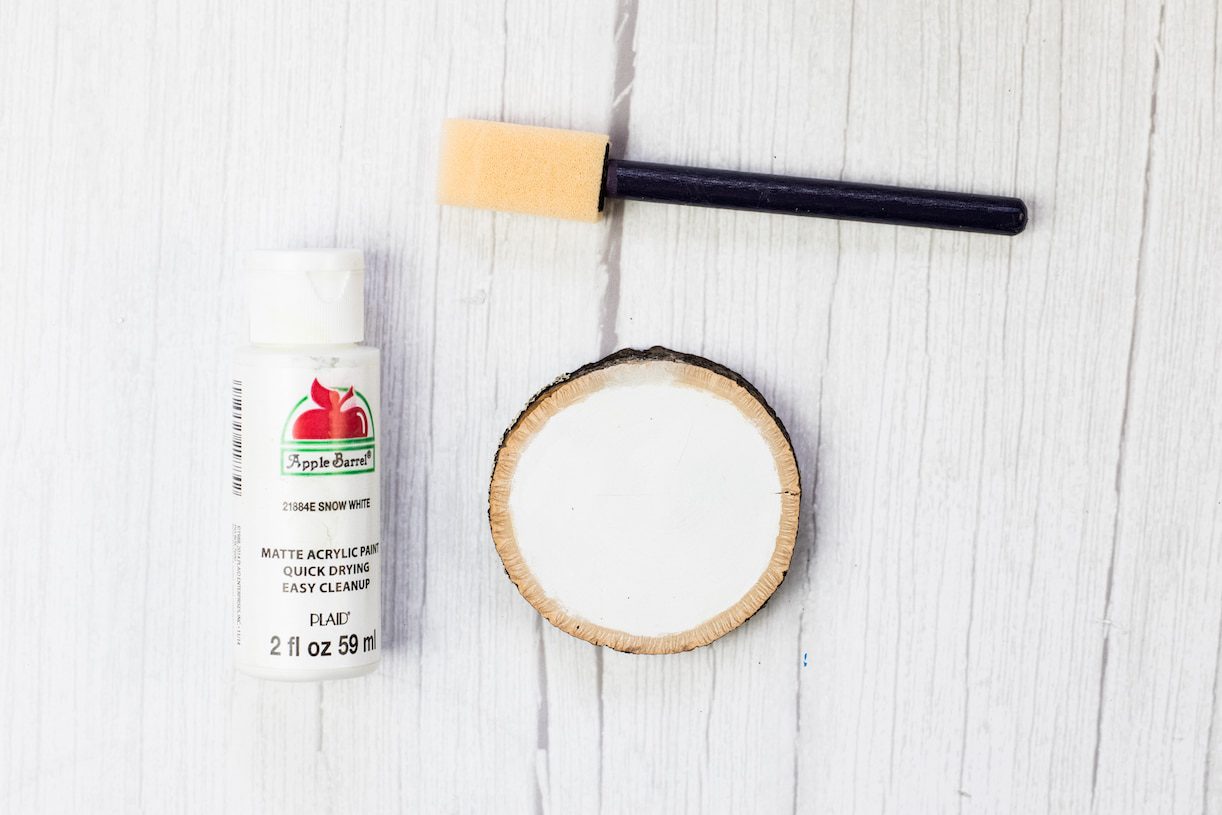
- Use the foam paintbrush, and paint your wood slice ornament blanks with the white paint.
- Allow the paint to dry completely, and add a second coat if necessary.
- Set up your Cricut machine using our Merry Bright JPG file (download wood slice ornament templates for words here).
- Cut the pattern onto your Cricut vinyl.
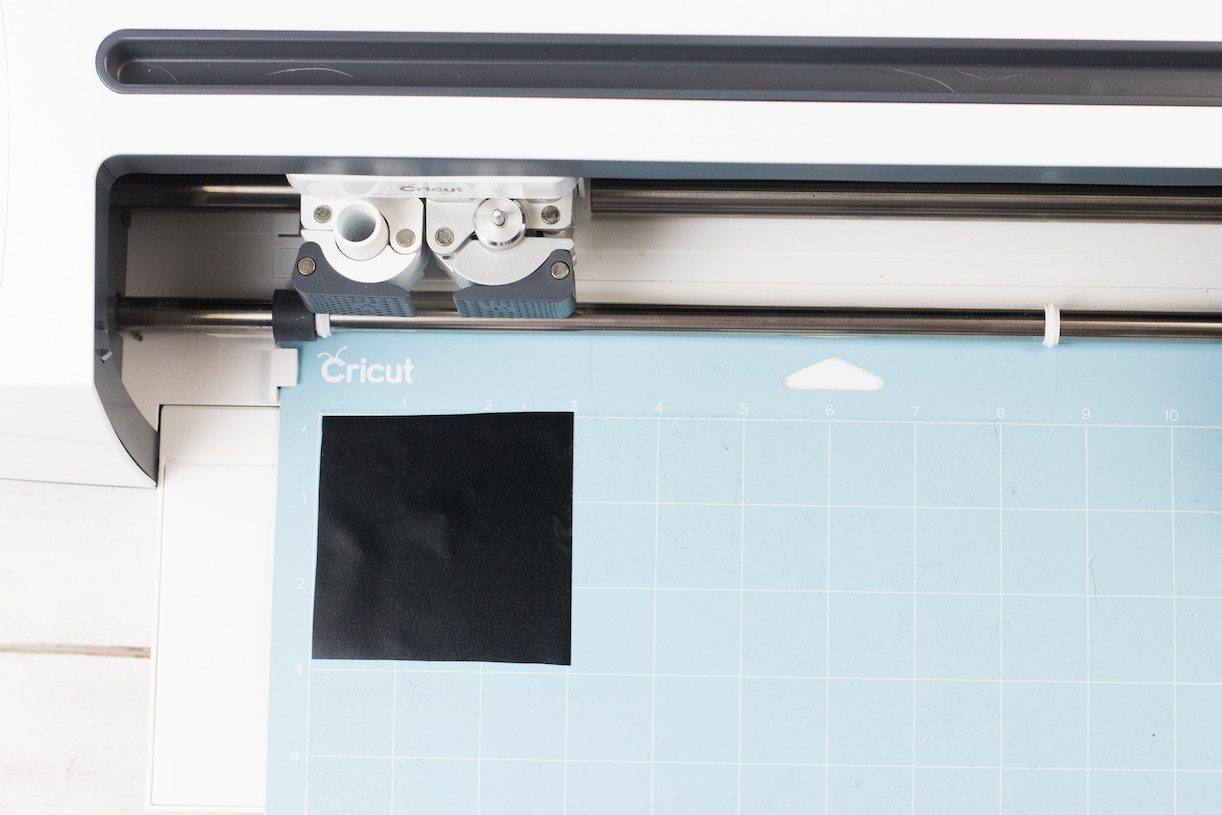
- Use the Cricut weeding tools to peel up the vinyl letters.
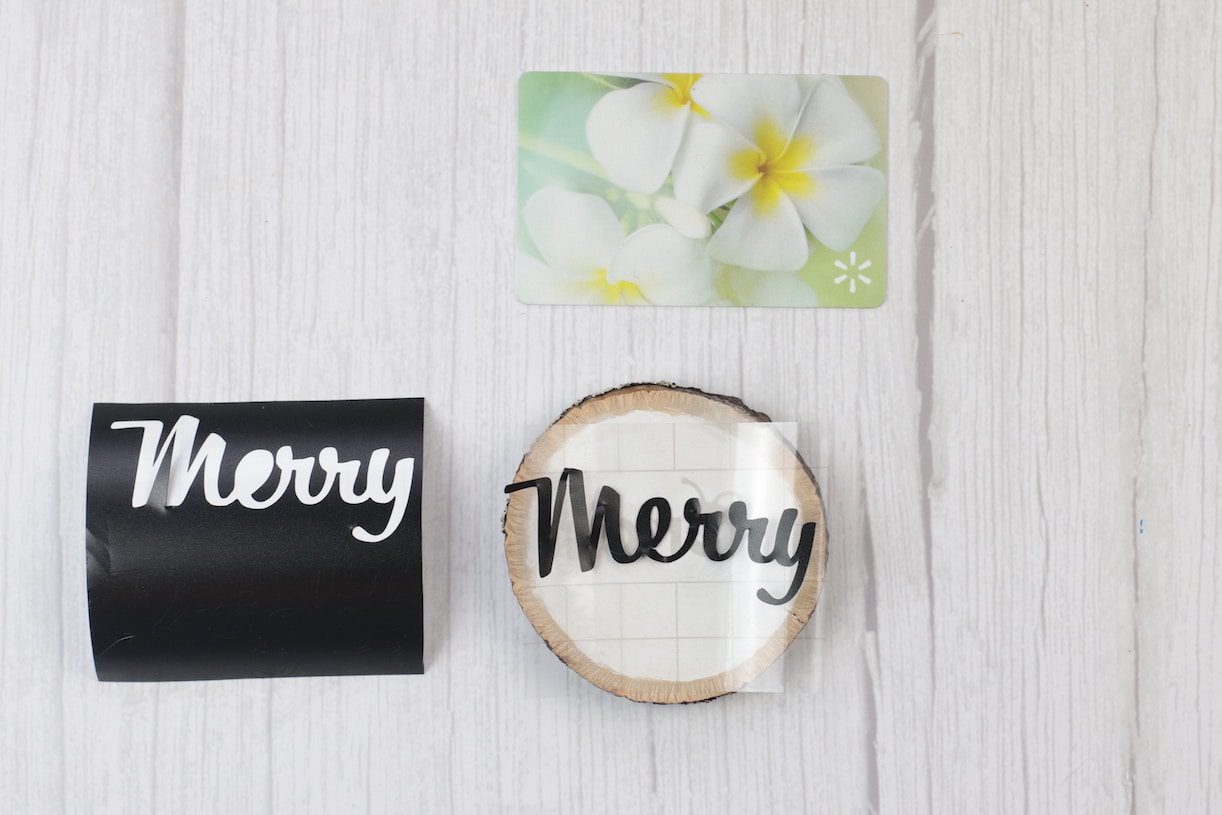
- Apply the sticky letters to the transfer tape.
- Center the transfer tape with the word onto your wooden disc.
- Use a rubbing tool or credit card to apply the word to your painted wood slice.
- Add the holiday greenery with your glue gun or tacky glue.
- Once dry, turn the disc over and tie the twine. Allow it to dry completely before hanging.
- Enjoy and give these as lovely handmade wooden Christmas ornaments for your guests as favors.
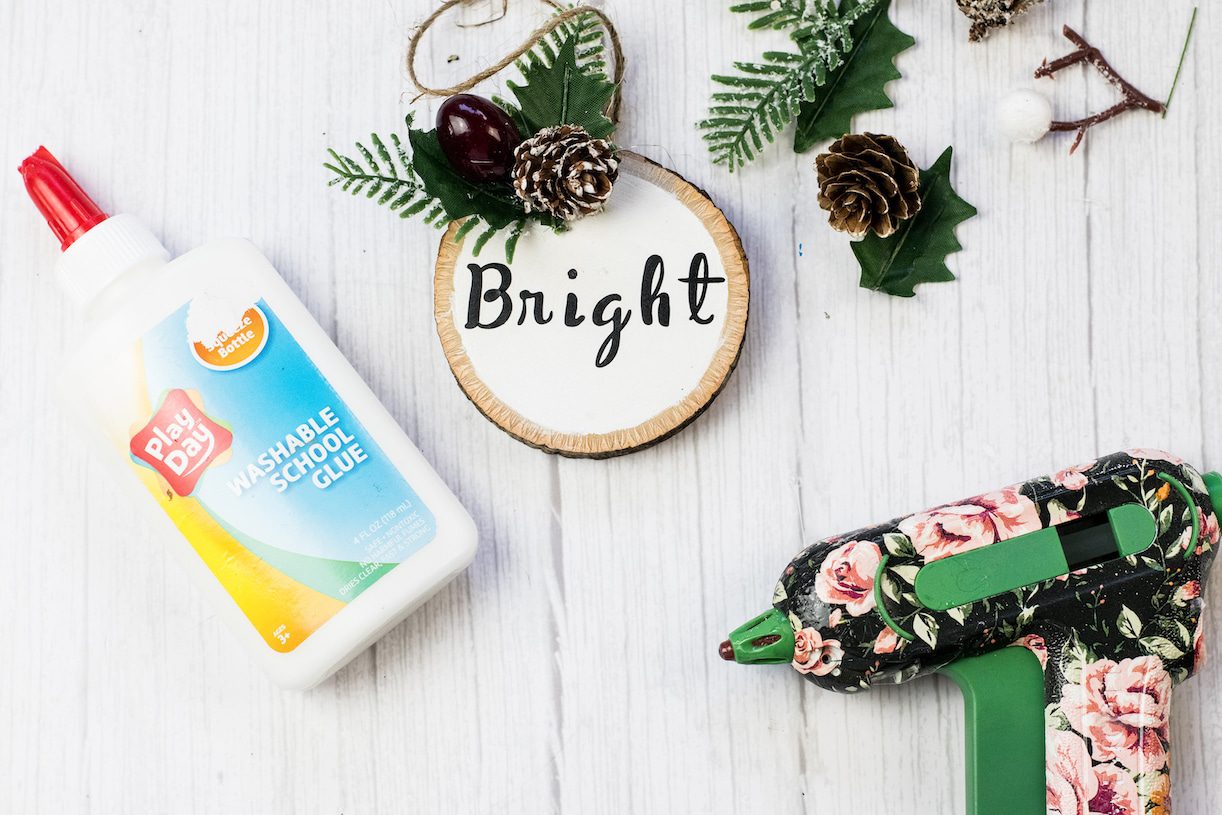
The Result of Wood Slice Christmas Ornament Ideas
