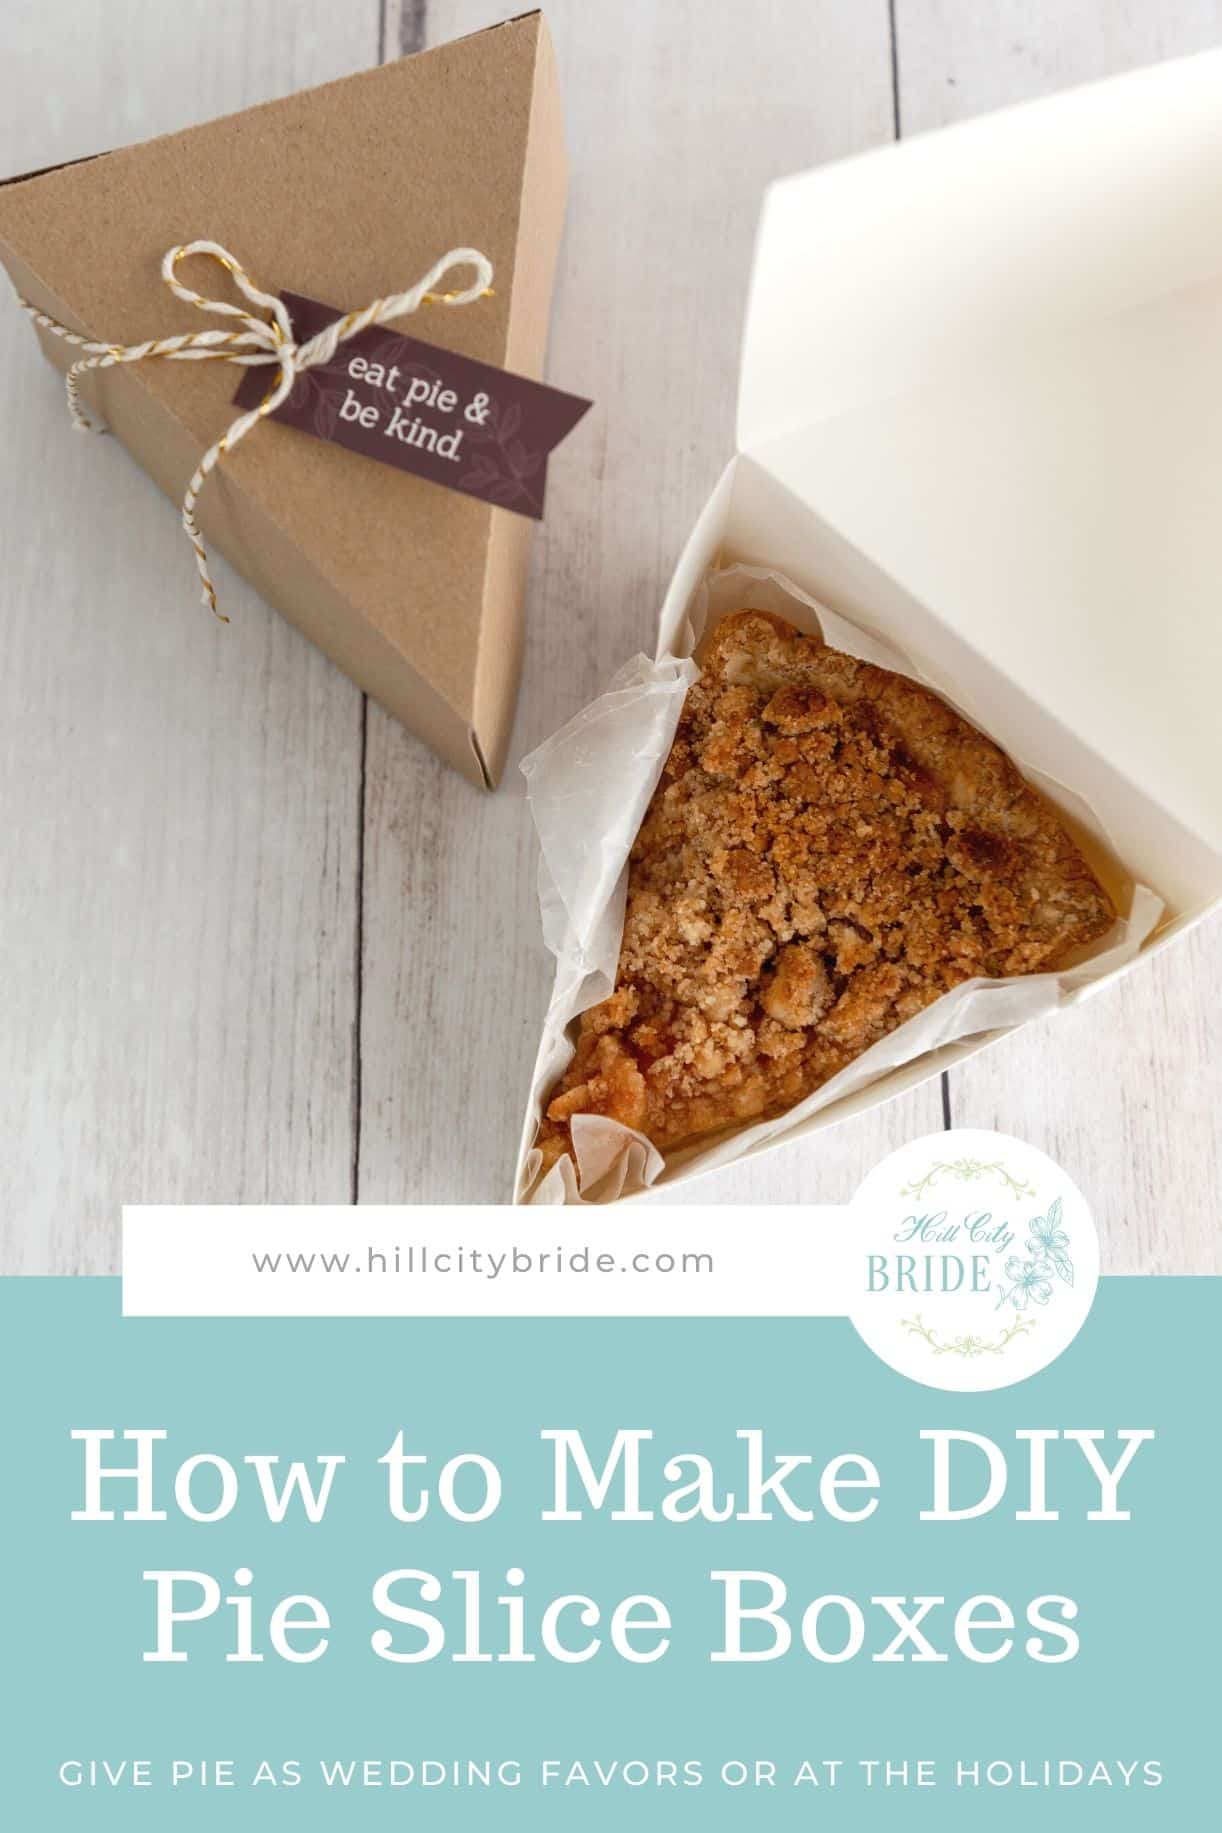
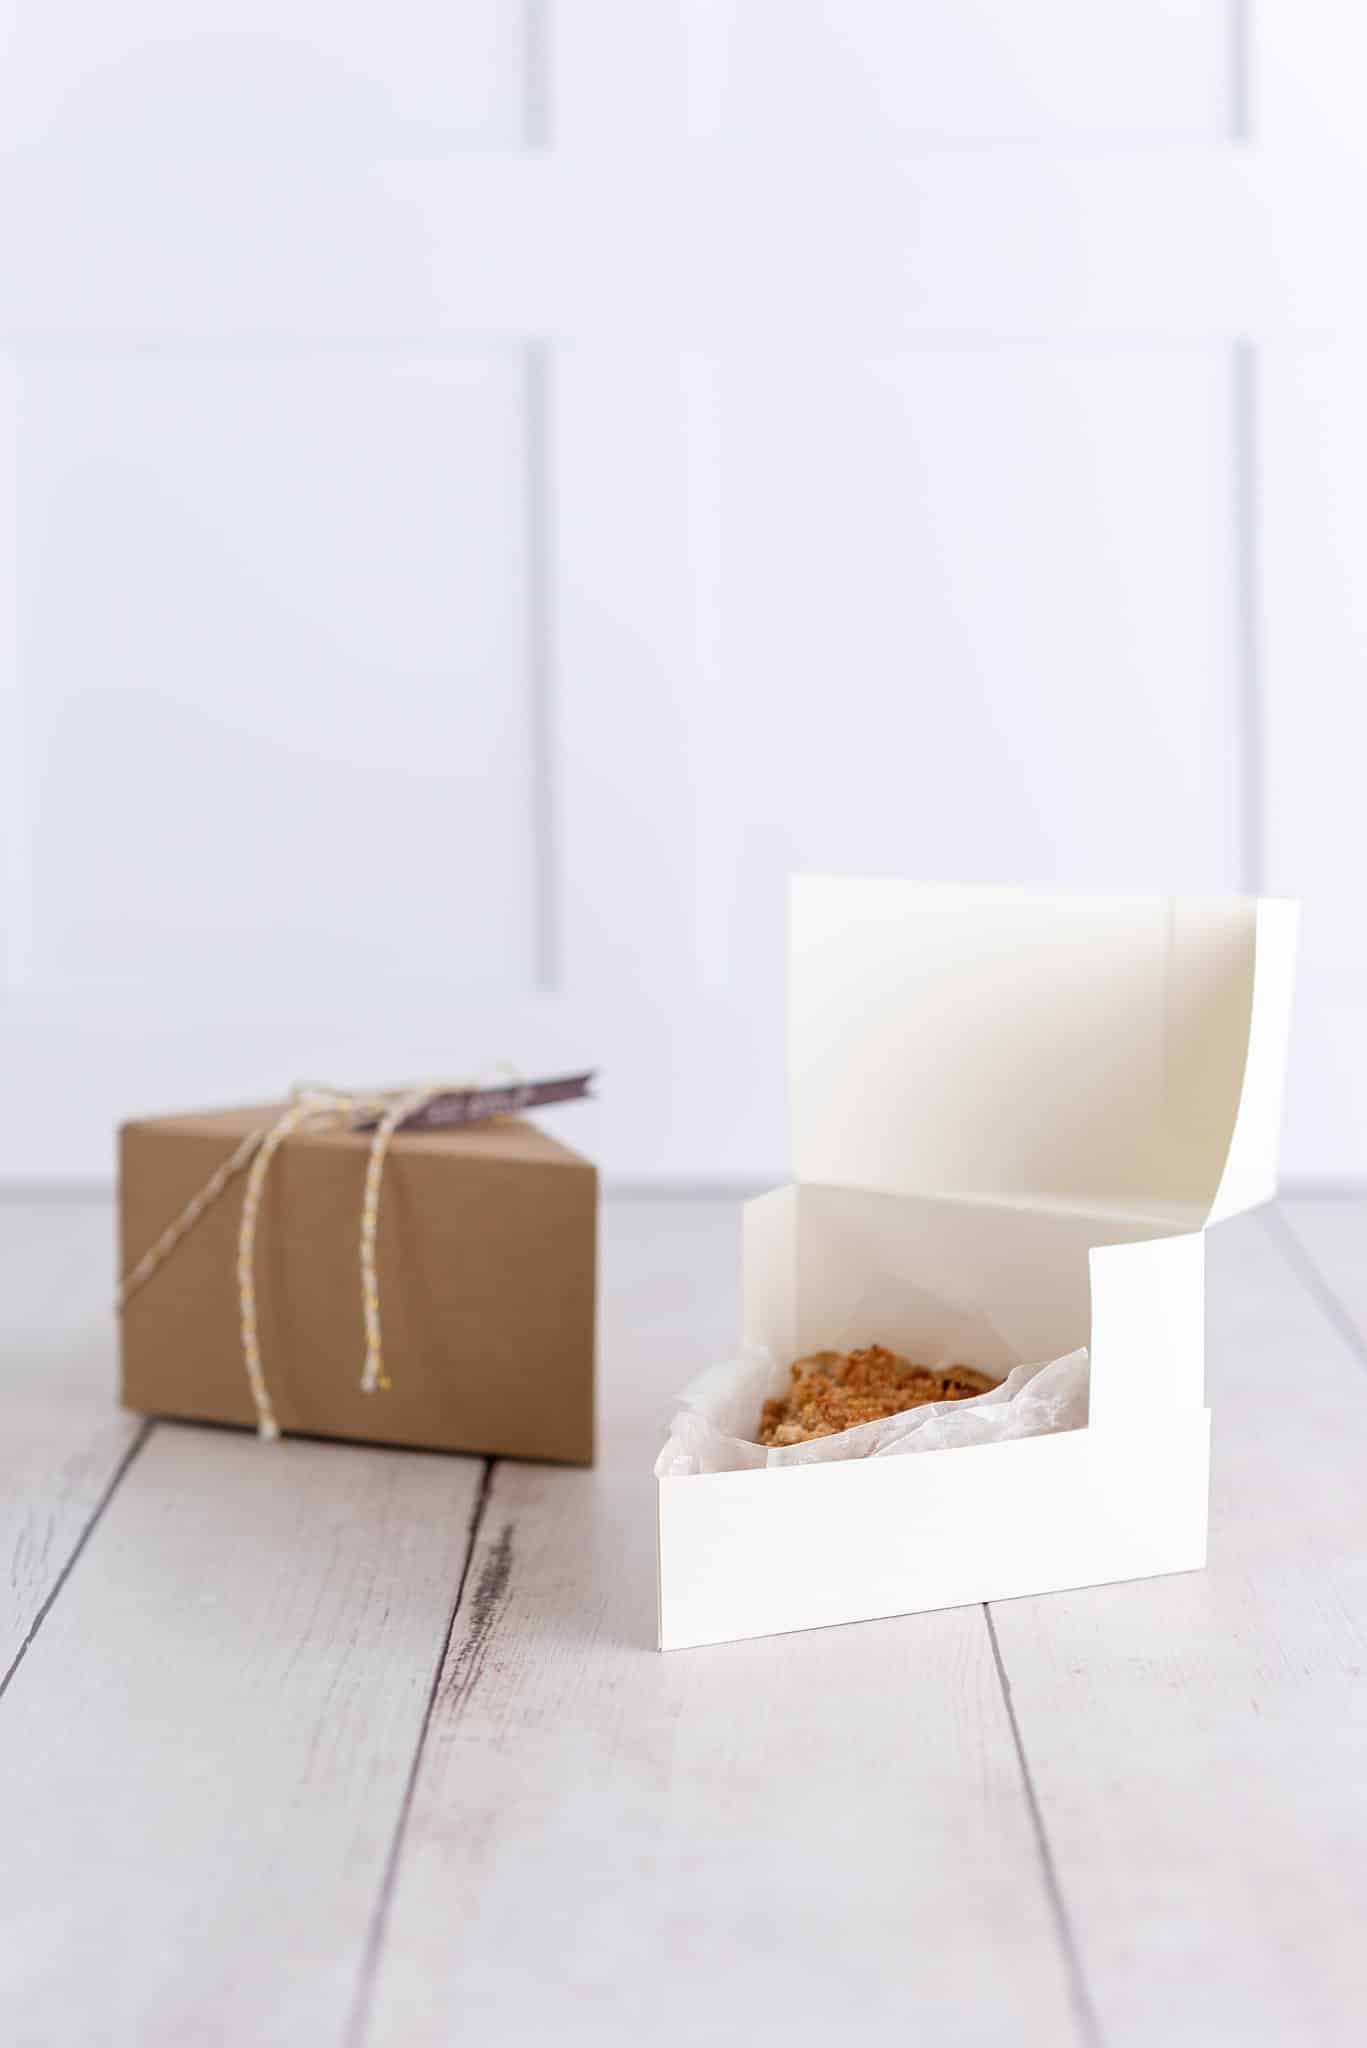
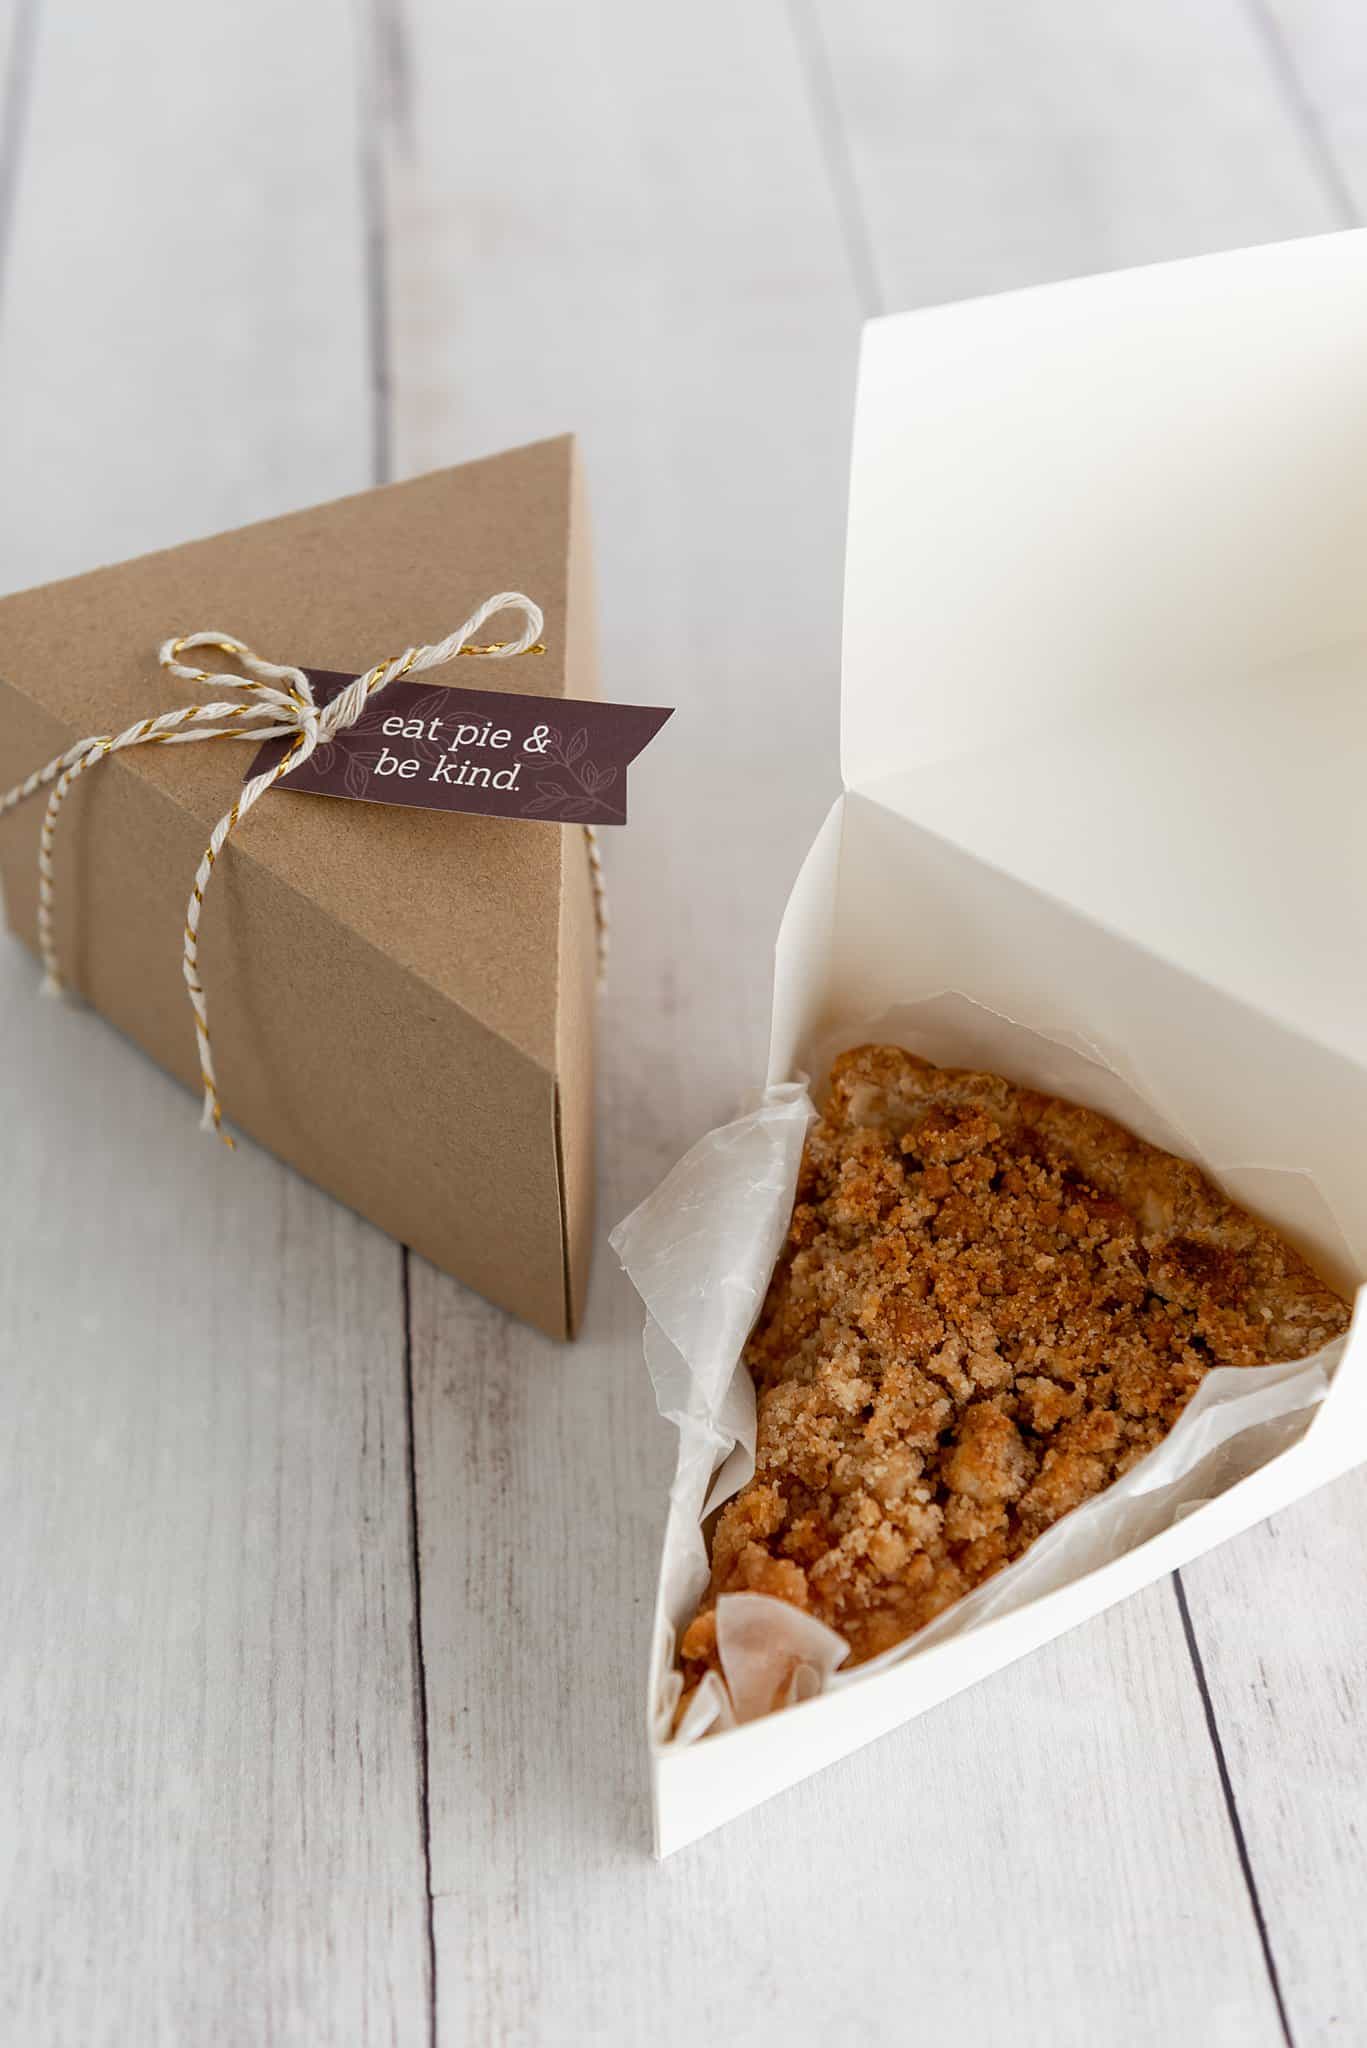
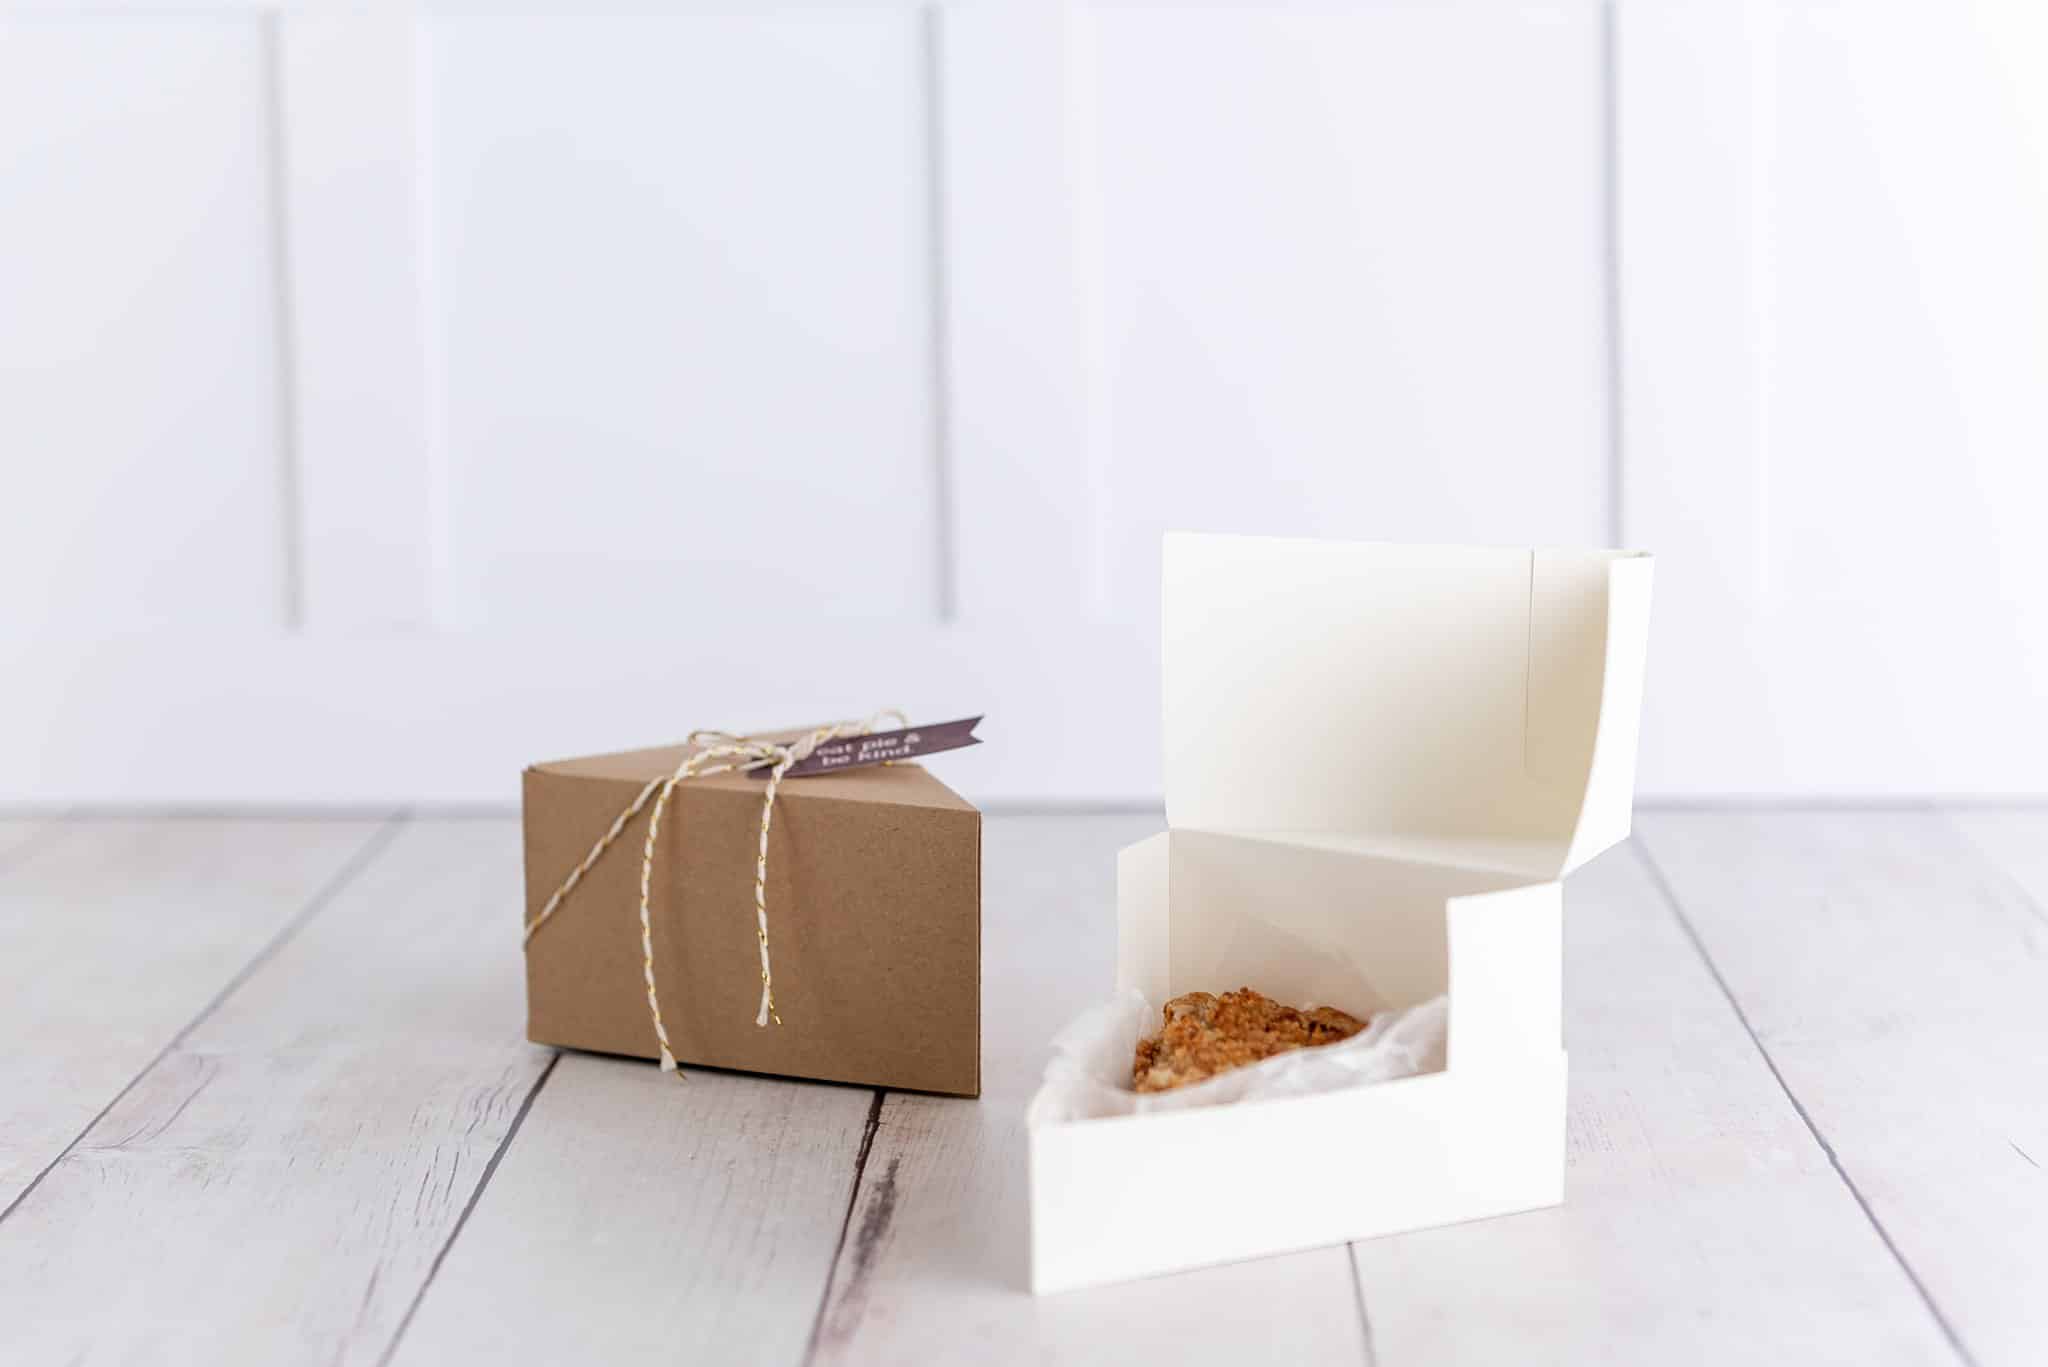
No matter when you have pie — Thanksgiving, a wedding, or Christmas — use these DIY individual pie slice boxes. Guests can take a slice home with them as a wedding favor or as a post-Friendsgiving treat. They’re simple to make with our instructions, and this Cricut pie slice box is cute, too!
This post contains affiliate links, which helps our blog grow via commissions.
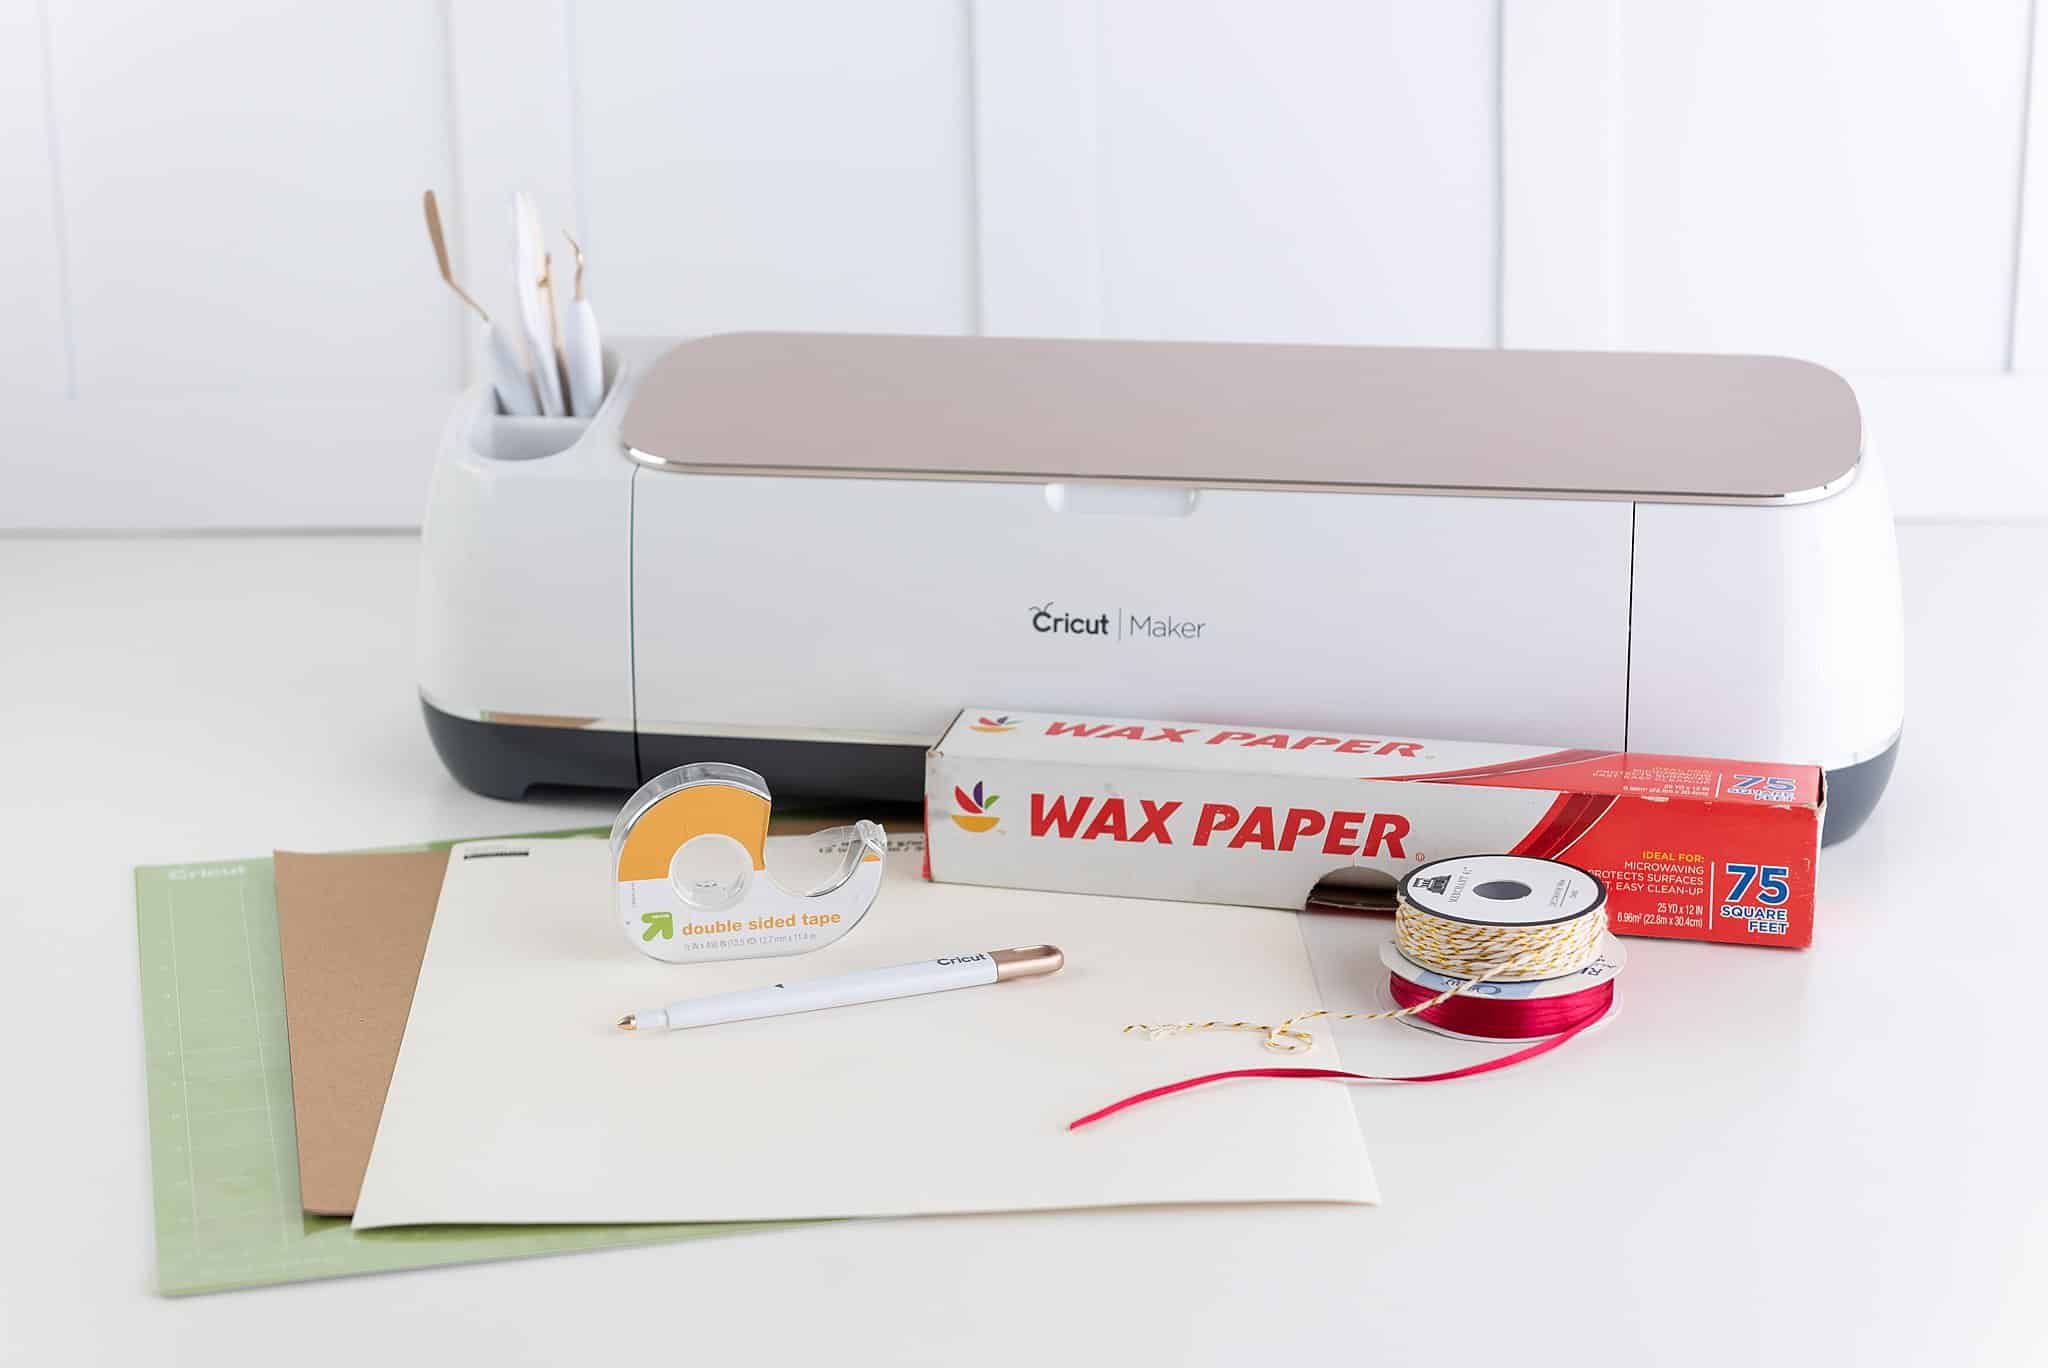
Cricut Pie Slice Box Supplies
- Cricut machine
- 2 pieces of 12″x12″ card stock (65 lb) for each single slice pie box
- Standard or light grip mat
- Stylus or scoring tool
- Double-sided tape (or a food-safe adhesive)
- Twine or ribbon of your choosing
- Waxed paper
- Tags (handwritten or printed)
How to Make a Pie Slice Box
- Upload the SVG file (found here) to the design space.
- On the layers panel, hit ungroup, and select the layer with the folding lines. Once you select it, click “line type” which will be near the top left of the toolbar.
- Click the dropdown menu, and select the word “score.”
- Repeat this process for both the lid and bottom of the box as you will attach them together later.
- Select the score lines layer and the main box shape layer. Then look towards the bottom of the layers panel, hit “attach.” Finally, repeat this step for both parts of the pumpkin pie slice box.
- After everything is set up, hit “make it” to cut out the boxes.
- Adjust your setting or material dial to cut medium card stock.
- Load the card stock onto your grip mat.
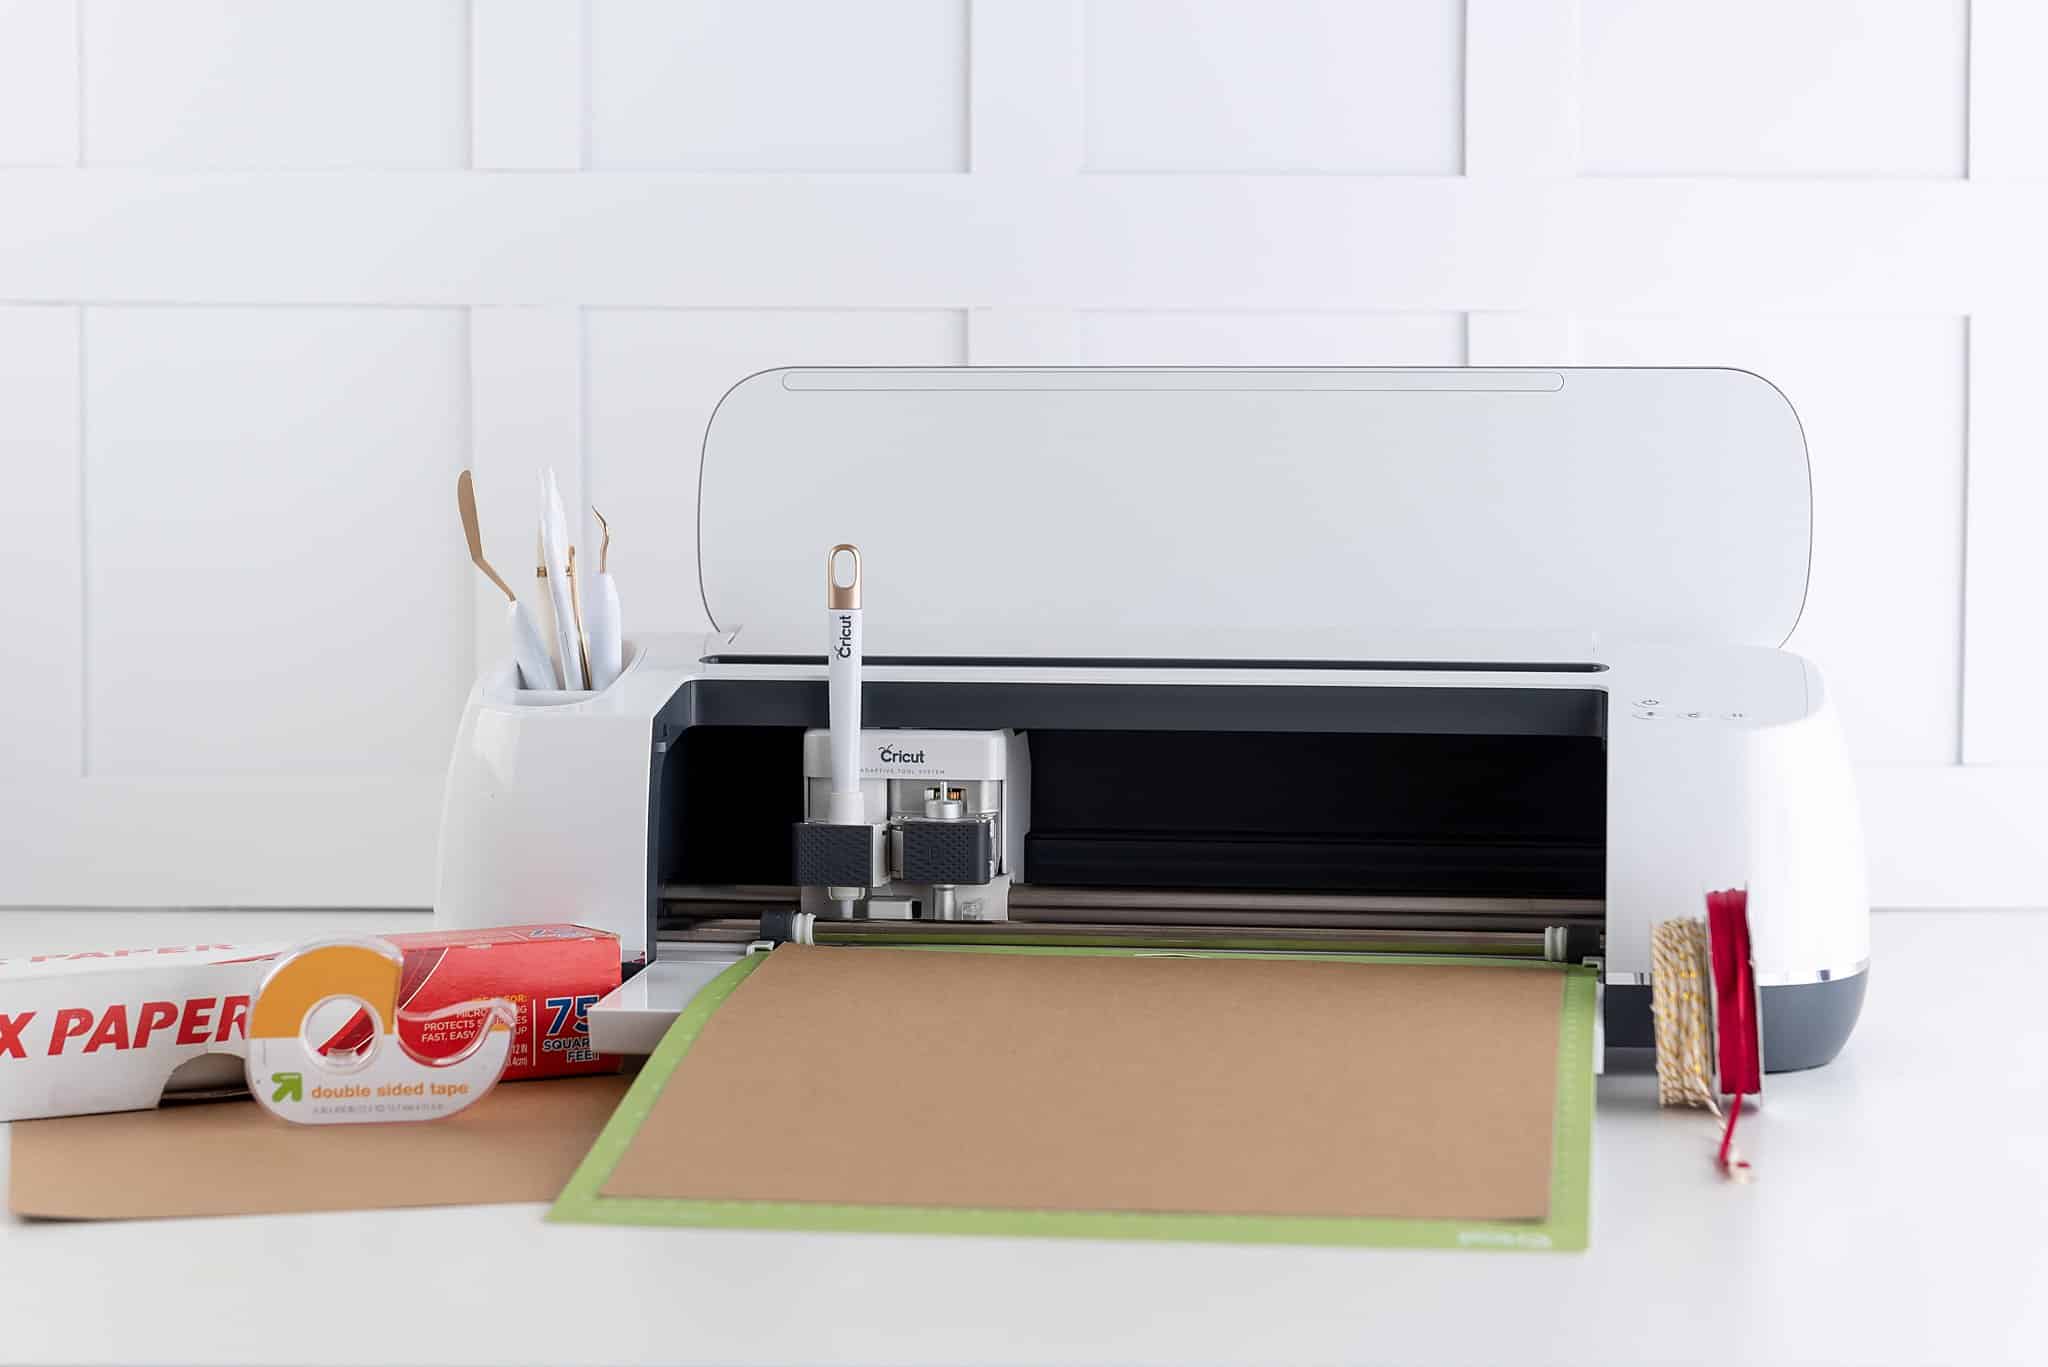
- Adjust your tool to the scoring stylus or scoring wheel, and load it in the machine when the prompt shows.
- Then hit the flashing “go” button to start the cutting process of your paper pie slice boxes.
- Once the pie slice containers are cut, next fold the scoring lines by using the pictures as a guide. As a result, most of the folds will be mountain-style folds.
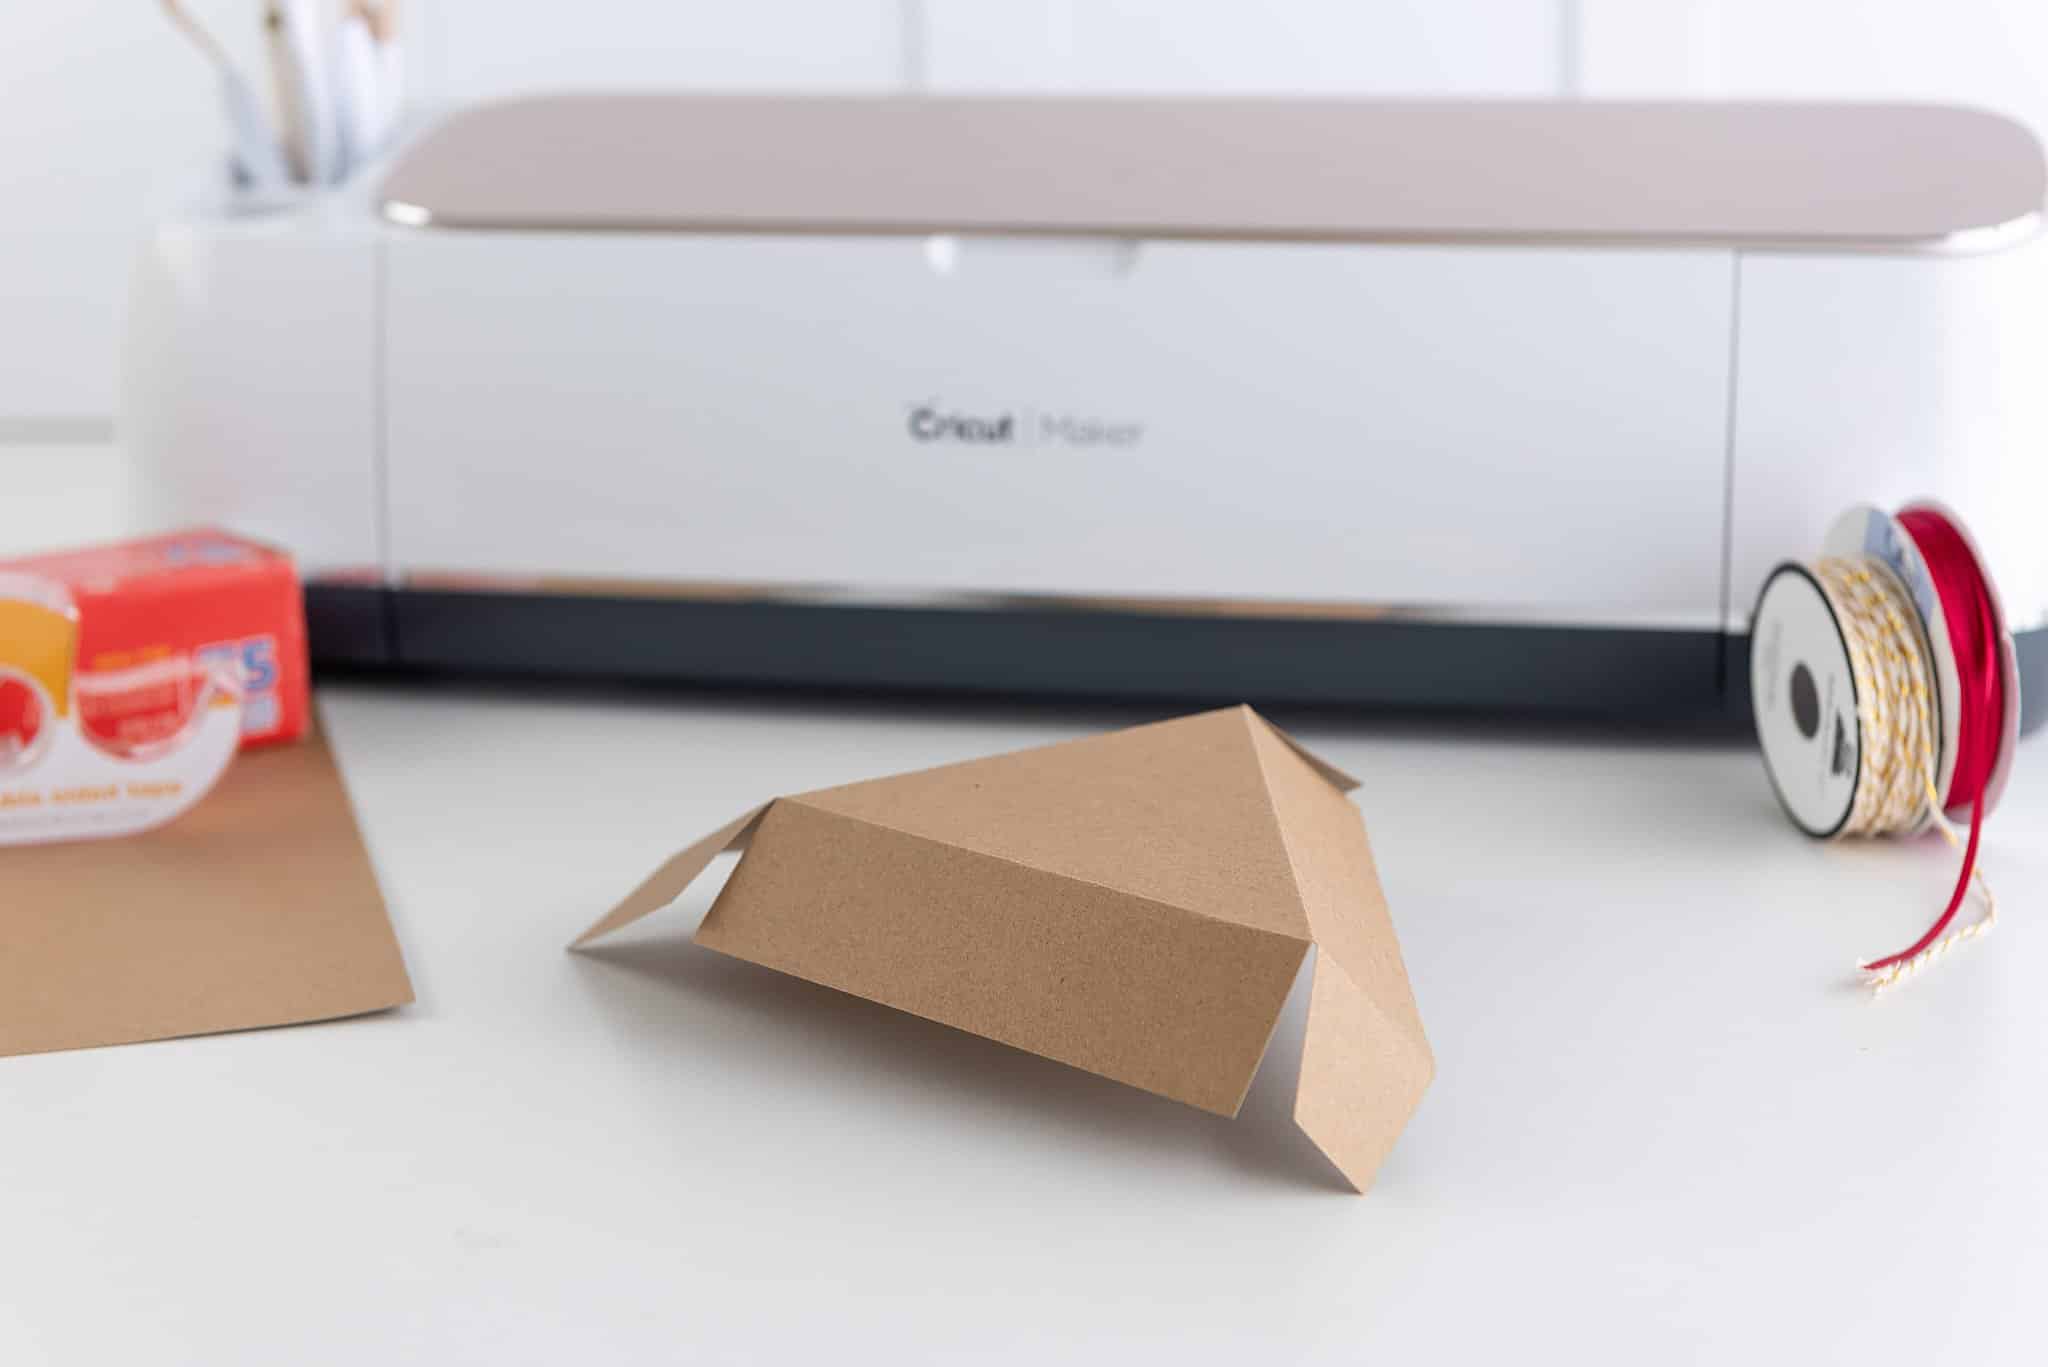
- Use tape to secure the front and back tabs to enclose the box and create the walls of the triangles. Next, repeat this process for both pie slice box halves.
- Attach both halves together and add tape to the outside of the back flap of the lid, which is the piece with wider sides.
- Gently slide the lid’s flap inside the bottom of the box to attach the two together. Both of the flaps will overlap because they’re the same size, and the lid’s flap will adhere to the bottom flap.
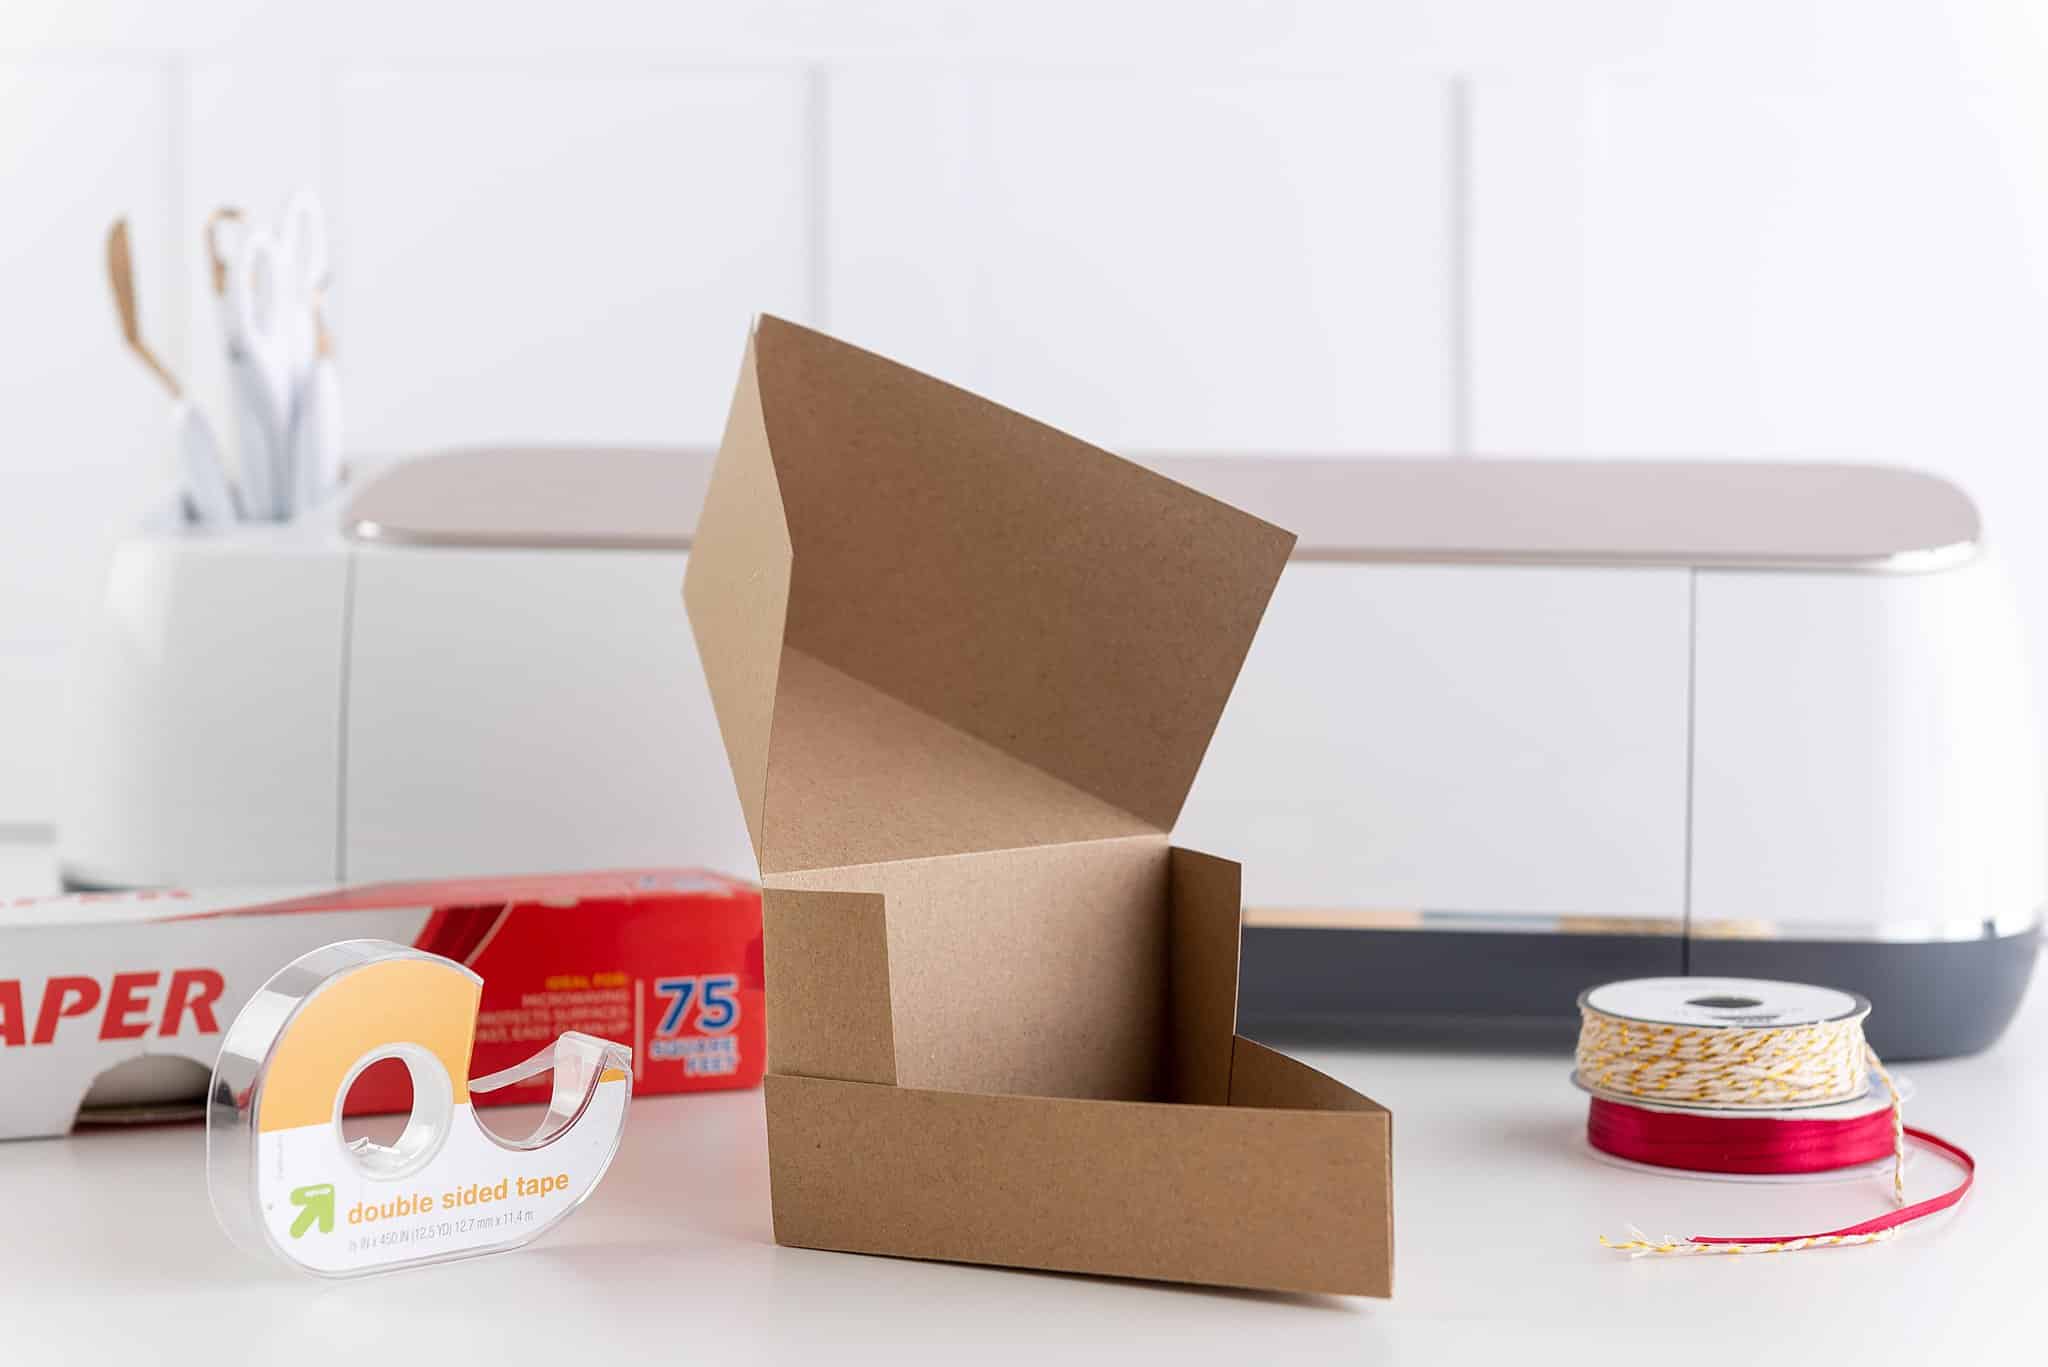
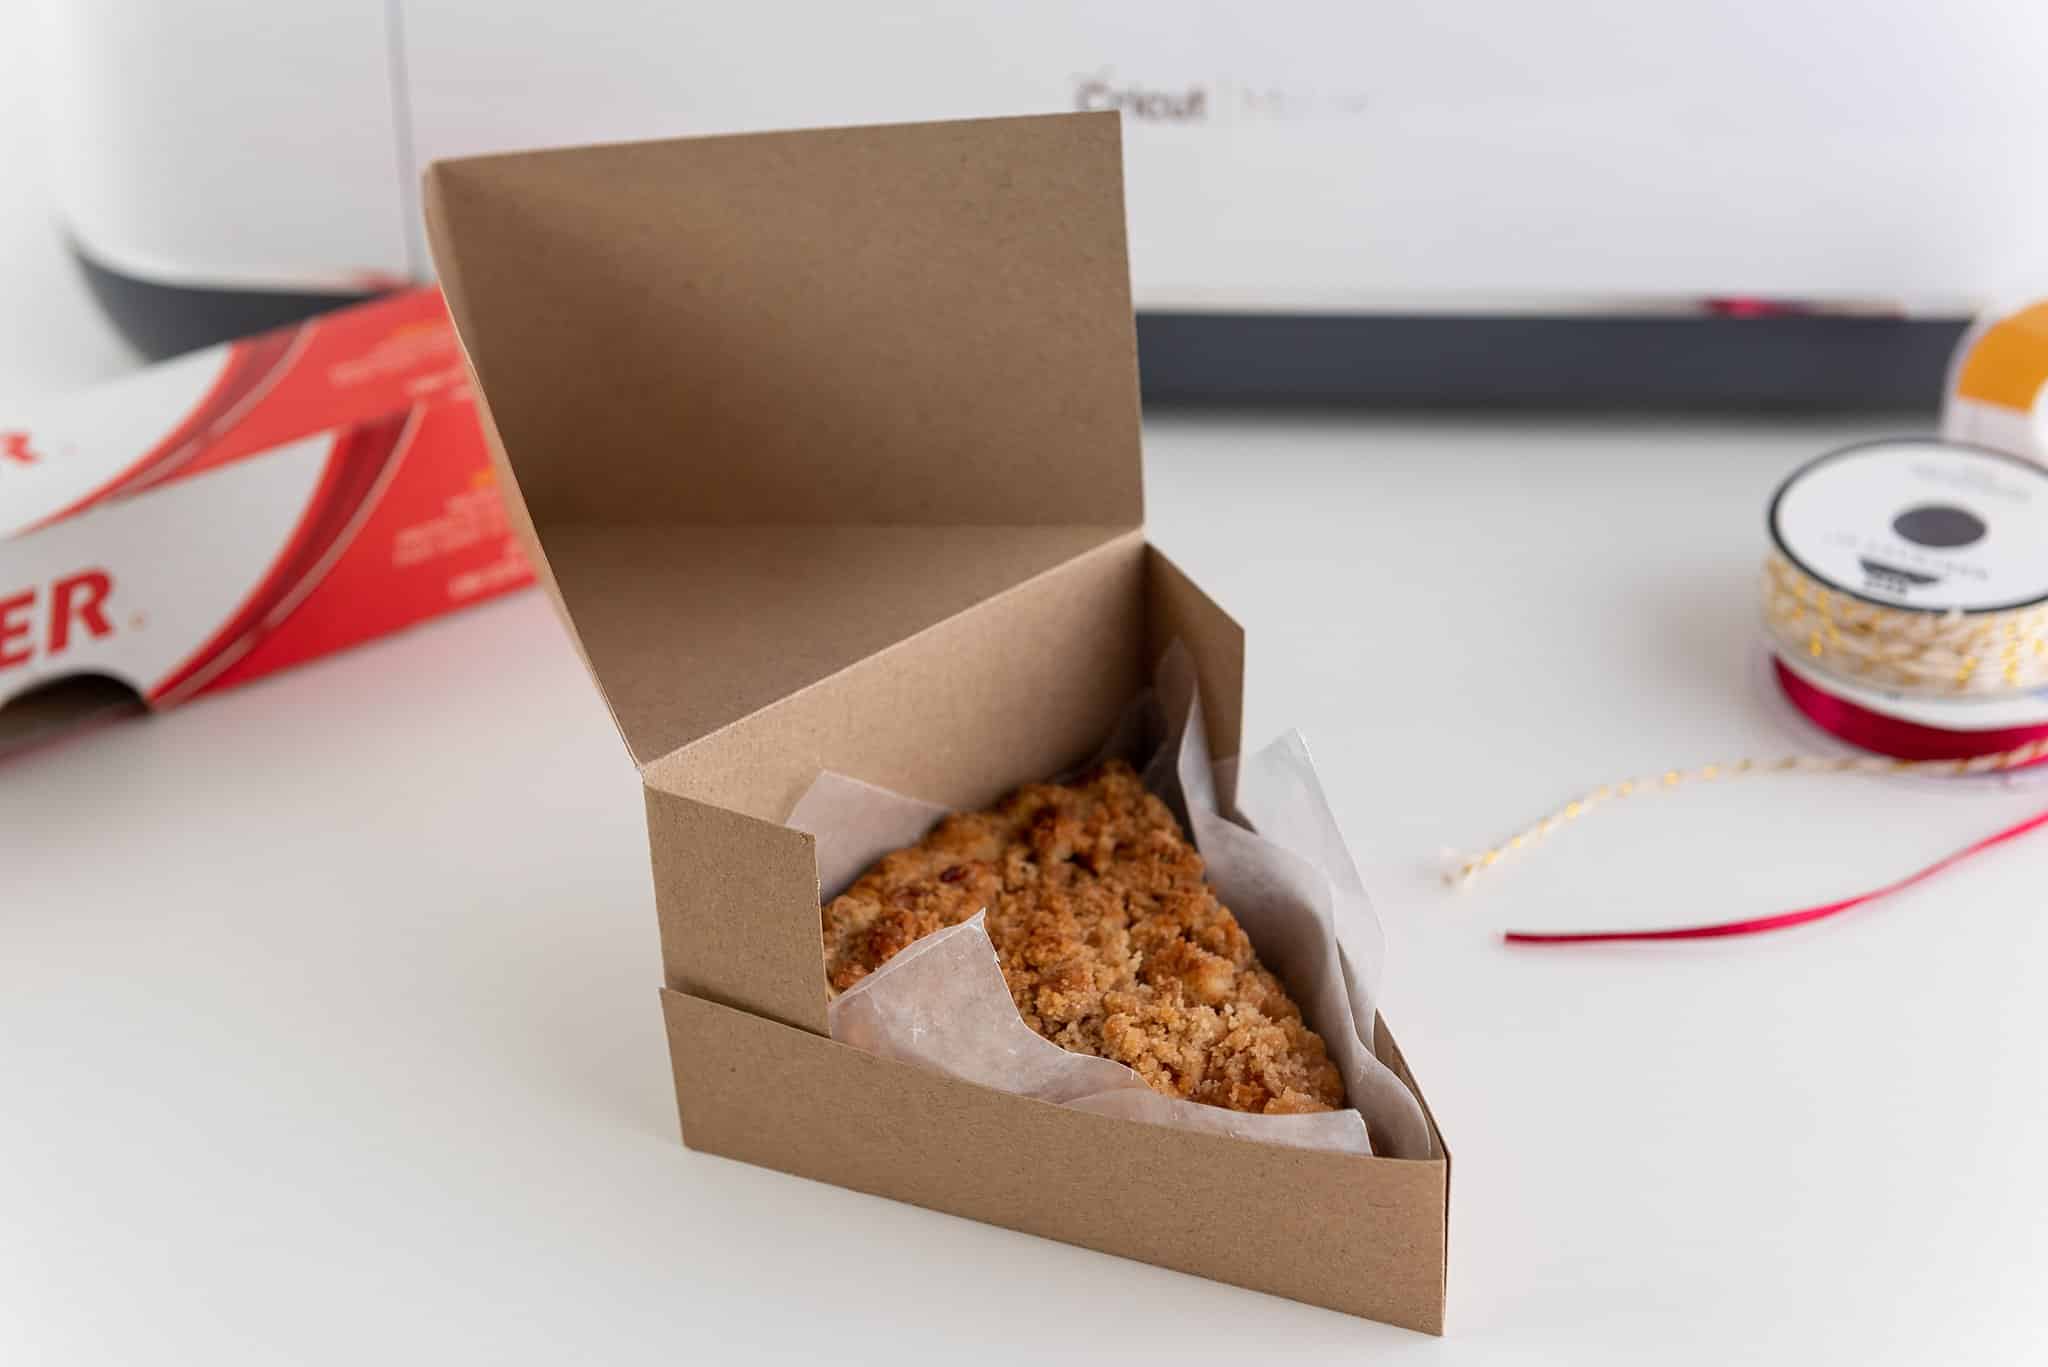
Now fill your individual pie slice boxes.
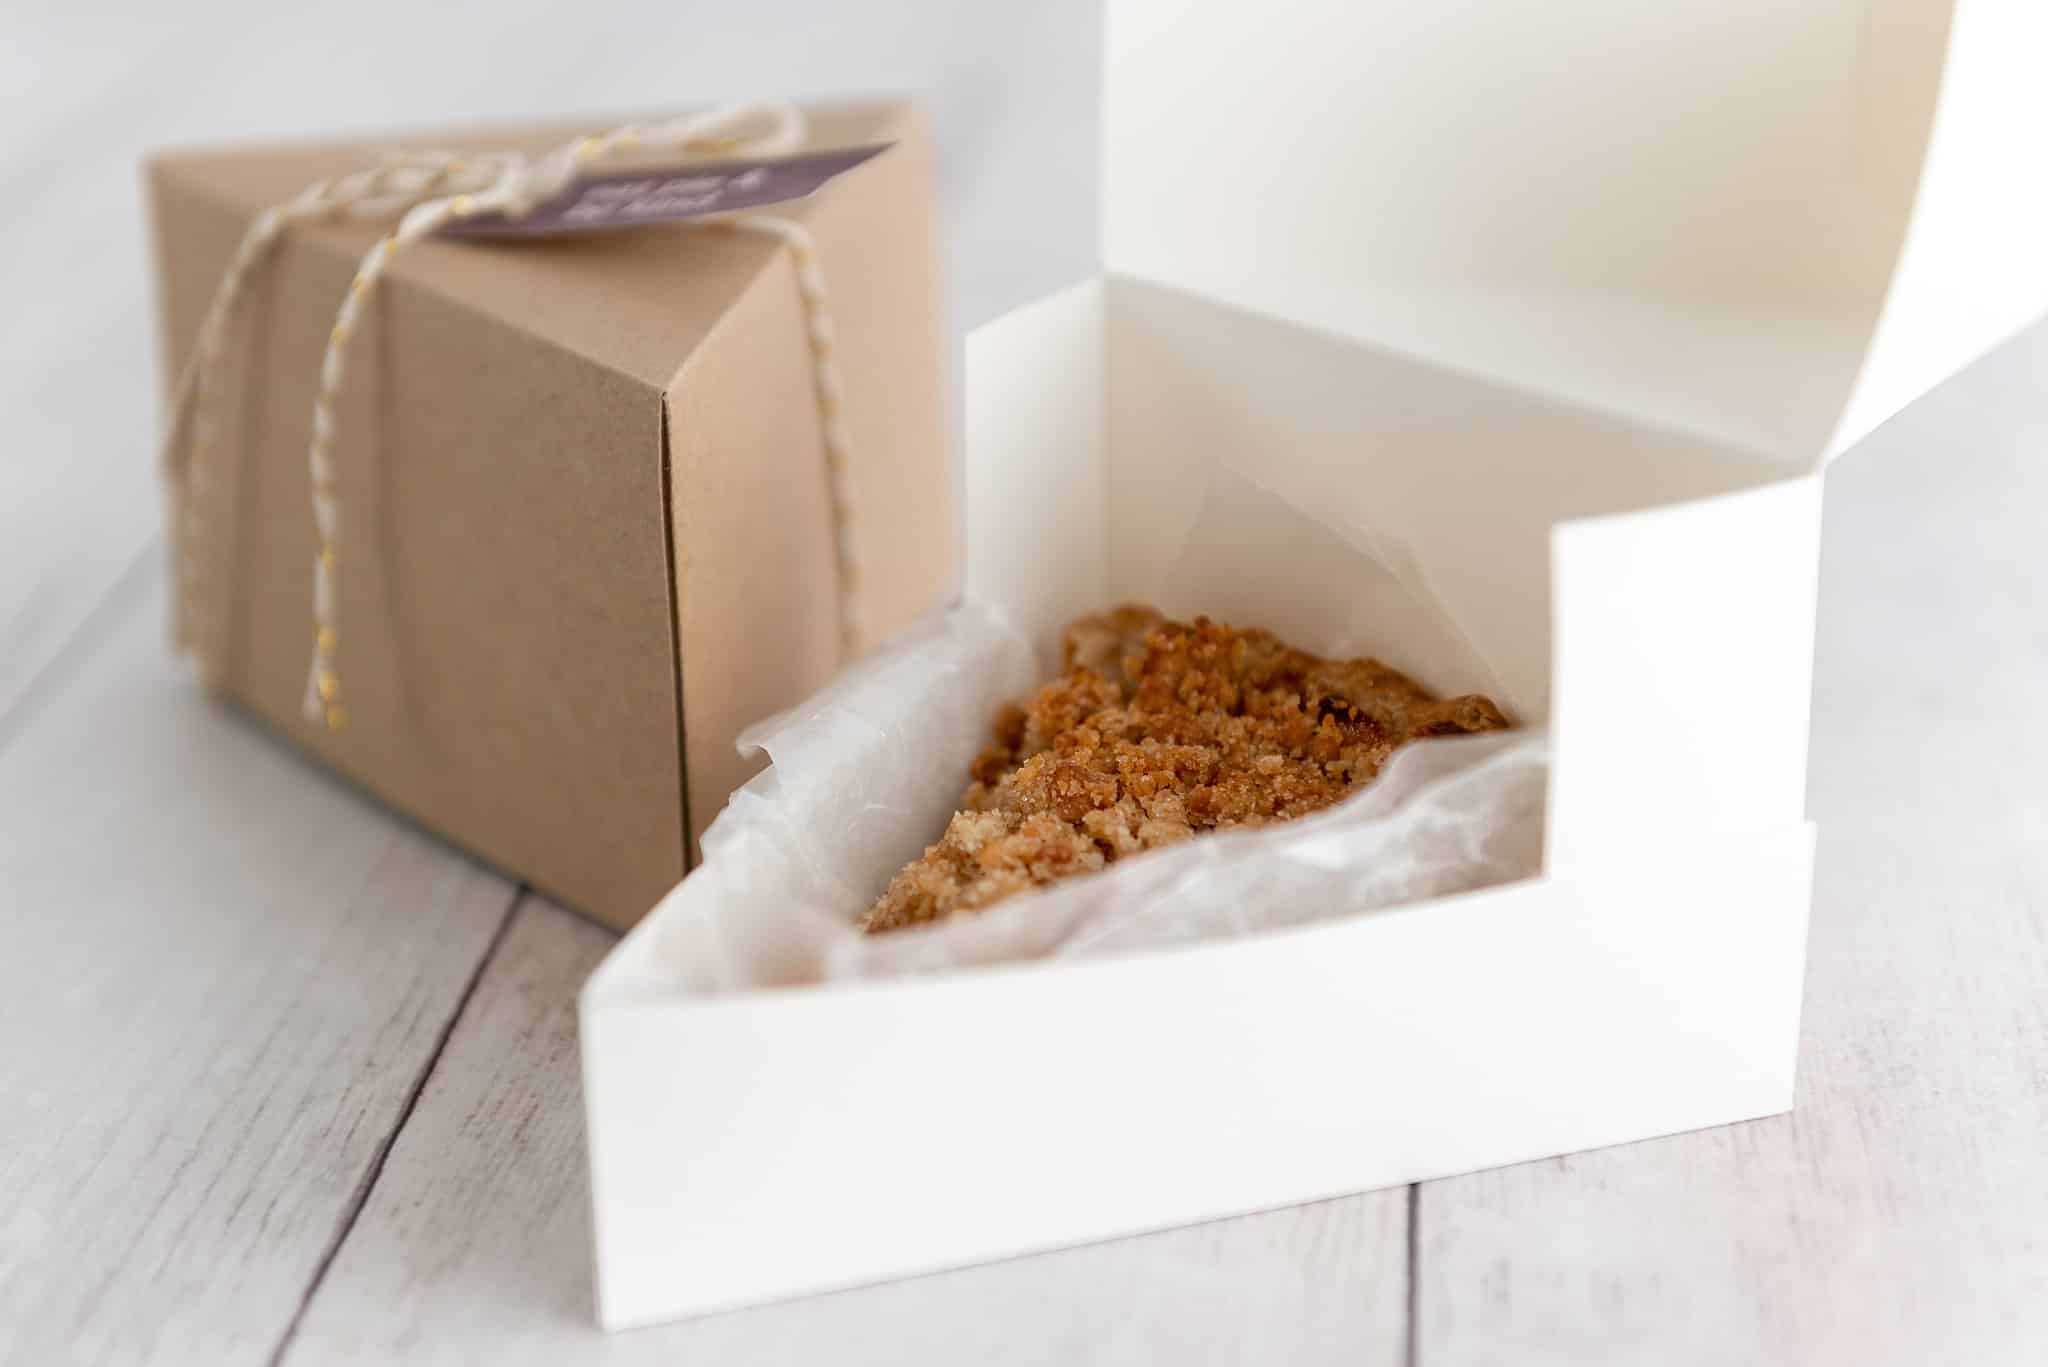
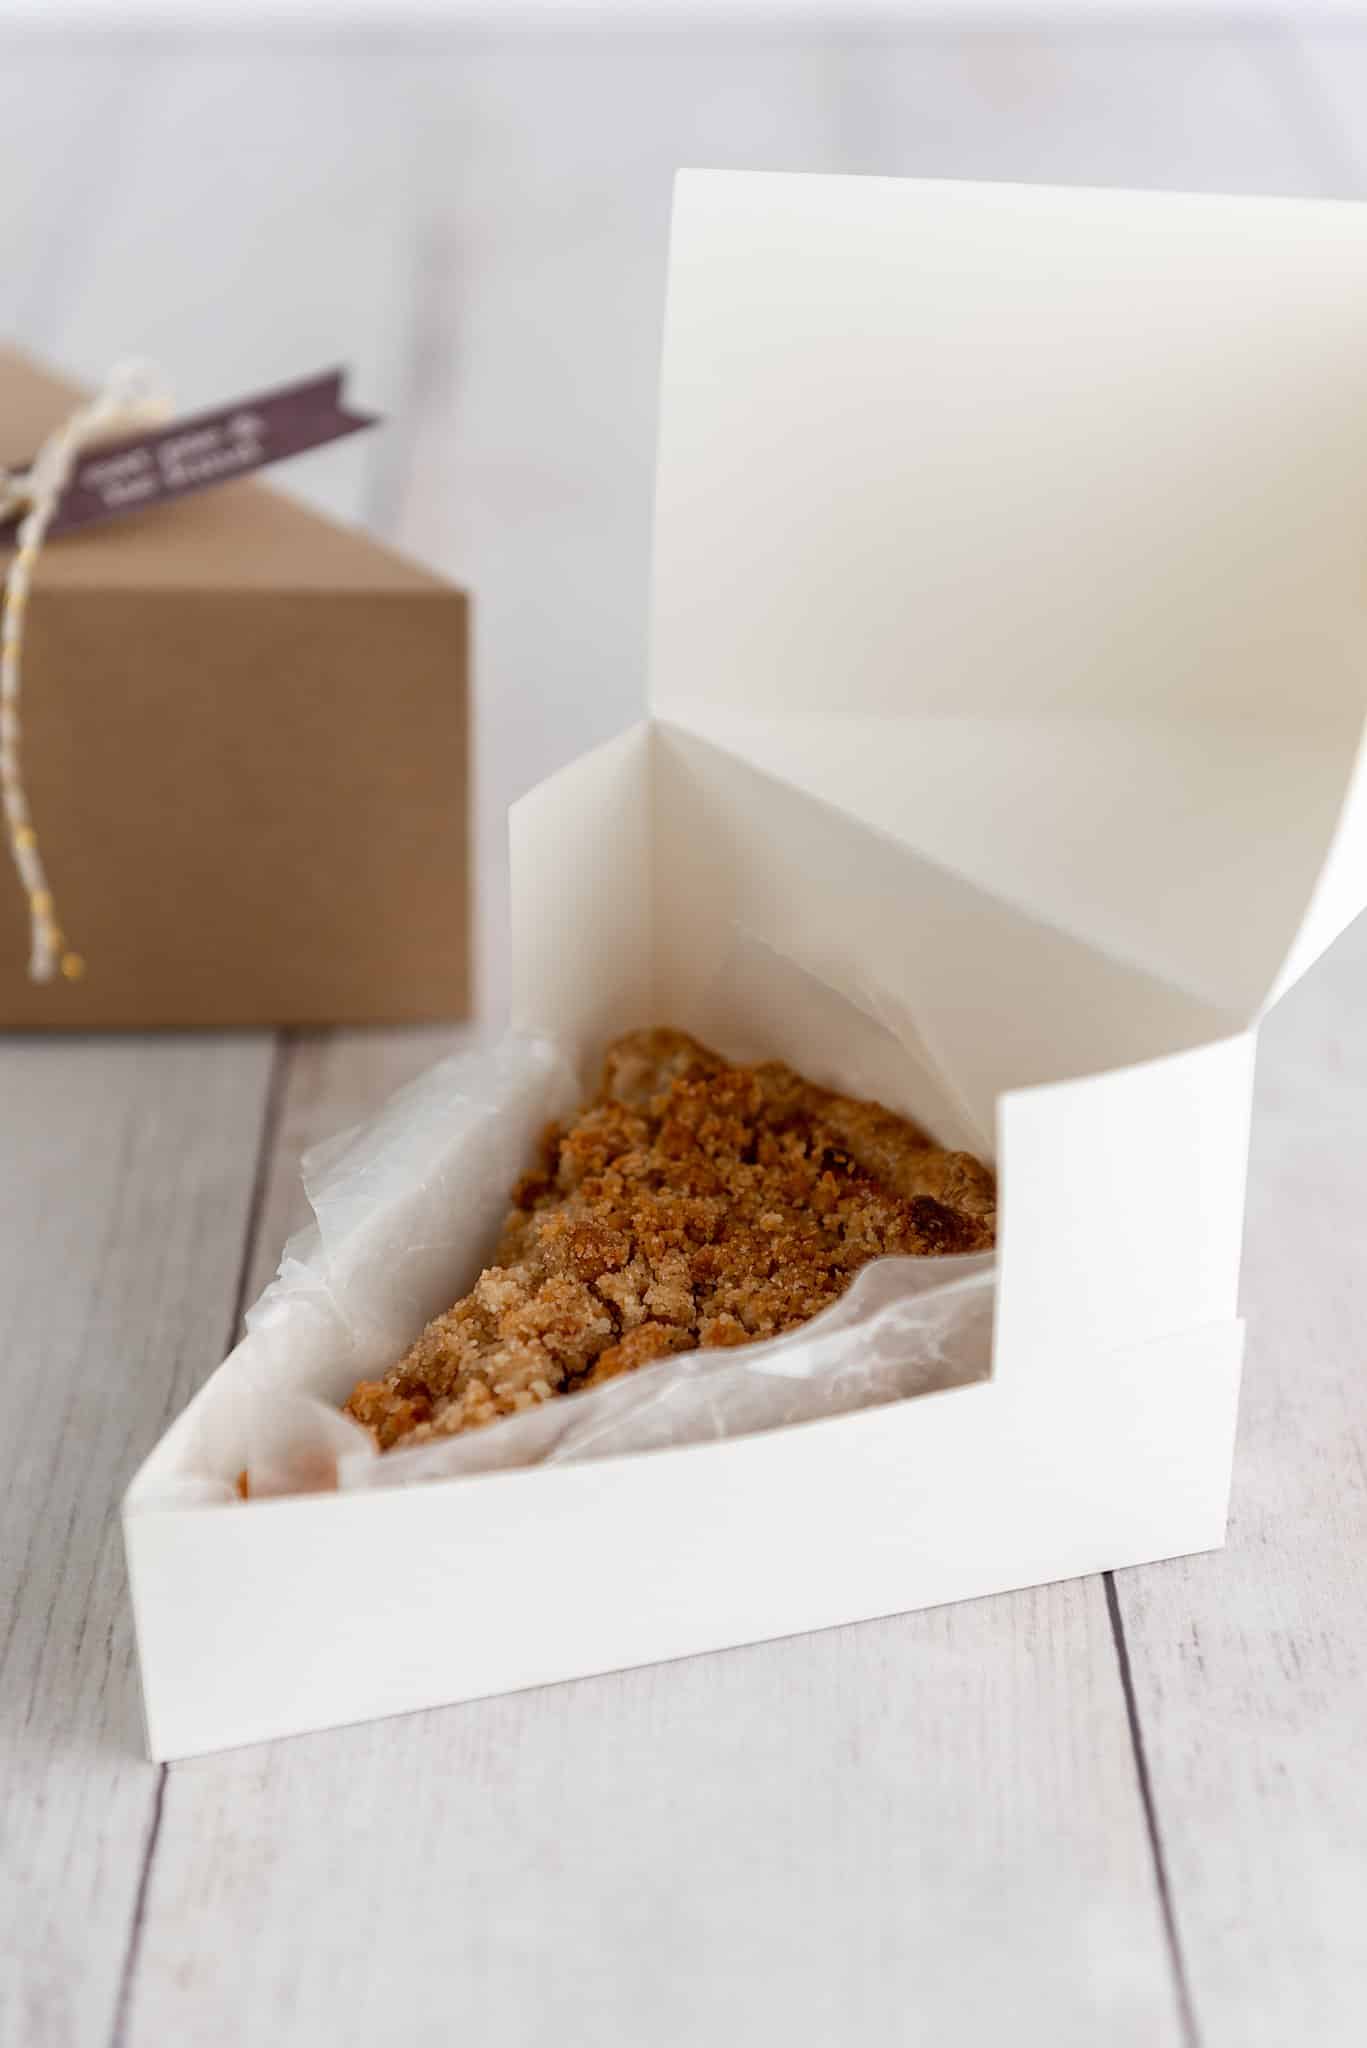
- Use wax paper to line the pumpkin pie slice box so that the pie doesn’t bleed through.
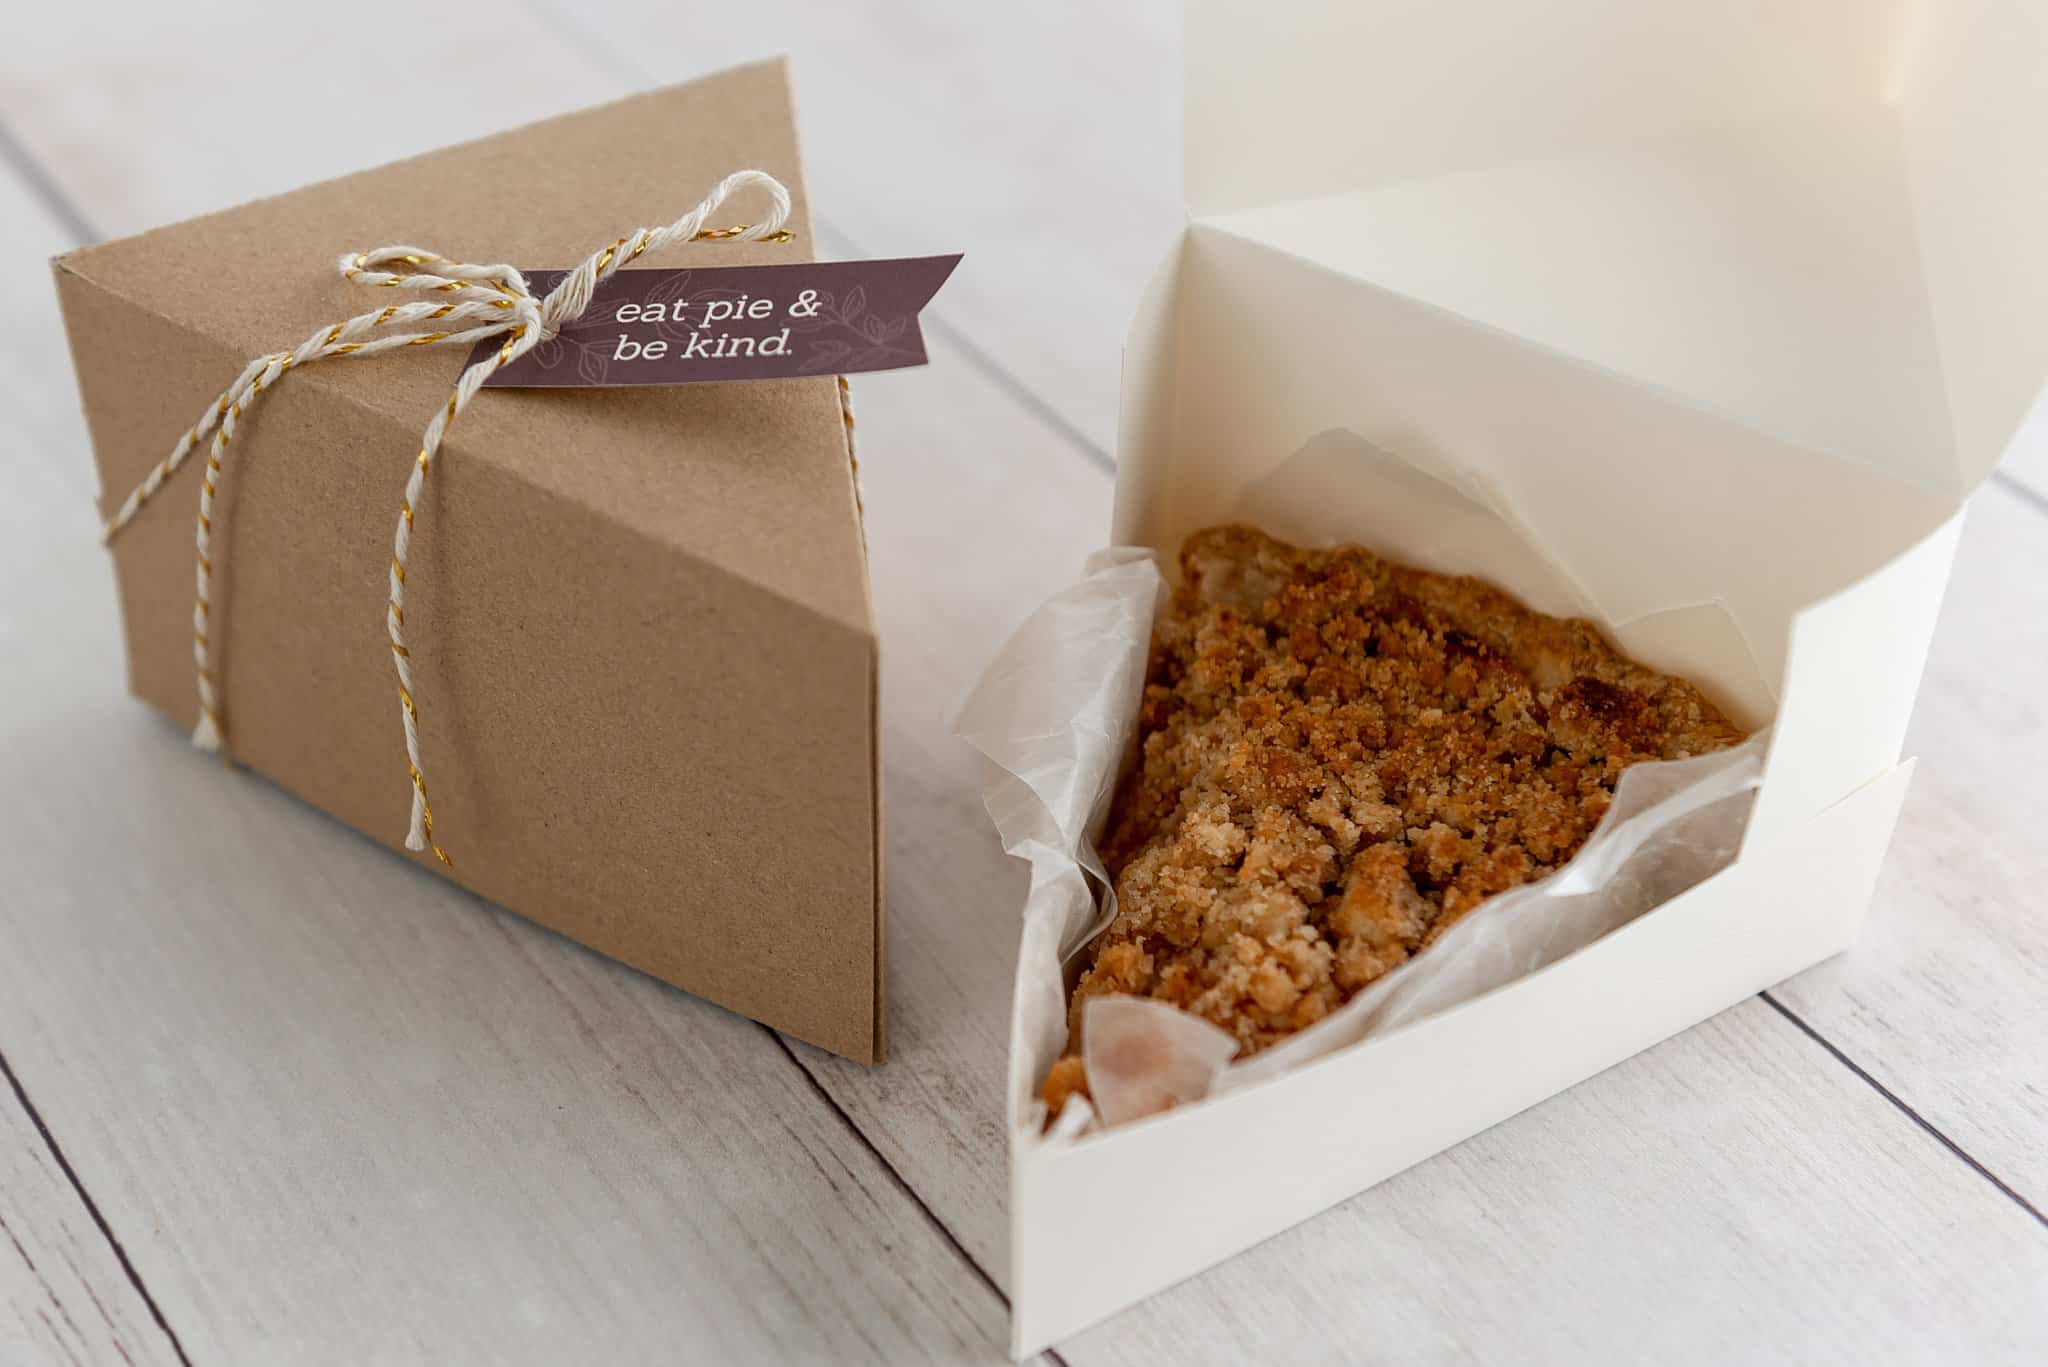
- Once the pie slice is in the box and you close the lid, next securely tie the box with your ribbon or twine.
- Add a tag for a personalized touch for your wedding favor or holiday meal.
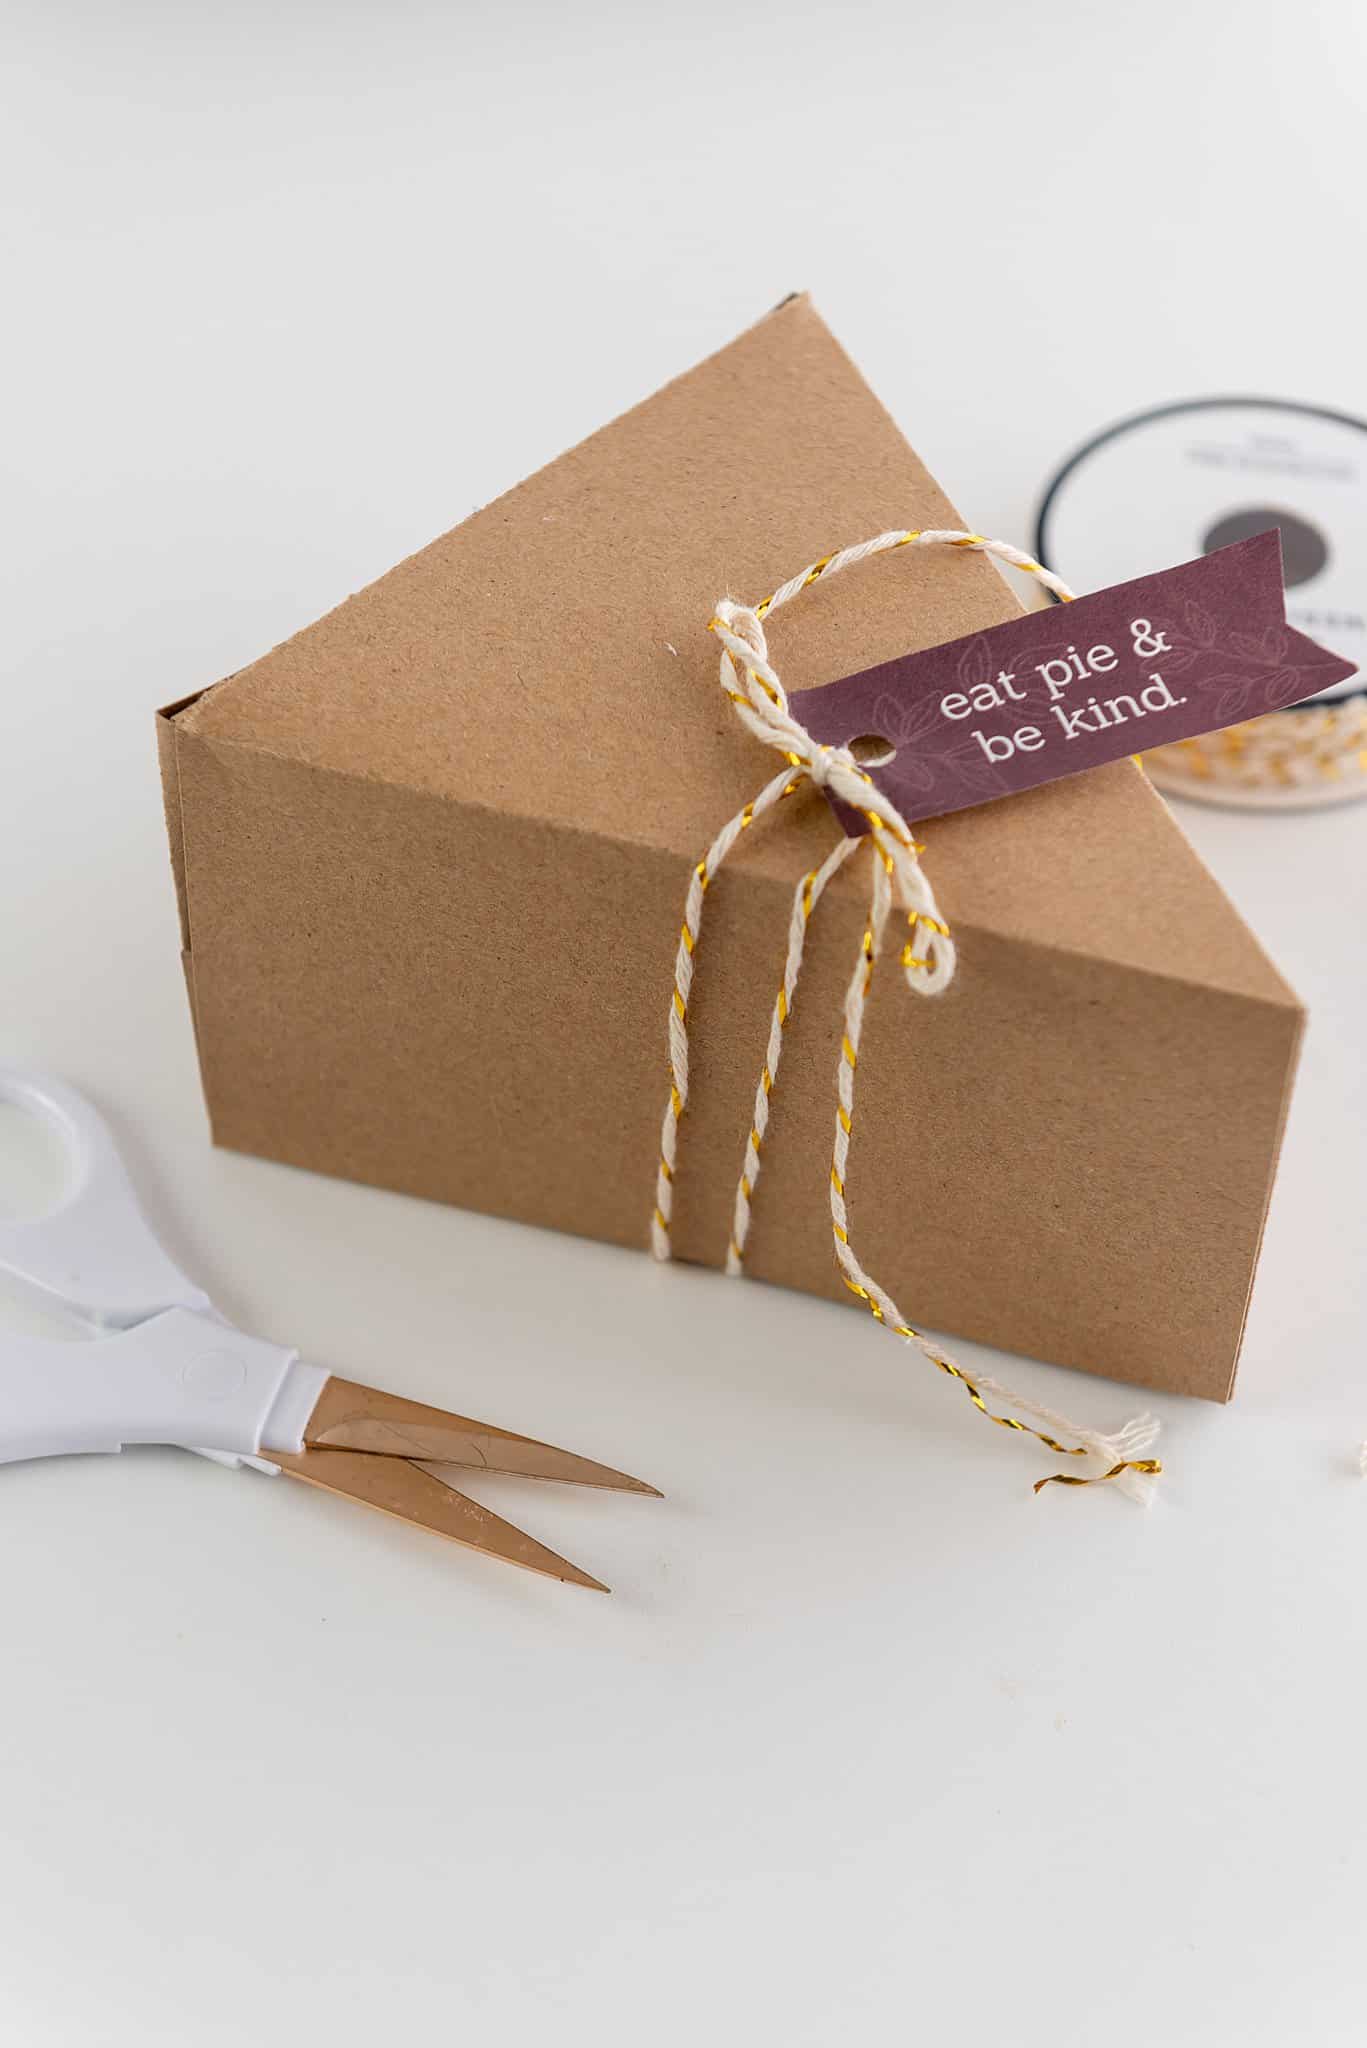
Results of our DIY Cricut Boxes
Love this Thanksgiving Cricut project? Save it!
